259
The inventor from the Leningrad region has assembled a 3D printer at home
A young inventor from Vyborg (Leningrad region) Alexei Krutoshinsky assembled his own 3D printer at home and told the correspondent of PECHATNIK.com about how and why he did it.
Alexey had the idea to get his own 3D printer when he was writing a business plan for a small business subsidy. Moreover, initially, the young man wanted to direct his inventive activity to lamps, which, according to him, he always dreamed of making.
- I came up with the concept of lamps, the design of which will include elements of sights and fireplaces of my hometown - Vyborg. In the old Finnish part of the city around a lot of beautiful and voluminous architectural elements of the interior and exterior. It is quite difficult to describe this austere beauty in words, as well as what is happening to them now: most of the architectural monuments of the late 19th and early 20th centuries are destroyed, stolen and discarded. The only chance to preserve and convey this beauty and design in all its scope is stereo photography, which I do. And the next step is to reproduce exact copies of the desired elements in lamps, which everyone can take home to not only look, but also feel, touch. 3D printer seemed to me a good helper in this venture, — said the inventor.
The technology invented by Alexei works as follows: first you need to photograph an architectural object, the elements of which must turn into a lamp. Then a virtual model is built – an exact digital copy of the object. After that, the model is broken into parts that can be printed by a 3D printer with parameters 19x19x19 cm, and sent to print. The process is completed by assembling the received parts and casting them in the desired shape.
- Following the latest news and the rapid growth of the 3D community, I believe that a 3D printer is something that should be at home for anyone who likes to do unusual things with their own hands or remakes old things for new needs. This is an ideal machine to make articulated components and parts that are lacking during assembly, Alexey concluded.
When asked how he made his own 3D printer at home, Alexey said:
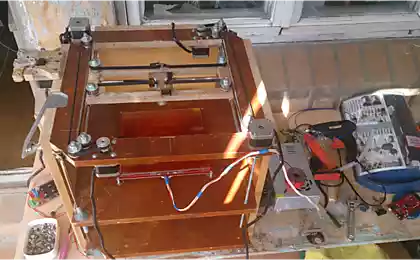
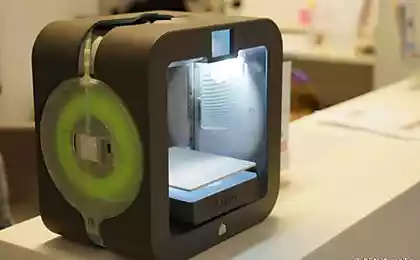
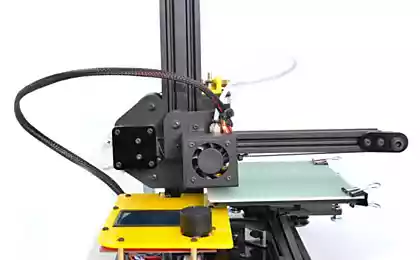
- At first, I just bought a ready-made Prusa Mendel i2 kit and assembled it in a couple of days. Then the adventures began... I was not happy with the way he typed and looked, frankly, terrible. I didn't understand a lot of things, as it was already calibrated and could be assembled without any knowledge of the field. He typed the way he wanted, even if nothing changed in the settings, of which I tried a lot, there were also good “fingerprints”, but I wanted something more stable and reliable: many parts of the printer simply fell apart in front of my eyes as the printing progressed. After a while I saw the Mendel i3 Rework made of Plexiglas and fell in love. Found and ordered everything he needed, including a pair of extruders that were pleasing to the eye rather than looking like a brick rewound with a Band-Aid. He ordered to cut himself a frame for a new printer made of centimeter glass and with the name of his company, took care of additional ribs that do not allow it to fall apart (this seems to be the main problem of the standard Mendel i3 scheme). With grief in half printed on the old all the details that were needed for the assembly, removed his brains and motors, and finally began to assemble a new printer. Collected and calibrated it slowly, delving into all the subtleties. In the end, I was very pleased that I now understand how it really works and what can cause problems, because “understanding comes with experience.”
Alexei Krutoshinsky’s 3D printer Mendel i3 Rework prints plastic using FDM technology. On the very process of printing the inventor responds as follows:
- I print, for example, a suitable suspension for the camera on a quadcopter, and every detail printed so far is not the end of the process, but only the beginning of it. It is very convenient to have a newly printed part on your hands, immediately try it on and understand where you made a mistake and what to fix. With a 3D printer, I can make whatever parts I was missing when I was making lights from film cameras. To find a suitable part that holds together the entire filling of the lamp - LED, driver and wires, before I had to try quite a lot of unnecessary equipment, including these cameras, and the result was not always positive. And now all you have to do is come up with a part, make it in some simple program and print it.
Source: brainswork.ru
Scientists have found the main cause of premature birth
More than 70 American scientists have been infected with anthrax
