617
How to level a floor in a wooden house
Wooden houses are very popular due to its naturalness and environmental friendliness. In the frame of the natural material is maintained year-round optimal climate to effectively relax after the bustle of the city. In the process of operation possible cracking of the boards and the appearance of defects, so important leveling the floor in a wooden house with his own hands using a simple tool, and inexpensive materials.
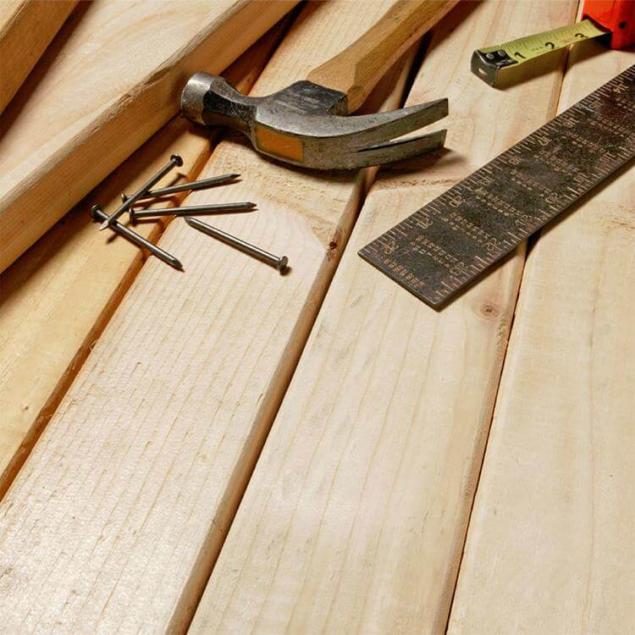
Features floor levelingBefore leveling the floor in a wooden house, you should assess its condition, degree of damage to the constituent elements, to accurately measure the resulting irregularities and to find out the cause of their formation. Using a level is determined by the degree of flatness of the surface horizontally.
If the inspection established that the Board have a deep injury on the back side, the items are subject to removal and replacement of a new one. Under normal condition of the boards decision how to level a wooden floor. Small defects are easily removed by sanding and shpatlyuyutsya to get the perfect surface. More serious irregularities leveled sheets of plywood, or special mixtures. For leveling the floor during the replacement of structural elements is considered an opportunity to level the floor in a wooden house with lags.
Manual and mechanical surface treatmentof wooden floor Sanding can be performed manually using a mechanical planer or using a polishing machine. Consider how to level the floor in a wooden house a plane. This is the most time-consuming and long method. In most cases, require Dismounting of boards for their high-quality processing. Since the product is firmly nailed nails, it requires excessive force to remove them. After processing, products are mounted on the base for installation finish.
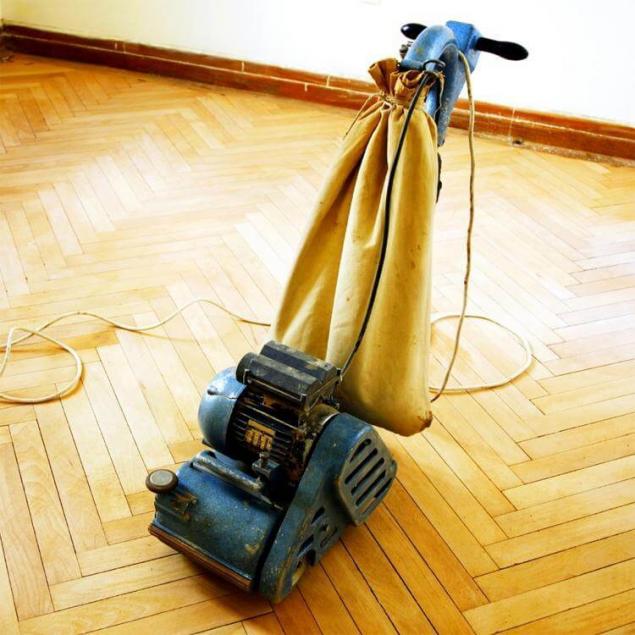
The implementation of leveling the floor in a wooden house with a grinding machine allows you to save time and get a smoother surface. Before starting the sanding of the floor removed nails, screws, buttons and other metal articles that may damage the machine. Due to the large amount of wood dust, work must be performed in a respirator. The processing of the floor begins from the far corner, moving from one wall to another. If after sanding remain defective places, then apply the wood putty, which is chosen according to the color of the wood. After hardening of putty is done the final sanding.
The use of plywoodWith small irregularities effective is this method, how to level a floor in a wooden house with plywood. To use sheets of thickness not less than 10 mm.
The operation is performed in stages:
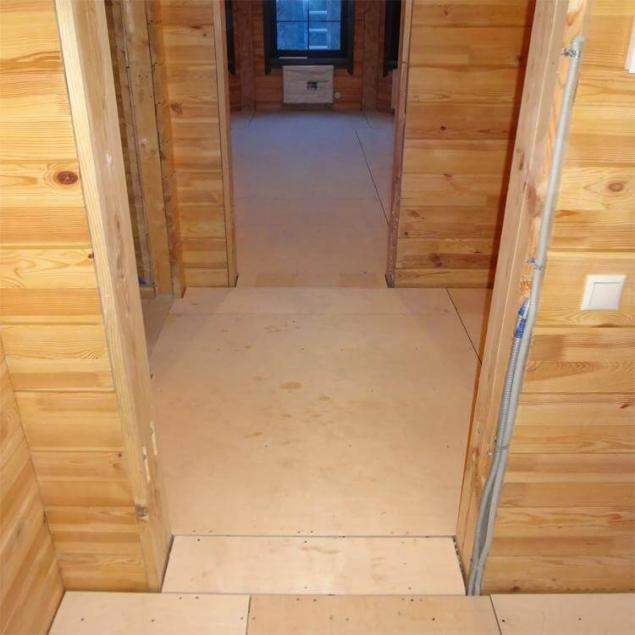
The use of the screedleveling the floor in a wooden house screed with self-leveling compounds is performed with minor changes in level. The coupler allows to obtain a perfectly smooth surface, which is suitable for any topcoat. Not applicable method of levelling the floor in the new house due to the possible shrinkage of the violation and the mounting height. Uses a special compound designed for wood floor.
Stages of work:
To prepare the base check the reliability of fastening of each plank. Maximally recessed cap screws and nails. The surface is cleaned of old paint. All the cracks and crevices between the planks are sealed thoroughly with sawdust and sealed with a solution of thick consistency. The base is treated with the use of a primer on wood. The layout of the level to which the floor will be poured. The layer thickness should be in the range of 5-20 mm. To hold the mixture in the perimeter of the room mounted in the door plank, and the walls glued damping tape. On Board laid reinforcing mesh, which can reinforce with a stapler. Mixed the mixture is poured onto the surface and screed spiked roller to effectively remove the air.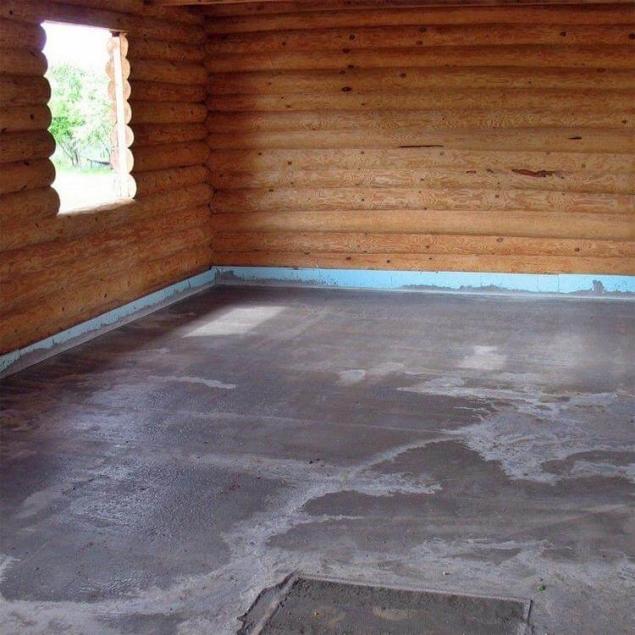
The time of drying depending on temperature is 2 days. To prevent surface cracking floor is served with plastic wrap. Finish can be mounted in 2 weeks after complete curing of the screed. published
P. S. And remember, only by changing their consumption — together we change the world! ©
Source: //www.diy.ru/blog/isolux/post/9036/

Features floor levelingBefore leveling the floor in a wooden house, you should assess its condition, degree of damage to the constituent elements, to accurately measure the resulting irregularities and to find out the cause of their formation. Using a level is determined by the degree of flatness of the surface horizontally.
If the inspection established that the Board have a deep injury on the back side, the items are subject to removal and replacement of a new one. Under normal condition of the boards decision how to level a wooden floor. Small defects are easily removed by sanding and shpatlyuyutsya to get the perfect surface. More serious irregularities leveled sheets of plywood, or special mixtures. For leveling the floor during the replacement of structural elements is considered an opportunity to level the floor in a wooden house with lags.
Manual and mechanical surface treatmentof wooden floor Sanding can be performed manually using a mechanical planer or using a polishing machine. Consider how to level the floor in a wooden house a plane. This is the most time-consuming and long method. In most cases, require Dismounting of boards for their high-quality processing. Since the product is firmly nailed nails, it requires excessive force to remove them. After processing, products are mounted on the base for installation finish.

The implementation of leveling the floor in a wooden house with a grinding machine allows you to save time and get a smoother surface. Before starting the sanding of the floor removed nails, screws, buttons and other metal articles that may damage the machine. Due to the large amount of wood dust, work must be performed in a respirator. The processing of the floor begins from the far corner, moving from one wall to another. If after sanding remain defective places, then apply the wood putty, which is chosen according to the color of the wood. After hardening of putty is done the final sanding.
The use of plywoodWith small irregularities effective is this method, how to level a floor in a wooden house with plywood. To use sheets of thickness not less than 10 mm.
The operation is performed in stages:
- dismantled the whole structure to the ground;
- in the corners of the room are mounted beacons, determining how high to raise the floor;
- before installing the joists, they are antiseptic;
- mounted the joists, the thickness of which is 30-50 mm. the Products are fixed with special screws or wood glue;
- the layout and cut plywood sheets 60×60 cm;
- is laying tiles in a checkerboard pattern. They are fixed using screws with heads concealed. The ends of the plywood are in the middle of the log.

The use of the screedleveling the floor in a wooden house screed with self-leveling compounds is performed with minor changes in level. The coupler allows to obtain a perfectly smooth surface, which is suitable for any topcoat. Not applicable method of levelling the floor in the new house due to the possible shrinkage of the violation and the mounting height. Uses a special compound designed for wood floor.
Stages of work:
To prepare the base check the reliability of fastening of each plank. Maximally recessed cap screws and nails. The surface is cleaned of old paint. All the cracks and crevices between the planks are sealed thoroughly with sawdust and sealed with a solution of thick consistency. The base is treated with the use of a primer on wood. The layout of the level to which the floor will be poured. The layer thickness should be in the range of 5-20 mm. To hold the mixture in the perimeter of the room mounted in the door plank, and the walls glued damping tape. On Board laid reinforcing mesh, which can reinforce with a stapler. Mixed the mixture is poured onto the surface and screed spiked roller to effectively remove the air.

The time of drying depending on temperature is 2 days. To prevent surface cracking floor is served with plastic wrap. Finish can be mounted in 2 weeks after complete curing of the screed. published
P. S. And remember, only by changing their consumption — together we change the world! ©
Source: //www.diy.ru/blog/isolux/post/9036/
