548
As I see lights in the tidy washed down!
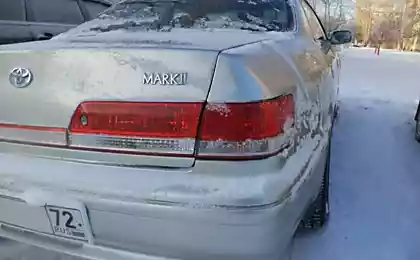
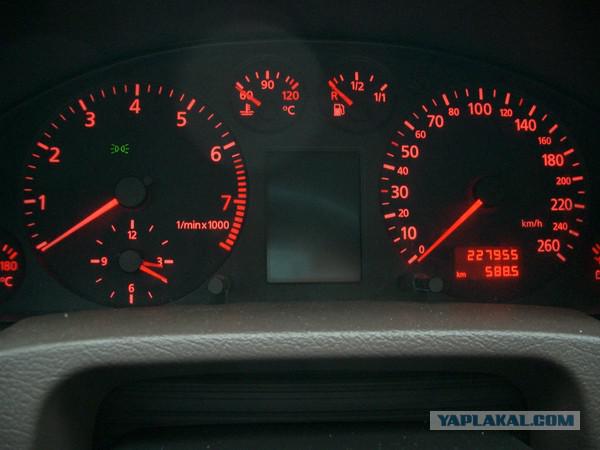
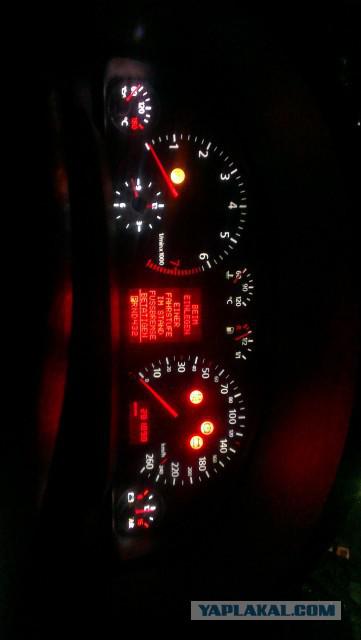
So my Audi a6 4bc5 1999gv. and from the date of purchase infuriated me very red lights in tidy.
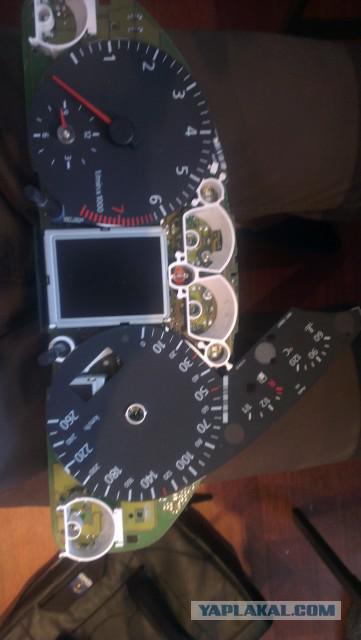
It looked like this (not my otka I run 280 thousand)
17 photo.
Well, for sntiya it was used a screwdriver and hand but that's another story ...
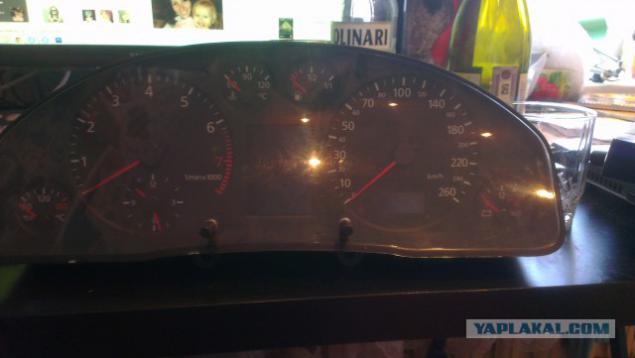
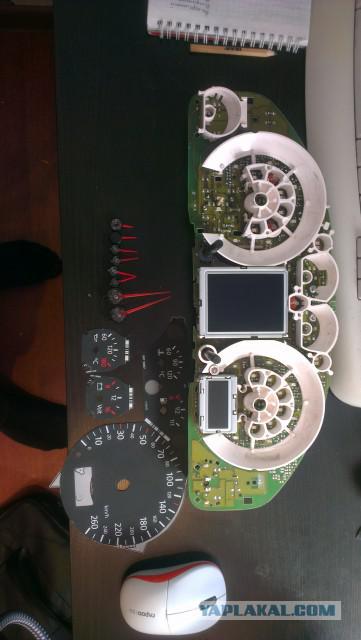
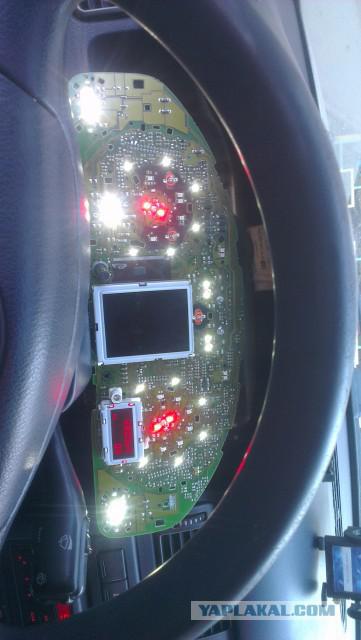
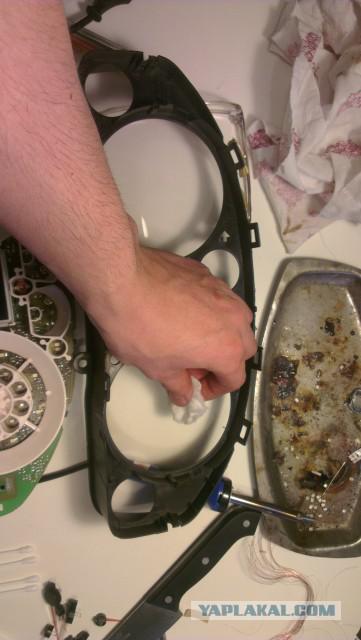
removed it looks
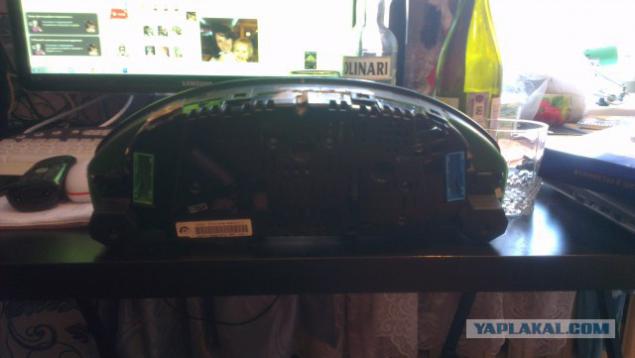
And so on the back of
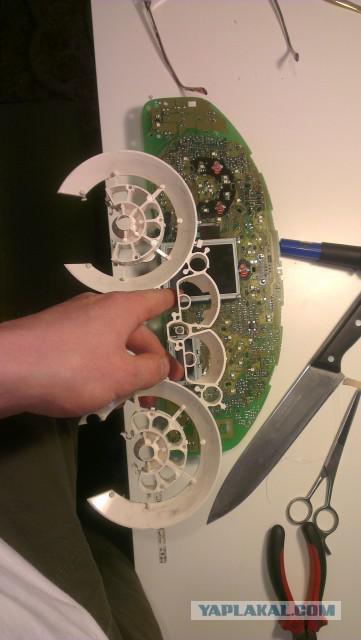
remove the glass and start otlyapyvat arrows on VDO tidy this is done with help of easy pulling over + turn fully counter-clockwise.
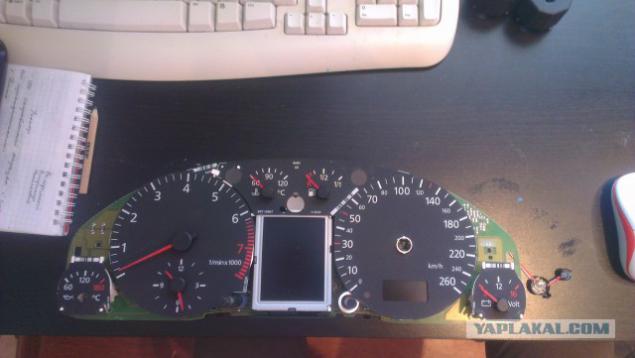
and not to hinder tsiferki shtob remove them by turning clockwise,
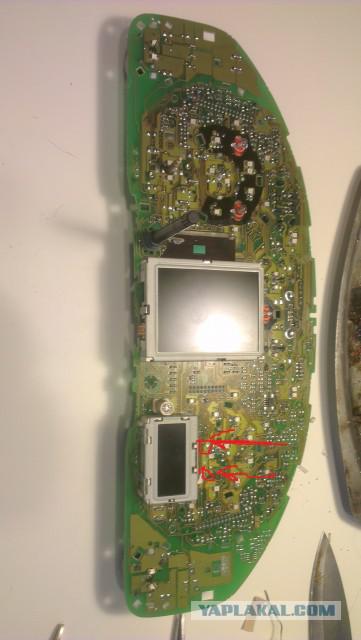
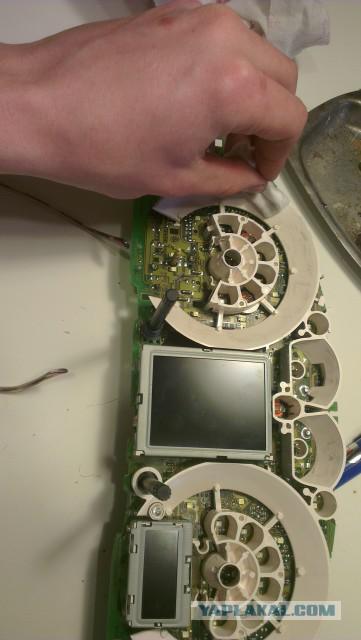
Here we got to the board, the diodes are highlighted in red is not always seen their
it turns out that's a shorter set of
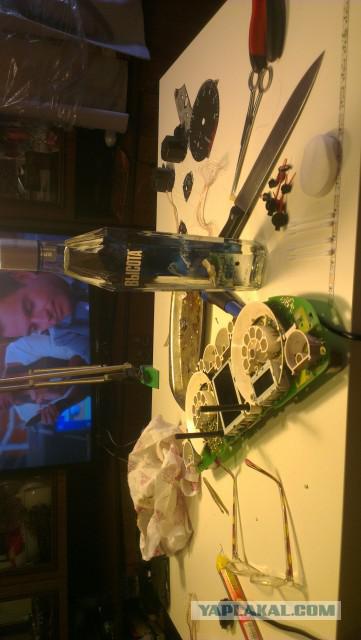
undress before the goal, there is a soldering iron where allocated had cut, but it is not vylazelo
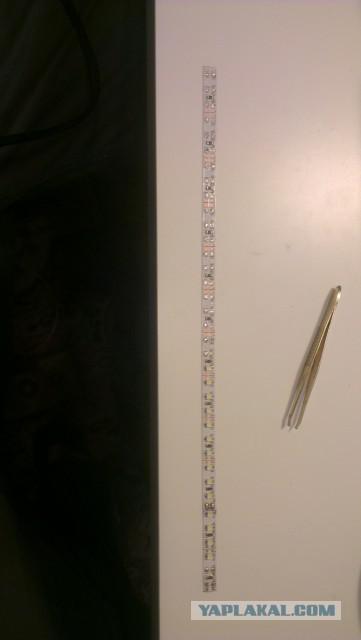
and here is the ribbon with which I vypayaval as diodes nenashel vprodazhe that you need
Well soldering nesmog zasnt for hands full pintsetikom and soldering iron ... I will say this hands shook only the first two diodes then everything went better but took it from me (22 diodes) 4 hours, for a soldering iron in his hands was the second time in his life
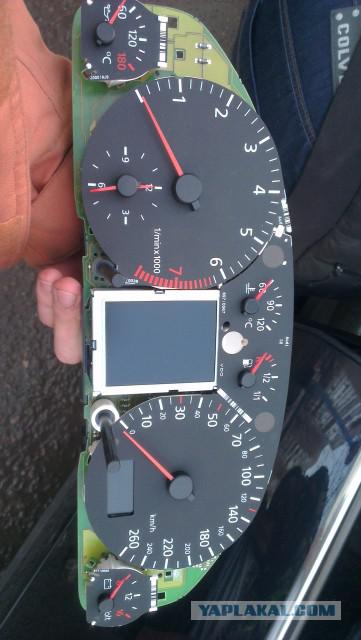
Now I run to the car checked instill working
come back home began to gather, have a headache, and his eyes were red but I had to finish !!!
take the solution S2H5OH 40% + H2O 60% and wipe stained surface
wipe a piece of glass
and plasmasku
Putting it all in reverse order (up arrow) and drag the car tidy and VAGCOM
(who has, I Vasya took) do diagnostics instrument panel and then put out the test gauges all the arrows (pegs them) stand vertically in addition to the tachometer, it will be on the 3000 revolutions, we put arrows vertically after the reverse dismantling tidy arrows will fall like so
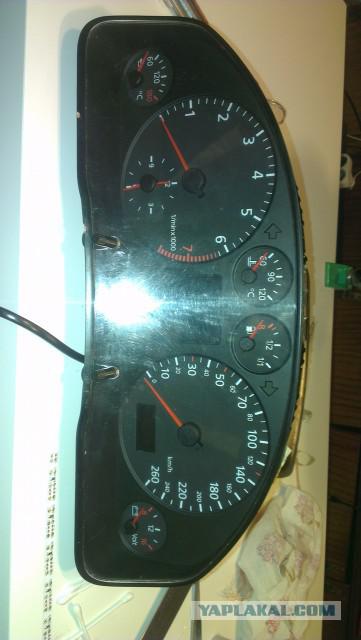
Dress up a piece of glass and voila ready
there you
I have everything ...
Source:
It looked like this (not my otka I run 280 thousand)
17 photo.

Well, for sntiya it was used a screwdriver and hand but that's another story ...
removed it looks

And so on the back of

remove the glass and start otlyapyvat arrows on VDO tidy this is done with help of easy pulling over + turn fully counter-clockwise.

and not to hinder tsiferki shtob remove them by turning clockwise,

Here we got to the board, the diodes are highlighted in red is not always seen their

it turns out that's a shorter set of

undress before the goal, there is a soldering iron where allocated had cut, but it is not vylazelo

and here is the ribbon with which I vypayaval as diodes nenashel vprodazhe that you need

Well soldering nesmog zasnt for hands full pintsetikom and soldering iron ... I will say this hands shook only the first two diodes then everything went better but took it from me (22 diodes) 4 hours, for a soldering iron in his hands was the second time in his life
Now I run to the car checked instill working

come back home began to gather, have a headache, and his eyes were red but I had to finish !!!

take the solution S2H5OH 40% + H2O 60% and wipe stained surface

wipe a piece of glass

and plasmasku

Putting it all in reverse order (up arrow) and drag the car tidy and VAGCOM
(who has, I Vasya took) do diagnostics instrument panel and then put out the test gauges all the arrows (pegs them) stand vertically in addition to the tachometer, it will be on the 3000 revolutions, we put arrows vertically after the reverse dismantling tidy arrows will fall like so

Dress up a piece of glass and voila ready

there you
I have everything ...

Source: