715
Rural tuning a moped, or I washed down the music
Hello. I want to share with you the experience installing car on a scooter.
Will be 26 photos, please do not break
The idea to put music on your moped occurred long ago, in the spring, when he saw such a friend. True he was all much simpler and works from the player. I do not have the player, but the old tape recorder and a pair of speakers was, so it was decided to make music thoroughly. Of course, someone will say that this is all garbage and nafig not necessary, but it is the personal opinion of each.
Photo 1.
Directly cassette player and speakers.
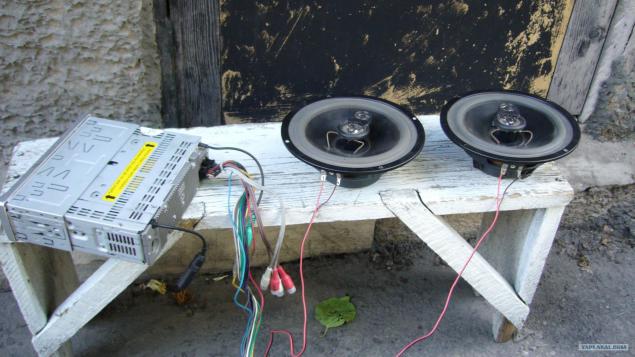
Photo 2.
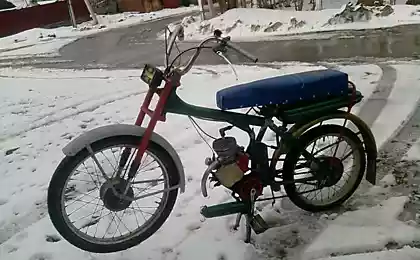
And here is the handsome pomed (Eeeeh, the Japanese would, well, you can go to this)
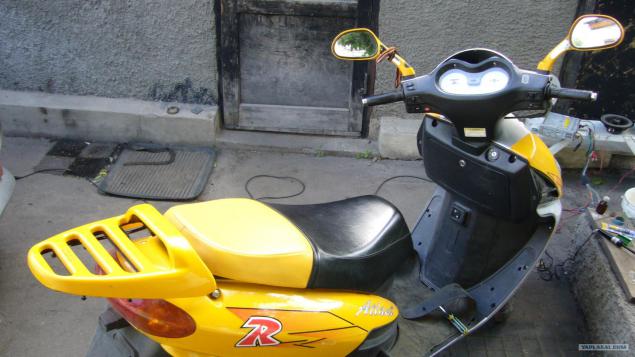
Photo 3.
Since each time to open sidushku to play music too uncomfortable, I have decided to withdraw from the socket in the glove box recorder forward. It turned out harder than I thought, but if desired, and the presence of an electrician friend (or a direct hand, but in my case, an electrician) everything really. All the complexity is to connect the panel with the tape wires as a connector found I could not get. So it is necessary to vypayat oldest of the panels. Sam did not dare, for pity technique gave a Friend.
Contacts on the panels
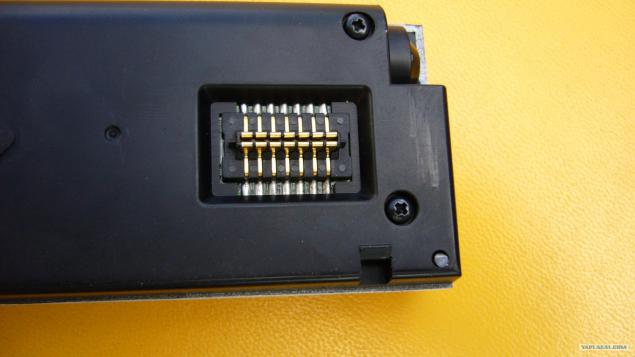
Photo 4.
And on the radio itself.
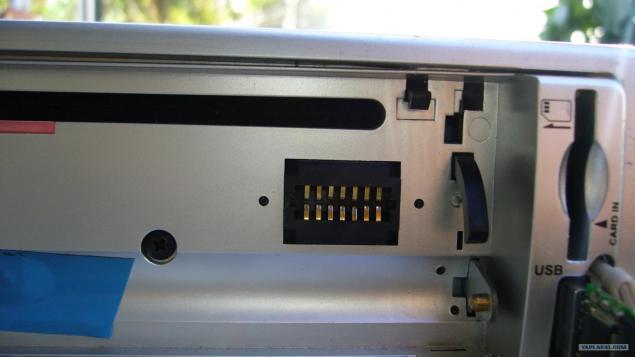
Photo 5.
And while waiting for the finished connector, remove toilet and Scrollsaw bookshelf speaker.
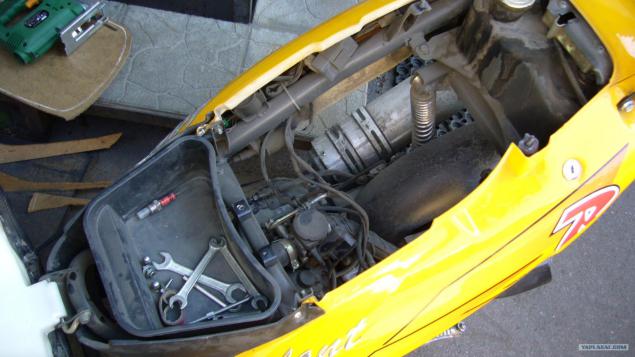
Photo 6.
Scrollsaw.
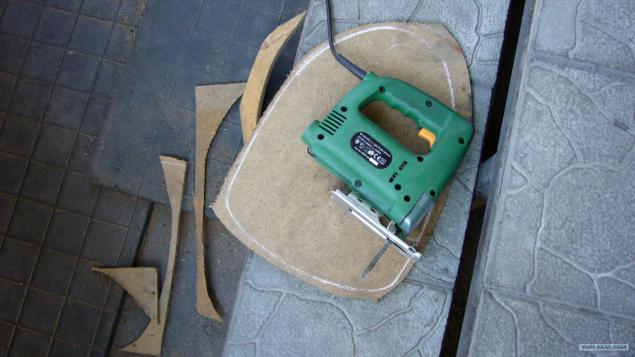
Photo 7.
We try on, see what does not fit. Scrollsaw try on ... ... ... Scrollsaw try on ... and so on until you get something like

Photo 8.
We processed further, as we need to regiment climbed into the toilet completely.

Photo 9.
Try on again, we see that come, surprised, pleased.
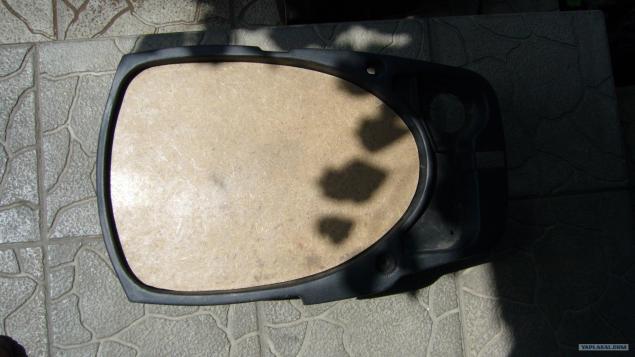
Photo 10.
Now we need to make holes for the speakers. Crooked mark up
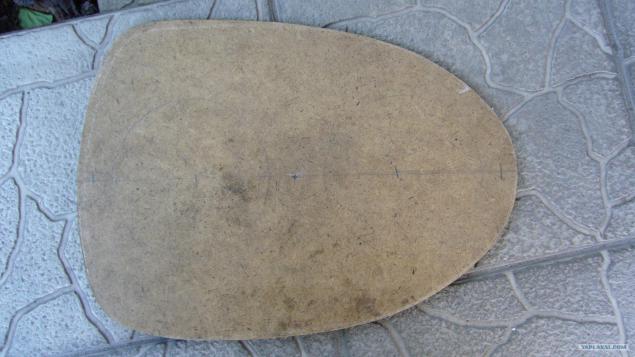
Photo 11.
We cut and try on the speakers. Ironically, the solution.
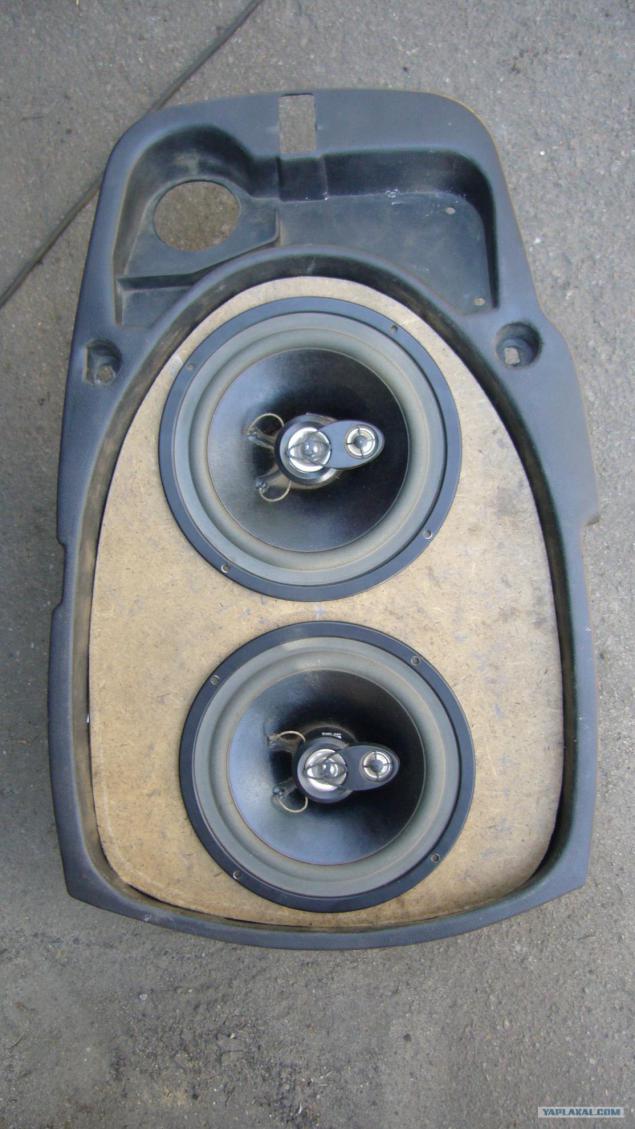
Photo 12.
Well, just right, so you can strap a Carpet. Without experience, of course, difficult, but it turned out, in my view, tolerable.
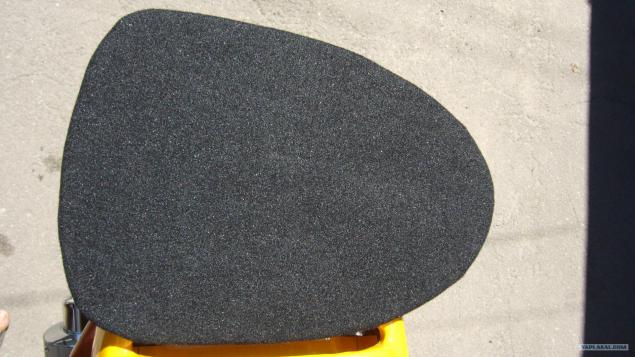
Photo 13.
On the reverse side. Do not suck gently, but for the first time will go. Oh, I forgot, yet were cut two holes, went to the air.
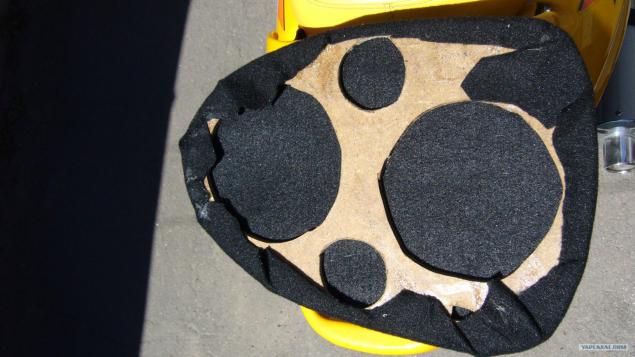
Photo 14.
Cuts through the holes, insert the plugs to better looked. (took furniture covers for the tables, unfortunately, was not the same, well, nothing, paint)
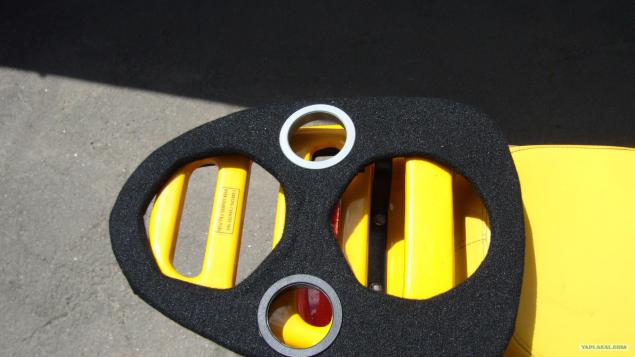
Photo 15.
We put everything in place, I think, appropriate.
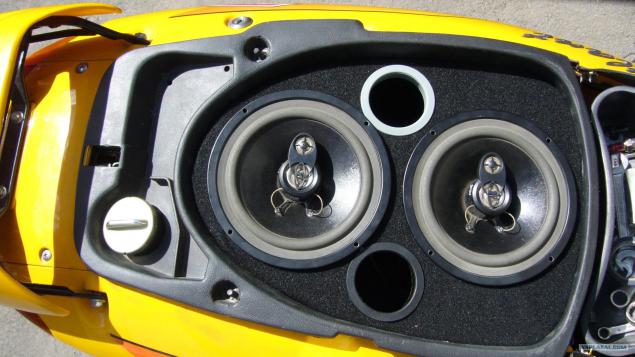
Photo 16.
Tape recorder itself is attached to the bottom shelf using here is just such bars (do not know how they are correctly called).
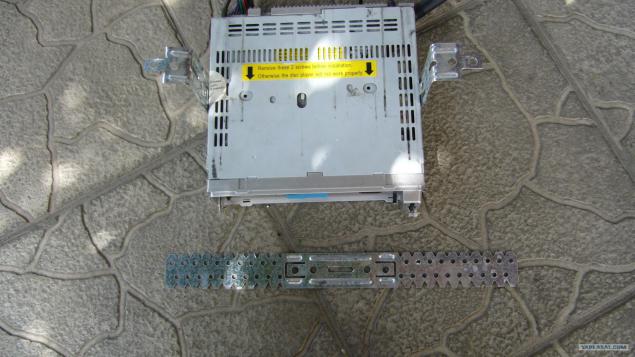
Photo 17.
Inside it all looks like.
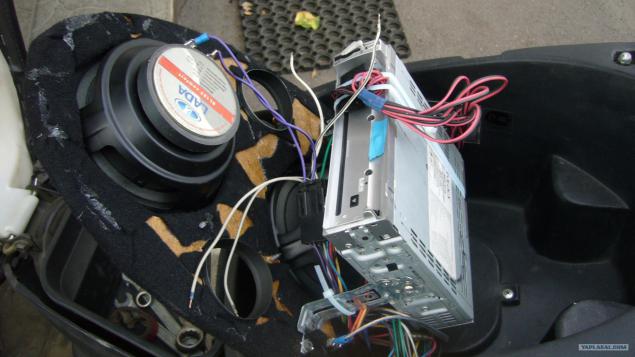
Photo 18.
And so from the outside.

Photo 19.
Socket is ready. Now you have to solder the wires longer. The main thing is not to confuse.
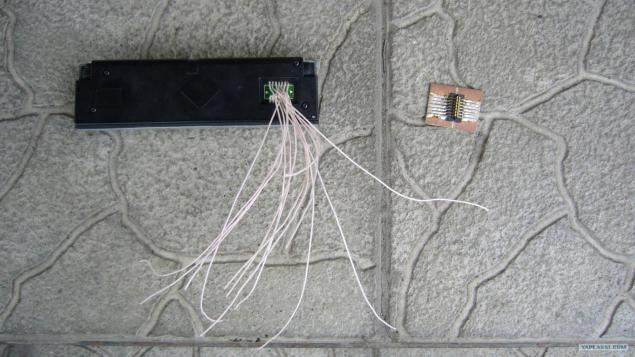
Photo 20.
Fix the panel. Double-sided tape - our everything!
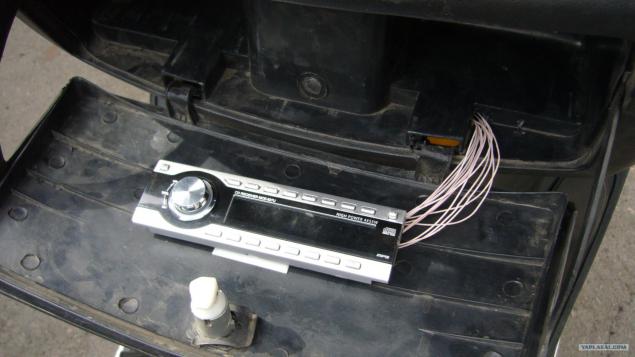
Photo 21.
We provide wire and soldered contact
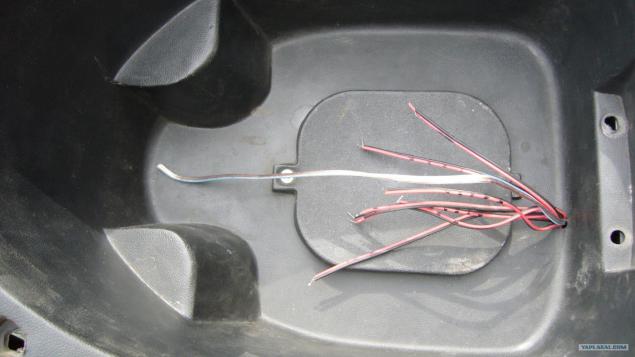
Photo 22.
We connect and see that the screen is displayed as infa something wrong ... Although the buttons work as expected. It looks like the whole thing in the contacts on the radio, because the image appears occasionally, but not for long. The scoring is on the case, the main thing that the music works, and what to press and I know from memory.
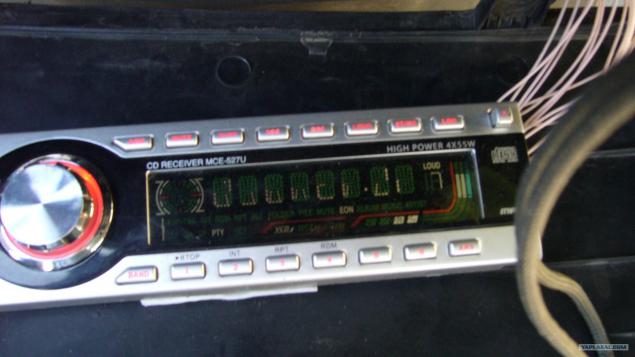
Photo 23.
To do so seriously. Carpet was so decided obtyanut and glove box, and at the same time to make the backlight. There is only one light, the other I successfully broke. Why buy new.
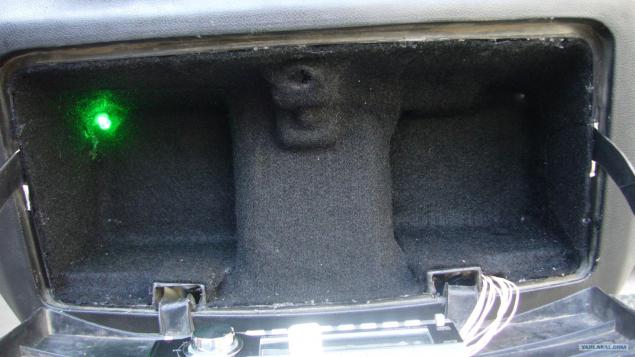
Photo 24.
Another view.

Photo 25.
And here is the contact, including the bulb. Think of anything else failed, so long will work.
Photo 26.
I bought a second light bulb, put the works.
This was the last photo, you can kick. In my opinion, it turned out pretty good, and works. The speakers are, of course, niahti, sound, to put it mildly, not very good. Well, then there's the material is not quite the same, toilet plastic, rattles a bit, and the volume of small too for these speakers if the pile on bass, something is just hum, well, there's nothing to be done ... And so the sound is enough to listen to on the go, kilometers 40 heard.
Source:
Will be 26 photos, please do not break
The idea to put music on your moped occurred long ago, in the spring, when he saw such a friend. True he was all much simpler and works from the player. I do not have the player, but the old tape recorder and a pair of speakers was, so it was decided to make music thoroughly. Of course, someone will say that this is all garbage and nafig not necessary, but it is the personal opinion of each.
Photo 1.
Directly cassette player and speakers.

Photo 2.
And here is the handsome pomed (Eeeeh, the Japanese would, well, you can go to this)

Photo 3.
Since each time to open sidushku to play music too uncomfortable, I have decided to withdraw from the socket in the glove box recorder forward. It turned out harder than I thought, but if desired, and the presence of an electrician friend (or a direct hand, but in my case, an electrician) everything really. All the complexity is to connect the panel with the tape wires as a connector found I could not get. So it is necessary to vypayat oldest of the panels. Sam did not dare, for pity technique gave a Friend.
Contacts on the panels

Photo 4.
And on the radio itself.

Photo 5.
And while waiting for the finished connector, remove toilet and Scrollsaw bookshelf speaker.

Photo 6.
Scrollsaw.

Photo 7.
We try on, see what does not fit. Scrollsaw try on ... ... ... Scrollsaw try on ... and so on until you get something like

Photo 8.
We processed further, as we need to regiment climbed into the toilet completely.

Photo 9.
Try on again, we see that come, surprised, pleased.

Photo 10.
Now we need to make holes for the speakers. Crooked mark up

Photo 11.
We cut and try on the speakers. Ironically, the solution.

Photo 12.
Well, just right, so you can strap a Carpet. Without experience, of course, difficult, but it turned out, in my view, tolerable.

Photo 13.
On the reverse side. Do not suck gently, but for the first time will go. Oh, I forgot, yet were cut two holes, went to the air.

Photo 14.
Cuts through the holes, insert the plugs to better looked. (took furniture covers for the tables, unfortunately, was not the same, well, nothing, paint)

Photo 15.
We put everything in place, I think, appropriate.

Photo 16.
Tape recorder itself is attached to the bottom shelf using here is just such bars (do not know how they are correctly called).

Photo 17.
Inside it all looks like.

Photo 18.
And so from the outside.

Photo 19.
Socket is ready. Now you have to solder the wires longer. The main thing is not to confuse.

Photo 20.
Fix the panel. Double-sided tape - our everything!

Photo 21.
We provide wire and soldered contact

Photo 22.
We connect and see that the screen is displayed as infa something wrong ... Although the buttons work as expected. It looks like the whole thing in the contacts on the radio, because the image appears occasionally, but not for long. The scoring is on the case, the main thing that the music works, and what to press and I know from memory.

Photo 23.
To do so seriously. Carpet was so decided obtyanut and glove box, and at the same time to make the backlight. There is only one light, the other I successfully broke. Why buy new.

Photo 24.
Another view.

Photo 25.
And here is the contact, including the bulb. Think of anything else failed, so long will work.

Photo 26.
I bought a second light bulb, put the works.
This was the last photo, you can kick. In my opinion, it turned out pretty good, and works. The speakers are, of course, niahti, sound, to put it mildly, not very good. Well, then there's the material is not quite the same, toilet plastic, rattles a bit, and the volume of small too for these speakers if the pile on bass, something is just hum, well, there's nothing to be done ... And so the sound is enough to listen to on the go, kilometers 40 heard.

Source: