485
Many of us hang pictures on the walls... This couple inspired me to something new!
Often after the repair is still a large number of building materials or other things that take up extra space. You can't even imagine what useful and beautiful crafts can become such at the first glance, unnecessary materials...
One creative couple share their ideas and videos for decorating furniture, and other practical advice. I'd like to share with you these wonderful finds!
It turns out, you can easily make pictures with their hands from improvised materials. Of many small wooden pieces, we create incredibly beautiful decoration for the home.
How to make the picture your will need rugamite
Manufacturer
The whole process can be seen in an entertaining video.
Most likely, a picture on one nail will not hang here you need to be creative. Otherwise, make the picture smaller or use less wooden bars. The result will surprise you!
Show your friends this amazing video! The real miracle out of nothing...
One creative couple share their ideas and videos for decorating furniture, and other practical advice. I'd like to share with you these wonderful finds!
It turns out, you can easily make pictures with their hands from improvised materials. Of many small wooden pieces, we create incredibly beautiful decoration for the home.
How to make the picture your will need rugamite
- wooden frame
- a piece of laminate
- wooden bars
- pieces of colored transparent glass
- garland
- gloss paint
- glue
Manufacturer
- To start, cut the wooden frame, shiny paint.
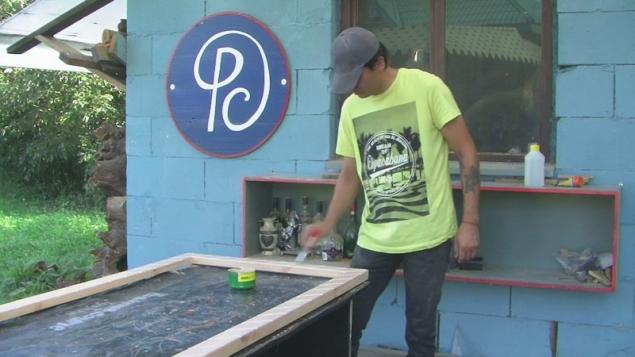
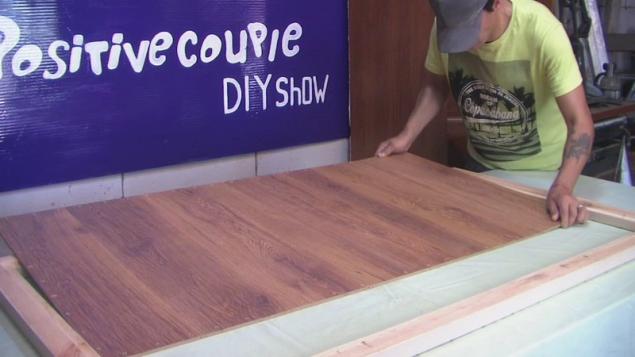
- Then install and fasten the rear wall which may serve as a remaining after the repair of a piece of conventional laminate.
- Now get stale after repair wood residues. The more varied the pieces, the more interesting it will be a picture. In the absence of suitable material, can produce such bars personally.
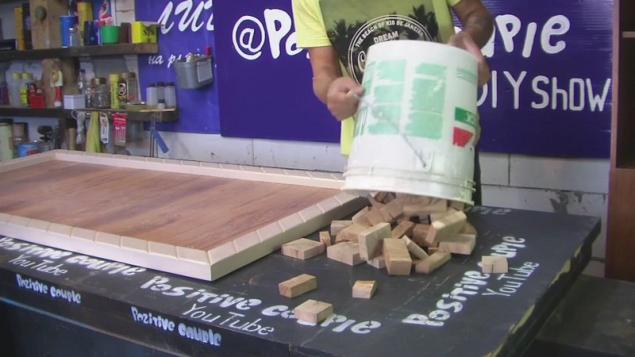
- Circle with a pencil an arbitrary region in the center of the picture. This place is still empty. Then start filling in the square outside the Central region. With glue lining pieces of wood to the base. Glue not be sorry!
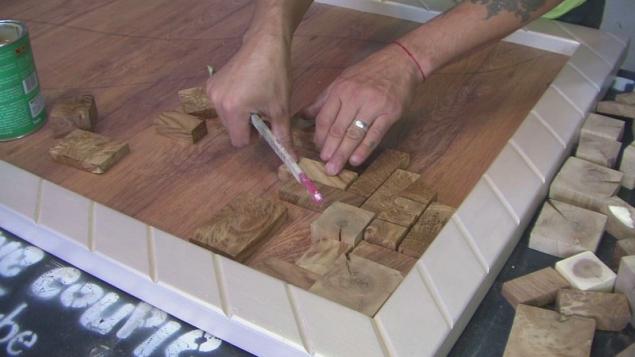
- At this stage you have to work hard. Wooden pieces should be held precisely according to the contour, forming a smooth curve line. You might have to adjust a few pieces to the desired shape.
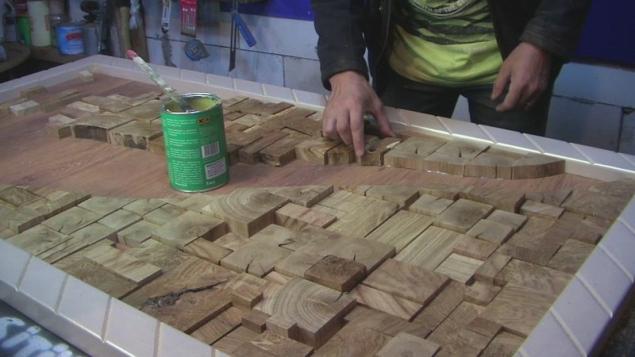
- Now cut along the lines and affix the garland. Already looks good!
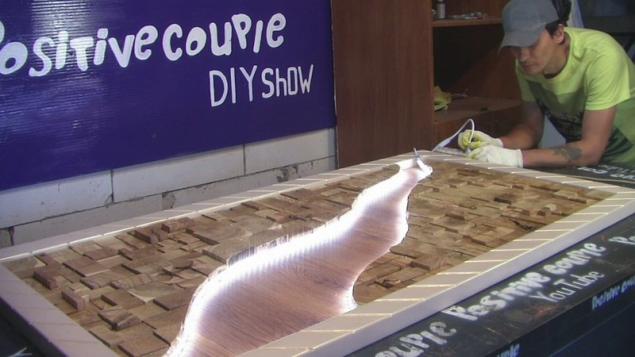
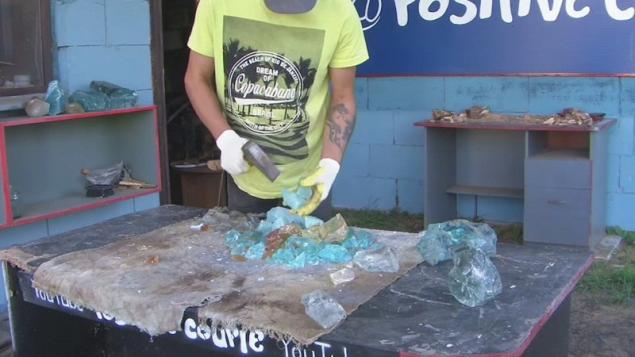
- The highlight will be the colorful glass rocks that will fill the space in the center of the picture. If you have pieces of glass just big size, no problem, grind them with a hammer. Then attach them to the picture with glue.
- That turned crystal stream. Hopefully, garland will last a long time.
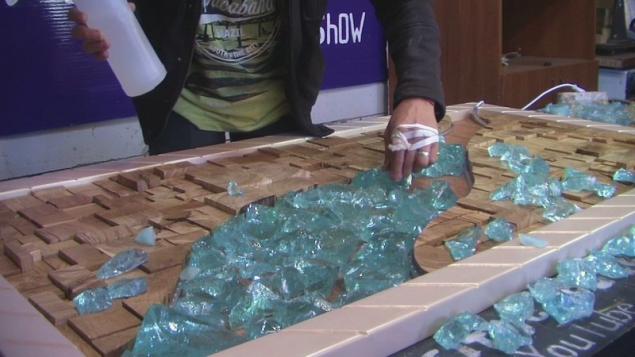
- Paintings for the interior with your own hands can create every! Looks fantastic...
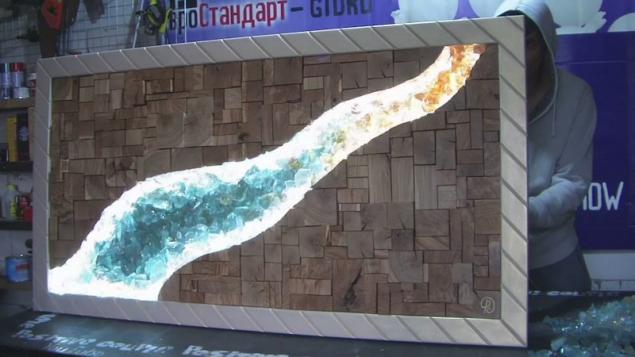
The whole process can be seen in an entertaining video.
Most likely, a picture on one nail will not hang here you need to be creative. Otherwise, make the picture smaller or use less wooden bars. The result will surprise you!
Show your friends this amazing video! The real miracle out of nothing...
How to make homemade Turkish delight: gentle, soft, slightly chewy...
15 inscriptions on the labels, which can not argue


