816
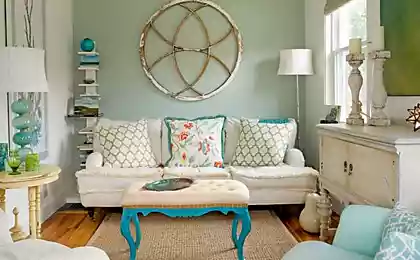
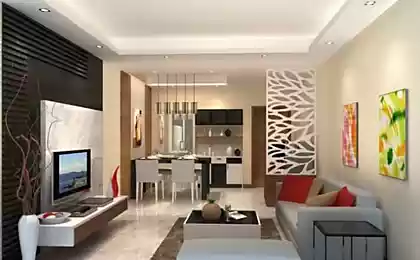
Needlework in the living room ..
Continuing its series of posts on the phased renovation of the apartment: a kitchen and a bedroom.
Renovation has been going on for the second year, and the hallway and bathroom are not done yet ... I want to tell you about the repair in the living room. As long as the budget is the most costly part of the apartment. But there was and crafts to the maximum !!! )
47 photo.
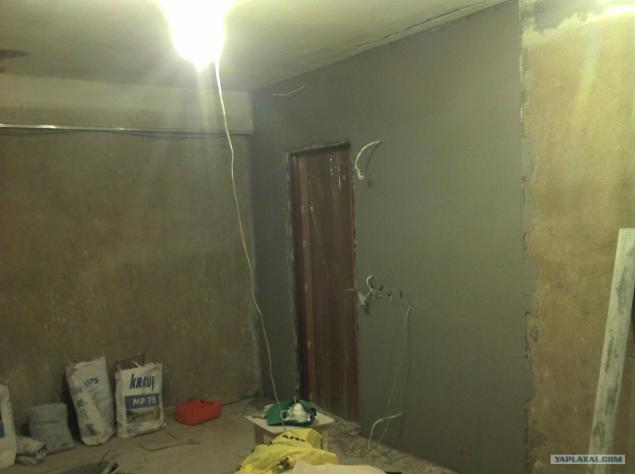
And so ... walls cleared of old wallpaper, made new wiring (during shtrobleniya walls to shoot is not very convenient, so the process behind the scenes)
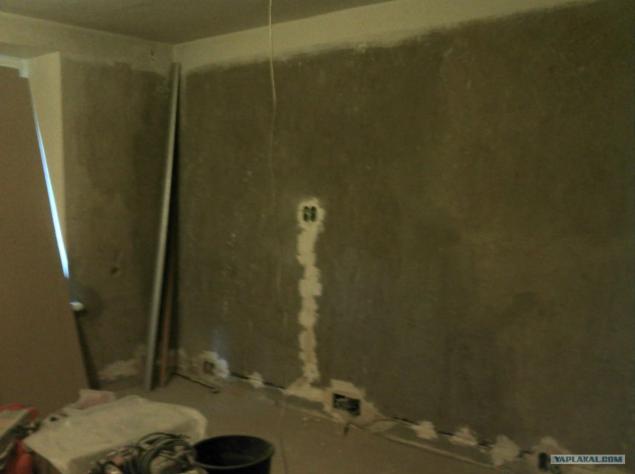
The unit switches and sockets have a future bar. There will be a computer and various other outlets Soup ... so ... Well, with the stock and switches on all alleged liniii lighting.
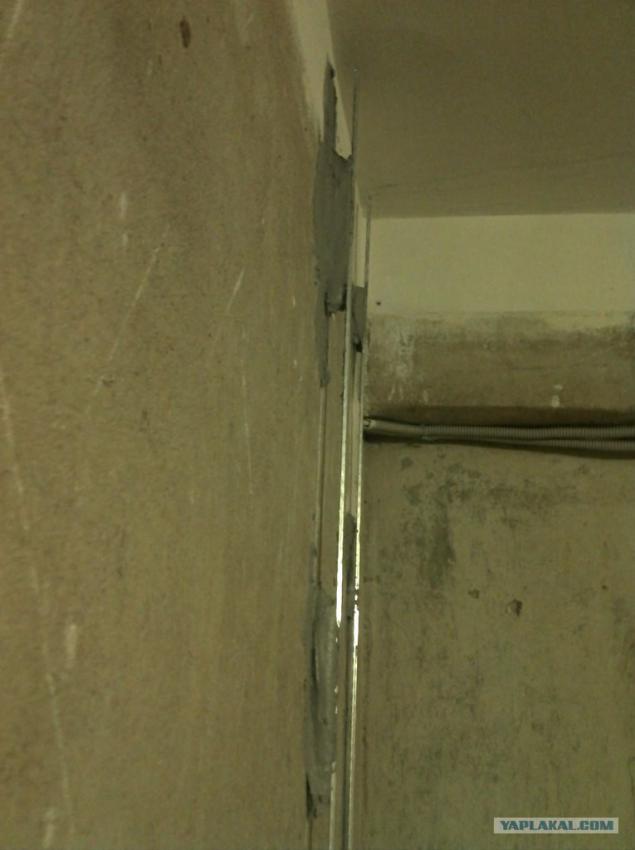
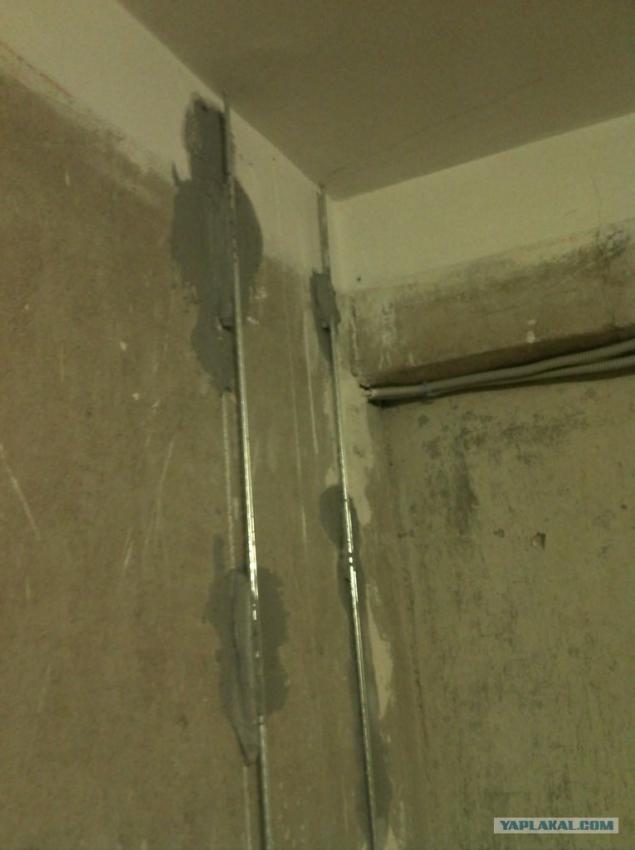
3. Install Enclosures on the cast, and they also gave the wires in the walls

4. It is not very similar to the project ... :)

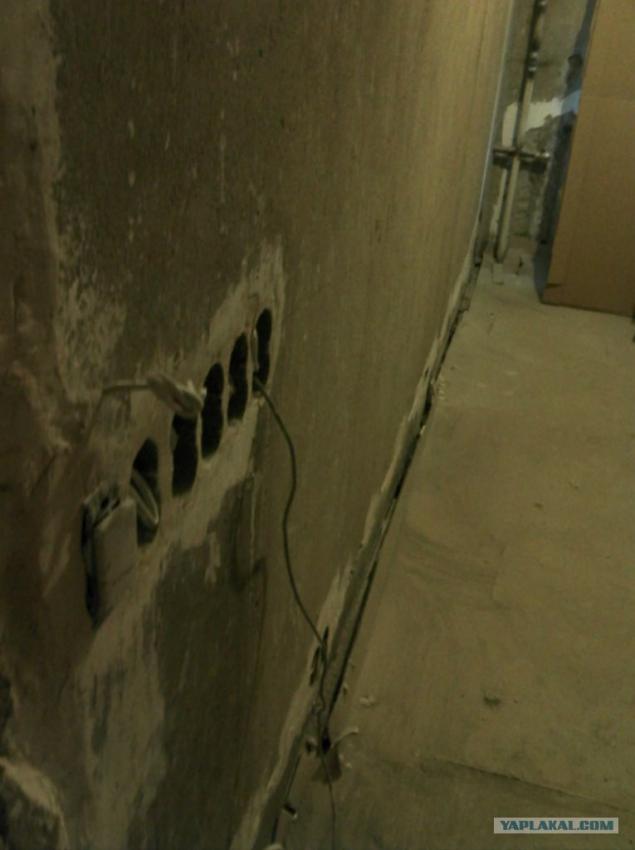
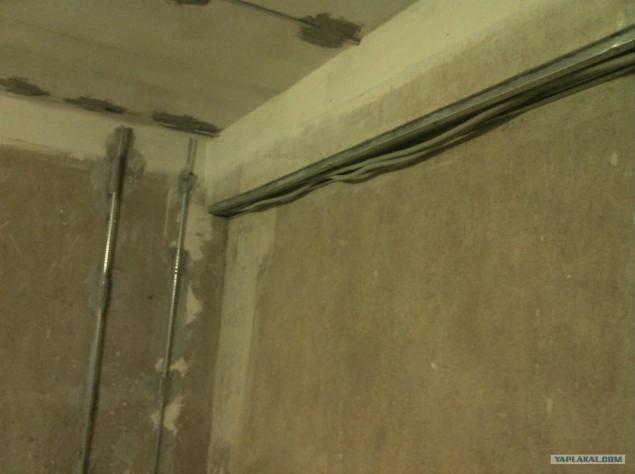
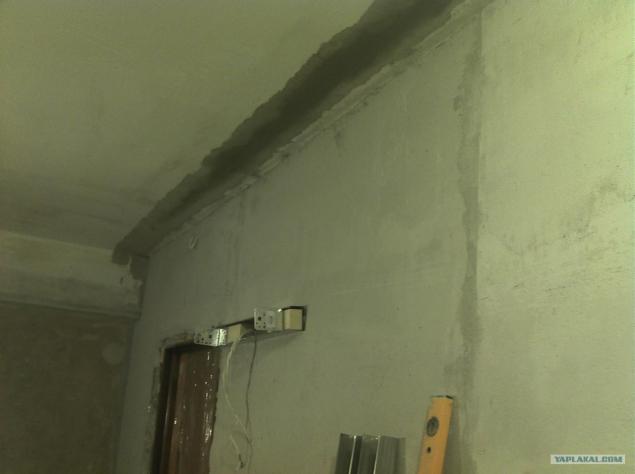
5. Prepare the wall for plastering. Brought plaster beacons. The walls were quite straight)
Air-conditioning in the room, too, and has been busy with his reinstallation there was no desire. Therefore, temporarily suspend it from the ceiling. The route from the air conditioner is hidden in the wall.
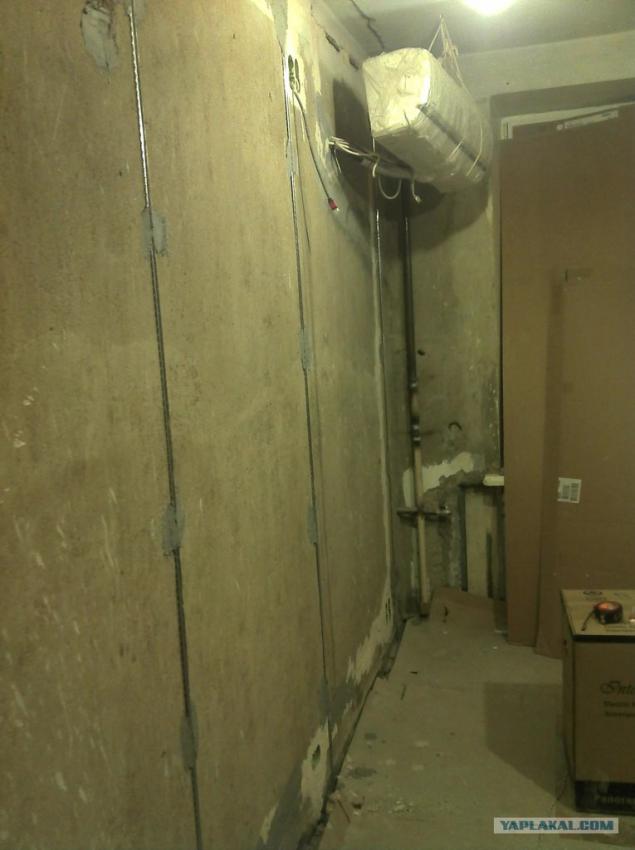
6. One of the walls, unfortunately in the wrong place where there should be a closet, was very much a vertical curve ... It is necessary to align the doors closed properly.
7.
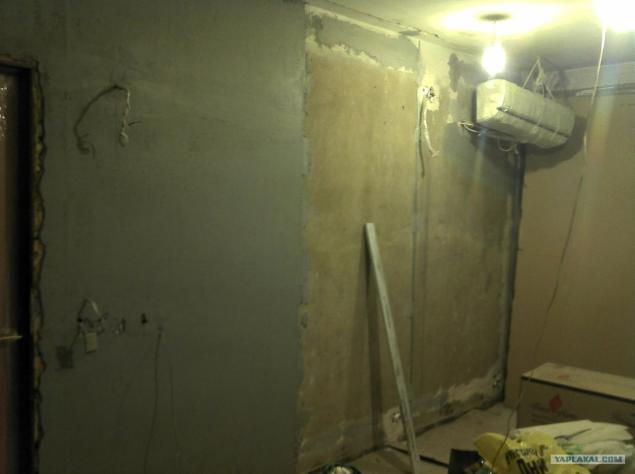
8. In the living room, like the kitchen and in the bedroom, too, was gouged winter refrigerator. But it decided not to make the size of the locker ... niche perfectly suited for the electric fireplace! Of course, the location under the window is not very "natural" for the hearth ... But does not take place)
9. Getting plastered wall, and realize that the rest of the bedroom stucco we do not hvatatet)) throws the case for a rug and go for materials))
10
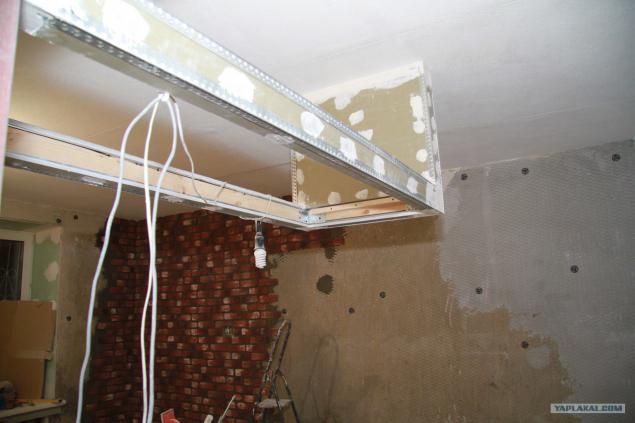
11. In the meantime, figure out how much it is necessary to plaster ...... and we understand that there, where there should be wardrobe. even the ceiling curve !!! Drop to the floor 2cm ...
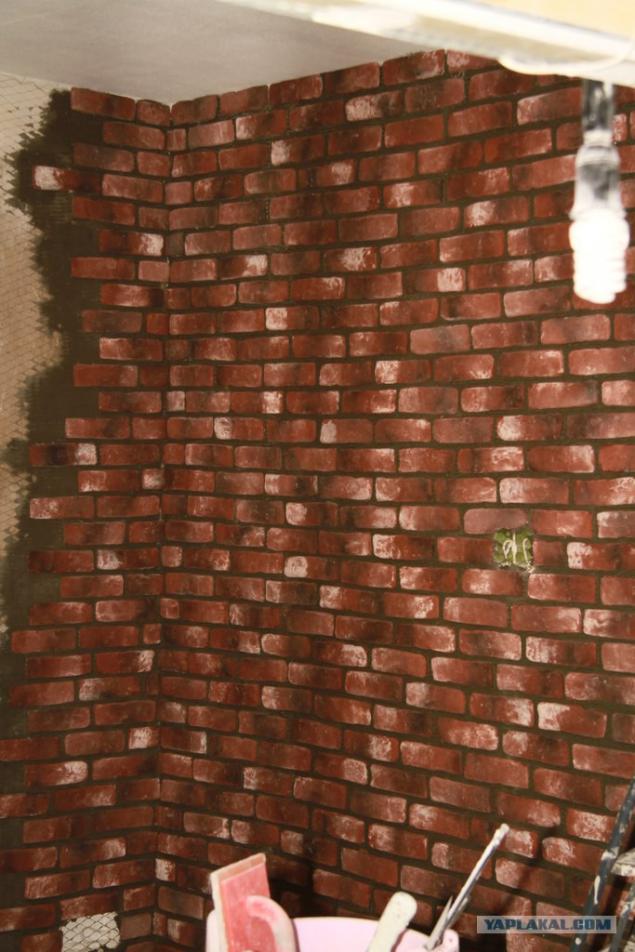
12. Doshtukaturit need only one wall. Other walls will be lined with bricks
13. It is still not very similar to the project ...

14. zapilivaem portal under the fireplace plasterboard. Then oblitsuem his brick, therefore soared particularly about the number of joints
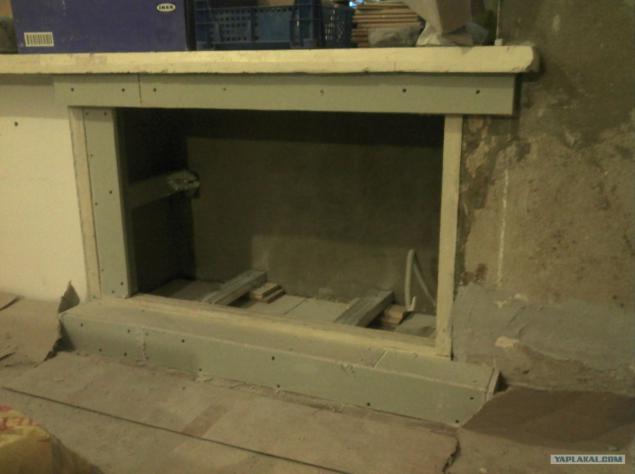
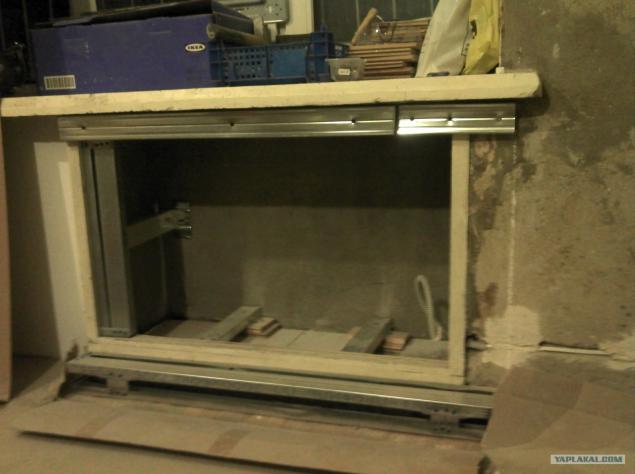
15. Due to the curve of the ceiling had to be aligned, for the wardrobe does not tolerate difference in height between the floor and ceiling to 2cm. Immediately visible to the mortgage under the bar shelf. Inside the metal profile will still be a piece of wood for structural rigidity
16. Mate for bar shelves. Fix anchor bolts for reliability)
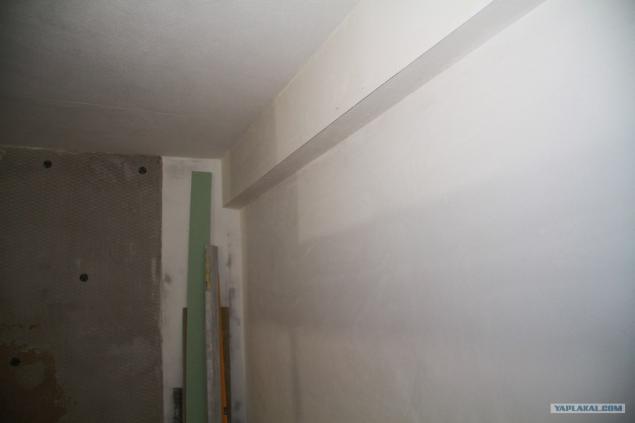
Here it is clear that the joint plates on the ceiling closed up a special plaster, prevents cracking ... I do not remember the name, too, Knauf does she like exterior cement-based
17.
18.
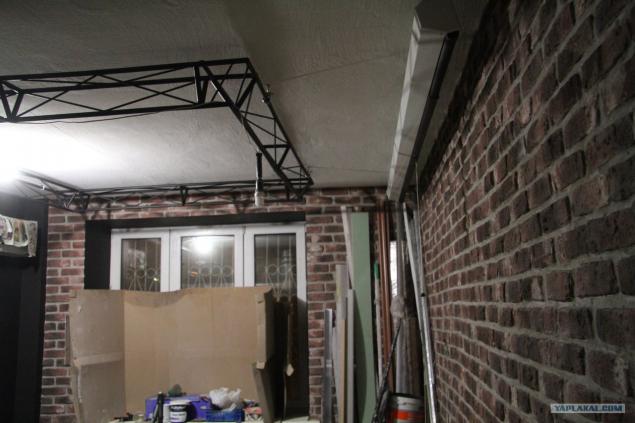
19. Begin laying bricks. Put on the angle, in the Extension ... Usual brickwork. Special flatness does not require - the curve, the more naturally), but within reason)
Since old plaster decided not to shoot (in order not to get a bunch of garbage and dust), and kept it not always very reliable, it is in any case strengthened its reinforcing wire mesh
Here we have seen the skeleton bar shelves. At first I thought it just plaster, tile or lay-mazaikoy ... but then decided to sew her tree ...

20. To use reinforced masonry stone tile adhesive
21.
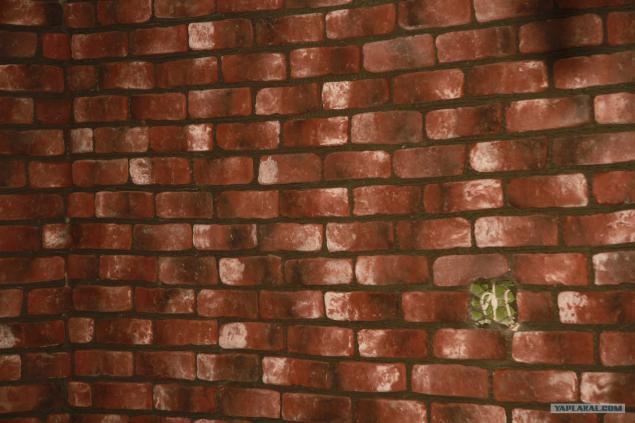
22. The niche in which is built-in closet just shpaklyuchem, then pasted to the wallpaper. Especially not soared on the perfectly smooth surface. For still in the closet is not visible)
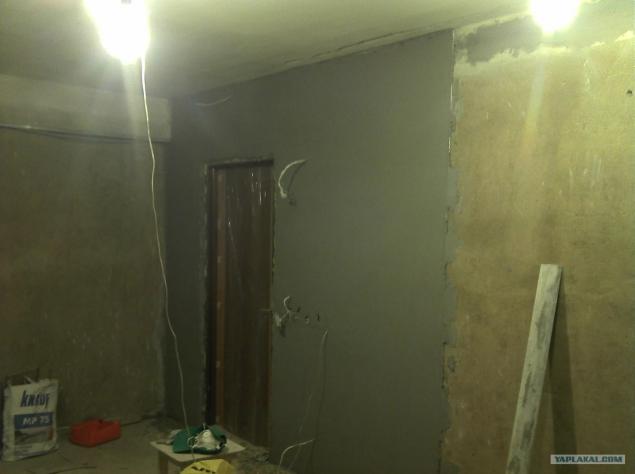
23. shpaklyuem painted walls in two layers and perfectly licks that shone like a cat ...
24. The ceiling trim textured paint, simulating paint mixture with coarse sand ... try to do crooked, so add carelessness and naturalness «loft»)
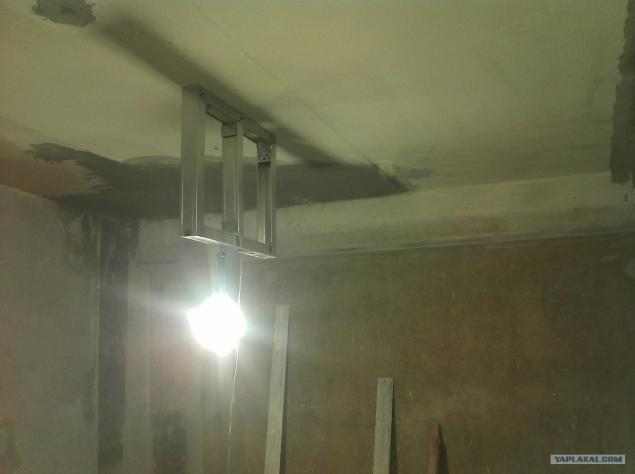
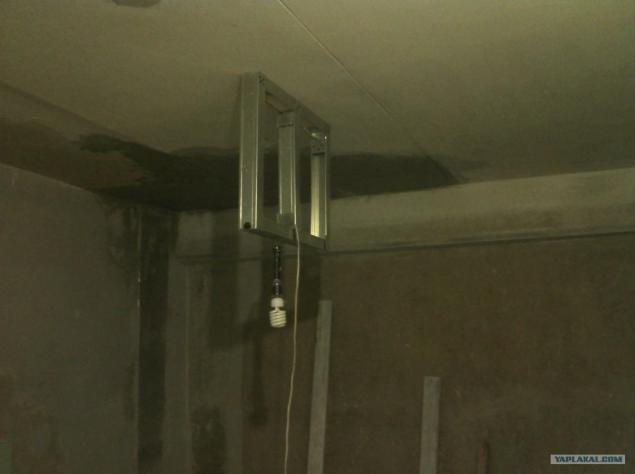
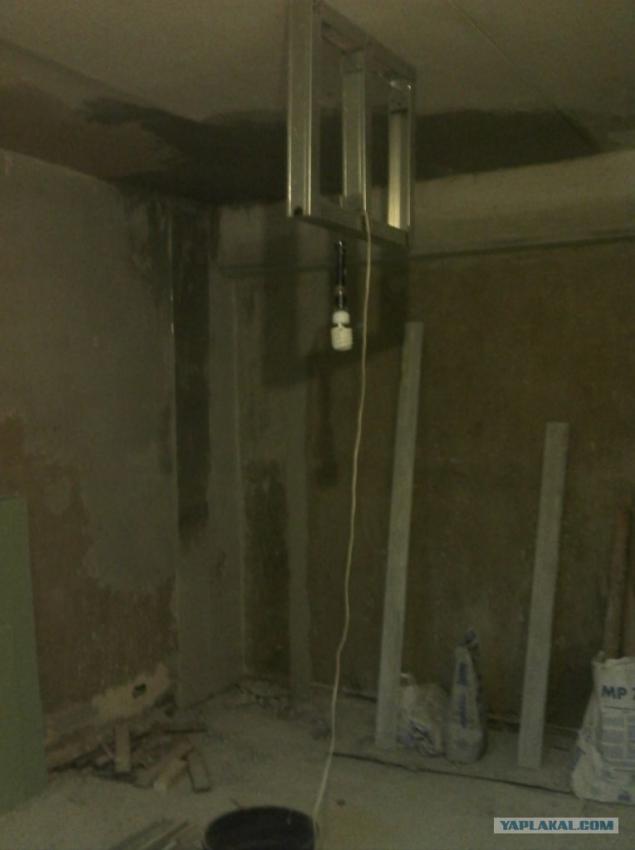
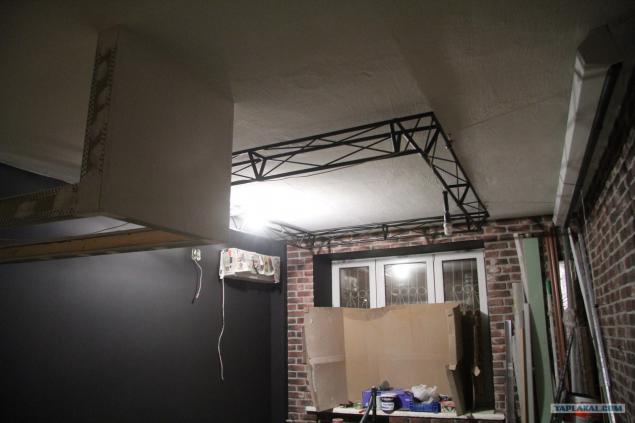
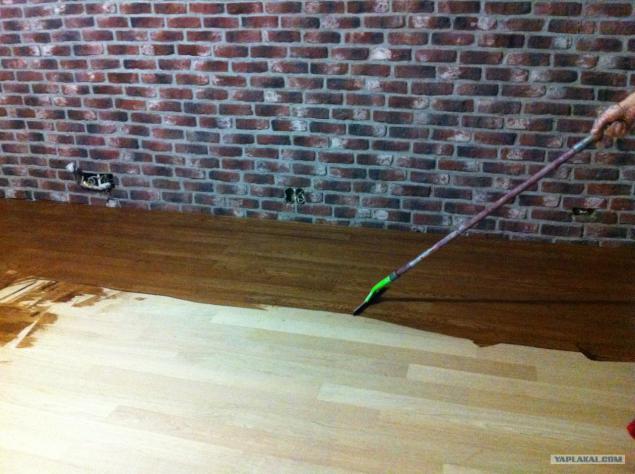
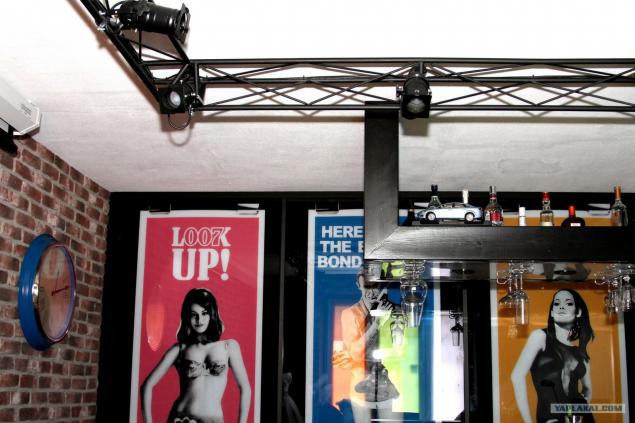
25. Here you can see how crooked imposed textured paint))) And another rukozhopnoe creation! Farm for theatrical luminaires) As banal design chandelier did not want to, and it would prevent the projector (described below). So we decided to do such a thing here ...
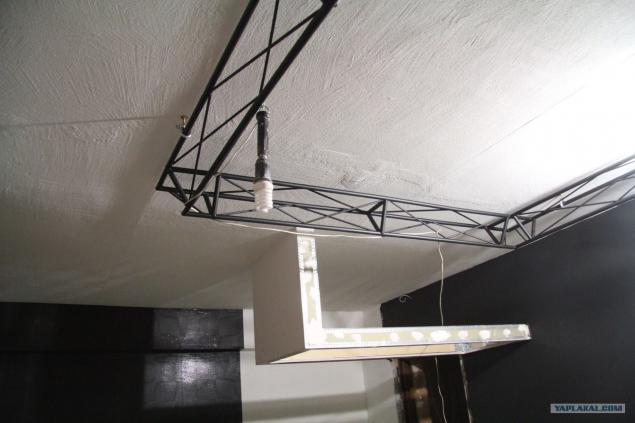
Process its manufacture is unfortunately not filmed ((Therefore describe with words and dalshe be a photo of the finished product. The design was originally drawn in the "paper" in Corele in order to obtain the exact dimensions for its further production and calculation of the required material. It turned out 2 * 3 meters. There were purchased Aluminum tube with a diameter of 2 cm (main tube) and 8 mm (for the ribs). Next tubes were poppileny drawings miter saw in the required amount ... and then, all of these Circuits welded together using a propane-butane torch and solder flux for aluminum (you can buy in stores, selling all kinds of consumables for the repair of refrigerators). Complicated is nothing special, but because of the large number of spot welds - it's pretty long and boring) do it all directly into the room.
Then the whole thing was painted with primer for aluminum and paint from balonchika. To the ceiling fixed on the anchor 4. The whole weight of the construction came about 5 kg.

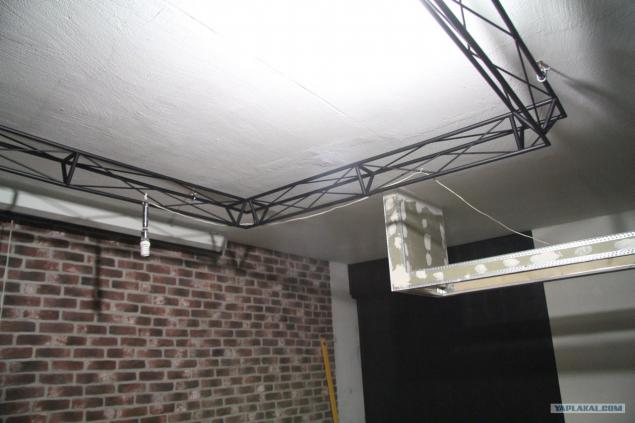
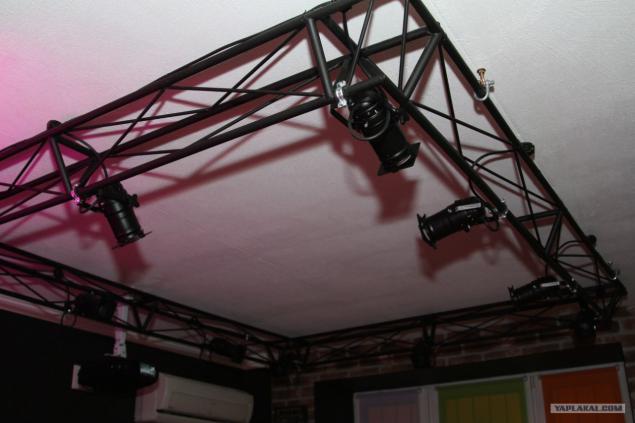
26. Farm for lamps and a huge screen (3 m wide) for home theater
27. The plaster wall painted black. The cabinet sticking black wallpaper.
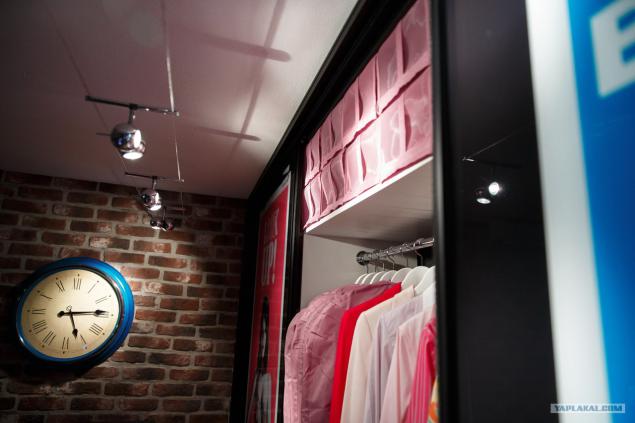
Farm, weighs 5kg in this mounting stand my weight (80kg) safely. Carried out dynamic tests)))
28.
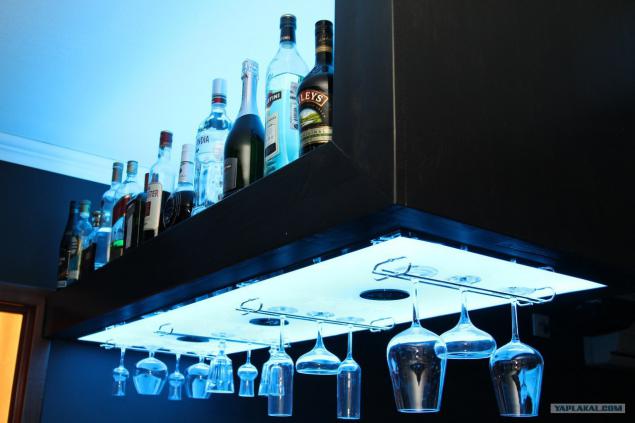
29.

30. Here you can see the grout joints of bricks. For grout mix 2 parts white tile adhesive and 1 part of the gray ... that's got such a light gray mass) Grouting, unlike masonry, dreary affair unreal !!! For it had from the "pastry" bag gently to fill all the seams with a solution, trying not to get himself a brick ... and then another jointing trowel to level it all ...
31. They put floorboard. The same as in the bedroom: brushing Plank oak uncoated. Under the draft floor - vlagostoynye chipboard 16mm (under it was a crate from the boards, because it was in good condition and quite flat, left her with lags)
32.
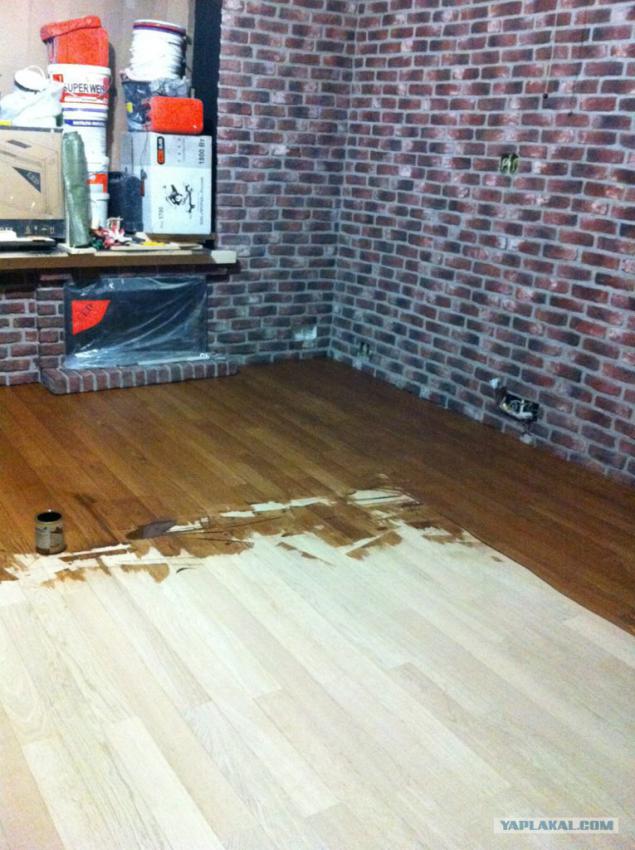
33. began to paint fresh oak parketik - Oil OSMO 3143 cognac in a single layer
34. Oil OSMO 3143, applied a rubber spatula - fast and easy :) On 18m were just 0, 9l oil. Then it all day and dries the top layer 1 has a colorless oil with a hard wax. Feels like a lacquer does not compare! Just before the shivering pleasure to walk barefoot on this floor and feel real wood)
Another man-made object in the room - a closet. Pre was painted drawing with exact dimensions, the layout of the shelves, boxes and other equipment. Then they estimated how much it will cost, if you order the "experts" and ate a bit ... oh ... It was decided to make themselves fully. As a result, with higher quality components, saved about 130t.r.
Unfortunately, the build process also did not get into the lens (((
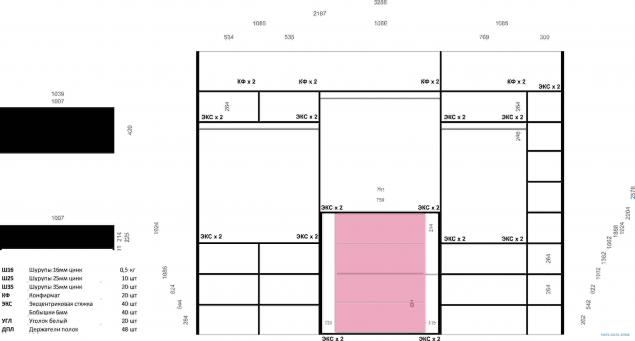
35. That the internal equipment. It was commissioned by sawing chipboard and edging his 2mm edge at the ends, making it look much more attractive.
36. So, too, the bar and all washed down ... On the sides of the cabinet made false black sidewall of 24mm chipboard. also cut to order.
37.
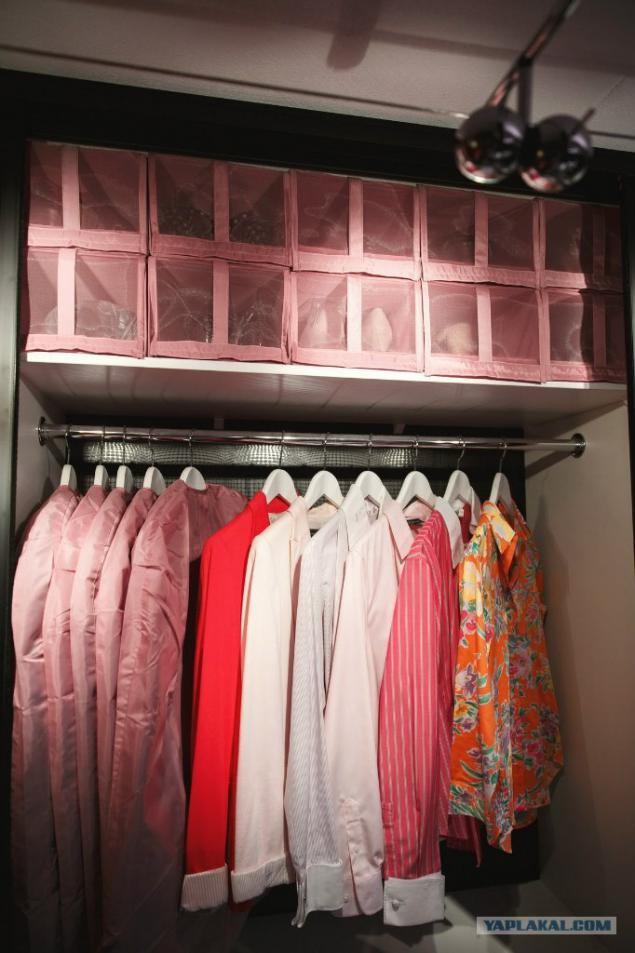
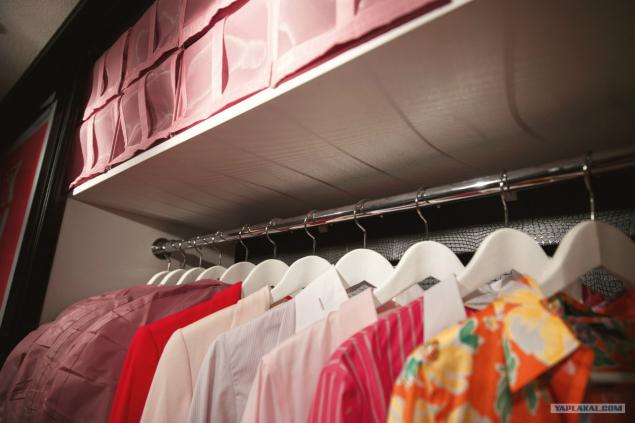
38. And the whole cabinet as a whole. For doors it was purchased all the necessary accessories (rails, frames, brushes, seals for glass and rollers). The glass itself with photo printing has been ordered from the advertisers, it immediately cut to size. All other accessories cut miter saw and assembled on site.
39. Farm with theatrical spotlights assembly
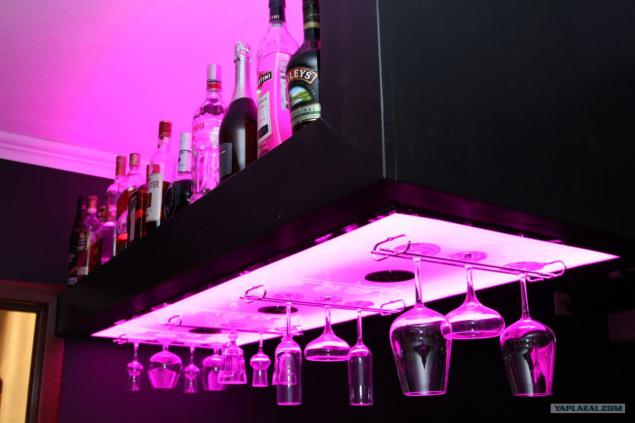
40. Bar Regiment backlit
41.
42. Bar table, he is a computer. The photo is only a piece of ... compiled from Ikea kitchen cabinets and countertops made of furniture board covered with black lacquer.
Source:
Renovation has been going on for the second year, and the hallway and bathroom are not done yet ... I want to tell you about the repair in the living room. As long as the budget is the most costly part of the apartment. But there was and crafts to the maximum !!! )
47 photo.
And so ... walls cleared of old wallpaper, made new wiring (during shtrobleniya walls to shoot is not very convenient, so the process behind the scenes)

The unit switches and sockets have a future bar. There will be a computer and various other outlets Soup ... so ... Well, with the stock and switches on all alleged liniii lighting.

3. Install Enclosures on the cast, and they also gave the wires in the walls

4. It is not very similar to the project ... :)

5. Prepare the wall for plastering. Brought plaster beacons. The walls were quite straight)
Air-conditioning in the room, too, and has been busy with his reinstallation there was no desire. Therefore, temporarily suspend it from the ceiling. The route from the air conditioner is hidden in the wall.

6. One of the walls, unfortunately in the wrong place where there should be a closet, was very much a vertical curve ... It is necessary to align the doors closed properly.

7.

8. In the living room, like the kitchen and in the bedroom, too, was gouged winter refrigerator. But it decided not to make the size of the locker ... niche perfectly suited for the electric fireplace! Of course, the location under the window is not very "natural" for the hearth ... But does not take place)

9. Getting plastered wall, and realize that the rest of the bedroom stucco we do not hvatatet)) throws the case for a rug and go for materials))

10

11. In the meantime, figure out how much it is necessary to plaster ...... and we understand that there, where there should be wardrobe. even the ceiling curve !!! Drop to the floor 2cm ...

12. Doshtukaturit need only one wall. Other walls will be lined with bricks

13. It is still not very similar to the project ...

14. zapilivaem portal under the fireplace plasterboard. Then oblitsuem his brick, therefore soared particularly about the number of joints

15. Due to the curve of the ceiling had to be aligned, for the wardrobe does not tolerate difference in height between the floor and ceiling to 2cm. Immediately visible to the mortgage under the bar shelf. Inside the metal profile will still be a piece of wood for structural rigidity

16. Mate for bar shelves. Fix anchor bolts for reliability)
Here it is clear that the joint plates on the ceiling closed up a special plaster, prevents cracking ... I do not remember the name, too, Knauf does she like exterior cement-based

17.

18.

19. Begin laying bricks. Put on the angle, in the Extension ... Usual brickwork. Special flatness does not require - the curve, the more naturally), but within reason)
Since old plaster decided not to shoot (in order not to get a bunch of garbage and dust), and kept it not always very reliable, it is in any case strengthened its reinforcing wire mesh
Here we have seen the skeleton bar shelves. At first I thought it just plaster, tile or lay-mazaikoy ... but then decided to sew her tree ...

20. To use reinforced masonry stone tile adhesive

21.

22. The niche in which is built-in closet just shpaklyuchem, then pasted to the wallpaper. Especially not soared on the perfectly smooth surface. For still in the closet is not visible)

23. shpaklyuem painted walls in two layers and perfectly licks that shone like a cat ...

24. The ceiling trim textured paint, simulating paint mixture with coarse sand ... try to do crooked, so add carelessness and naturalness «loft»)

25. Here you can see how crooked imposed textured paint))) And another rukozhopnoe creation! Farm for theatrical luminaires) As banal design chandelier did not want to, and it would prevent the projector (described below). So we decided to do such a thing here ...
Process its manufacture is unfortunately not filmed ((Therefore describe with words and dalshe be a photo of the finished product. The design was originally drawn in the "paper" in Corele in order to obtain the exact dimensions for its further production and calculation of the required material. It turned out 2 * 3 meters. There were purchased Aluminum tube with a diameter of 2 cm (main tube) and 8 mm (for the ribs). Next tubes were poppileny drawings miter saw in the required amount ... and then, all of these Circuits welded together using a propane-butane torch and solder flux for aluminum (you can buy in stores, selling all kinds of consumables for the repair of refrigerators). Complicated is nothing special, but because of the large number of spot welds - it's pretty long and boring) do it all directly into the room.
Then the whole thing was painted with primer for aluminum and paint from balonchika. To the ceiling fixed on the anchor 4. The whole weight of the construction came about 5 kg.

26. Farm for lamps and a huge screen (3 m wide) for home theater

27. The plaster wall painted black. The cabinet sticking black wallpaper.
Farm, weighs 5kg in this mounting stand my weight (80kg) safely. Carried out dynamic tests)))

28.

29.

30. Here you can see the grout joints of bricks. For grout mix 2 parts white tile adhesive and 1 part of the gray ... that's got such a light gray mass) Grouting, unlike masonry, dreary affair unreal !!! For it had from the "pastry" bag gently to fill all the seams with a solution, trying not to get himself a brick ... and then another jointing trowel to level it all ...

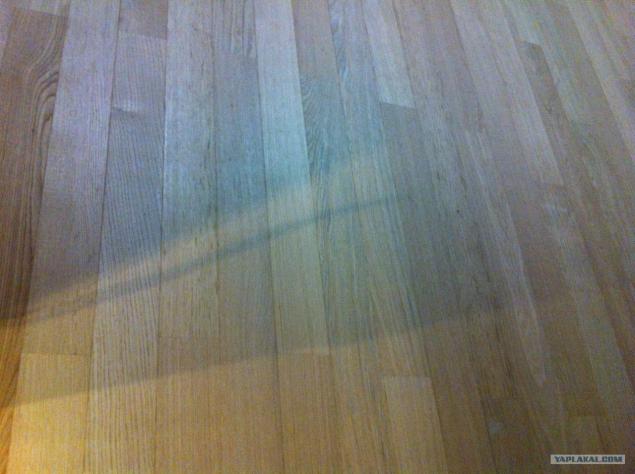
31. They put floorboard. The same as in the bedroom: brushing Plank oak uncoated. Under the draft floor - vlagostoynye chipboard 16mm (under it was a crate from the boards, because it was in good condition and quite flat, left her with lags)

32.

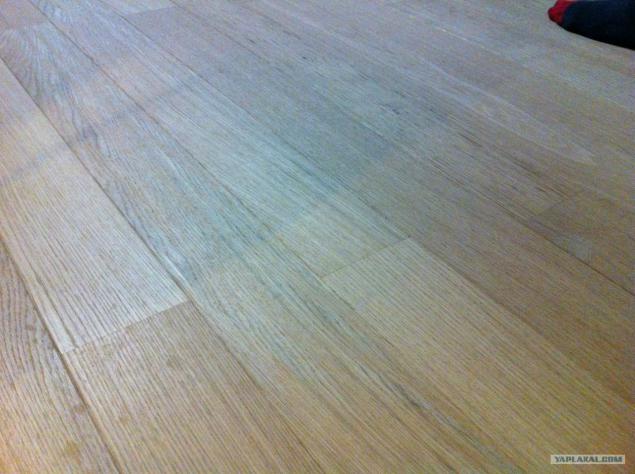
33. began to paint fresh oak parketik - Oil OSMO 3143 cognac in a single layer

34. Oil OSMO 3143, applied a rubber spatula - fast and easy :) On 18m were just 0, 9l oil. Then it all day and dries the top layer 1 has a colorless oil with a hard wax. Feels like a lacquer does not compare! Just before the shivering pleasure to walk barefoot on this floor and feel real wood)

Another man-made object in the room - a closet. Pre was painted drawing with exact dimensions, the layout of the shelves, boxes and other equipment. Then they estimated how much it will cost, if you order the "experts" and ate a bit ... oh ... It was decided to make themselves fully. As a result, with higher quality components, saved about 130t.r.
Unfortunately, the build process also did not get into the lens (((

35. That the internal equipment. It was commissioned by sawing chipboard and edging his 2mm edge at the ends, making it look much more attractive.

36. So, too, the bar and all washed down ... On the sides of the cabinet made false black sidewall of 24mm chipboard. also cut to order.

37.

38. And the whole cabinet as a whole. For doors it was purchased all the necessary accessories (rails, frames, brushes, seals for glass and rollers). The glass itself with photo printing has been ordered from the advertisers, it immediately cut to size. All other accessories cut miter saw and assembled on site.

39. Farm with theatrical spotlights assembly

40. Bar Regiment backlit

41.

42. Bar table, he is a computer. The photo is only a piece of ... compiled from Ikea kitchen cabinets and countertops made of furniture board covered with black lacquer.

Source: