904
Stereo with their hands
To begin with it was necessary amplifier for acoustics that have made New Year holidays
The meditations and reflections spent a few days and decided to make his own. I should add that experience with electronics I have zero knowledge in the field of electricity at the level of electrical-plumbing)). But as the desire to make himself right after bursting inside me I had to spend the day in search of the necessary theoretical material.
The requirement that I presented to the amplifier:
1 easy to produce (that even such a "maker" as I could make it)
2 power of at least 50 watts per channel into 4 ohm load
4 The sound quality with the lowest possible distortion
5 Budget 1500 rubles for its production (such as more dangerous to spend money, and suddenly will not work, it is better to buy ready for 7-8 then tr)
Shoveled a lot of information on this subject chose the well-known to many hams chip TDA7294 and LM3886.
Having read a lot of reviews settled on this "music» TDA7294:
Frequency response 20-20000 Hz
Coefficient of harmonics 0, 5%: Un = ± 27 V, RL = 4 Ohm 60W
PS I understand that some sort of guru of the soldering iron will shower me later stones, but even that could not I spoil the mood and pleasure from the manufacturer of the amplifier)) Maybe someone my work to motivate the manufacture of the same amplifier with minimal knowledge in this area as I have .
I'll start with the most labor-intensive - making body.
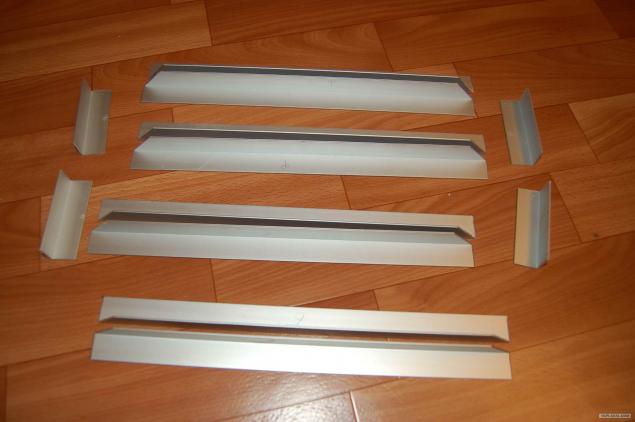
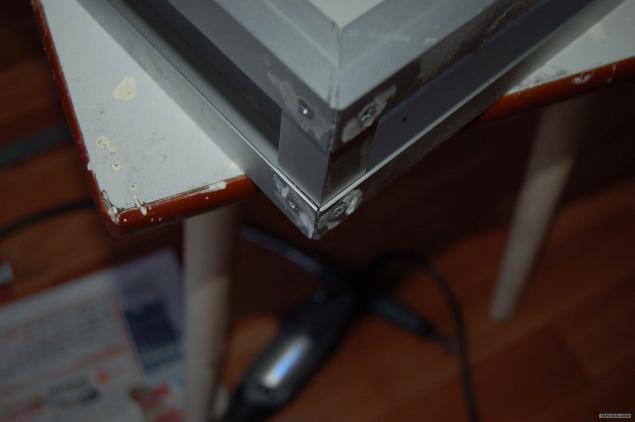
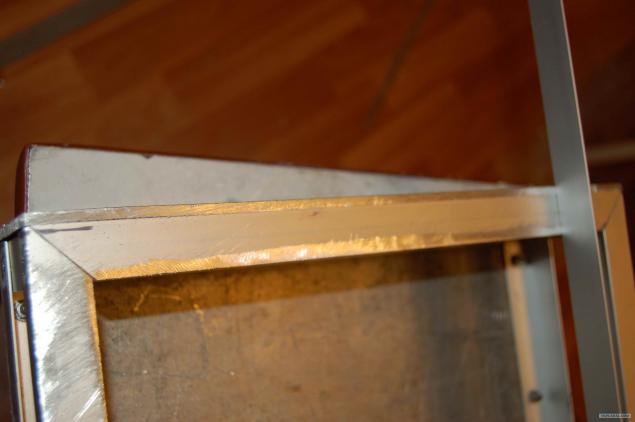
The first thing needed is a profile area of 15 mm. 3 meters just enough for me for the whole body and still have even a piece. Peel 300 mm rib and rack of 70 mm at the edges immediately grind a 45 degree angle (used in the usual triangle)
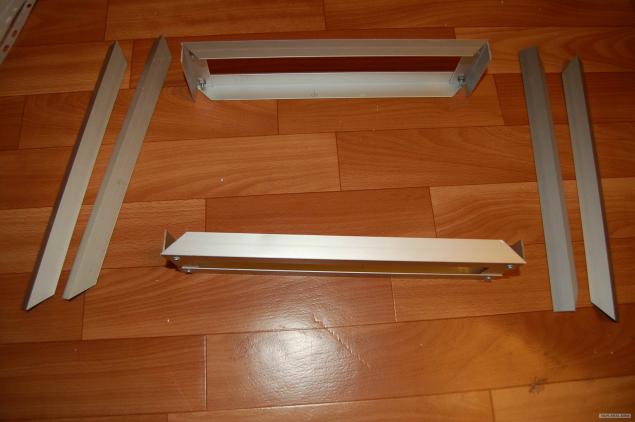
After starting slowly cut carcass maintaining all planes and angles of 90 degrees
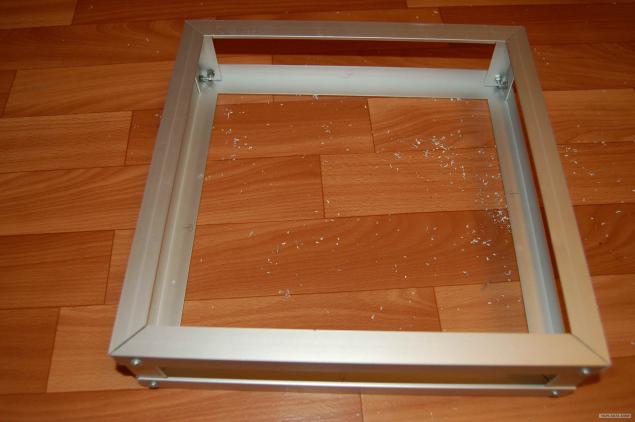
The frame is assembled on 4 mm bolts
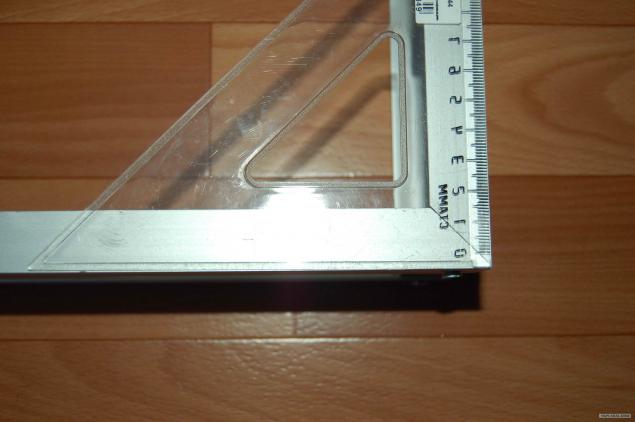
Constant monitoring of all the angles in the same triangle
After the building was pre-assembled it again disassembled and reams holes for cap screws hiding them in perspiration. Immediately and I grind them engraver
Next to the walls found in the garage of duralumin sheet 4 mm, at first delighted presenting a hard and heavy would be the case. But then during the processing of the sheet, especially a file, tired as hell
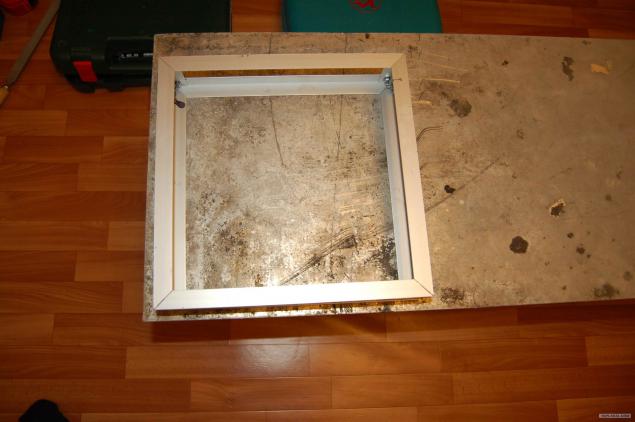
Well at least there in the household electric jigsaw)) And then the amplifier would not come out
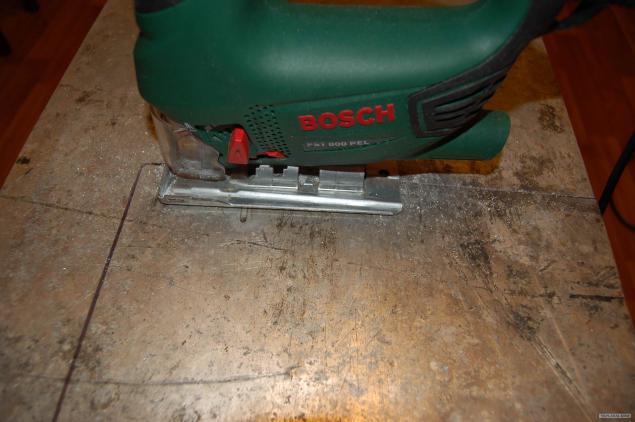
Leaving allowance for processing cut sheets on the details
Well, after a dull mechanical movement does not produce a file udovolstvie- grind aluminum plane corner. Constantly monitoring as flatness
By the end of Saturday night finally got to the bottom of the body, it hurts everyone, including the muscles of the buttocks from poluprisedaniya with a file)

I do not believe it! The case is assembled, start sanding the surface that would remove the oxide, mud and large scratches
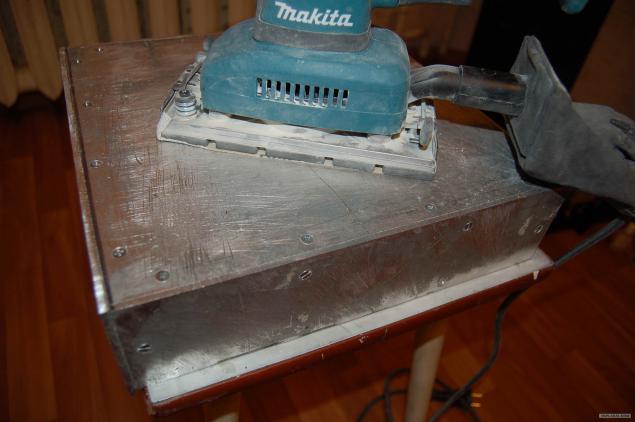
How then quickly finished in general. There were plans to bring the entire body of the amplifier to zero, but the scratches were too deep, and therefore decided to prepare the body for painting
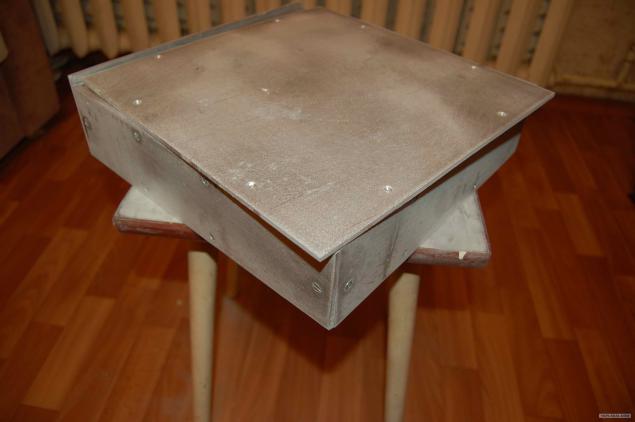
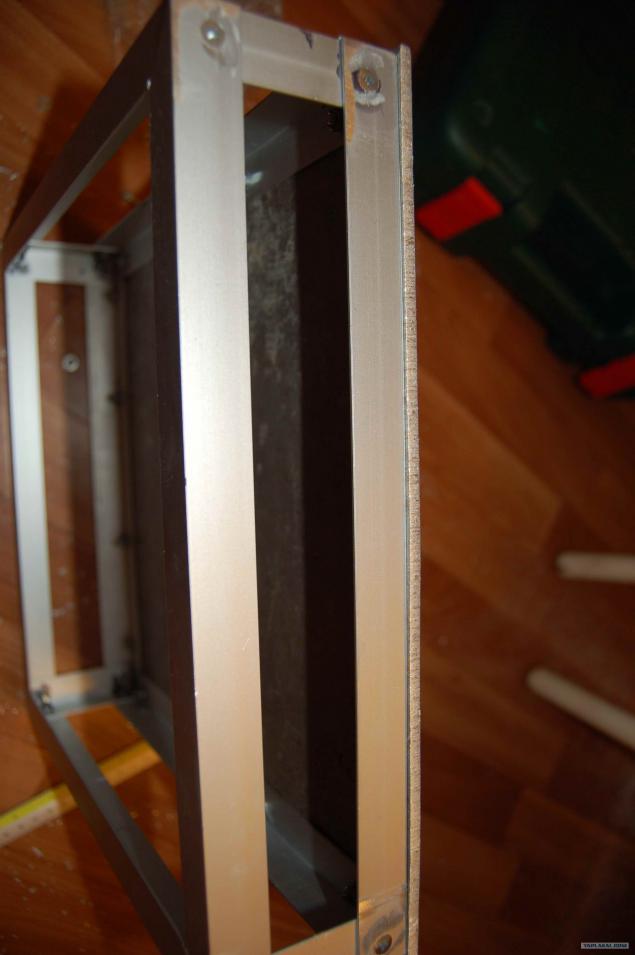
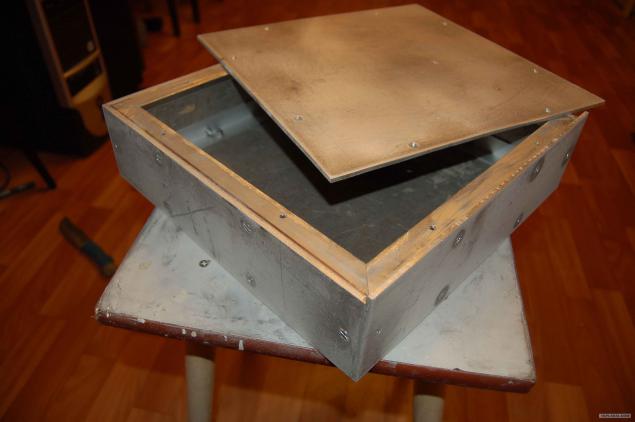
Inside view. The front panel of the body just above the plane of the lid, because it was conceived me
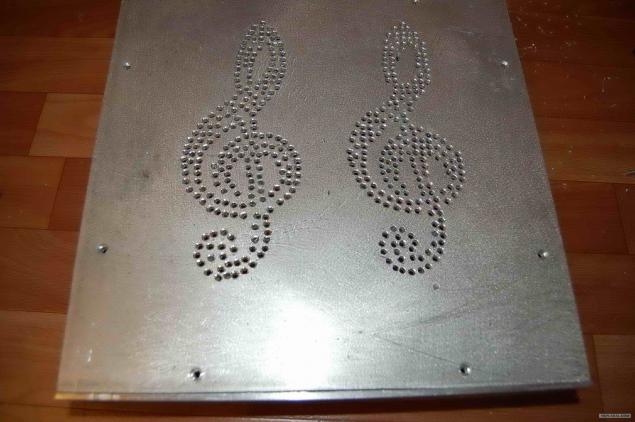
Immediately decided to ventilation, but what is wanted is not banal rectangular, that is nasverlil here)
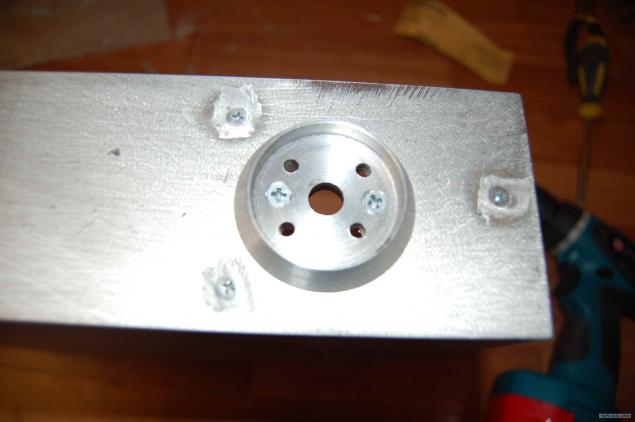
Machined on a lathe the volume knob and stand under it

The stand is screwed and drilled holes for the LEDs are the future of illumination
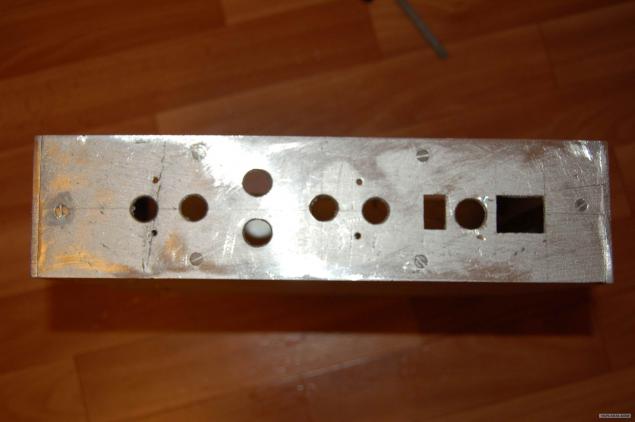
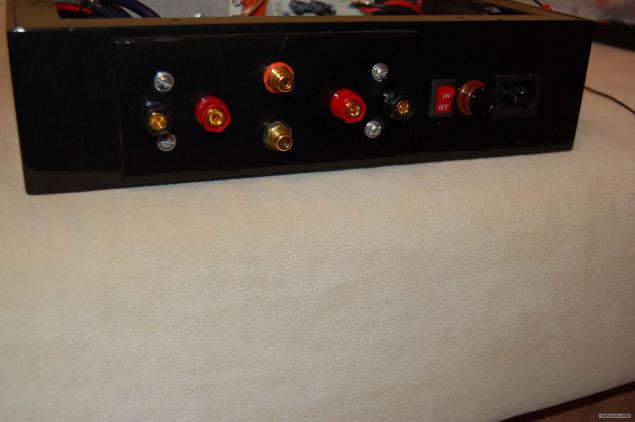
I take a back panel
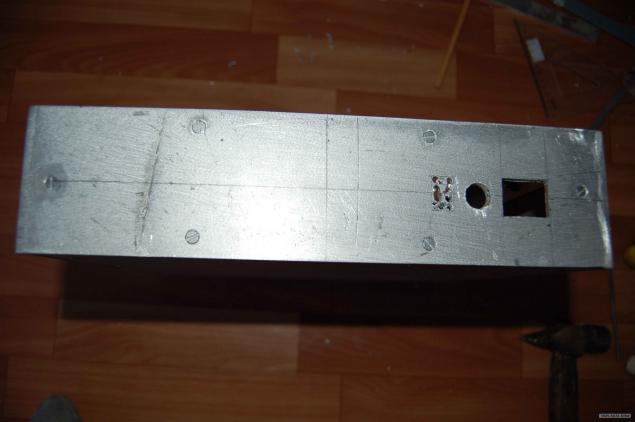
The rear panel outputs will not be attached directly on the shell itself and on glass fiber plate. Because the acoustics cables terminal blocks from the housing affordable and not isolated.
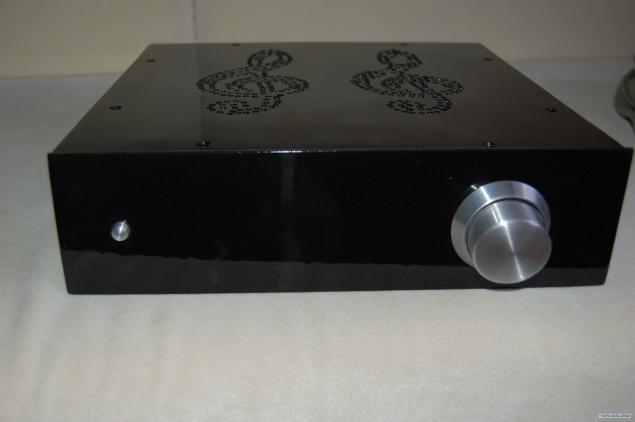
The filler bolt, priming and painting fix did not work, the camera in the garage at hand was not. Because a ready option. Just put in a pen and the power button, but would not fell, to assess the main design)
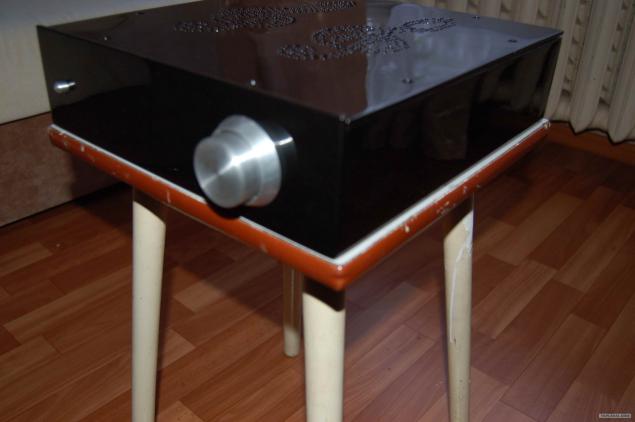
Slightly different perspective
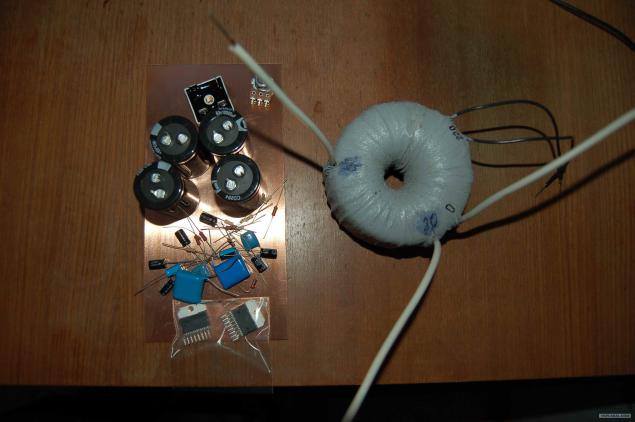
With body it was hard, but now everything is clear to me is incomprehensible and heavy-electrical parts! )) I'm going to buy radiobaraholku transformer and radiators for chip, as well as the store for the rest. Not knowing better than to make printed circuit boards bought photoresist film, it is inexpensive and you can try.
After studying the theory of laser technology of the iron on the foil caused
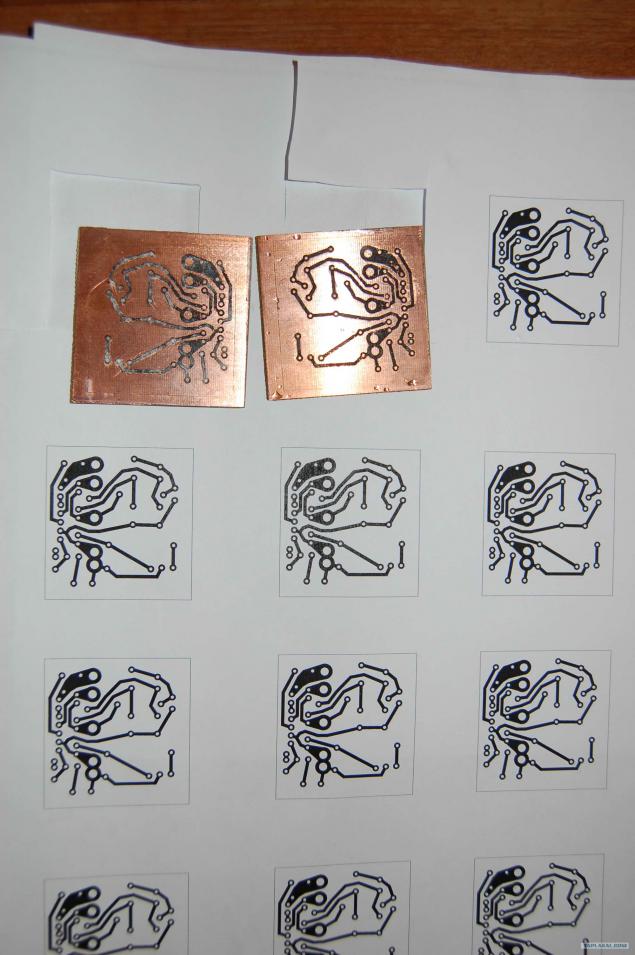
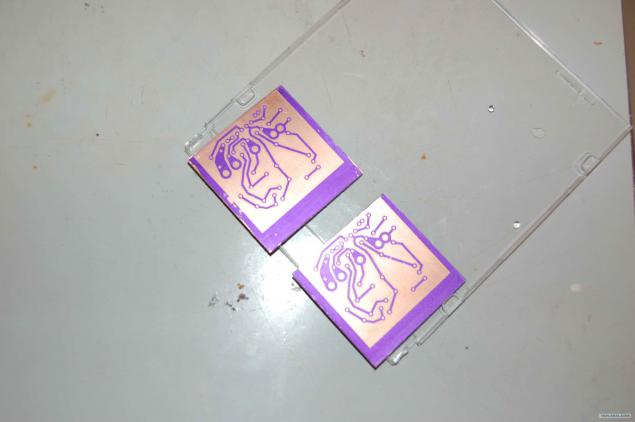
I decided to try the photoresist, the sky and the earth! And this krastota)) film was made in advance of the PCB to work with him

Actually, after the photoresist
Then I sit and payayu strictly according to the scheme on 10 times every check. Both units are ready amplifier. It turned out a little easier than I thought, but earned a curvature of the spine staring at the board)
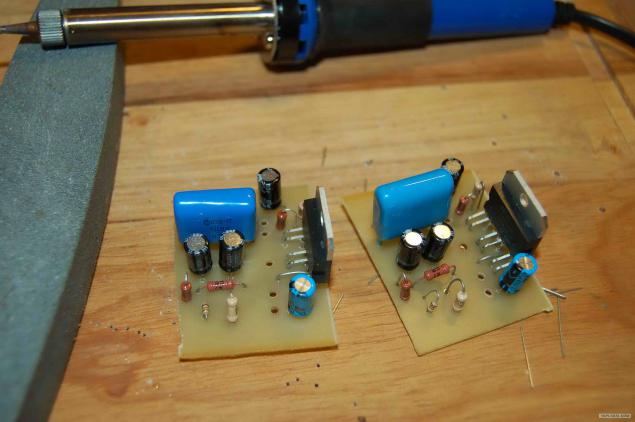
By connecting each location to test them, I was very surprised that it worked, even for a long time but soldered right
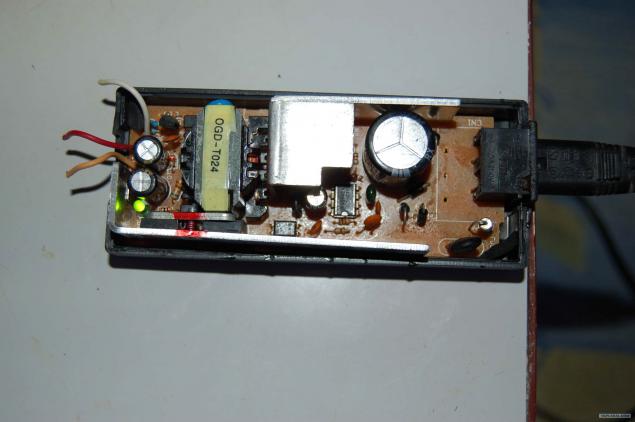
Found here is a power supply from the burnt external drive HDD, just supply +5 and +12 for LEDs and LED strip lighting. How to know what will come in handy in the future))
I begin to collect, nearing the night work of Stakhanov paying no heed to fatigue collect all the housing. Install commutation on the rear panel
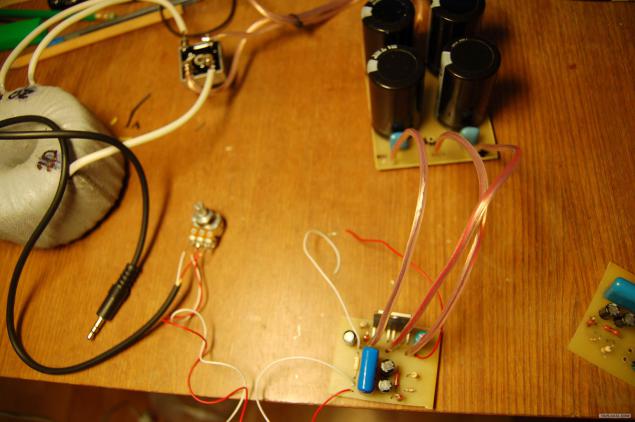
Well, of course the filling, chip fixed to the radiators through the plate mica and thermal grease (it's kind of like a minus out must be isolated) is also installed to protect the unit from DC acoustics and that this unit has a well-delay of 3 seconds gives you when you turn on the amplifier. Again, smart people on the forums advised "dummies»)
Posted in [mergetime] 1360164787 [/ mergetime]
Now, where was listening, my joy knew no bounds)) All the same, the first-born and even with a good sound
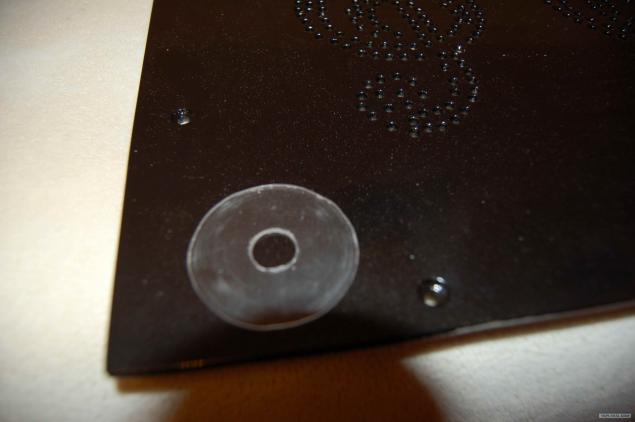
Begin to bring krasototu. a volume knob cut out the puck from orgstelka for uniform dispersion of light
Source:
The meditations and reflections spent a few days and decided to make his own. I should add that experience with electronics I have zero knowledge in the field of electricity at the level of electrical-plumbing)). But as the desire to make himself right after bursting inside me I had to spend the day in search of the necessary theoretical material.
The requirement that I presented to the amplifier:
1 easy to produce (that even such a "maker" as I could make it)
2 power of at least 50 watts per channel into 4 ohm load
4 The sound quality with the lowest possible distortion
5 Budget 1500 rubles for its production (such as more dangerous to spend money, and suddenly will not work, it is better to buy ready for 7-8 then tr)
Shoveled a lot of information on this subject chose the well-known to many hams chip TDA7294 and LM3886.
Having read a lot of reviews settled on this "music» TDA7294:
Frequency response 20-20000 Hz
Coefficient of harmonics 0, 5%: Un = ± 27 V, RL = 4 Ohm 60W

PS I understand that some sort of guru of the soldering iron will shower me later stones, but even that could not I spoil the mood and pleasure from the manufacturer of the amplifier)) Maybe someone my work to motivate the manufacture of the same amplifier with minimal knowledge in this area as I have .
I'll start with the most labor-intensive - making body.
The first thing needed is a profile area of 15 mm. 3 meters just enough for me for the whole body and still have even a piece. Peel 300 mm rib and rack of 70 mm at the edges immediately grind a 45 degree angle (used in the usual triangle)
After starting slowly cut carcass maintaining all planes and angles of 90 degrees

The frame is assembled on 4 mm bolts

Constant monitoring of all the angles in the same triangle

After the building was pre-assembled it again disassembled and reams holes for cap screws hiding them in perspiration. Immediately and I grind them engraver

Next to the walls found in the garage of duralumin sheet 4 mm, at first delighted presenting a hard and heavy would be the case. But then during the processing of the sheet, especially a file, tired as hell

Well at least there in the household electric jigsaw)) And then the amplifier would not come out

Leaving allowance for processing cut sheets on the details

Well, after a dull mechanical movement does not produce a file udovolstvie- grind aluminum plane corner. Constantly monitoring as flatness

By the end of Saturday night finally got to the bottom of the body, it hurts everyone, including the muscles of the buttocks from poluprisedaniya with a file)

I do not believe it! The case is assembled, start sanding the surface that would remove the oxide, mud and large scratches

How then quickly finished in general. There were plans to bring the entire body of the amplifier to zero, but the scratches were too deep, and therefore decided to prepare the body for painting

Inside view. The front panel of the body just above the plane of the lid, because it was conceived me

Immediately decided to ventilation, but what is wanted is not banal rectangular, that is nasverlil here)

Machined on a lathe the volume knob and stand under it

The stand is screwed and drilled holes for the LEDs are the future of illumination

I take a back panel

The rear panel outputs will not be attached directly on the shell itself and on glass fiber plate. Because the acoustics cables terminal blocks from the housing affordable and not isolated.

The filler bolt, priming and painting fix did not work, the camera in the garage at hand was not. Because a ready option. Just put in a pen and the power button, but would not fell, to assess the main design)

Slightly different perspective

With body it was hard, but now everything is clear to me is incomprehensible and heavy-electrical parts! )) I'm going to buy radiobaraholku transformer and radiators for chip, as well as the store for the rest. Not knowing better than to make printed circuit boards bought photoresist film, it is inexpensive and you can try.

After studying the theory of laser technology of the iron on the foil caused

I decided to try the photoresist, the sky and the earth! And this krastota)) film was made in advance of the PCB to work with him

Actually, after the photoresist

Then I sit and payayu strictly according to the scheme on 10 times every check. Both units are ready amplifier. It turned out a little easier than I thought, but earned a curvature of the spine staring at the board)

By connecting each location to test them, I was very surprised that it worked, even for a long time but soldered right

Found here is a power supply from the burnt external drive HDD, just supply +5 and +12 for LEDs and LED strip lighting. How to know what will come in handy in the future))

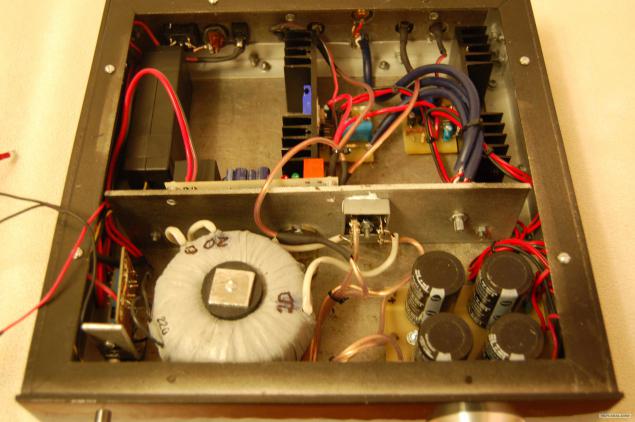
I begin to collect, nearing the night work of Stakhanov paying no heed to fatigue collect all the housing. Install commutation on the rear panel

Well, of course the filling, chip fixed to the radiators through the plate mica and thermal grease (it's kind of like a minus out must be isolated) is also installed to protect the unit from DC acoustics and that this unit has a well-delay of 3 seconds gives you when you turn on the amplifier. Again, smart people on the forums advised "dummies»)
Posted in [mergetime] 1360164787 [/ mergetime]
Now, where was listening, my joy knew no bounds)) All the same, the first-born and even with a good sound

Begin to bring krasototu. a volume knob cut out the puck from orgstelka for uniform dispersion of light

Source: