681
As a jeweler guitar hade
YaP Hello! I will start from afar: my friend is engaged in repair and manufacture of jewelry, to put it simply - the jeweler. So, being a lover of heavy metal of good music, how he has decided gash own device. The prototype was the idea of asymmetrical shape. The sketch was ready even as many as five years ago, but his hands came only now, ordered materials, and began:
20 photos
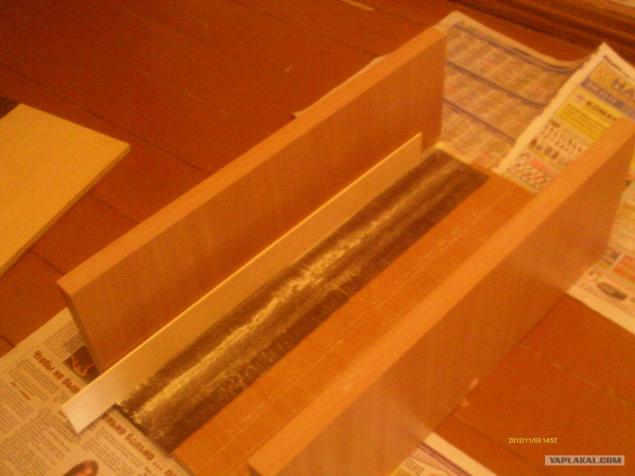
The first thing done workpiece December:
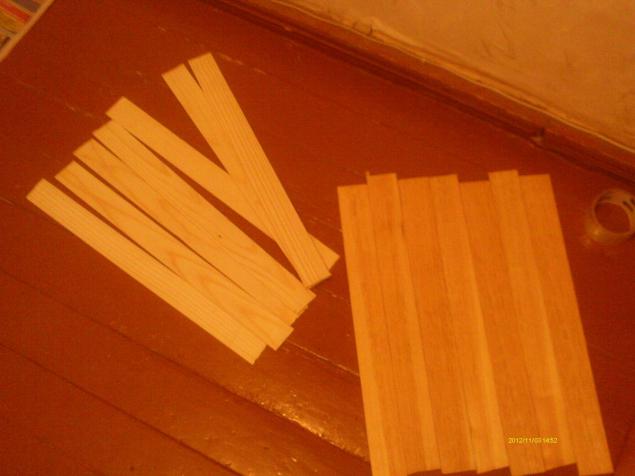
3. Then, from the cutting board in the near hozmage purchased, produced the stand for strings:

4. Here is how to get (quality shit sorry, filmed on sawdust):
5. Then we went on the workpiece nadpily counter-shell
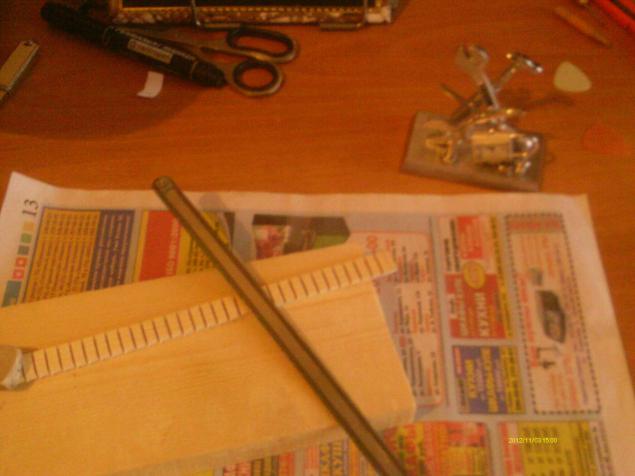
6. wrapped her:
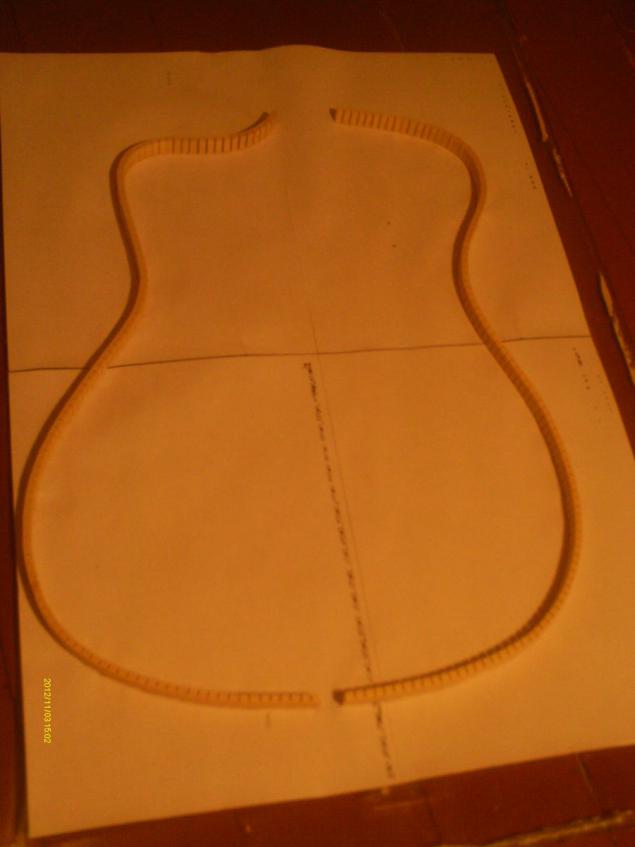
7. glued joint, blank decks, sawed shape of the guitar. Paste the spring counter-shell and cover reinforcing structure Guitar:
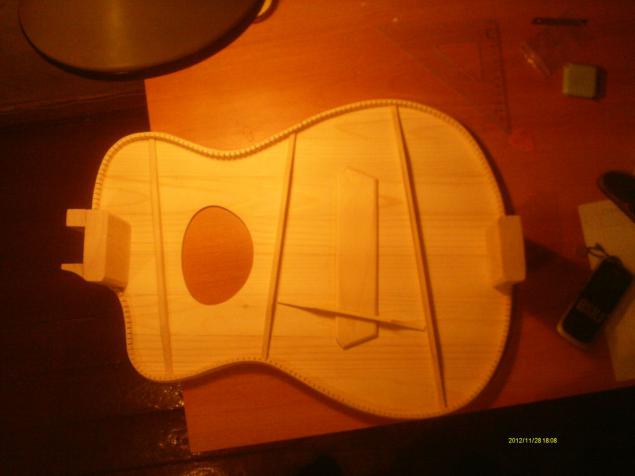
8.
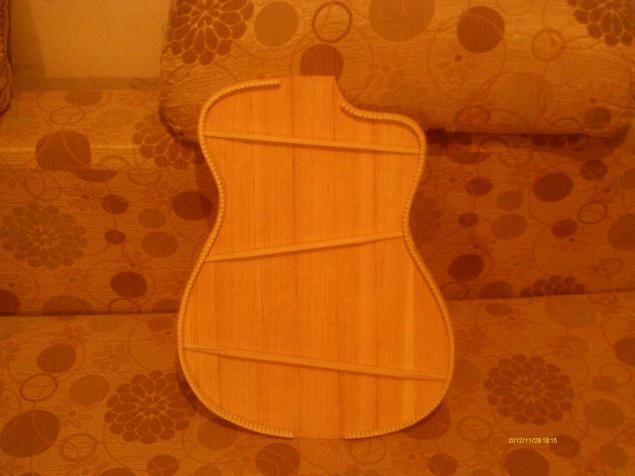
9.
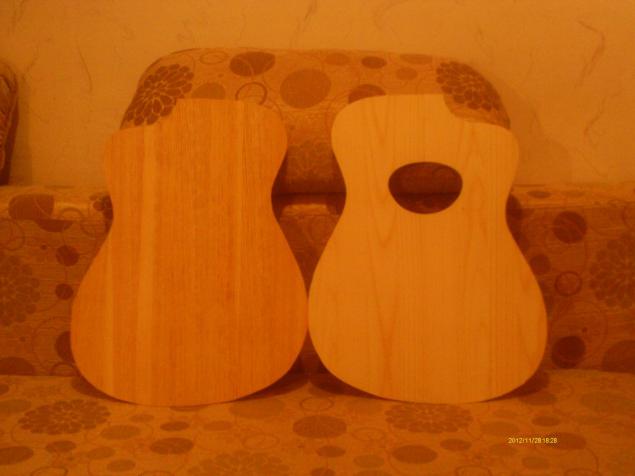
10. Gluing halves together:

11. No comment. (the room in which the author is asleep: D)
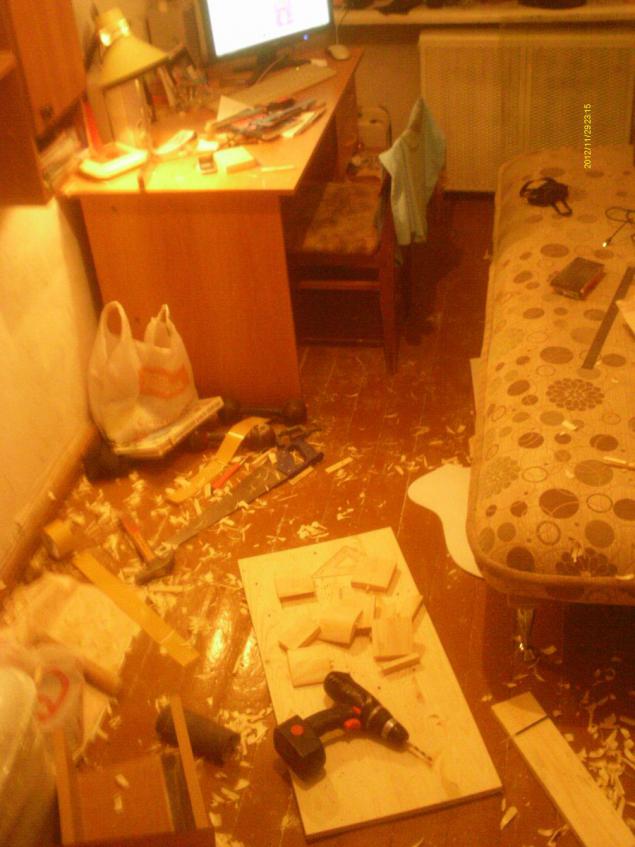
12. But it is not a blockage sawdust prevented - the next step was a flexible shell, using a special stencil:
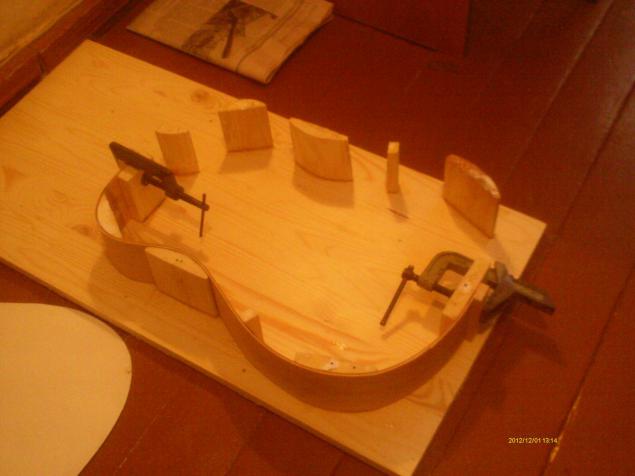
13.
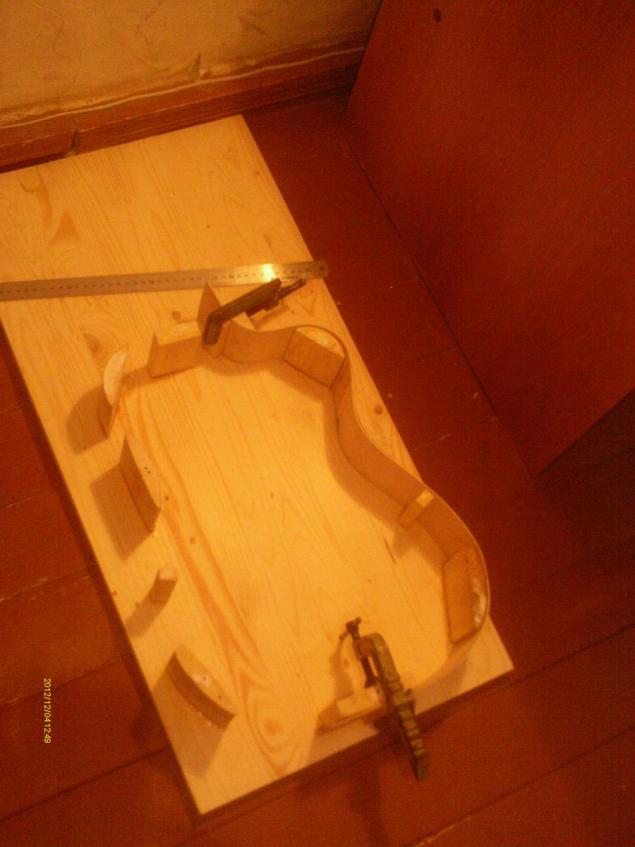
14. After drying period 2 days, they rose to its rightful place.
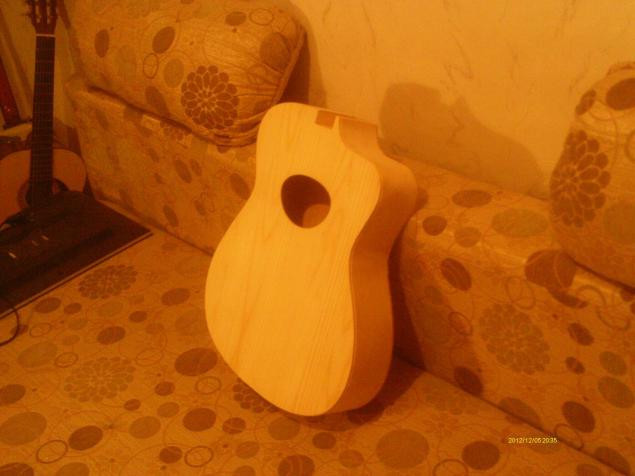
15. Painted sides and the back deck in the color of the "nut". He designed the socket cavity and stuck a white border along the edges of the guitar:

16. Unfortunately, the manufacturing process has not been immortalized neck, but there is no particular technological tricks. Basically tedious and boring pilezhka file))). After coating it with paint and varnish, prolakiroval body. And attach the neck to stand in place. After that was deposited another layer of lacquer. And the final photo session against the background of our beauty
His Vorseyshestva:
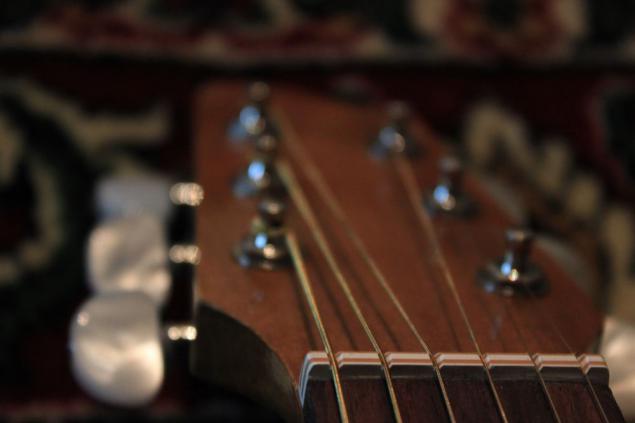
17. Kolka:
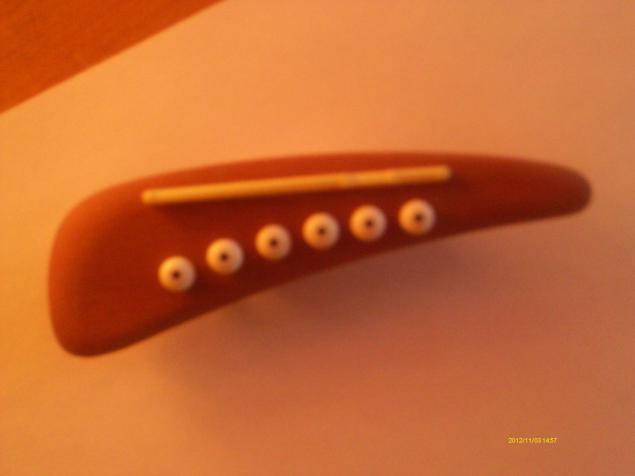
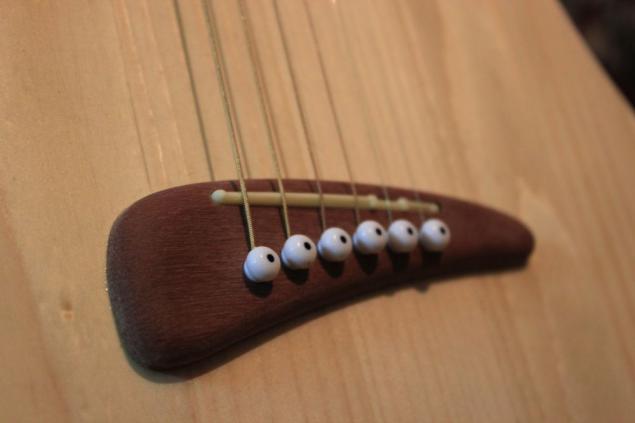
18. String holder:
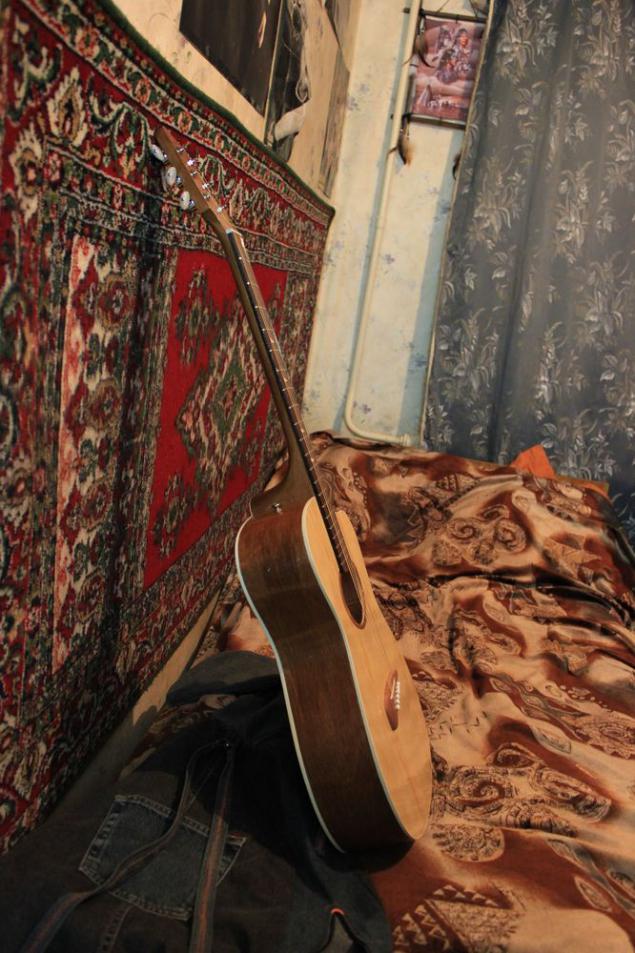
19. General view:

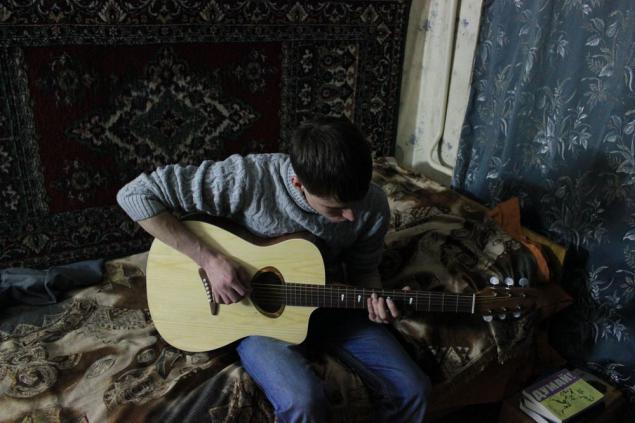
20. And the author himself immersed in the game. The sound was very personal for the first guitar)))
All! You can kick, the last! Thank you for your attention!
Source:
20 photos

The first thing done workpiece December:

3. Then, from the cutting board in the near hozmage purchased, produced the stand for strings:

4. Here is how to get (quality shit sorry, filmed on sawdust):

5. Then we went on the workpiece nadpily counter-shell

6. wrapped her:

7. glued joint, blank decks, sawed shape of the guitar. Paste the spring counter-shell and cover reinforcing structure Guitar:

8.

9.

10. Gluing halves together:

11. No comment. (the room in which the author is asleep: D)

12. But it is not a blockage sawdust prevented - the next step was a flexible shell, using a special stencil:

13.

14. After drying period 2 days, they rose to its rightful place.

15. Painted sides and the back deck in the color of the "nut". He designed the socket cavity and stuck a white border along the edges of the guitar:

16. Unfortunately, the manufacturing process has not been immortalized neck, but there is no particular technological tricks. Basically tedious and boring pilezhka file))). After coating it with paint and varnish, prolakiroval body. And attach the neck to stand in place. After that was deposited another layer of lacquer. And the final photo session against the background of our beauty
His Vorseyshestva:

17. Kolka:

18. String holder:

19. General view:

20. And the author himself immersed in the game. The sound was very personal for the first guitar)))
All! You can kick, the last! Thank you for your attention!

Source:
