1508
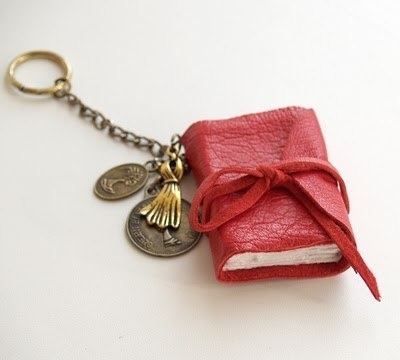
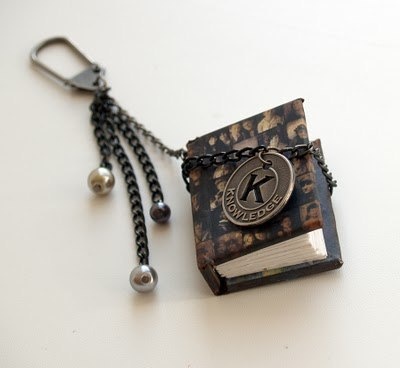
Mini book.
Materials and tools:
1. Easy Paper (office or watercolor).
2. Cardboard.
3. Scrap paper.
4. distress ink.
5. Glue, glue for decoupage, paint brush.
6. threads, needles, cutter, ruler, awl.
7. Accessories and elements for dekorrirovaniya.
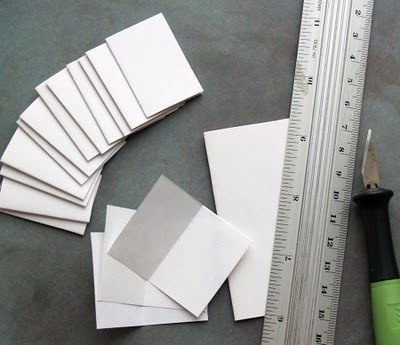
Step 1. Cut the paper: in this case, I folded in half a few leaves and cut into rectangles of size 1 by 1, 5 inches, just turned 12 miniknizhechek 6 sheets - this is our foundation booklets; if you do not want to boast a large number of pages on your thumbnail, you can use watercolor paper, in which case you need to add a total of 12 leaves.
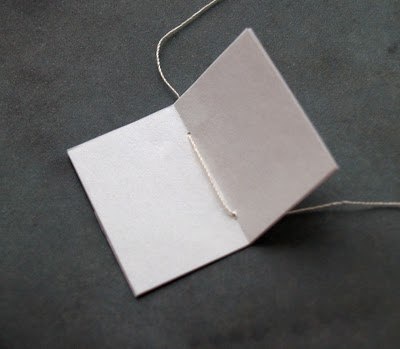
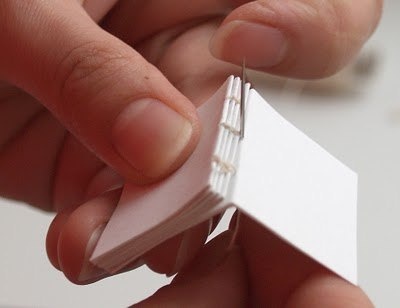
Step 2. Now you need to make your miniknizhechki one. It's not hard. Sew little book by one by the Coptic binding, or any other method familiar to you, and you can on a typewriter.
Step 3: After our book is sewn to put the glue on the back and give it to dry.
Cover:
To book could make all sorts of friction and impact in our purse or on it do for her hardcover.
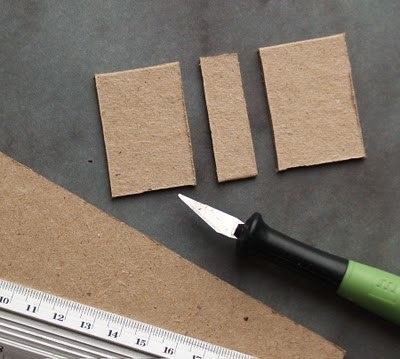
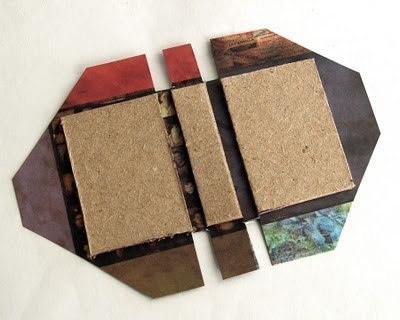
Step 4. Cut the cardboard basis for hardcover with two covers of size 3 to 4 cm and the spine corresponding to the thickness of the booklets (about 1 cm), sticking to your chosen scrap paper, leaving a small distance between the covers and spine.
Step 5. Cut, fold the paper and glue on the inside of the cover.
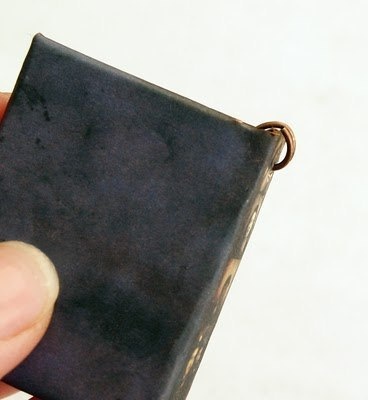
Step 6. Shilo make a hole in the spine binding and insert the ring, which then will strengthen the foundation keychain and decorations.
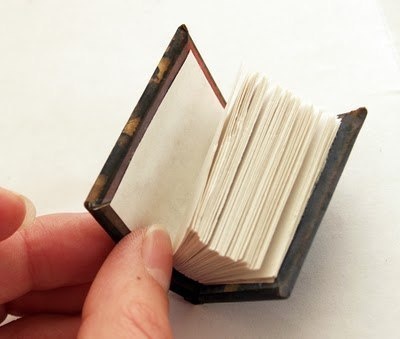
Step 7. glued booklet: Apply glue to the inside of the cover to external pages and the spine of booklets, glue. If necessary, you can put a book under the press for 30-40 minutes. Book ready!
Step 8. Dekorriruem at its discretion.


