3420
Why skim when making jam
As a teenager, I learned how to make jam at home from my beloved grandmother. I don’t think it’s boring at all, but on the contrary, my grandmother managed to turn this process into an exciting game. And now, when I make preparations for the winter, I remember with warmth the time I spent with my grandmother. And her tips for making jam were useful to many of my friends!
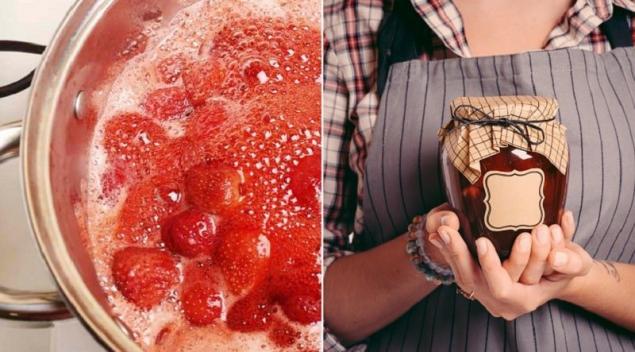
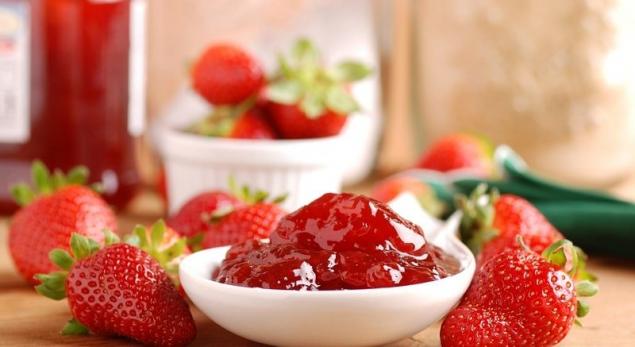
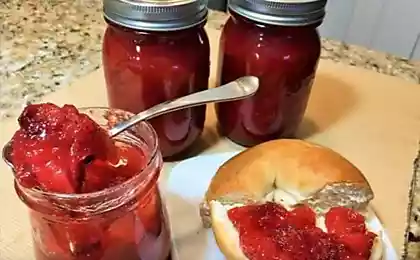
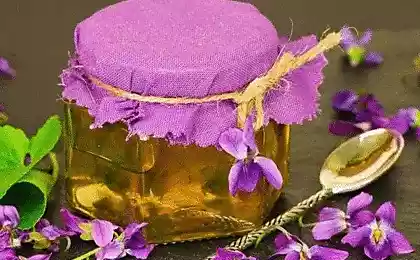
Today the editorial staff of the Site will tell you why you need to remove the foam when making jam. This question is the most frequently encountered among our readers' comments on articles about jam. Also at the bottom of the article you will find a simple and quick recipe for strawberry jam !
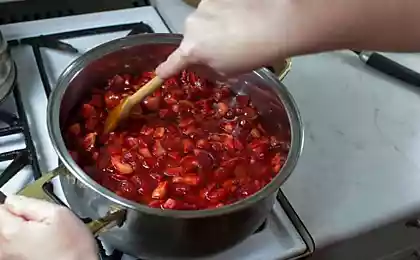
How to make jam at home When aromatic jam is being prepared in the kitchen, all the household ones gather around a delicate and tasty foam. My children "wield a spoon" right in the cooking process, and my sister-pastry chef cannot deny herself not to collect the foam and make a pie or cream from it.
Did you know that back in the 18th century, the foam that forms on the surface of any dish was recognized as an undesirable by-product in almost all countries of the world. Even then, experienced chefs got rid of it in order to improve the taste and aroma of food!
Before answering the question whether it is necessary to remove the foam while cooking jam, let's figure out what, in fact, this foam is and where it comes from.
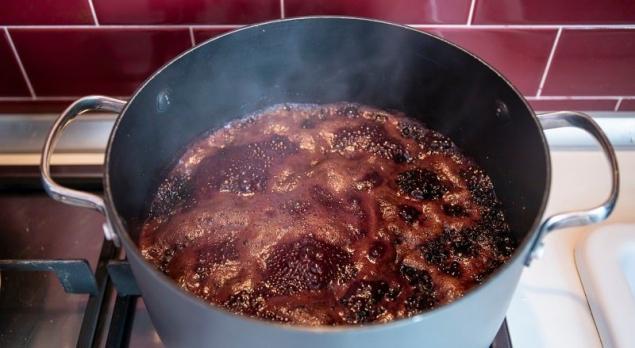
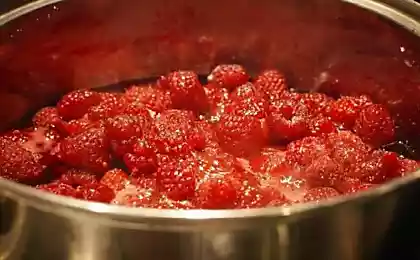
During the cooking process, the lightest fractions of the products that make up the jam rush up and combine with each other, forming a dense foam. These are the remnants of dirt and specks from berries, sugar and water. And also the very first proteins, which fold at 40 degrees and are subject to extremely rapid souring. The foam itself is a mixture of various fractions that forms on the surface of the jam.
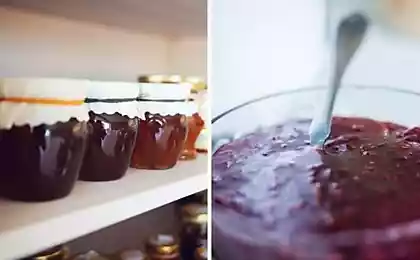
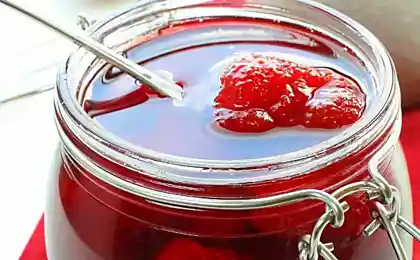
The foam from the jam must be removed because small debris and dirt accumulate there, which has not been washed out. If this is not done, then the jam can turn sour and all work will go to dust. Our grandmothers always did this, and they knew a lot about making jam !
The non-frothy jam will boil much better, and it will also retain its unique berry flavor for much longer. When the foam is removed, the jam easily and quickly gets rid of excess debris, which contributes to its longer storage.
So that there is no foam at all, when cooking, I add a small piece of butter. This trick works with a bang!
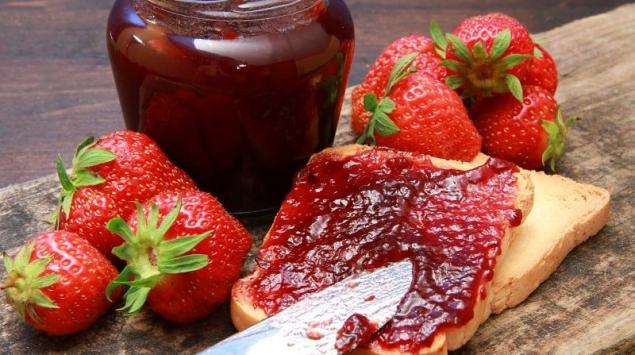
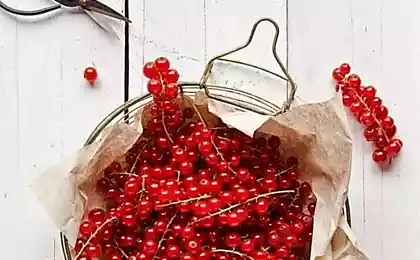
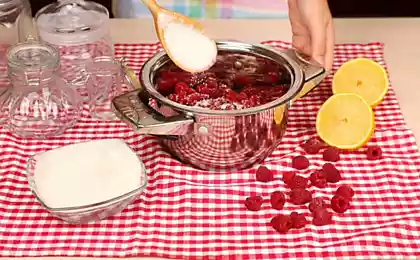
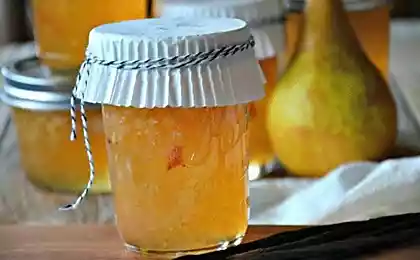
Strawberry Banana Jam And now, as promised, a recipe for a quick and tasty strawberry jam with bananas and lemon.
Ingredients
Preparation
Editors' Tip Prolonged boiling changes the color of the berries to brown, killing all flavor and aroma. Accordingly, there is no benefit from such jam. Therefore, I propose to find out the recipe for strawberry jam without boiling berries. An amazing treat comes out!
"How to make jam at home?" - my daughter asked me yesterday. It seems like the time has come to pass on the knowledge I learned from my grandmother, and that's great.
Tell us in the comments if you are continuing the tradition of your family: do you make jam at home or do you buy pre-made jam? I will also be glad to know which jam do you like the most? For example, I love strawberry, raspberry and lingonberry.
Today the editorial staff of the Site will tell you why you need to remove the foam when making jam. This question is the most frequently encountered among our readers' comments on articles about jam. Also at the bottom of the article you will find a simple and quick recipe for strawberry jam !

How to make jam at home When aromatic jam is being prepared in the kitchen, all the household ones gather around a delicate and tasty foam. My children "wield a spoon" right in the cooking process, and my sister-pastry chef cannot deny herself not to collect the foam and make a pie or cream from it.
Did you know that back in the 18th century, the foam that forms on the surface of any dish was recognized as an undesirable by-product in almost all countries of the world. Even then, experienced chefs got rid of it in order to improve the taste and aroma of food!
Before answering the question whether it is necessary to remove the foam while cooking jam, let's figure out what, in fact, this foam is and where it comes from.

During the cooking process, the lightest fractions of the products that make up the jam rush up and combine with each other, forming a dense foam. These are the remnants of dirt and specks from berries, sugar and water. And also the very first proteins, which fold at 40 degrees and are subject to extremely rapid souring. The foam itself is a mixture of various fractions that forms on the surface of the jam.
The foam from the jam must be removed because small debris and dirt accumulate there, which has not been washed out. If this is not done, then the jam can turn sour and all work will go to dust. Our grandmothers always did this, and they knew a lot about making jam !

The non-frothy jam will boil much better, and it will also retain its unique berry flavor for much longer. When the foam is removed, the jam easily and quickly gets rid of excess debris, which contributes to its longer storage.
So that there is no foam at all, when cooking, I add a small piece of butter. This trick works with a bang!

Strawberry Banana Jam And now, as promised, a recipe for a quick and tasty strawberry jam with bananas and lemon.

Ingredients
- 900 g ripe strawberries
- 0.5 kg of bananas
- 900 g sugar
- 1 lemon
- 1 tbsp. l. rum
- 0.5 tsp vanillin

Preparation
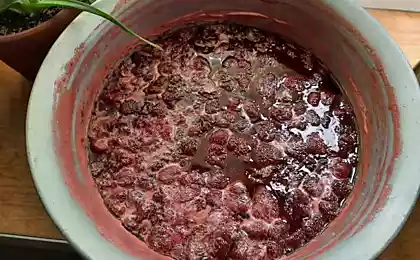
- Wash the strawberries, then remove the roots and rinse them again under running water.
- Peel and slice the banana and add to the strawberries. Add pitted lemon cut into slices.
- Beat all berries and fruits with a blender until puree. Add vanillin and rum to the mixture.
- Begin adding sugar in portions, stirring thoroughly after each portion. Transfer the mixture to a saucepan and bring to a boil.
- Cook over high heat for about 2 minutes after boiling.
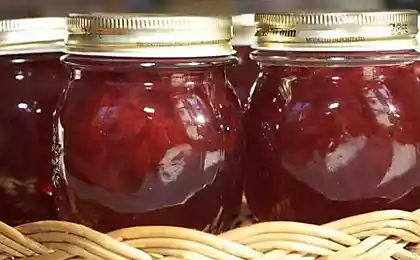
- At the end of cooking, put the jam in already sterilized jars and roll up the lids.

Editors' Tip Prolonged boiling changes the color of the berries to brown, killing all flavor and aroma. Accordingly, there is no benefit from such jam. Therefore, I propose to find out the recipe for strawberry jam without boiling berries. An amazing treat comes out!

"How to make jam at home?" - my daughter asked me yesterday. It seems like the time has come to pass on the knowledge I learned from my grandmother, and that's great.
Tell us in the comments if you are continuing the tradition of your family: do you make jam at home or do you buy pre-made jam? I will also be glad to know which jam do you like the most? For example, I love strawberry, raspberry and lingonberry.


What school safety rules should be followed after quarantine
Why are slots in the neck of a bottle for vegetable oil