189
A new life of an old Soviet chandelier with gallows cascading under the ceiling
Some Soviet chandeliers cause a real culture shock, and some - delight. This is all about perception alone. For someone, a crystal chandelier of Soviet times is an ordinary old junk, and for someone - a vintage decor element designed to decorate the interior in the style of the best boho traditions.

If you belong to the first category of people, you can stop reading now. You will hardly be interested in this article. But if you're one of those people who likes to create real works of art out of old forgotten things - editorial board "Site" invites you to a super-fast and light master class on the restoration of the Soviet cascade chandelier.
By the way, you can find a video with a visual example of carrying out all the works from the author of the idea presented in our article right here (right below the instructions).
Soviet chandeliers How to restore a crystal chandelier
And here is the promised video instruction from the charming Catherine Silver.
https://www.youtube.com/watch? v=qsW0ZLXj6E
We say goodbye and wish you a wonderful day! We will be very happy to see the result of your efforts, as well as any comments that help us correct the shortcomings, in the comments.

If you belong to the first category of people, you can stop reading now. You will hardly be interested in this article. But if you're one of those people who likes to create real works of art out of old forgotten things - editorial board "Site" invites you to a super-fast and light master class on the restoration of the Soviet cascade chandelier.
By the way, you can find a video with a visual example of carrying out all the works from the author of the idea presented in our article right here (right below the instructions).
Soviet chandeliers How to restore a crystal chandelier
- The first thing you need to remove the chandelier, hang it at a convenient height for further work and carefully disconnect all crystal suspensions.
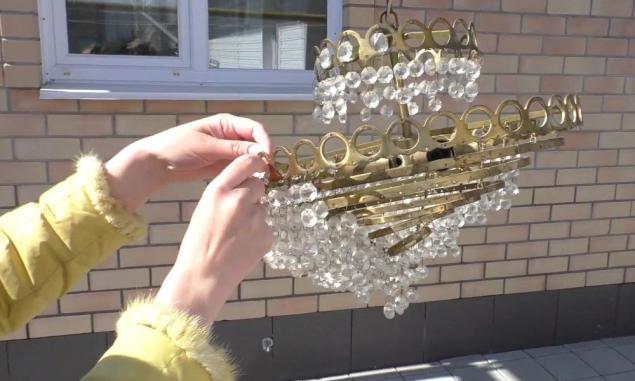
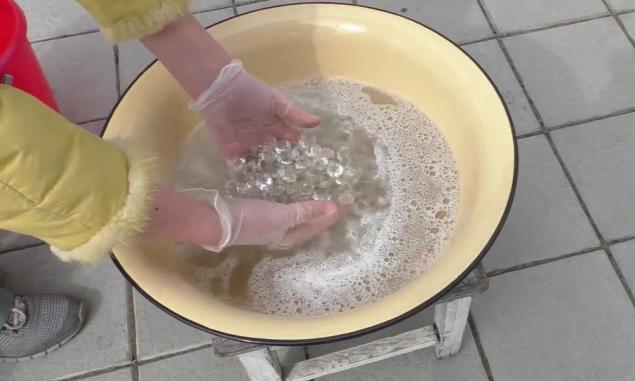
- Then we separate the pendants themselves. Remove the metal connecting rings and put them aside. But the crystals are folded into a large aluminum bowl, poured with water and filled with cleaning agent. Then leave the beads to soak for 10-20 minutes. Next, with the help of a match or toothpick, we remove dirt from small recesses of crystals and wash the parts in clean water.
- Now we move on to work with the chandelier base. First, we skin it with sandpaper, and then wipe it with a microfiber soaked in alcohol solution to degrease the material.

- Then you can start painting the base. It is best to cover the base with spray paint. So the coloring will be more uniform. In addition, this process will take much less time than fussing with a brush.

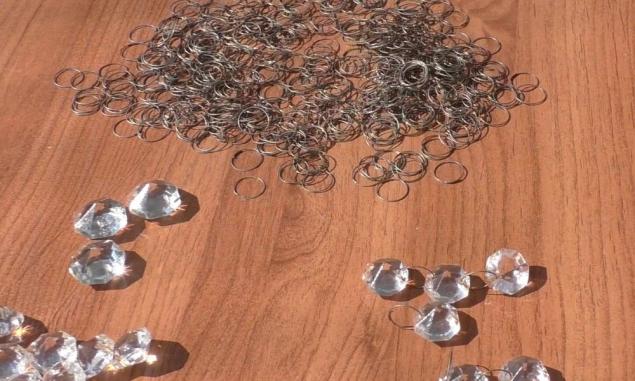
- Next, we take new connecting rings (which, of course, should be acquired before the start of restoration work) and fasten the lens to each other.
- It remains only to wait until the base of the chandelier dries and dress it with refreshed sparkling pendants.
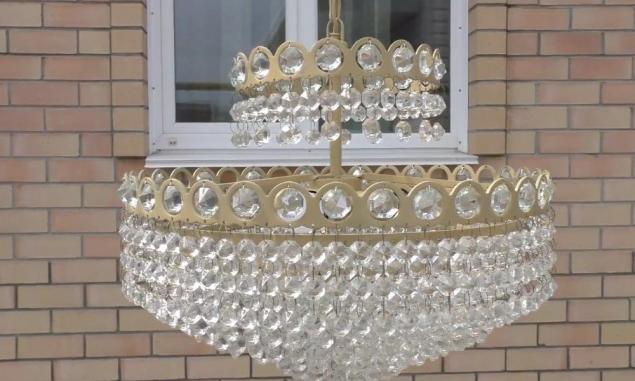
And voila! This is what a wonderful result we get at the end. Doesn't it look amazing?
And here is the promised video instruction from the charming Catherine Silver.
https://www.youtube.com/watch? v=qsW0ZLXj6E
We say goodbye and wish you a wonderful day! We will be very happy to see the result of your efforts, as well as any comments that help us correct the shortcomings, in the comments.
Beige wallpaper is never boring. The designer wonders why they are so damn good.
Joy and success will follow you in the new year, if you listen to the advice of a wise elder.


