496
The man bought a couple of cheap speakers and turned them into something amazing!
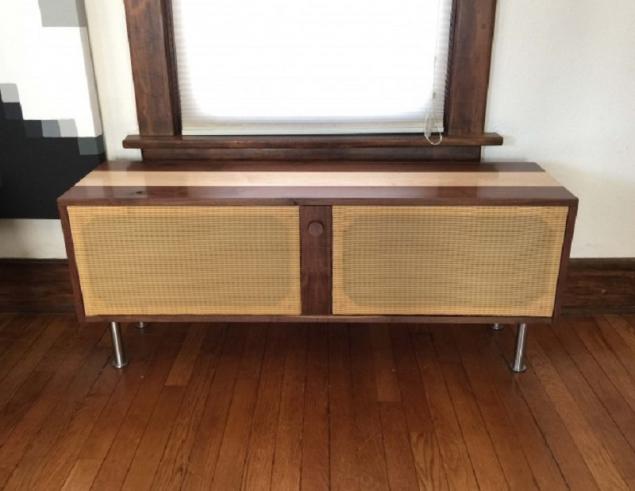
There is nothing better than a home movie on a rainy Sunday afternoon. It's tempting to get comfortable, to take a bowl of popcorn and sail away to a distant screen given. But here's the problem — the serene pleasure can spoil the sad appearance and the sound of the old speakers. What to do then? Create!
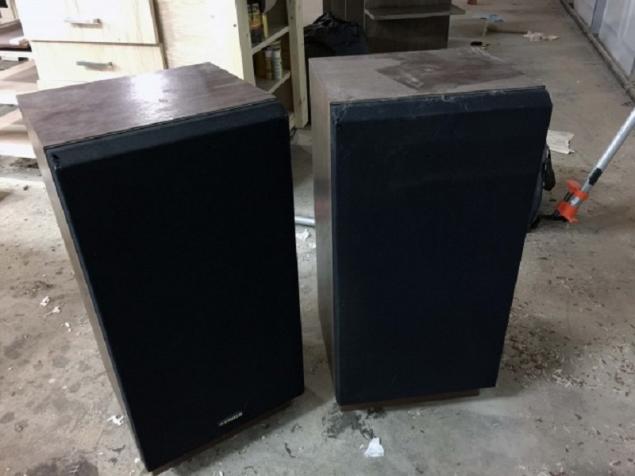
Our today's hero Barry Abrams was terribly distressed by the condition of your audio system. The hole in the budget to do not like, and Barry went on cunning. Found in the garage a pair of old but sturdy columns and set to work. And the editors of the"Site" closely followed his actions and publishes detailed master class.
Columns with their hands
It turns out that people capable of the most incredible and exquisite creations. I hope that our master class inspired you to create such a stylishhome audio system. Be sure to share with friends secret vintage items in the interior and stay up to date on all events!
Now everyone can publish articles
Try this first! To WRITE an ARTICLE the Author
The editors of "Site" Is a real creative laboratory! The true team of associates, each a specialist in their field, United by a common purpose: to help people. We create content that's really worth sharing, and a source of inexhaustible inspiration are our favorite readers!
Our today's hero Barry Abrams was terribly distressed by the condition of your audio system. The hole in the budget to do not like, and Barry went on cunning. Found in the garage a pair of old but sturdy columns and set to work. And the editors of the"Site" closely followed his actions and publishes detailed master class.

Columns with their hands
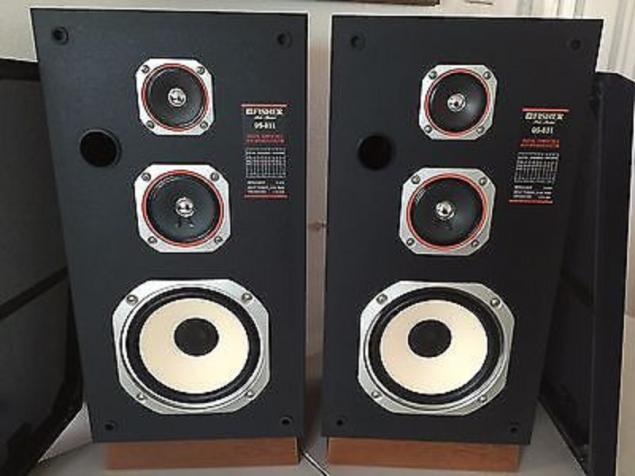
- First, take off the upper fabric membrane of the columns. Only at this stage it will be possible to understand how speakers are good.
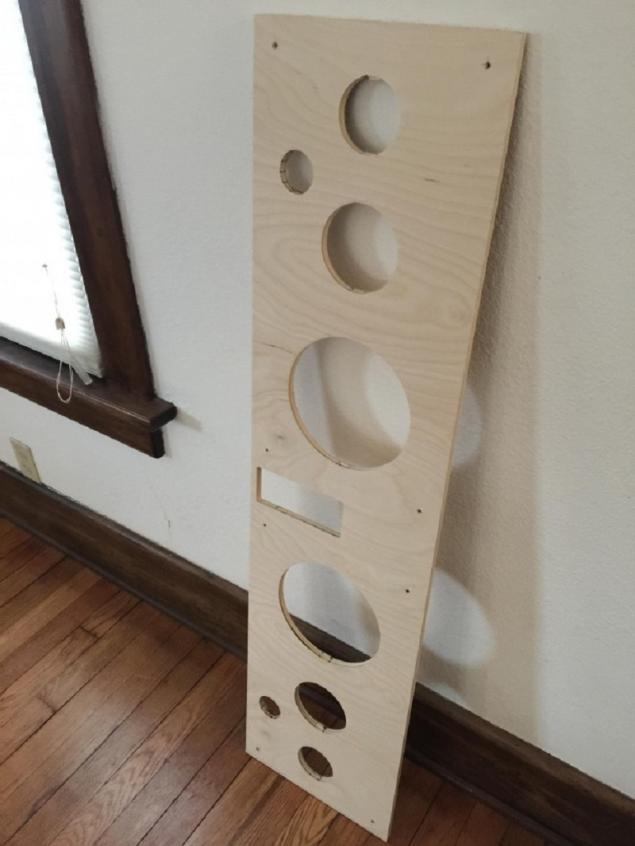
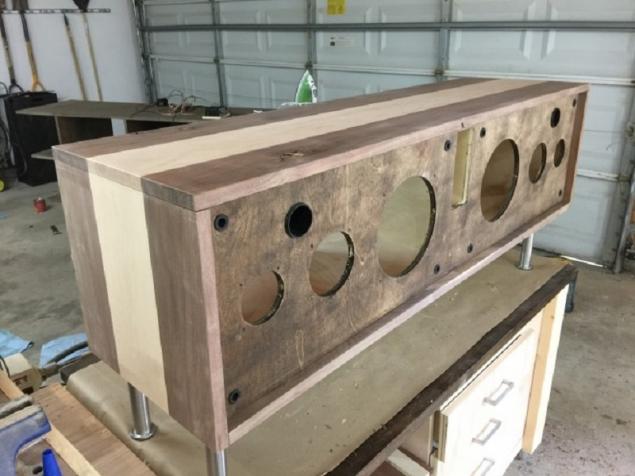
- Take a plywood Board. Apply it on the markup that will define the shape and form of your audio system. Jigsaw drank the holes according to the markings.
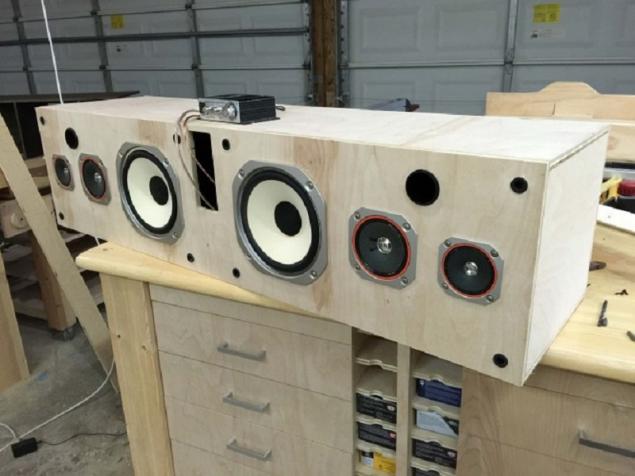
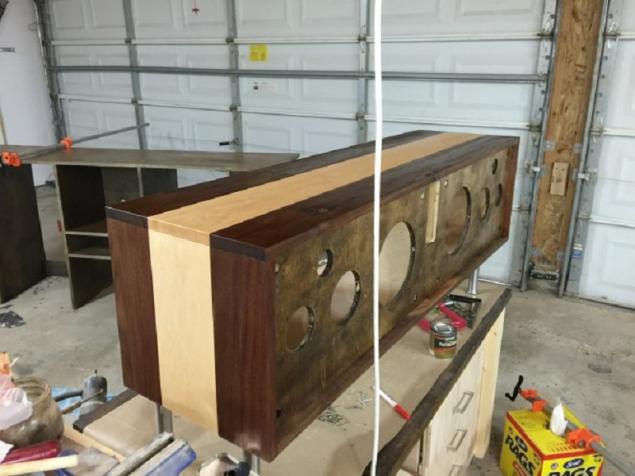
- From the same plywood make the body you need size. Put in the slot of the dynamics of the speakers. Then it begins a complete transformation!
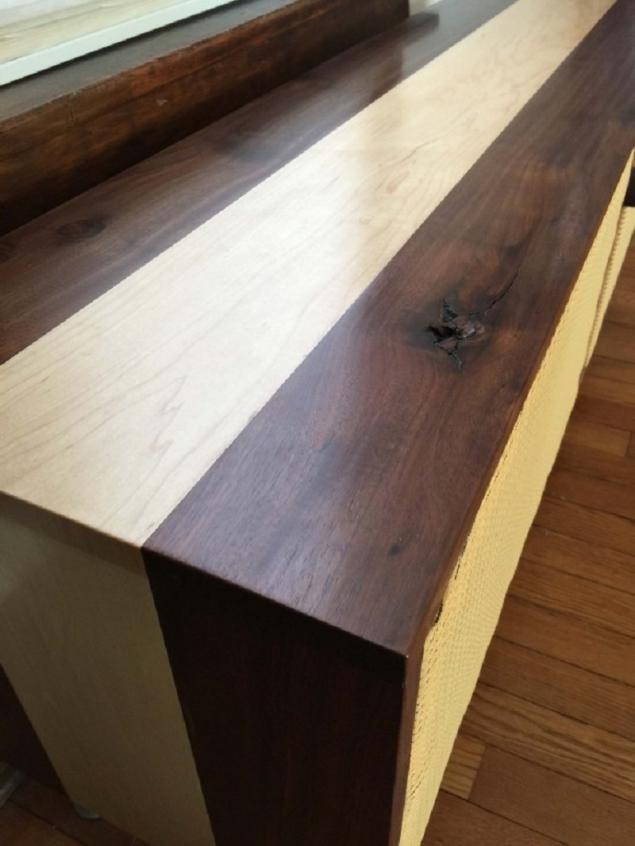
- Next you will need solid wood. The number is determined by the size of the future audio system. Wood is better take it from a trusted manufacturer, if possible consult your friends who have already dealt with the processing of wood.
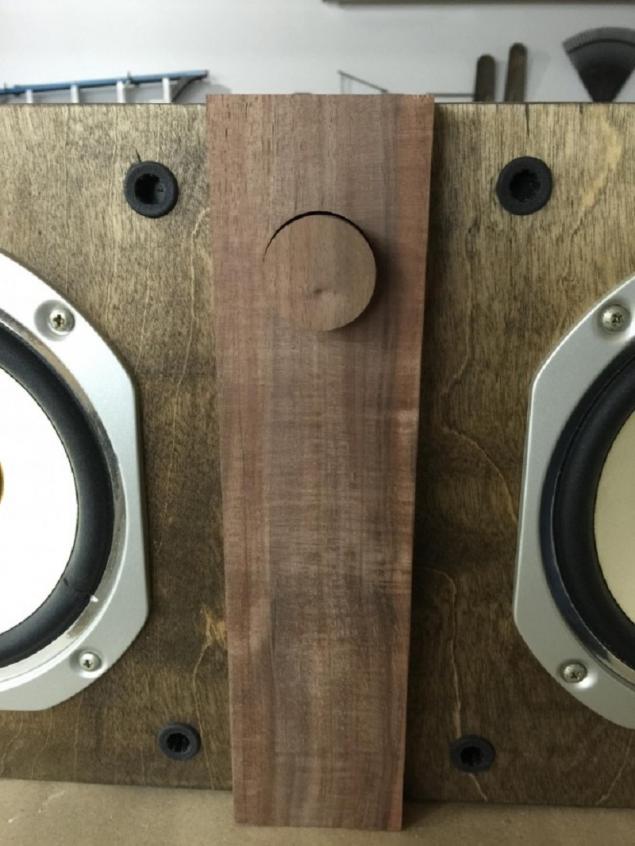
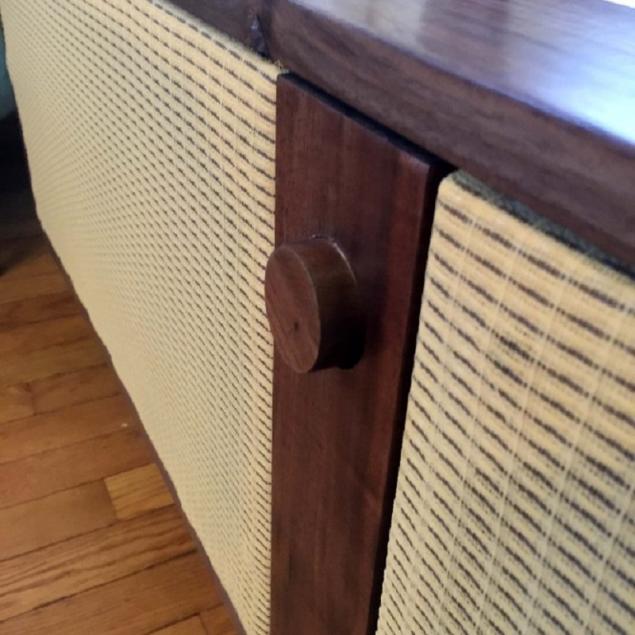
- Button power on and volume up it is better to combine into one — this will give the system a stylish, minimalistic look.
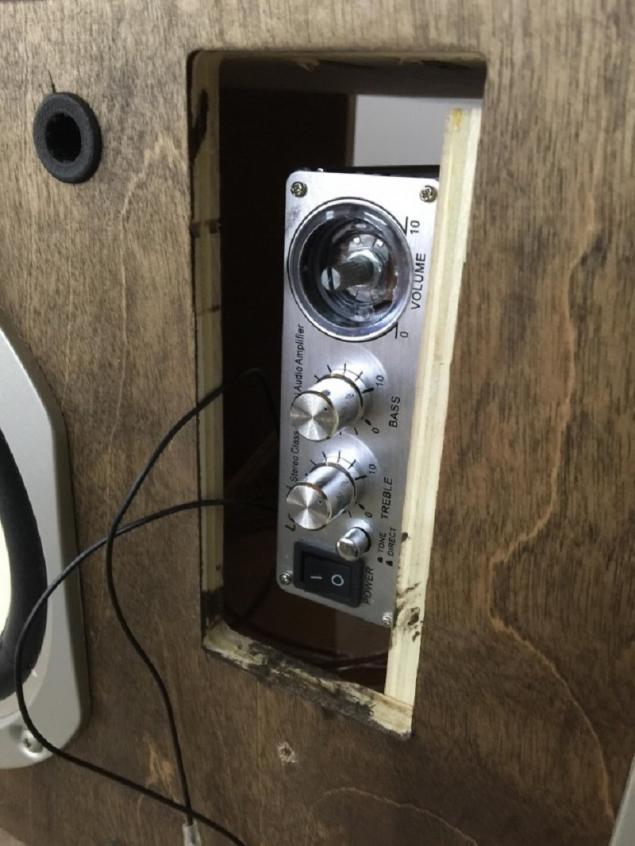
- The amplifier can pick up from the budget category — a particular influence on the sound quality it will have.
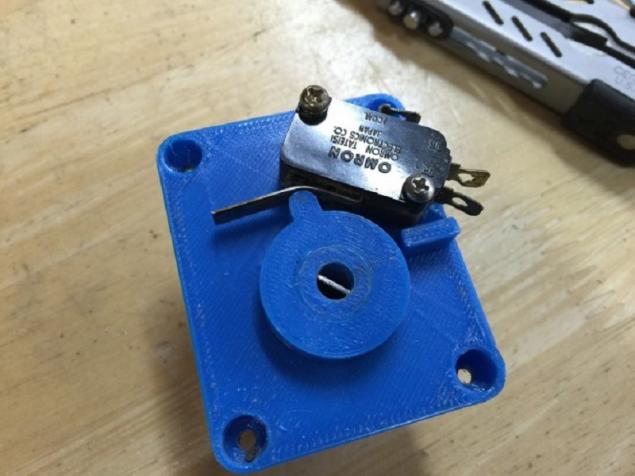
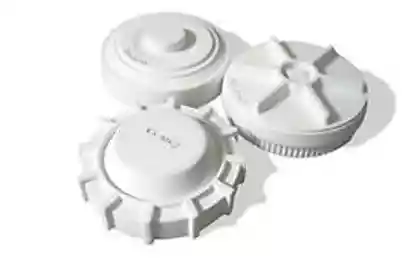
- Missing parts print on a 3D printer. The wide spread of 3D printing has made many designs available.
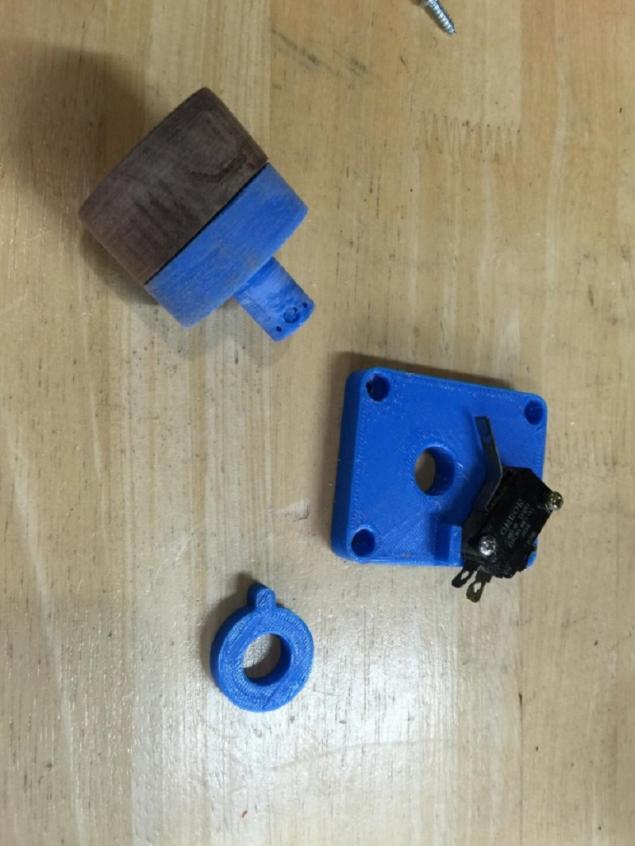
- Through this mechanism, it worked. A unique development of Barry is based on the existing control technology of sound, so you can use ready-made parts.
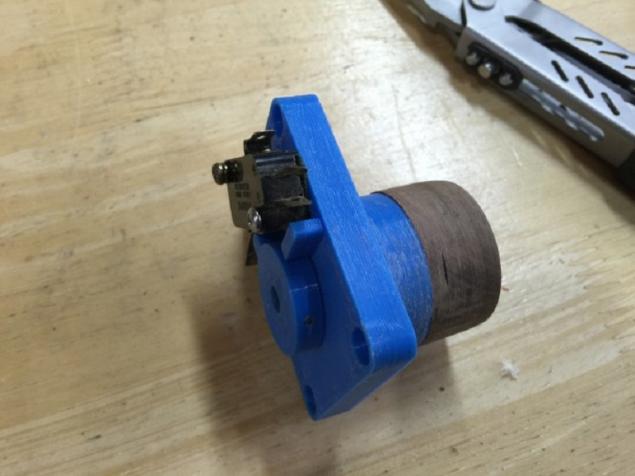
- Round handle on the outer side of the controller rotates the cylinder, which actuates the switch. When the switch is shifted, the speakers start to work.
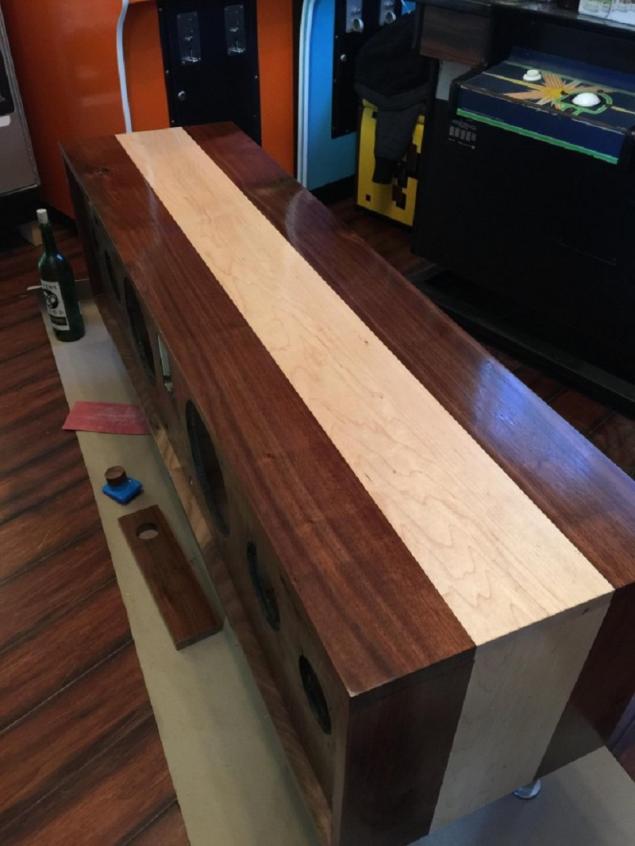
- Apply on the outer casing glossy finish. As you can see, the radio is becoming more like something insanely stylish and vintage.
- Exterior of the case will protect the multilayer polyurethane coating. Apply 9 layers one by one. Be sure to give them a good dry — it will take a week.
- Can do the test of listening. Turn the volume on full, so once it becomes clear how good the acoustics.
- Membrane external fabric — a finishing touch to the project.
- As you can see, this system is designed in a retro style. At the same time it has all the advantages of modern technology.


It turns out that people capable of the most incredible and exquisite creations. I hope that our master class inspired you to create such a stylishhome audio system. Be sure to share with friends secret vintage items in the interior and stay up to date on all events!
Now everyone can publish articles
Try this first! To WRITE an ARTICLE the Author

The editors of "Site" Is a real creative laboratory! The true team of associates, each a specialist in their field, United by a common purpose: to help people. We create content that's really worth sharing, and a source of inexhaustible inspiration are our favorite readers!


Turn a cluttered attic into a cozy attic: 15 best ideas for renovation. Just wow!
Fibroids and warts will not appear again! The short path to healthy skin.