556
How to replace the bales in a straw house in 8 steps

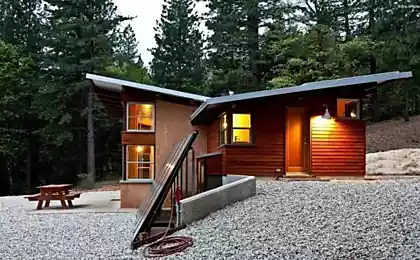
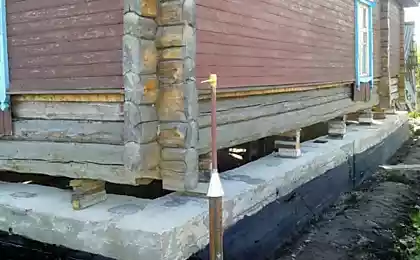
The most important thing when designing and building a straw house is to make sure you did it with the understanding that water should be away from the walls. This is especially true of pitches of the roof, which should definitely be done with large protrusions (up to 1 meter). Sometimes a situation arises when you need to remove rotten straw in a residential thatched cottage.
This topic concerns many people when they first learn about straw bale construction and I want to make clear that it is extremely unusual, and most people never have to deal with such things.
So let's look at the procedure for replacing rotten straw in a residential home.
1. Remove the layer of plaster with the punch or chisel. If you have a mesh, then leave it around the edges by 15-20 cm in circumference all the vacated doorway, then to associate it with a new mesh.
2. Pull the rotten straw of the doorway with your hands or with a rake.
3. Use a moisture meter to determine where it ends, rotten straw and starts dry. Make sure you took at least 2 cm of clean straw. Check out the humidity readings in each direction: up, down, left, right, and inside the wall. Anything above 18% should be removed. Ideally, the readings of humidity should not be higher than 10-12%.
4. Insert the burlap into the opening so that its edges freely come out.
5. Tightly fill the opening with a clean dry straw. Make sure that it will not bulge as it will stretch the net.
6. Tighten the opening with burlap and fasten-sew it with pins.
7. Put the mesh and staple it with the left edges of the grid you freed from plaster.
8. Apply plasterer. In order to not see the plot, you will have a wall to whiten new. Otherwise it will be seen spot. Do this when the stain is already dry.
The reality is that you probably will not need to use the information in this article; However, if you do encounter damage to the straw, the faster you dry the wall and replace non-recoverable bales, the better. Remember that bales are like giant sponges and the longer they are exposed to water, the more they will absorb further water damage will expand.
One thing that, by itself, of course (but I'll say it anyway). You must identify and eliminate the cause of the water damage before you start replacing straw. There is no point in doing all this work, not knowing what caused the problem.
It's kind of an obvious thing. But I had to tear the entire Adobe house, just because rain water flowed to the North wall and this has led to the appearance of the fungus in the house and the complete destruction of Adobe (not even straw bales). Although the previous owners tried to protect the wall additional brick klados. The water still got in. The house stood on the border of the site and the roof overhang was impossible to do, as a result, the house was lost. That's the story.
Source: rodovid.me


Scientists have found the cause of the glaucoma
Doctors have developed a new device for blood purification