231
Rushing in the country - we do with our own hands
Until the end of winter there is a month and a half left, and gradually it is time to think about what is better to do in the country with the arrival of spring, so that it does not catch us by surprise. Let’s talk today about storm sewers in the countryside.
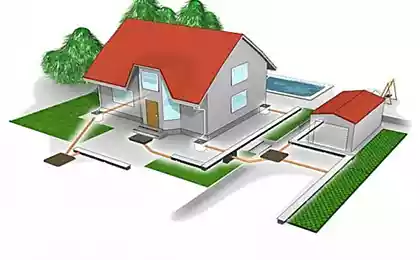
Its need is difficult to overestimate: thanks to it, the water will not flood the house, the territory of your site will be dry and cozy. The main part of the shower is drainage, although I will immediately say that if you need to make a storm sewer "for a month" - then you can without it. But then the drainage will have to be done anyway.
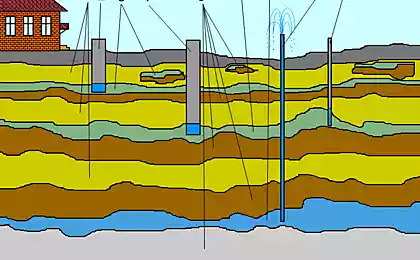
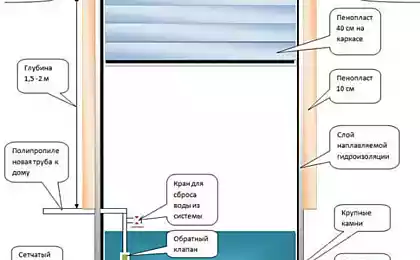
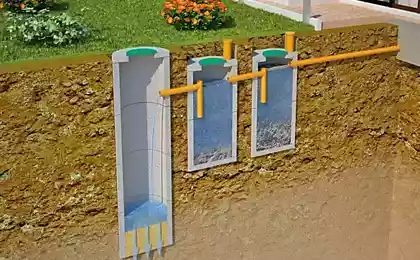
Let us dwell on this a little more. Drainage can be annular, formation, head, and all these varieties have their own characteristics. Any drainage ends with a tank. How many tanks will be on the site - decide you, that is, the owner of the country house.
There is one thing that unites almost all types of drainage: they end with volumetric tanks, which can be as many as the owner himself decides, but not less than 4.
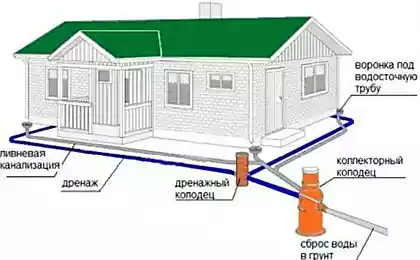
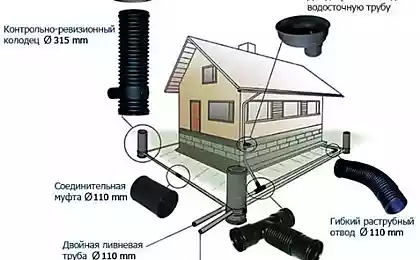
In addition to the underground, the shower has an above-ground part, which is no less important. This is a drainage system, its task is to collect water from the roof and transfer it further, into storm runoff. When creating a drain, you should think about whether it will be underground or above ground.
Manufacture of the rainwater drainage systemFrom the tools you will need a punch, a hammer with nails, mastic and tol, as well as pliers. And of course – the very design of the material from which you will make your shower.
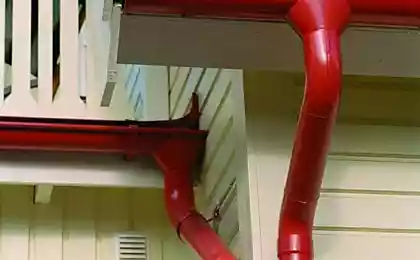
The above-ground part of the stormwater is created as follows: a gutter is stretched along the roof, which is displayed along the edge of the house and diverted to the prepared drain. Yes, I forgot to mention: metal, plastic or asbestos can serve as a material for creating an above-ground part. The best thing to do, of course, is to use plastic: it’s easier to mount, and it can have any desired design. However, the strength of metal is superior to plastic, and about the decorative properties I generally remain silent. The asbestos is somewhere in between: it’s not as strong as metal, and it’s not as beautiful as plastic can be.
The drainage itself consists of 3 parts: gutter, funnel and drain. Don't run off to the house. Plug the compounds with thola, and in open areas smear with mastic.
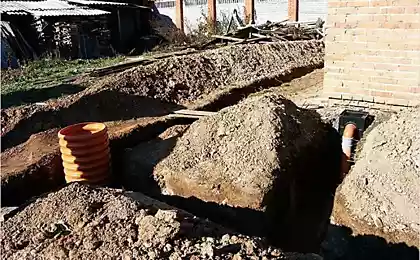
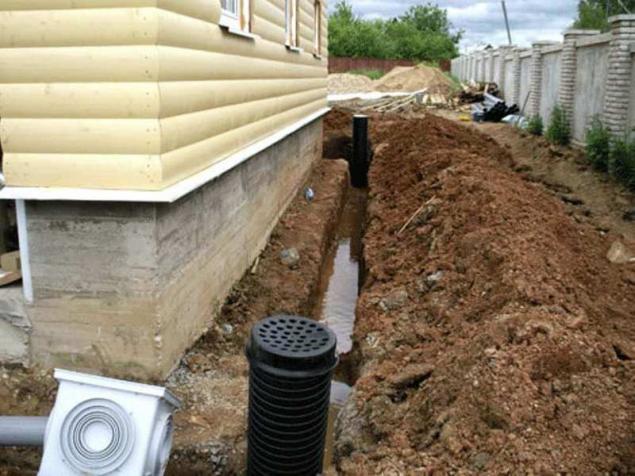
For underground work you will need, of course, a shovel, and in addition to it - cement mortar, punch and concrete mixer. Of course, materials are also needed - a drain lattice and metal plates, preferably 2-2.5 mm thick. Under the drain pipe digs a hole deep into the bayonet of the shovel. Next, we continue to dig a trench of this depth along the shortest trajectory directly to the nearest drainage well.
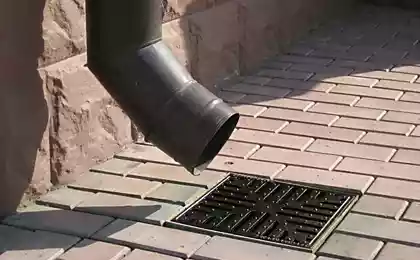
I advise you to do a certain slope when building a trench - so the water will flow faster into the drainage. The trench needs to be strengthened with cement mortar - so it will last you longer. And at the end of this trench, you release into the drain well. Do not forget to install a grille on the drain so that water does not fall into the trench. And make the hole a punch just below the trench: this will ensure the final withdrawal of water.
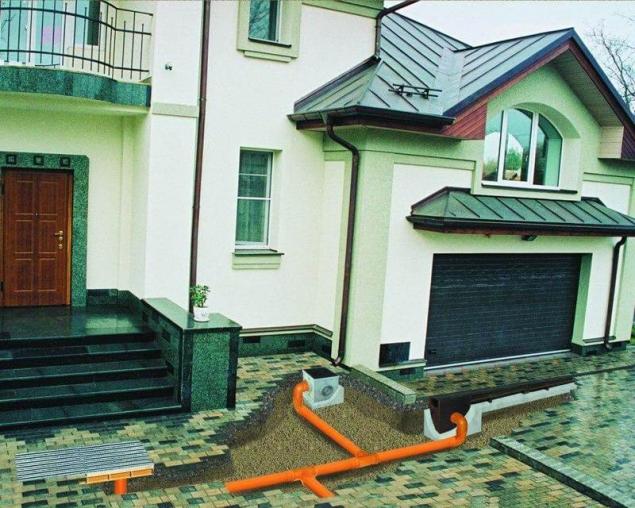
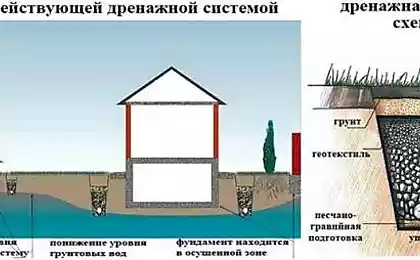
If you live where it often rains, fill the drainage pipe with a layer of gravel to the level of the foundation of the house. Next, put a layer of sand, which will serve as a filter from filling the pipe. Next, you need to put another layer of gravel. Excess water will go into the ground, and in addition, such a design will provide a smaller weight load on your system.
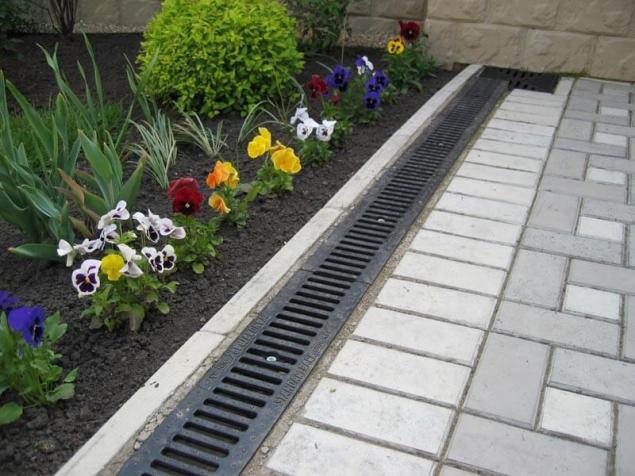
Next, you can close your made drainage tiles. As a result, you got a drainage system made with your own hands, which will withstand any weather conditions and will be able to remove any pressure of water for a long time. Perhaps not only your children, but also your grandchildren will thank you for a job well done. published
Source: estp-blog.ru/rubrics/rid-39701/
Its need is difficult to overestimate: thanks to it, the water will not flood the house, the territory of your site will be dry and cozy. The main part of the shower is drainage, although I will immediately say that if you need to make a storm sewer "for a month" - then you can without it. But then the drainage will have to be done anyway.
Let us dwell on this a little more. Drainage can be annular, formation, head, and all these varieties have their own characteristics. Any drainage ends with a tank. How many tanks will be on the site - decide you, that is, the owner of the country house.
There is one thing that unites almost all types of drainage: they end with volumetric tanks, which can be as many as the owner himself decides, but not less than 4.
In addition to the underground, the shower has an above-ground part, which is no less important. This is a drainage system, its task is to collect water from the roof and transfer it further, into storm runoff. When creating a drain, you should think about whether it will be underground or above ground.
Manufacture of the rainwater drainage systemFrom the tools you will need a punch, a hammer with nails, mastic and tol, as well as pliers. And of course – the very design of the material from which you will make your shower.
The above-ground part of the stormwater is created as follows: a gutter is stretched along the roof, which is displayed along the edge of the house and diverted to the prepared drain. Yes, I forgot to mention: metal, plastic or asbestos can serve as a material for creating an above-ground part. The best thing to do, of course, is to use plastic: it’s easier to mount, and it can have any desired design. However, the strength of metal is superior to plastic, and about the decorative properties I generally remain silent. The asbestos is somewhere in between: it’s not as strong as metal, and it’s not as beautiful as plastic can be.

The drainage itself consists of 3 parts: gutter, funnel and drain. Don't run off to the house. Plug the compounds with thola, and in open areas smear with mastic.
For underground work you will need, of course, a shovel, and in addition to it - cement mortar, punch and concrete mixer. Of course, materials are also needed - a drain lattice and metal plates, preferably 2-2.5 mm thick. Under the drain pipe digs a hole deep into the bayonet of the shovel. Next, we continue to dig a trench of this depth along the shortest trajectory directly to the nearest drainage well.
I advise you to do a certain slope when building a trench - so the water will flow faster into the drainage. The trench needs to be strengthened with cement mortar - so it will last you longer. And at the end of this trench, you release into the drain well. Do not forget to install a grille on the drain so that water does not fall into the trench. And make the hole a punch just below the trench: this will ensure the final withdrawal of water.

If you live where it often rains, fill the drainage pipe with a layer of gravel to the level of the foundation of the house. Next, put a layer of sand, which will serve as a filter from filling the pipe. Next, you need to put another layer of gravel. Excess water will go into the ground, and in addition, such a design will provide a smaller weight load on your system.

Next, you can close your made drainage tiles. As a result, you got a drainage system made with your own hands, which will withstand any weather conditions and will be able to remove any pressure of water for a long time. Perhaps not only your children, but also your grandchildren will thank you for a job well done. published
Source: estp-blog.ru/rubrics/rid-39701/
Types of wood and their application to the construction of the house
How to build a fence in the country, if the budget is tight
