697
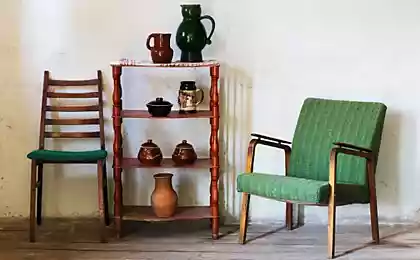
Stylish idea for the interior in the style of Provence as the stylish furniture to age!
Aged furniture can be a very unusual and quite original features. If you are a long time thinking about how to somehow change the design of the apartment, not bothered to repair or buying new furniture, the aging of the tree can render you a great service, because you not only have completely updated the look of their homes, but also costs the least money . And tell you how to do it!
Step 1: Application of the base layer
First you need to choose some bright paint colors and gray necessarily to be mute, and finally, the basic color, white or gray. Since it is necessary to begin.
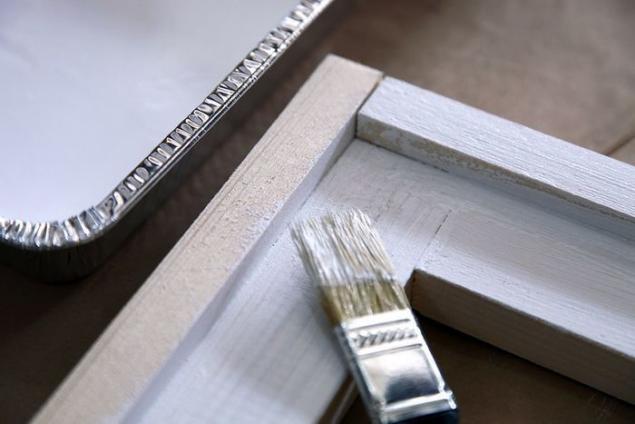
Step 2 Drying
Before applying each new coat of paint, the previous should be well dried. Spend it at least 10-20 minutes.
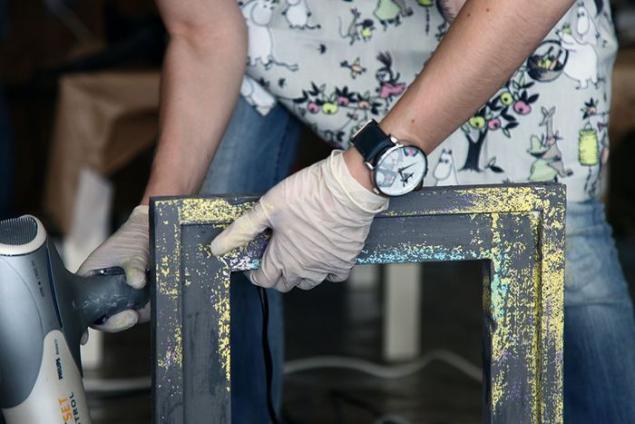
Step 3. Rubbing paraffin
Sodium paraffin those parts of the product to be beautifully shabby: edge angles. Later, with these places following layers of paint will be more willing to depart.
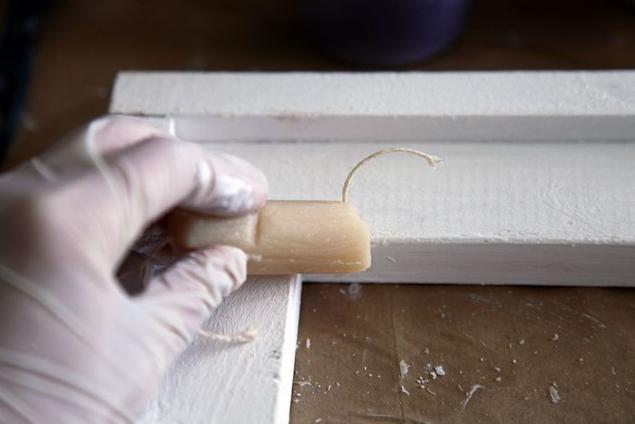
Step 4: Adding filler
This material can create volume and texture, bump and achieve the same effect as if a thing has imposed a dozen layers of thick paint.
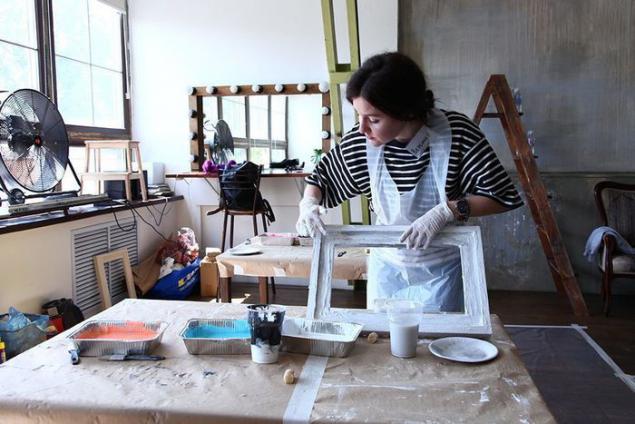
Step 5. Processing sponge
To create the effect of wear and transmission each from the other layers of paint, not necessarily use a hide - you can simply apply the paint with a sponge.
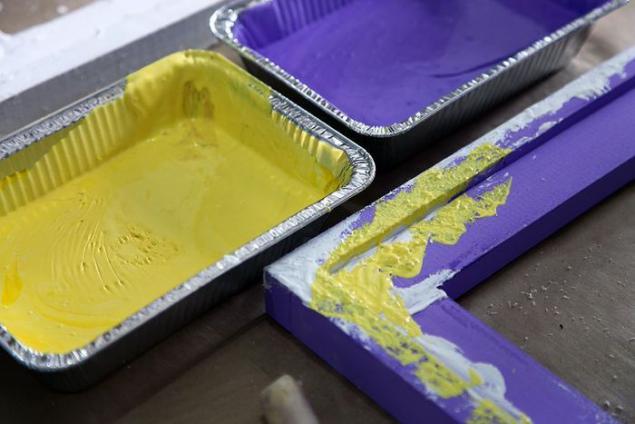
Step 6. Again painting
Imposing layer upon layer of paint, it is important to stop in time. Usually three to five layers is more than enough.
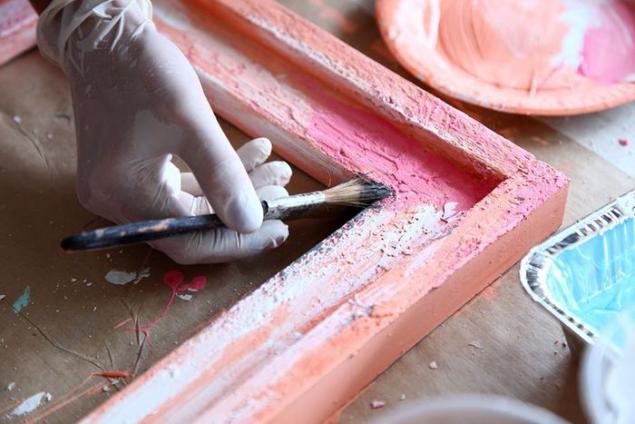
Step 7. Use nazhdachki
This is the most dusty of the work. You have to clean off excess layers of paint.

Step 8: Final Touch - Kuzbasslak
This bitumen varnish. It's cheap, fast drying and gives a noble dark brown tone.
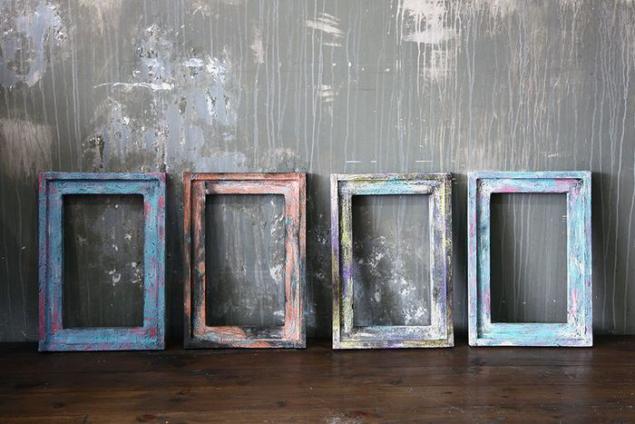
That's all! Nothing complicated in the creation of these masterpieces there, you just practice and, of course, the inspiration. If you liked the idea, be sure to try to wear out even a wooden frame!
via takprosto cc
Step 1: Application of the base layer
First you need to choose some bright paint colors and gray necessarily to be mute, and finally, the basic color, white or gray. Since it is necessary to begin.

Step 2 Drying
Before applying each new coat of paint, the previous should be well dried. Spend it at least 10-20 minutes.

Step 3. Rubbing paraffin
Sodium paraffin those parts of the product to be beautifully shabby: edge angles. Later, with these places following layers of paint will be more willing to depart.

Step 4: Adding filler
This material can create volume and texture, bump and achieve the same effect as if a thing has imposed a dozen layers of thick paint.

Step 5. Processing sponge
To create the effect of wear and transmission each from the other layers of paint, not necessarily use a hide - you can simply apply the paint with a sponge.

Step 6. Again painting
Imposing layer upon layer of paint, it is important to stop in time. Usually three to five layers is more than enough.

Step 7. Use nazhdachki
This is the most dusty of the work. You have to clean off excess layers of paint.

Step 8: Final Touch - Kuzbasslak
This bitumen varnish. It's cheap, fast drying and gives a noble dark brown tone.

That's all! Nothing complicated in the creation of these masterpieces there, you just practice and, of course, the inspiration. If you liked the idea, be sure to try to wear out even a wooden frame!
via takprosto cc
Halal and kosher meat - satellites of a healthy lifestyle!
29 tricks that are used by the kitchen chef. Now I will only do so!

