2657
Up! Plus 2. Overview: unpacking, calibration, and analysis of the first printing

The first rule of working with Up! Plus 2: Preheat platform
Second rule: check, whether you're warmed platform
The third rule is to double-check whether you warmed platform
The Chinese company PP3DP closed issue printers first version ( Overview Habré first model: Up ! Plus) and now the Russian market to actually buy only UP! Plus 2.
In this topic try to highlight Unlike the first version Look & quot; under the hood Surface Printing occurs in 1 click? ) and give a couple of recommendations for the use 3d printer.

(35 photos under the cut)
Refinement Room 1: soft mode lowering the platform
Fitch:

Comparing the size of the platform:

Beige - from Up! plus 1, black - Up! plus 2
Comes with 3 platform. Teflon coating. Of pure acetone. (Some special stocking igolochkoj ... for meditation).
For mounting platform no longer needs to be purchased at office supply store - included are a handy clip:

Nozzle calibration platform:

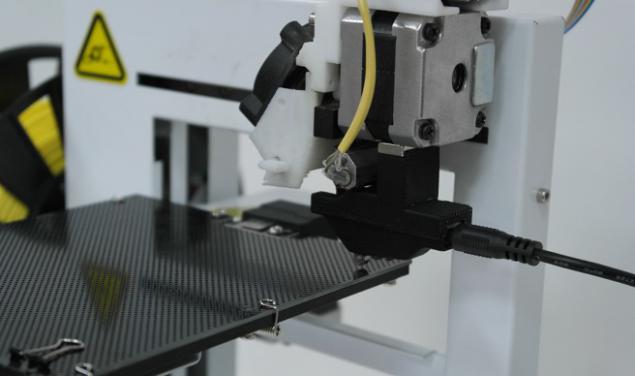
Autocalibration platform Auto Level - on the head with a magnet and he hung up the sensor probes away at random at 9 points.
Height sensor platform:

If earlier it was necessary to adjust the height of the nozzle, it is done manually. Now it is sufficient to connect the sensor cable to the platform with the connector on the back board of the printer and run the program Auto Nozzle High
New connector for sensor calibration (color / green-blue):

Fixed something that had a lot of complaints - an arm of the head (now not pognesh and cranky!):

Previously grind heaters platform, now the question is solved - flat ribbon cable:

The board has undergone revision:

Fee - new PCB. New quality of harassment and optimization of tracks. Molex used multicolored (blue to blue, yellow to yellow). All wires are removed in a braid.
The new processor 8000, programmed softer / smoother motion.
Photos old board to compare
Grounding (considering "stability" of the Russian ruble voltage, ground - a thick bolt on the board):

2-pin print head - you can put any extra fan or lighting:

(Left Up! Plus 2, Right Up! Plus 1)
The power supply (19, 5V, 9, 5A) was a little smaller, but still huge:

The left power supply conventional laptop, right - Up! Plus 1, centered Up! Plus 2
Mode Surface
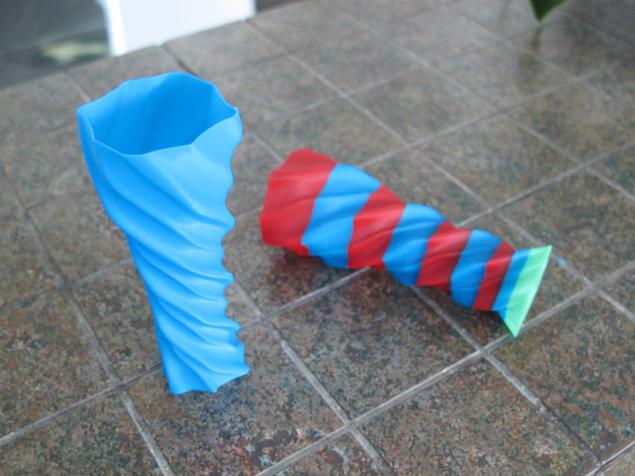
(picture from the site of the manufacturer)
Surface mode prints only the outer wall of the model ignoring the internal filling. For example, if a model of a closed cylinder will be printed "tube" with a wall thickness equal to the resolution of the layer. For example with a thickness of 150 to 150 and so on. In principle, the tricky location, you can print the closed balls. That is the model where the overlapping layers of less than 90 degrees are not included. The point is that this mode can best see the overall shape of the future model and print it in full size, compared with the others, much faster than in normal print settings. Of course, the model will be more fragile. Plus, the quality of the stacking layers will, in some cases even higher than stated by the manufacturer. I saw samples of printed items, where the layer thickness is 100 microns instead of the declared 150.
Calibration and automatic determination of the level
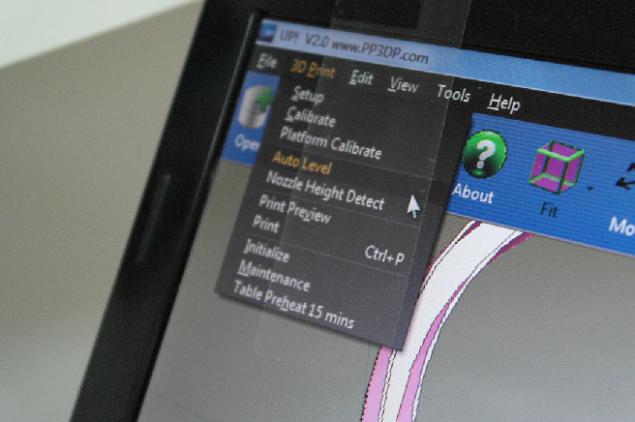
Selecting the Auto Calibration menu:
The nozzle on the printhead in regard to platform 9 points:
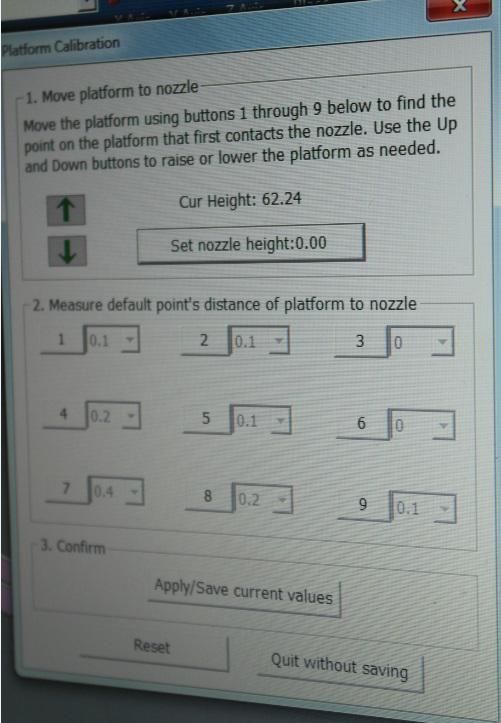
The measurement data are entered into the program:
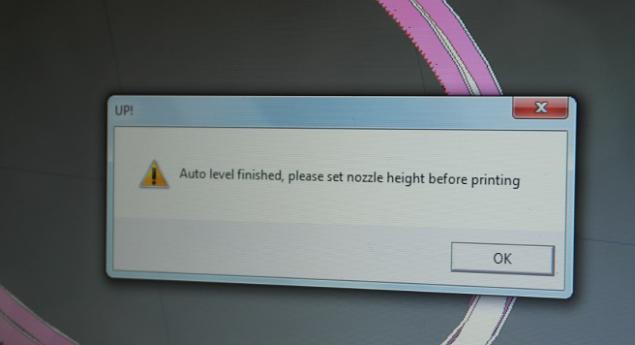
Auto-calibration is complete:
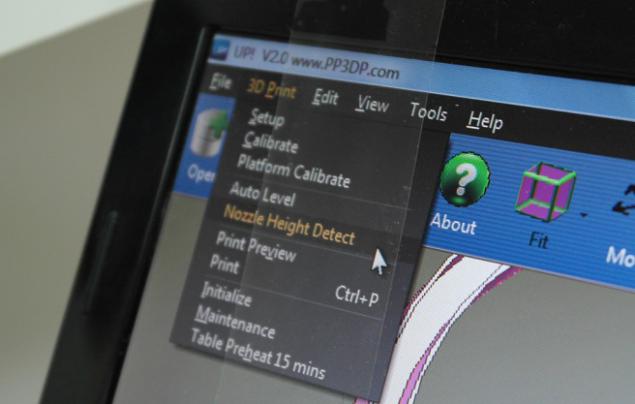
Automatic determination of the height of the printhead relative to the platform:
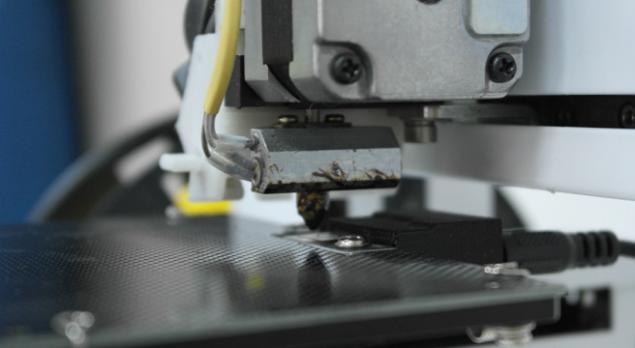
Printhead nozzle touch the sensor on the platform:
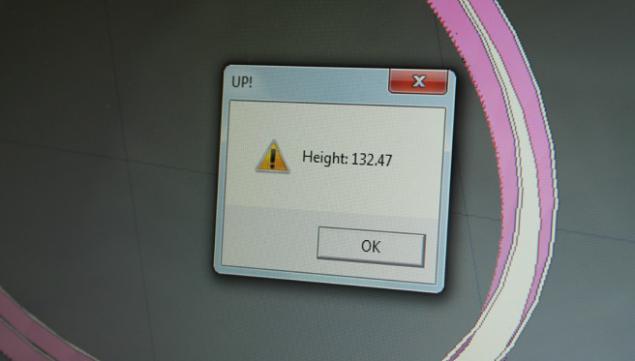
Height is defined:
Print the shield of World of Warcraft
I recall that as in Up! Plus 1 and at Up! Plus 2 - their own software, which lacks mozgolomny stage with "Slicer».
Step 1: Downloading from the Internet model (http://www.thingiverse.com/thing:48069), or saves itself from WoW
Step 2. Load the model in the print program (scalable and rotate if necessary)
Step 3. Warms platform
Step 4. Print
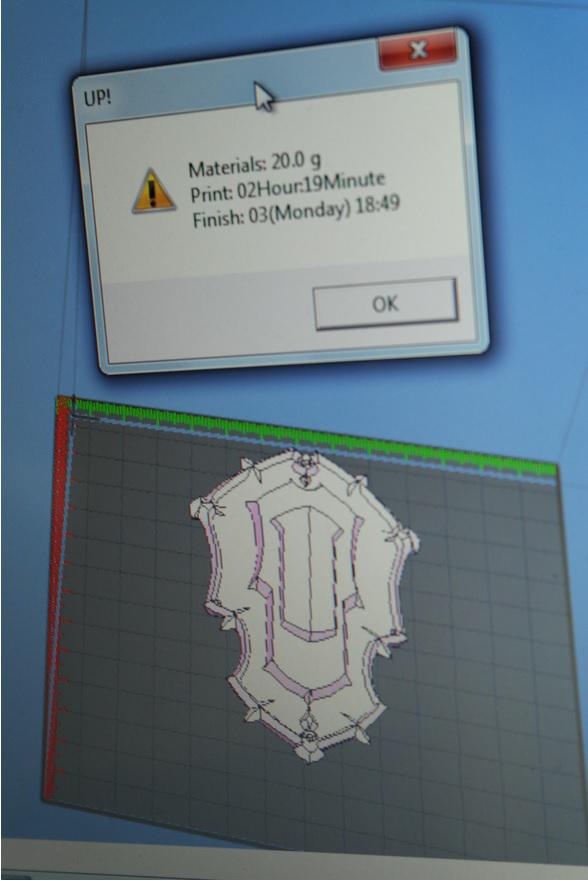
Estimation of the time of printing and plastic masses:
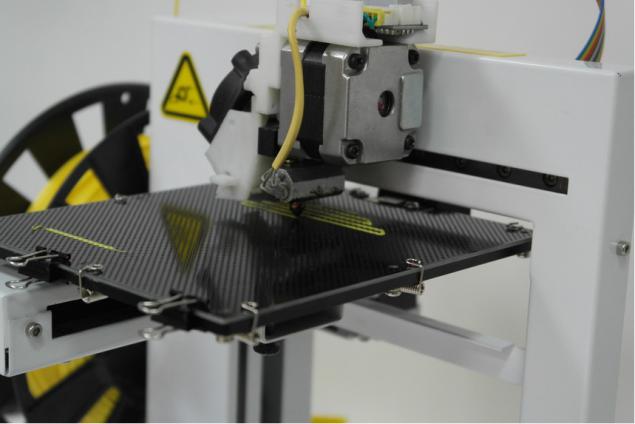
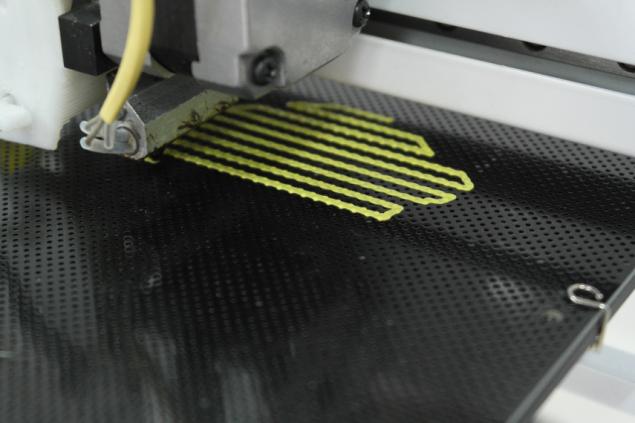
Start printing auxiliary layer on which the item will be placed:
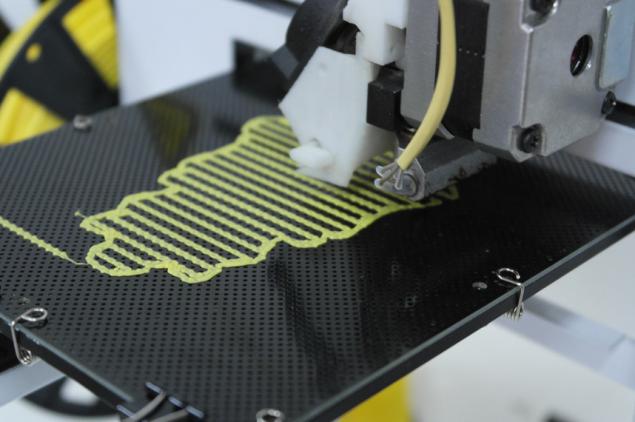
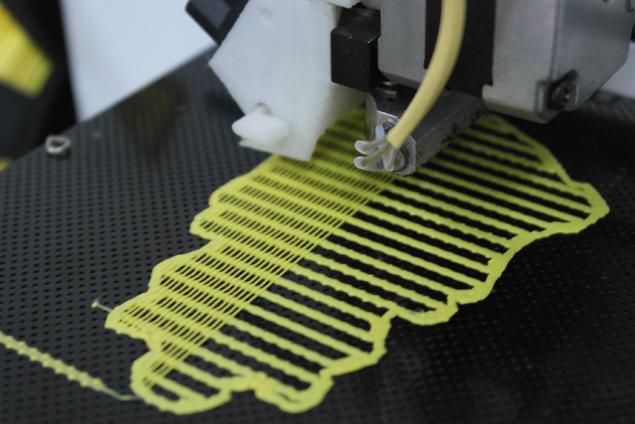
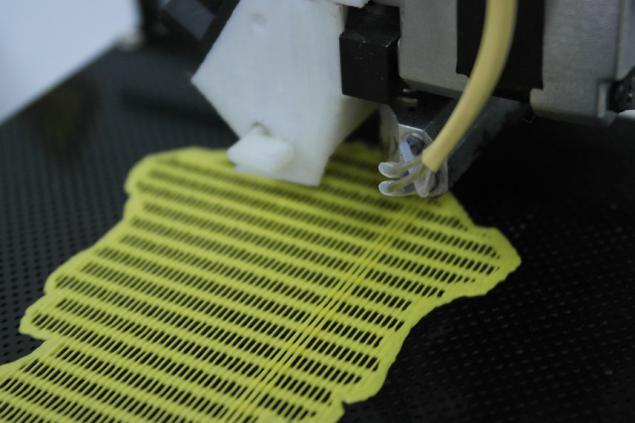
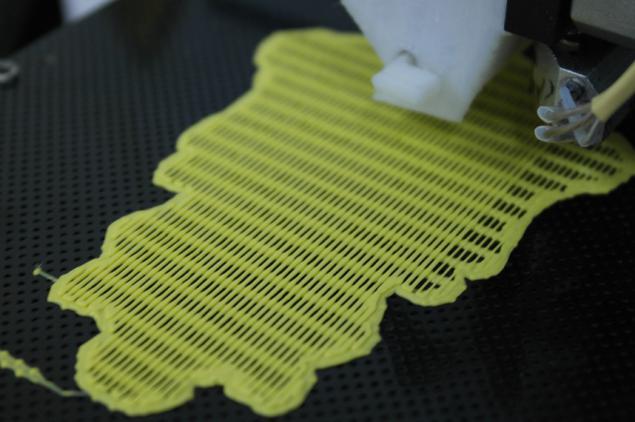

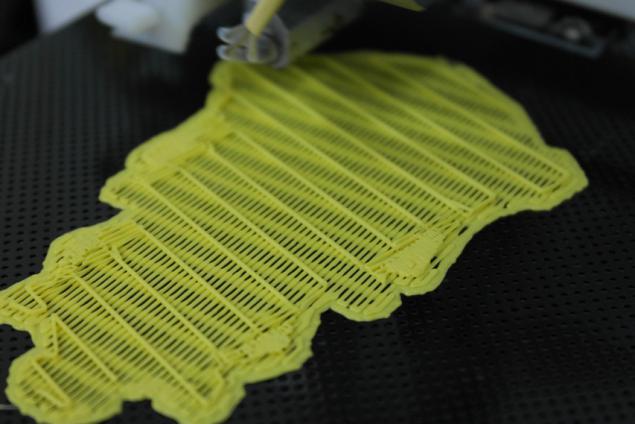
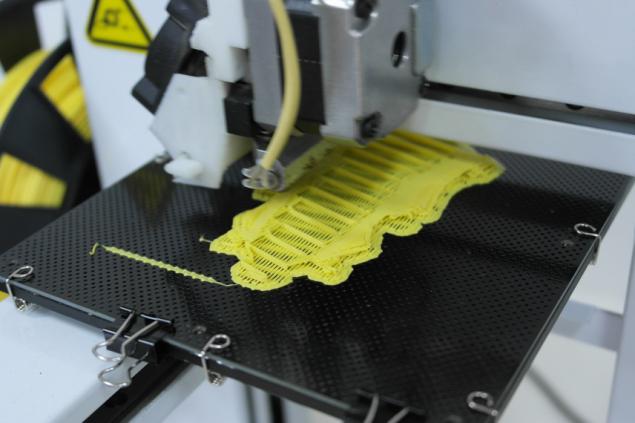
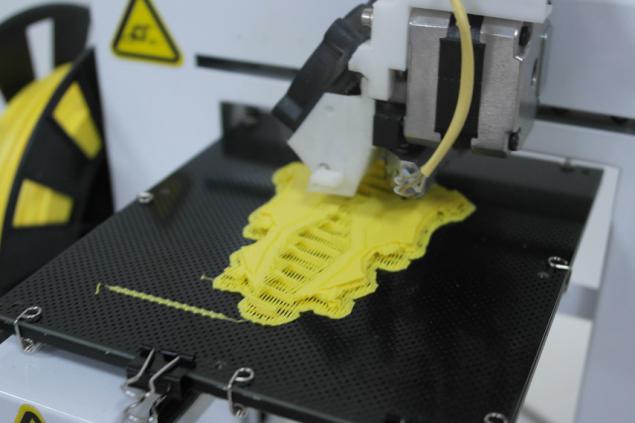
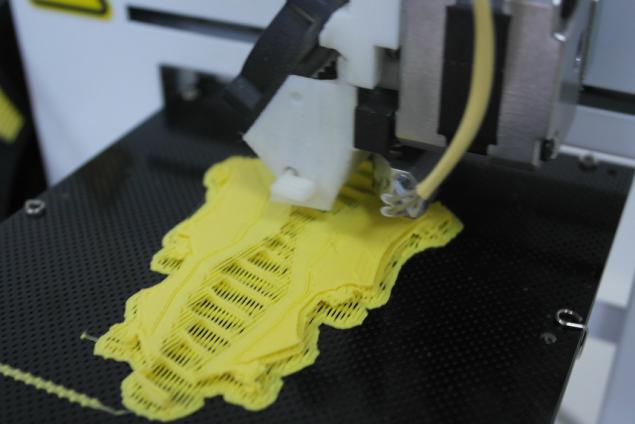
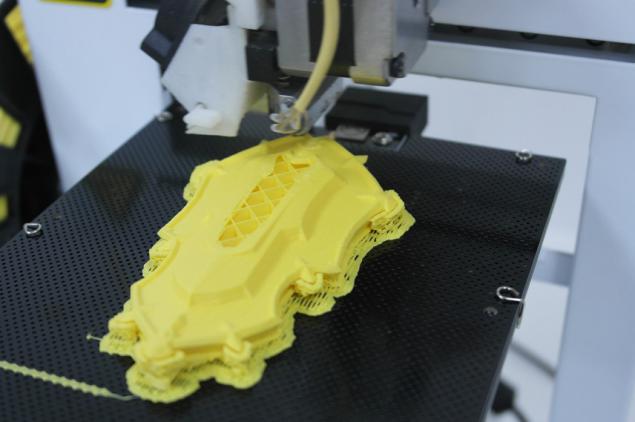
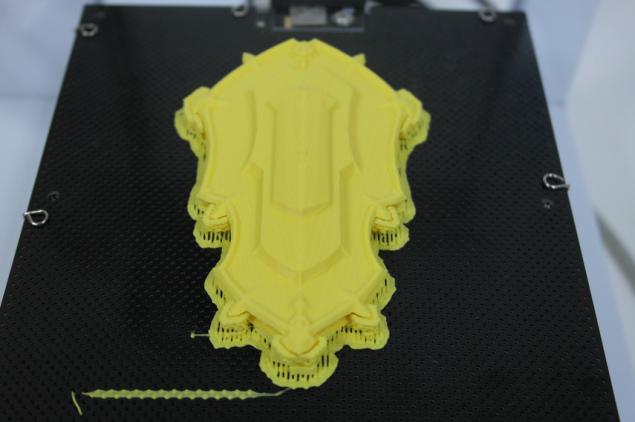
Shield of Lordaeron ready!
A few words about soft
There are 2 types of printers: those who use the "open software" and those who use their own software.
And those and others have their own advantages.
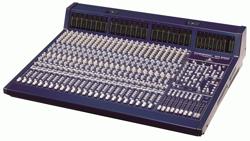
Free Software
Net software from the manufacturer «unpack and print»
Developing their own software can afford only large companies (3d systems, Makerbot, PP3DP etc.) or some startups that make the software on a special rate.
Recommendations from Technical Support
1. Remove the nozzle only on hot,
2. Use only the heated platform
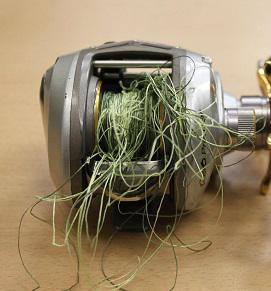
3. It is for the coil because the "beard", is not only the fishermen
Conclusion:
- Printer - home. Small, cozy, handmade.
(Although I saw his excellent use of "commercial scale" - the room is worth a dozen of these brave guys and order prints from architects)
- Save time on the auto-calibration / determination of height
- Simple and convenient to send a print model
Source: habrahabr.ru/post/214649/
Selecting the Auto Calibration menu:
The nozzle on the printhead in regard to platform 9 points:
The measurement data are entered into the program:
Auto-calibration is complete:
Automatic determination of the height of the printhead relative to the platform:
Printhead nozzle touch the sensor on the platform:
Height is defined:
Print the shield of World of Warcraft
I recall that as in Up! Plus 1 and at Up! Plus 2 - their own software, which lacks mozgolomny stage with "Slicer».
Step 1: Downloading from the Internet model (http://www.thingiverse.com/thing:48069), or saves itself from WoW
Step 2. Load the model in the print program (scalable and rotate if necessary)
Step 3. Warms platform
Step 4. Print
Estimation of the time of printing and plastic masses:
Start printing auxiliary layer on which the item will be placed:
Shield of Lordaeron ready!
A few words about soft
There are 2 types of printers: those who use the "open software" and those who use their own software.
And those and others have their own advantages.
Free Software
Net software from the manufacturer «unpack and print»
Developing their own software can afford only large companies (3d systems, Makerbot, PP3DP etc.) or some startups that make the software on a special rate.
Recommendations from Technical Support
1. Remove the nozzle only on hot,
2. Use only the heated platform
3. It is for the coil because the "beard", is not only the fishermen
Conclusion:
- Printer - home. Small, cozy, handmade.
(Although I saw his excellent use of "commercial scale" - the room is worth a dozen of these brave guys and order prints from architects)
- Save time on the auto-calibration / determination of height
- Simple and convenient to send a print model
Source: habrahabr.ru/post/214649/

There are 2 types of printers: those who use the "open software" and those who use their own software.
And those and others have their own advantages.
Free Software
Net software from the manufacturer «unpack and print» Developing their own software can afford only large companies (3d systems, Makerbot, PP3DP etc.) or some startups that make the software on a special rate.
