286
Making a gift to the 23 th
It will be 17 pictures, please do not break.
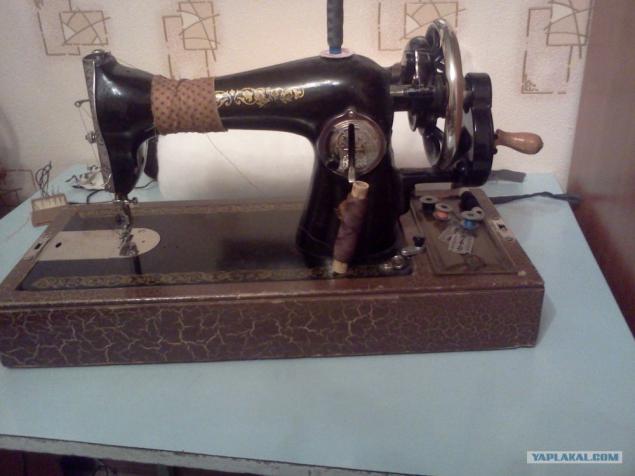
February 23, I decided to make his counsel toy cat. After all, the best gift - a gift made by your own hands. Here's what came of it. The following will describe the process of making ...
1.
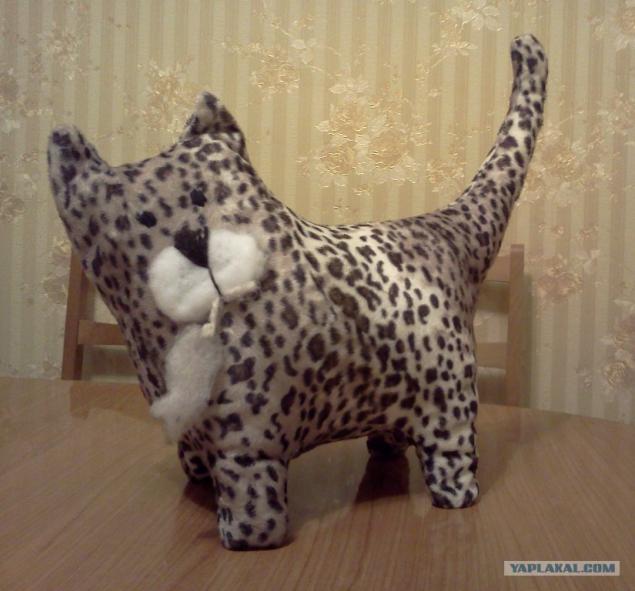
In order to make this necessary Mike Farley:
Fabric - about 40 cm;
Sintepon - 70 cm;
Yarn, needles, pins, scissors;
And a little test a prototype)
For a start is better to draw a cat pattern on paper. The toy consists of 3 parts, but the pattern is 2, because two of the same.
2.
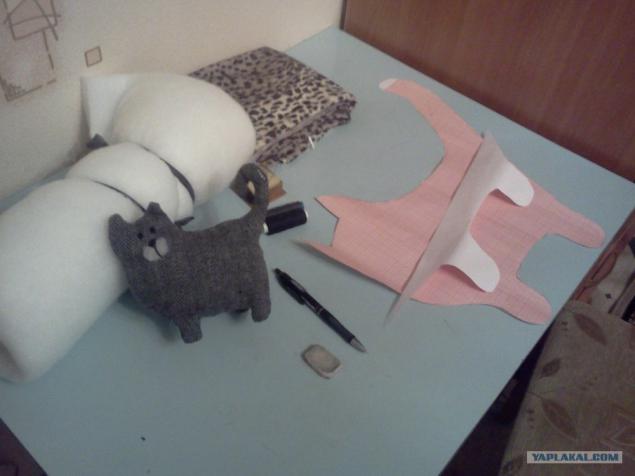
Fabric placed face inward. And prick the pattern laid on the fabric. What to do with the cut of the belly, but only the first fabric is folded and laid pattern bezlapoy side to the fold.
3.
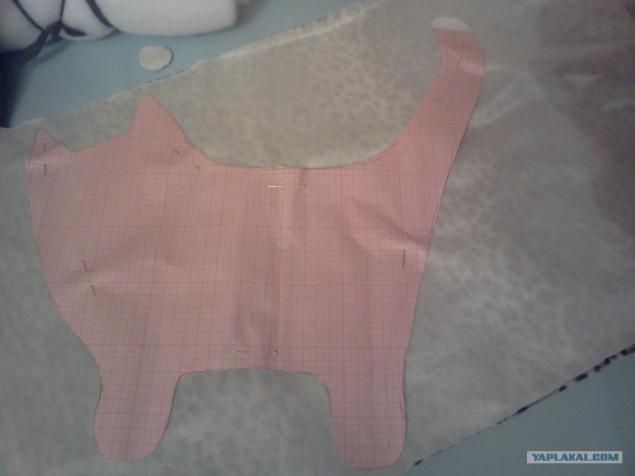
Trace the contours of the fine, or a soft pencil.
4.
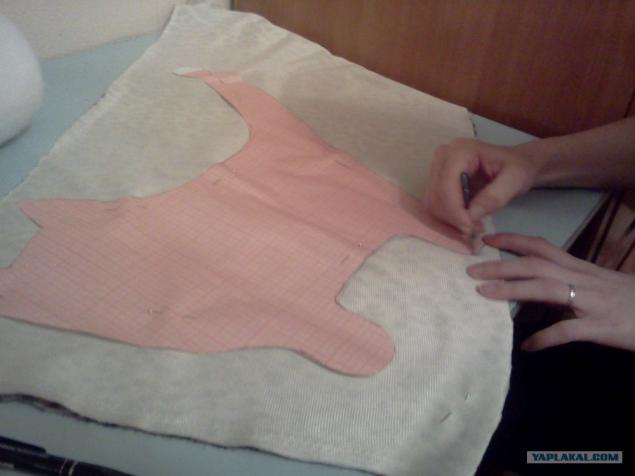
Then cut, leaving allowances 5-7 mm.
5.
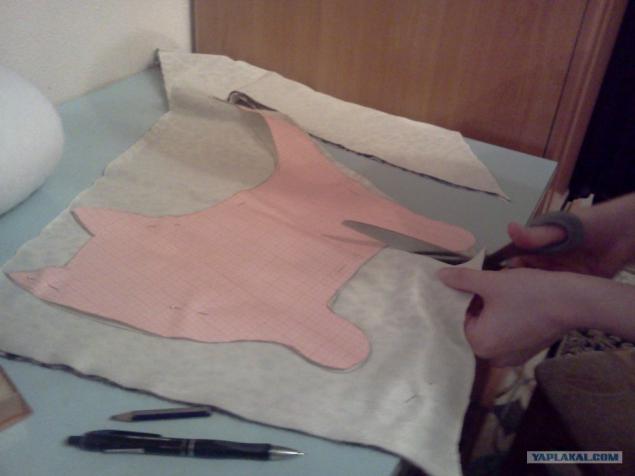
It should look like this.
6.
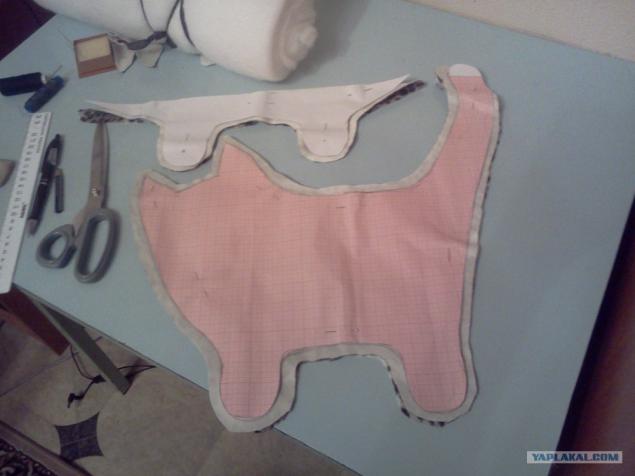
It has to look like a cat belly
7.
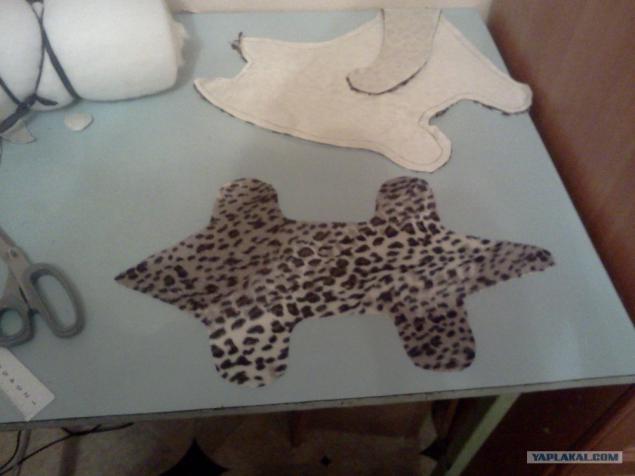
After all cut shearing safety pins and connect all sections of temporary stitches. Puzo's best to start with the shear legs. All work is done from the inside.
8.
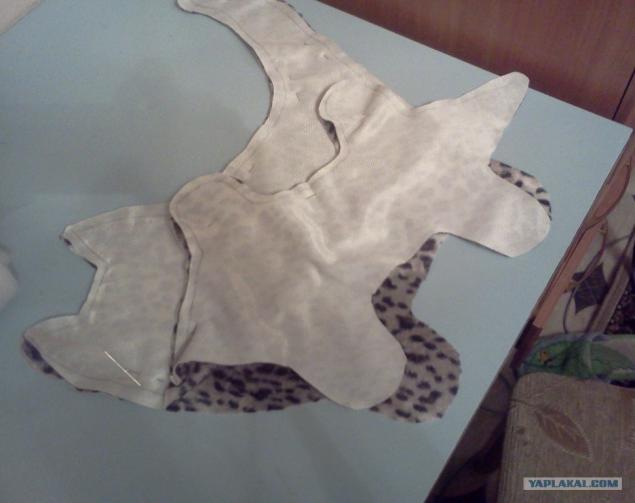
Just forgot about the cat's muzzle! It is better to do after all the cut. Cut the thick fabric is not showered small oval.
9.
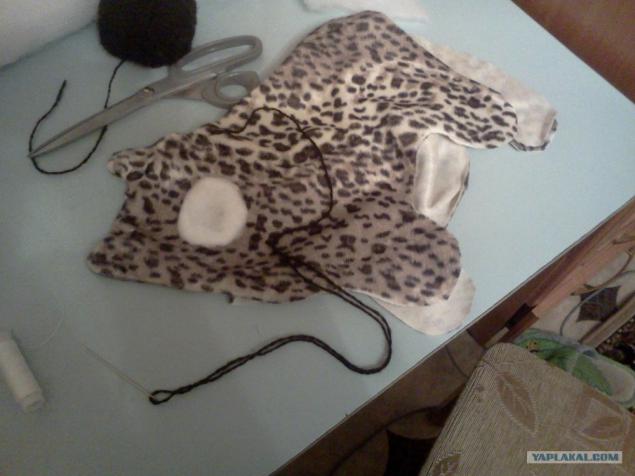
Here you will need a clamp needle, thread, wool unnecessarily. Sew on our oval form the nose, as shown in the photo. His eyes, too, do woolen threads (you can floss). They are made embroidery.
10.
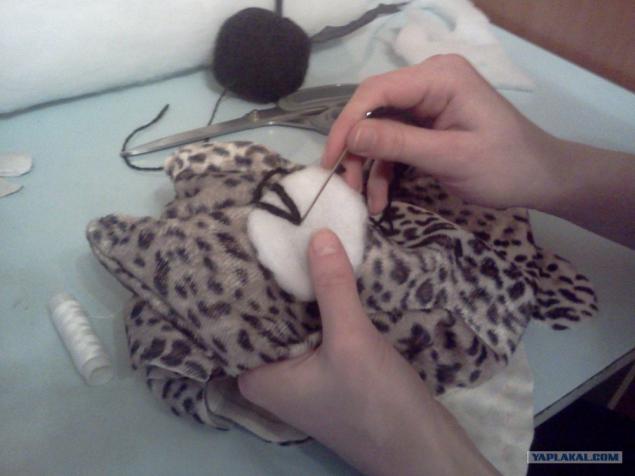
It is already connected parts.
11.
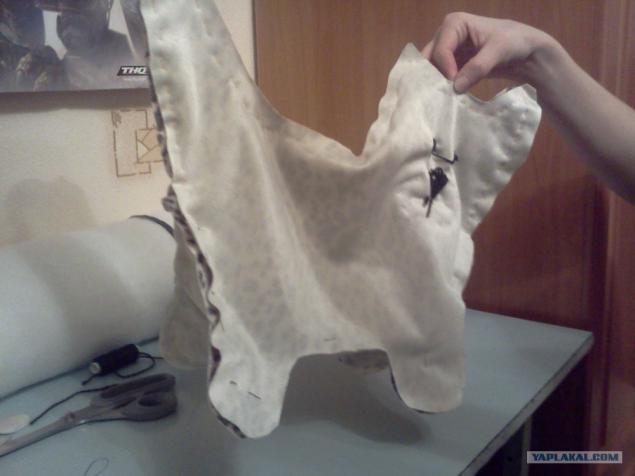
Crosslinking it all with such a rarity.
12.
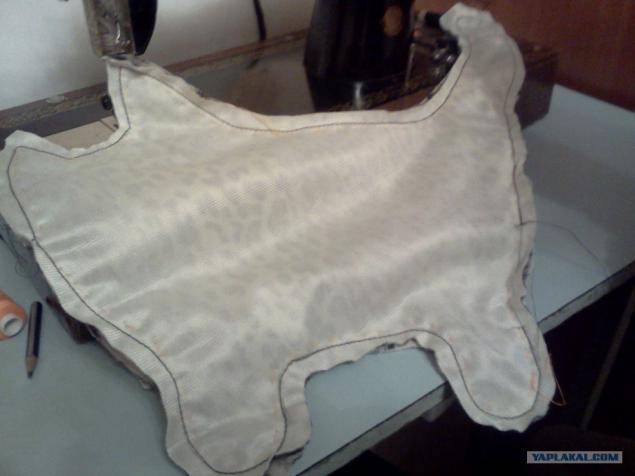
Grind (ie, connecting parts of machine stitching) leaving no stitched portion to turn the product.
13.
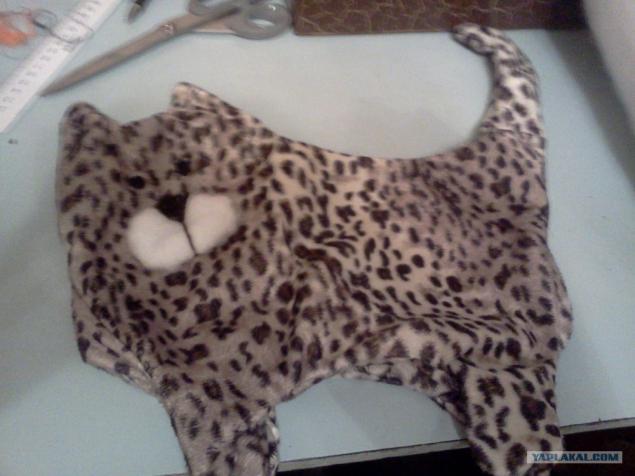
Turned cat.
14.
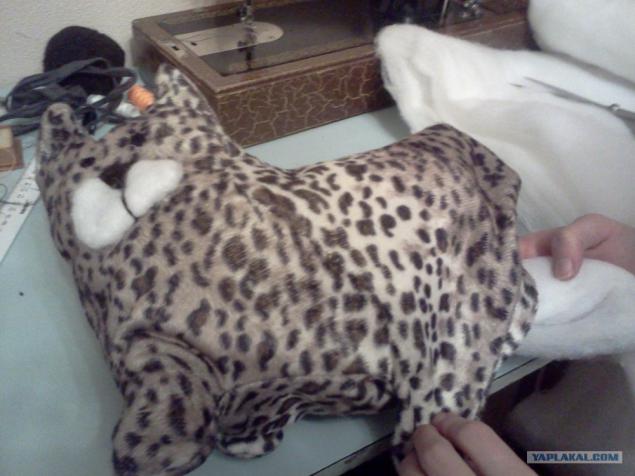
Stuffed cat synthetic padding. Kote dissatisfied with the muzzle on him that stuffing all kinds of things . Once stuffed cat, left the opening sutured.
15.
And next to it is the result of a prototype! (mouse carved from syntepon)
16.
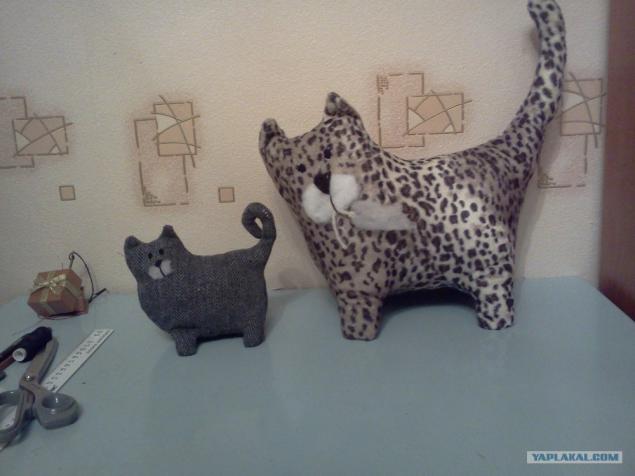
And further. On this I have everything. (plans to manufacture a few other friends for koteek on March 8. If you liked the post, and lay them)
17.
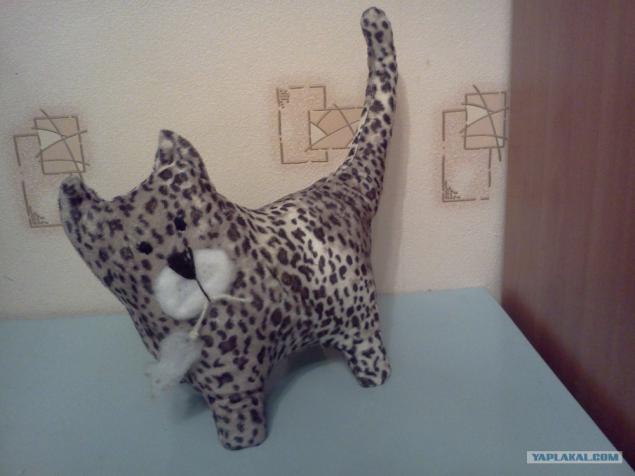
Source:
February 23, I decided to make his counsel toy cat. After all, the best gift - a gift made by your own hands. Here's what came of it. The following will describe the process of making ...
1.

In order to make this necessary Mike Farley:
Fabric - about 40 cm;
Sintepon - 70 cm;
Yarn, needles, pins, scissors;
And a little test a prototype)
For a start is better to draw a cat pattern on paper. The toy consists of 3 parts, but the pattern is 2, because two of the same.
2.

Fabric placed face inward. And prick the pattern laid on the fabric. What to do with the cut of the belly, but only the first fabric is folded and laid pattern bezlapoy side to the fold.
3.

Trace the contours of the fine, or a soft pencil.
4.

Then cut, leaving allowances 5-7 mm.
5.

It should look like this.
6.

It has to look like a cat belly
7.

After all cut shearing safety pins and connect all sections of temporary stitches. Puzo's best to start with the shear legs. All work is done from the inside.
8.

Just forgot about the cat's muzzle! It is better to do after all the cut. Cut the thick fabric is not showered small oval.
9.

Here you will need a clamp needle, thread, wool unnecessarily. Sew on our oval form the nose, as shown in the photo. His eyes, too, do woolen threads (you can floss). They are made embroidery.
10.

It is already connected parts.
11.

Crosslinking it all with such a rarity.
12.

Grind (ie, connecting parts of machine stitching) leaving no stitched portion to turn the product.
13.

Turned cat.
14.

Stuffed cat synthetic padding. Kote dissatisfied with the muzzle on him that stuffing all kinds of things . Once stuffed cat, left the opening sutured.
15.

And next to it is the result of a prototype! (mouse carved from syntepon)
16.

And further. On this I have everything. (plans to manufacture a few other friends for koteek on March 8. If you liked the post, and lay them)
17.

Source:

