Practically no longer people who have not heard of virtual reality, and probably all have heard about the VR-helmet Oculus Rift, which can be said has become a standard for such devices. Just on the market there are solutions that use the smartphone screen diagonal 4-5 & quot; as the screen VR-points, such as
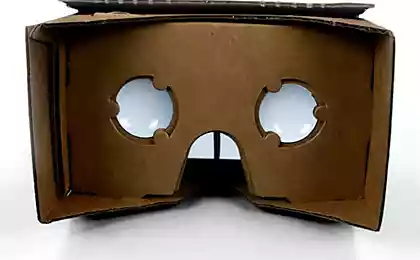
Durovis Dive or sensational
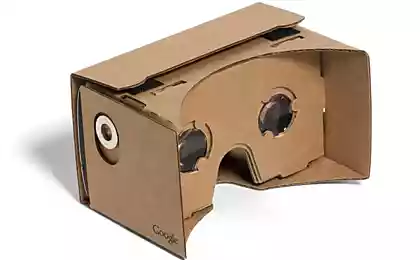
Google Cardboard , which lowered the bar for entry into the democratic virtual reality can already say for everyone, but, nevertheless, so far, this technology has not become widespread: not everyone has a smartphone with the right diagonal, to use the same cardboard project google, if not buy expensive but worth the money Durovis Dive type device without any understanding of what happened to him specifically to do next, and even more so to order and wait for the helmet itself Oculus Rift simple layman is problematic for many reasons - starting price for the unit what to do with which is not yet entirely clear, and ending with a rather long wait for Delivery. Naturally, the most important obstacle, besides the price, is the usual laziness and extinct curiosity.
In this article I'll show you your way to virtual reality, describe in detail and virtually comprehensive guide on making VR-helmet using any relatively modern android smartphone or tablet every diagonal, this project will cost about 5-8 hours, and 500 -2000 rubles costs, depending on your wishes and possibilities, and the output you get a very interesting device, which enables you to watch fullHD 3D movies and photos, play android games as well as helmet use for games in your favorite PC-games any degree of modernity. Yes, with head tracking and immersion in VR.
Therefore, if you are not too lazy and seizes you are curious, ask a cat, but I warn you, the article is filled with three dozen «potato quality» images, with a total weight of 4 megabytes.
In a recent article about Google Cardboard readers admired so simple and interesting concept - helmet made of cardboard with a pair of lenses, insert your smart phone and flew, but many have questions "how do under another diagonal", "how to install a back plate", and, most the main thing - the "why me badly seen this your 3D». I, as the owner of 6, 4 & quot; Smartphone Sony Xperia Z Ultra also interested in these issues, especially after my friend arrived with a parcel svezhevypuschennoy Durovis Dive, where, as in a cardboard helmet google, you can set the device only in the region of five inches diagonally, and he gave me a pair of lenses which bought for making your own helmet.
Trying to lean my smartphone to durovis dive was not successful - something, of course, to be seen, but to 3D, or at least acceptable even picture was far away, and virtual reality and did not smell. In this fourth nexus installed in this device showed good results, but the resolution of 1280x720 pixels is also not allowed to fully enjoy the dive.
So, having the smart phone, a couple of lenses and some optimism, I decided to spend a little time making the helmet VR. If you already have a similar helmet, proprietary, or Google-kardbord durovis dive, and you're not interested to read my experience in manufacturing - you can proceed directly to the description of the possibilities for the application, I'm sure it will be interesting to you.
Tools and materials required for the manufacture of equipment Slam h4>
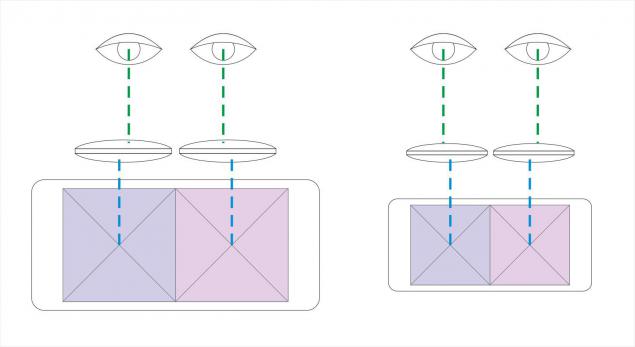
So, the first thing we need is fullHD smartphone or tablet with the operating system Android, the more modern the better, in this case, the diagonal, for the most part, is not important. The greatest importance is the longest side of the screen - it should not be much less than twice the distance between your pupils, but should not be much longer - the center of each half of the frame has to fit into the center of the pupil, this parameter is adjusted convergence and removal of lenses from each other and there are some pitfalls. For reference, the diagonal is used in the described helmet smartphone is 162 mm and the long side - 142 mm.
The second thing we need is a lens. Here we must remember that the working area of the lens with minimal distortion in the center, and the distance from it, the picture quality is falling rapidly, so the diameter of the lens should be large enough to cover without distortion difference in the distances between the centers of the eyes and the halves of the frame, but This does not exceed a certain limit to the lens can be moved closer together or further apart away but so view passed close to the central region of the lens. Schematically shown in the figure below.
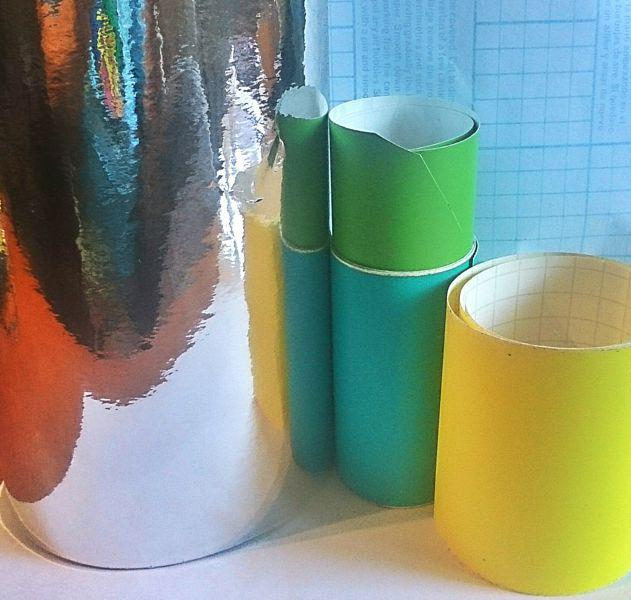
On the topic of choice and search for lenses and optical systems in general, I will not go into the details, because fully describe this vast topic in this article is problematic, there are a lot of options, and some of them will have you - I do not know. In my case, a pair of magnifying glasses were purchased at a hardware store at 160 rubles, here are:
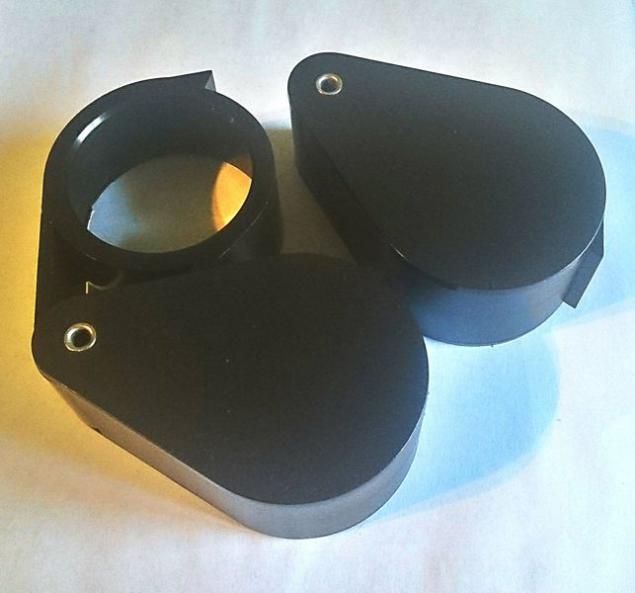
With samples and initial setup it was decided to disassemble their body, and what is the surprise - in each such loop turned a pair of identical (or at least indistinguishable to the naked eye) lens diameter of 50 mm and a thickness of about 8-9 mm, and with them will work.
Actually, for the manufacture of helmet you need the following materials and tools from the nearest hardware store, in my case it was Leroy Merlin:
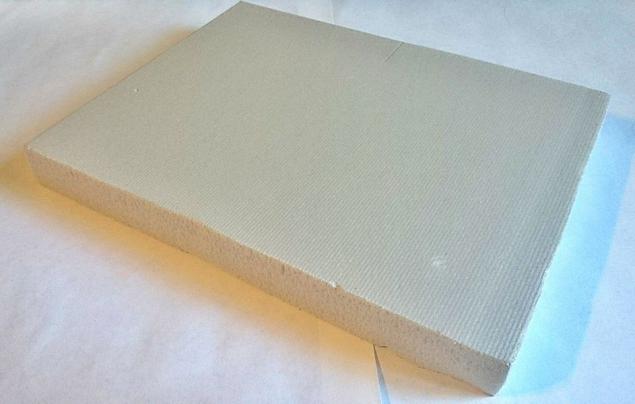
1. The foam construction, medium density, 20 mm thickness - 0, 5 m2, 60p per sheet
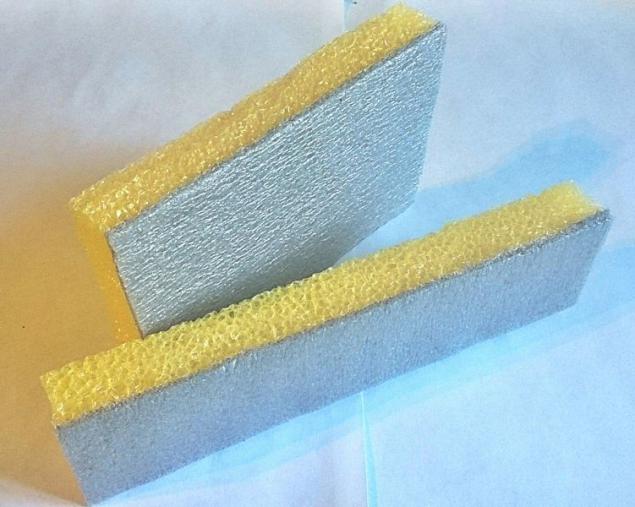
2. Foamed polyethylene, 20 mm thickness - 0, 8 m2, 80r per sheet
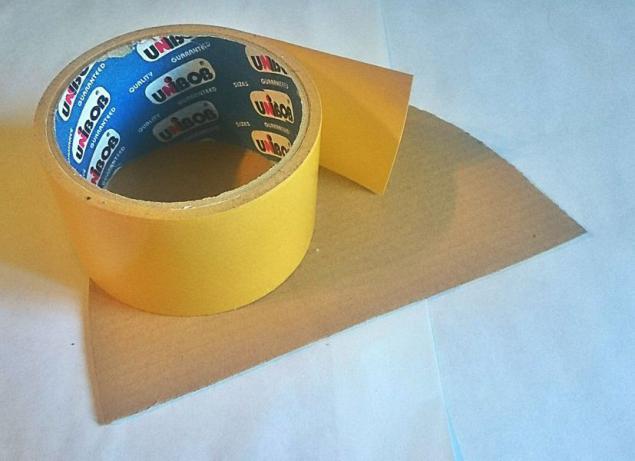
3. Roll of double-sided tape and a piece of cardboard mikrogofrirovannogo 2mm - 60r for all
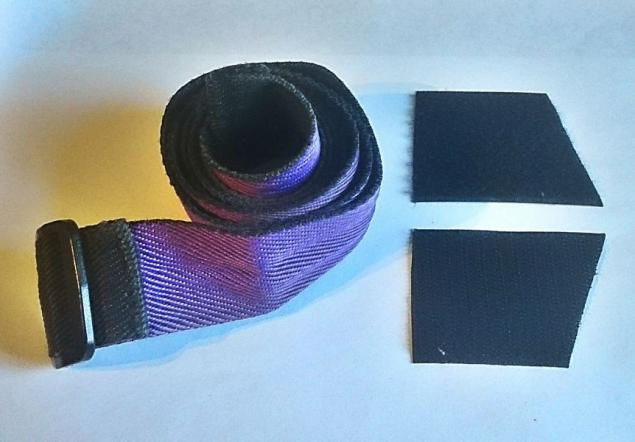
4. Wide elastic band or belt, you can "Velcro" Velcro - 50p for everything
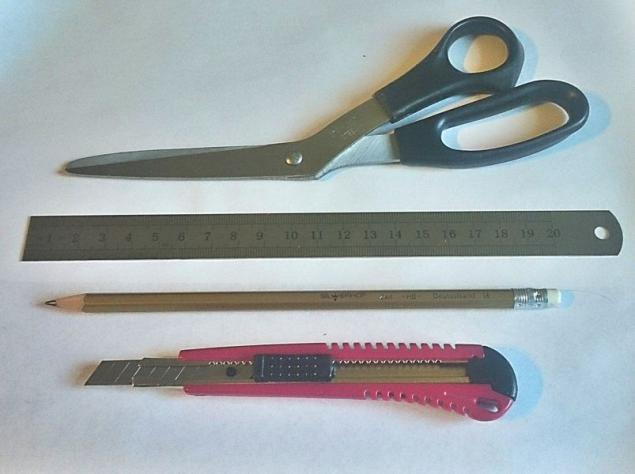
5. A set of tools for drawing and cutting materials - 100R for everything
6. Scotch, or in my case vinyl in stock - 100R for everything
I have to say, buying materials, I do not know the desired flow rate, but it is estimated by eye, bought one sheet of polyethylene foam and should be enough for 3-4 of the helmet, and smaller volumes did not sell it all. It does not matter, before starting work just remember the following useful skill - kroite and boldly cut exactly half of the material, do not be afraid to throw and try again - materials cost a penny, and your comfort inside the helmet - priceless, so it's better to remake the item is more convenient than to suffer later rubbed on the surface, or squeezed, or too free size resulting share.
Further, optimizing your activities already pre-prompt that even before the start of work, you will need to download smartphone applications and files on which you will try and match your optical system.
Programs and files to verify that h4>
1. MX Player 1.7.28 - This free player allows you to play the required Files with the correct aspect ratio, and the codec to it, depending on the type of processor
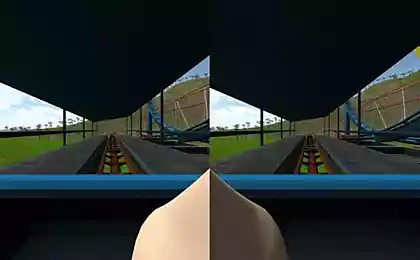
2. Any 3D videos recorded in side-by-side, it may be films, broadcasts and anything else, look for SBS HD network
3. If you find a movie in the format you SBS was difficult, there are two wonderful player Go Show and SBS-Player - first in free mode shows opensursny Cartoon Elephant Dream, and second - can play any of the usual videos, so that they will be displayed in the SBS - that is, you will not see 3D, but it will adjust the focus and lens shift, and the inside of the helmet you will see as if a normal watch a movie with a very large screen < br />
4. Of course, the more you can install any application here of these lists and use them, but for me personally, this option is not convenient for the settings to show you but, nevertheless, it is worth to try them to know what it is about:
www.divegames.com/games.html
www.refugio3d.net/downloads/
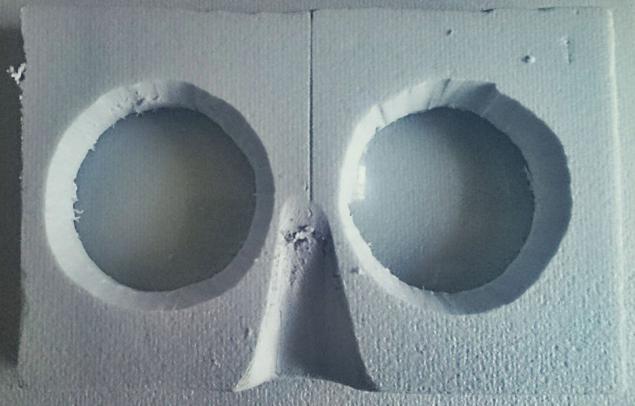
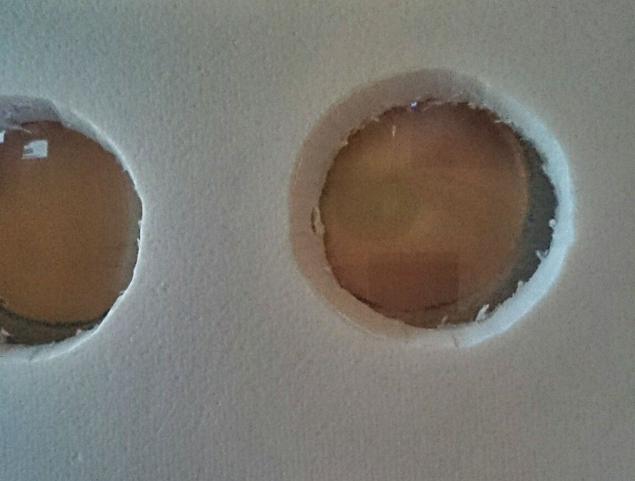
So, you have downloaded and tried out the methods described above, and select the most suitable for you personally for fast operation. Let's agree that you have a smartphone or tablet with 6-7 & quot; diagonal, two pairs of lenses (and you can try one pair, but my circuit still two possible discrepancies, use at its discretion), installed programs and materials purchased with tools. The first step will be making the first eyeglasses for the first pair of lenses. I made it out of the foam, and in theory, it would be nice to have on hand tsentrobur, though even on concrete that crashed into the wall outlet, and generally fit any such sliding cutters on wood or even a compass. I have to hand it did not turned out so cut round holes had office knife Walter White that the lens diameter smaller than me - will be quite messy. So, the first blank - a frame for the two lenses, like the image below.
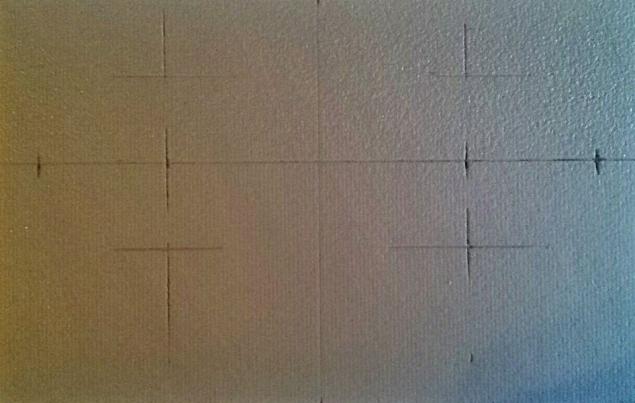
To make it, you will need to put the smartphone on the table face up, bent over him, and picking up a lens to bring them to his eyes, trying to find the focal length. Need to strive towards a minimum distance between the face and the screen, so that it is placed in a "lens" effect was observed and 3D. If this effect is not observed, shifted or distorted, do not despair, for a start will be enough to understand the focal length - or rather, the amount by which you want to remove the lens from the smartphone. And what about the distance between the lenses in this pair? All simple - get a value which is midway between the distance between the pupils and the distance between the centers of the frame halves (half the long side of the screen). Say, between the eyes at us 65 mm and 135 mm screen, his half - 67, 5 mm means you need to place the center of the lens by about 66 mm, to a first approximation, this is enough.
Now, once marked out the right distance, cut a hole for the lens. To estimate the density of the foam, I felt that it is sufficient for the installation of strong lenses, if making a hole under it a diameter slightly smaller than the lens itself, I Shrunk the circle cut 2mm in diameter that perfectly coincided with the assumption. You parameters may be different, but the essence is the same - make the hole a little less. Drown lens need shallow, I sank to 2 mm below it will be clear why, well, probably no need to mention that the lenses would be nice to place in the same plane, that is, should drown them both equally.
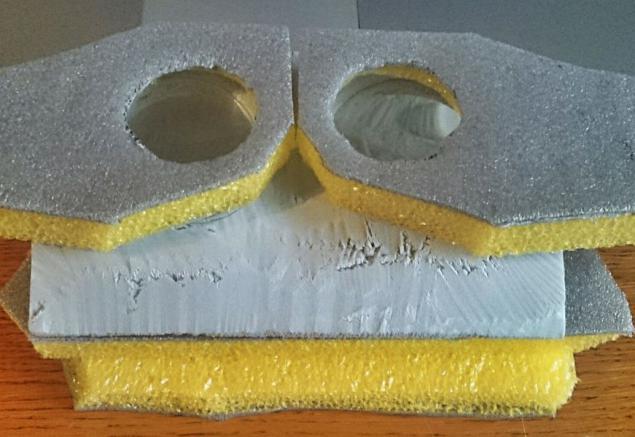
The first phase is completed, we now have the layout distance "screen-lens", and you can move on. Remember what I said about two pairs of lenses? They may not have as much importance in the optical sense (really important), but invaluable for further customization. Suppose you installed the first pair of lenses as described above, including a 3D image on a smartphone (a game, a movie, your choice), and trying to find the three-dimensionality. One pair of lenses I do here so hurriedly not given. But when I brought it to a second pair of eyes, and after playing in the distance found the right position - on the screen immediately turned three-dimensional image. To achieve this, you need to simultaneously move the lens relative to the screen, in a plane parallel to this screen and the first pair of lenses, up and down and sideways. Find a picture of the item on which you can track the parallax effect, focus on it and try to connect the images in each eye to coincide. With some skill to do it very quickly, but a way to speed this process I will unfortunately not be able to tell. I - that's helped a test stand, here the lower pair of lenses already in the foam and configured on the screen, and the top pair, framed in plastic, though each lens - separately, I moved before his eyes, searching for "stereo", and underneath all the construction - the screen is at the correct height:
Sooner or later you'll have a fresh, juicy, fashionable youth 3D, but, due to enter into the scheme of optical second pair - first setting the focus a little knock. No need to be scared, all that is required - to reconfigure the focus again. To do this, you first need to make a frame for the second pair of lenses that you just configured. My advice is this - first copy your first frame, adjusting for changing the distance between the lenses, and then - visually judge the distance between the first and second pair of lenses, after you have set up the three-dimensionality. Suffice it to the eye, and to compare this distance should be the material thickness - well literally more if the distance between the pairs or less than the thickness of the foam. If less - it's simple, you will need to install a second lens rim a little deeper, to the desired value, in case, if this distance is greater than the thickness of the foam - you can simply flip the frame over the first recessed side facing you, so you do not have to fence garden of spacers between the two rims. In my case, it just happened, I turned over the first frame on the contrary, these folded rim more recessed sides together, and a little drowned lens inward on each side.
Thus, we obtain an optical device that allows you to see 3D smartphone screen. But of course, we know about the trick that changed first input of the second pair of lenses, and then another, and the first pair of flip the other side, so you need to adjust focus again. When by simple movements you catch the focus, you will notice that distance, and make backups of foam that height to set your first frame of the screen - the image in the lens was focused.
Here we must say this, in my opinion an important property, I'm not exactly sure of its nature, but have been repeatedly observed in the experimental. Many actions in life require repeated approach, using the method of approximation and iterations. This, apparently, is not all clear, but almost always this method works, and gives better results if you follow the simple algorithm - try and improve. That's the case with this helmet - the same story, perhaps the first time you do not get to do two right pair of frames, for example, I rewrote one pair three times, and the second - twice, and already know that I will remodel more, because there is the idea of improvement. But with every tinkering increased quality and the picture gets better, so if you did a couple of approaches, but you have "nothing happened" - do not despair, take rest and start again, continue. The result is worth it.
Small hint - if the resulting eyepiece (so I will call a block of two pairs of lenses and frames, assembled together) has a good stereo image, but the focal length is strongly increased relative to the first approximation, disassemble the eyepiece in half into two frames and play around with the distances may there is a more optimal - maybe you will need to flip one of the eyepieces on the contrary, maybe spread them away from each other. Remember that you need to maximize the number of effective pixels (and that is little information) and the minimum distance from the screen (and that would be cumbersome). If you have a wonderful, wonderful focal length, and the stereo somehow failed - neatly cut with a knife in the middle of the foam between the lenses and see - you need to push them or pull together, and there are already operating on the environment. Roughly speaking, you will have two eyepieces, under each eye - his, and reset them, and when out - glue them together bilateral adhesive tape.
At this stage, the story ends with the lenses, and now it does not matter, you did an optical circuit in my version, or based on their own reasons, will continue to be not so important that the rest of the story is suitable for any version.
Prototyping assembly Slam h4>
Find the total focal length of the eyepiece to the screen, we need to do it on the basis of the box, and then options - even more than at the stage of the lenses. But now you're holding the "heart", but rather "eyes" of the device, and it is the hardest part, then further be easier. Suppose you have got to do all of the above is true, and you can attach the eyepieces to the eyes and leaning over smartphone confidently observe a 3D image. Having played plenty of these demo layout, you'll notice some features of the lens and the convenience of eyepieces that you personally seem the most demanding optimization. It is not necessary to limit yourself greatly, optimize and improve something for themselves, under your eyes, nose and skull shape, and so on.
For example, I, after production of the eyepiece, put it to his face and realized that I kissed a styrofoam brick. Amenities exactly zero, and this helmet still worn on the head as a time!
play.google.com/store/apps/details?id=com.google.samples.apps.cardboarddemo
But.
That's it.
Because.