710
One winter evening
Good afternoon, PL!
Sitting at home long winter evenings, I thought what to do. And then fate decided everything for me))
17 photos + video
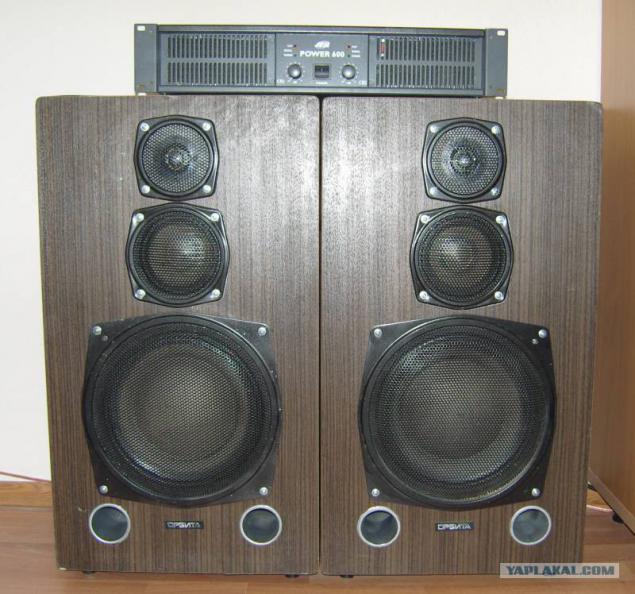
One evening, they gave me an excellent powerful speaker but an amplifier for them was not. Without thinking, I decided to put it on their own, especially because little experience of shamanism in electronics already had.
This article is not described in the assembly of the amplifier, and TONE, ie a device that allows you to adjust the volume, bass, and everything else.
So there you go. It will be 18 photos, and perhaps one video.
Please do not break like finish - please =)
P.S. The second theme, I hope it does not merge in BAYAN as the first, because this time all by myself. Strongly do not kick, I'm just learning))
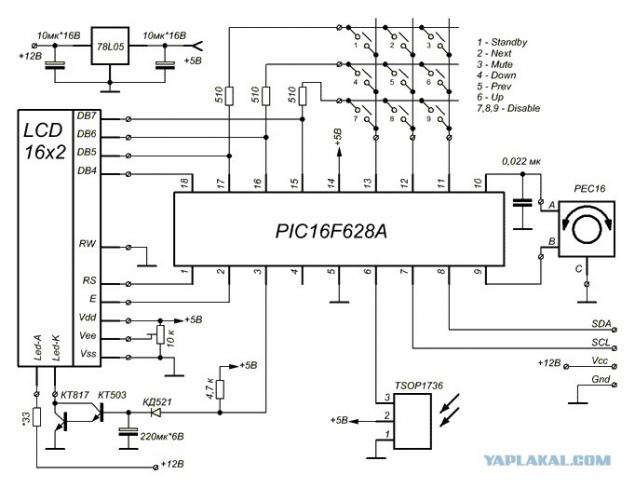
The assembly of any electronic device usually starts with a search for a scheme or its development. Since I'm not a great guru of electrons, then I decided to go for the least complicated way. So I found a diagram on the Internet here.
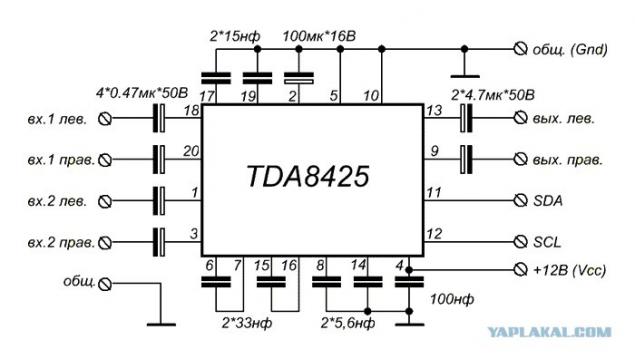
The second part of the scheme
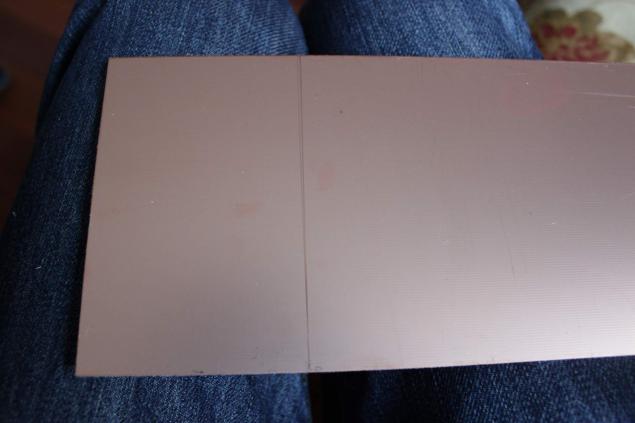
It usually starts with foil PCB, and it you can see on this photo.
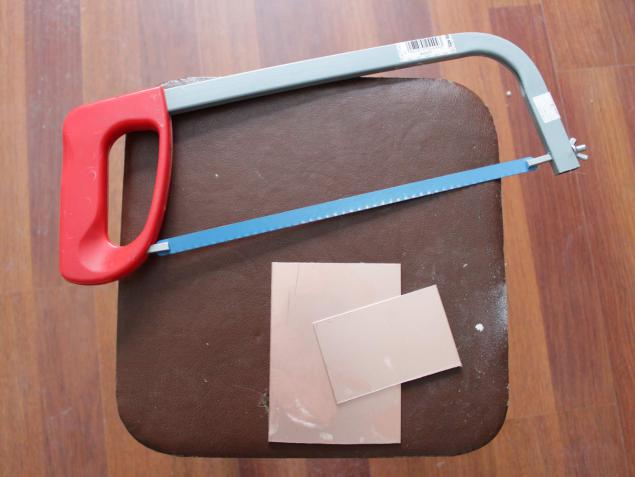
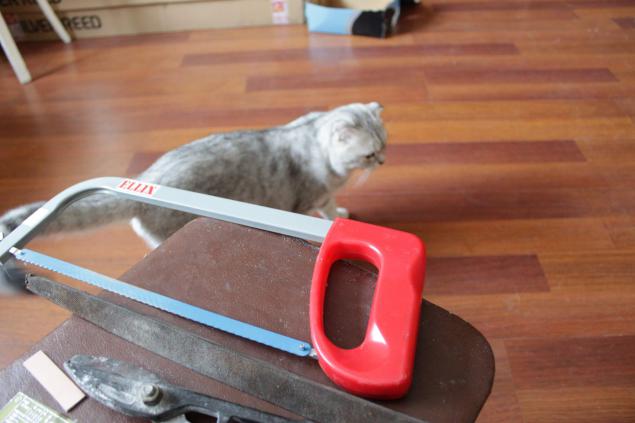
To begin with it should be cut off by the size of the PCB. For this purpose, a variety of devices, I'm not looking for easy ways - Peel hacksaw))
There are several methods for the production of printed circuit boards. The simplest of these, in my opinion, this is a method called in common LUT or Laser technology of the iron.
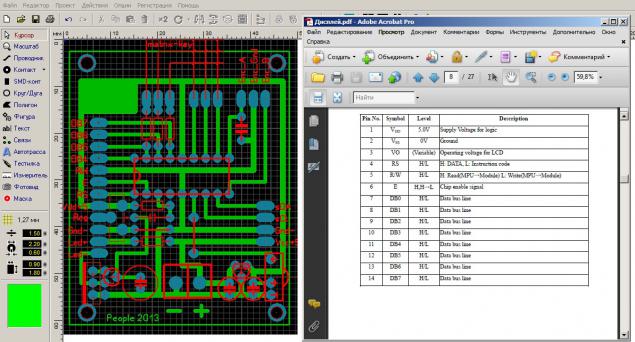
The point of this technology is that the image of the PCB tracks printed on paper by a laser printer, and then under the influence of high temperature (iron!) Carried on the PCB. I decided to play it safe, and printed on the whole sheet)
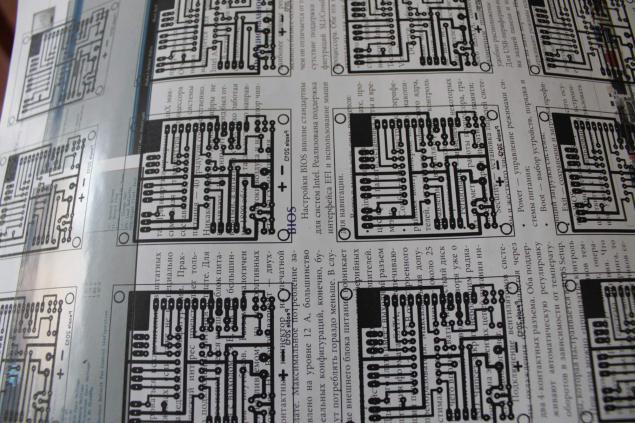
Approximately transferred pattern (fee already proglazhena iron)
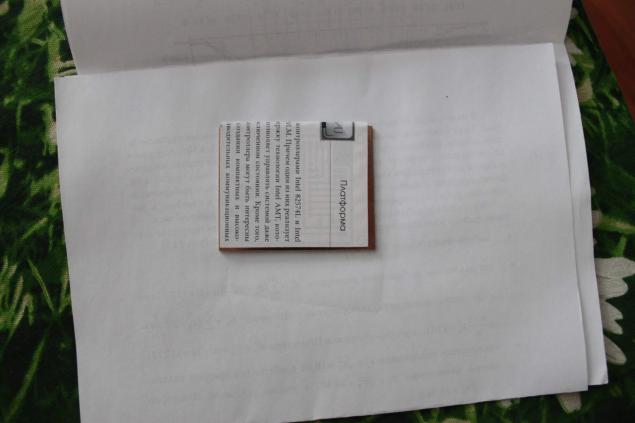
After this paper macerated and gently removed, and the pattern of tracks left on the PCB.
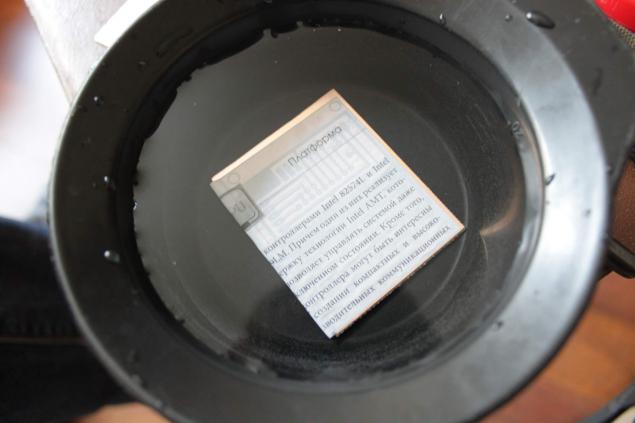
While soak the paper, trying to take pictures of assistant =)
So the future looks board after removing the paper
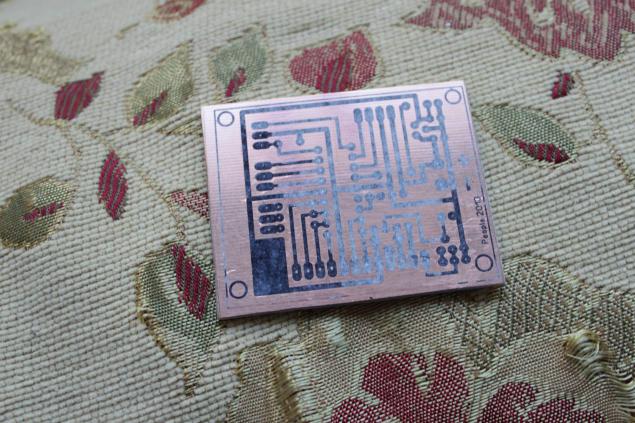
Then we plunge charge solution of ferric chloride, and watched her. When the board will only tracks that are under the toner, remove the board and wash under running water.
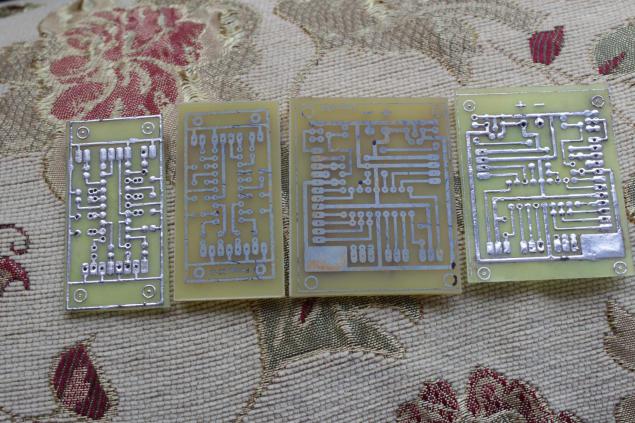
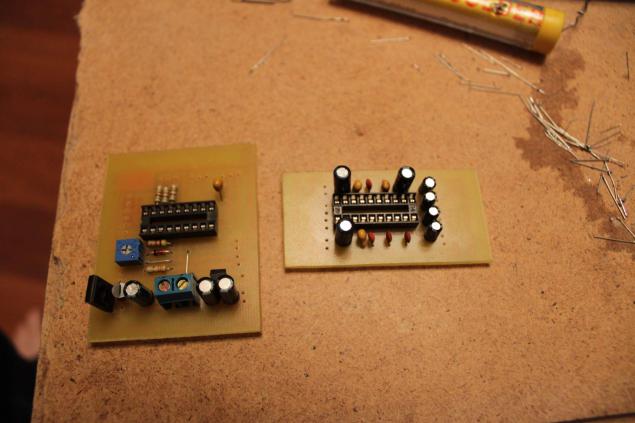
Next to the two boards (which is in the middle) are fees from the first unsuccessful attempt everything quickly solder =) By force of habit, before the print pattern of the PCB, I have it mirror your (displayed the mirror), and to do that it was not necessary, for which he paid a pause of a few days (in care).
The next step - remover and toner rassverlovka holes radio. Toner perfectly washed off with acetone or nail polish remover. But still better than acetone))
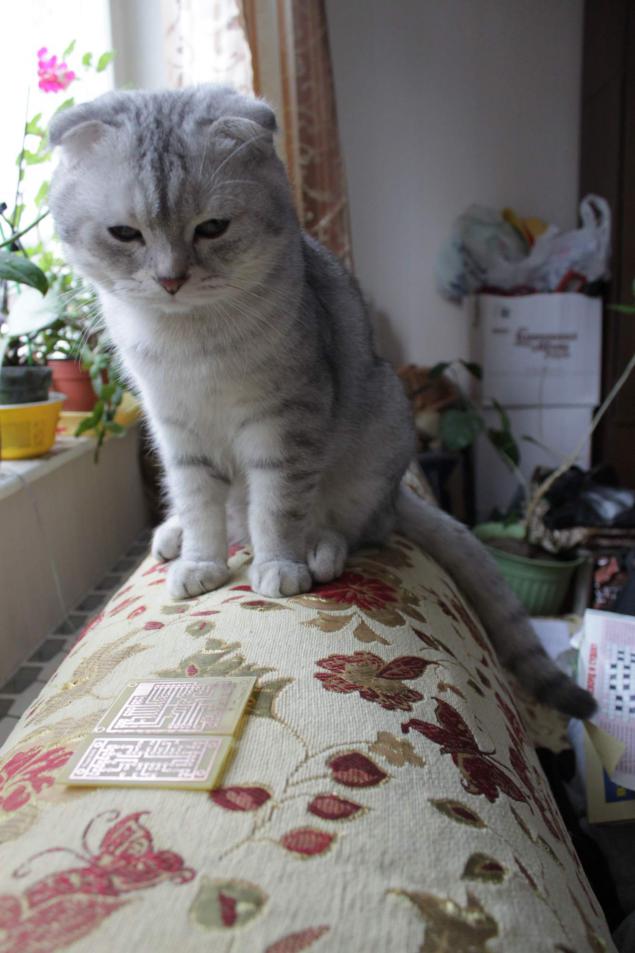
Sometimes I think that my cat idea of creating something new captures more than me =)
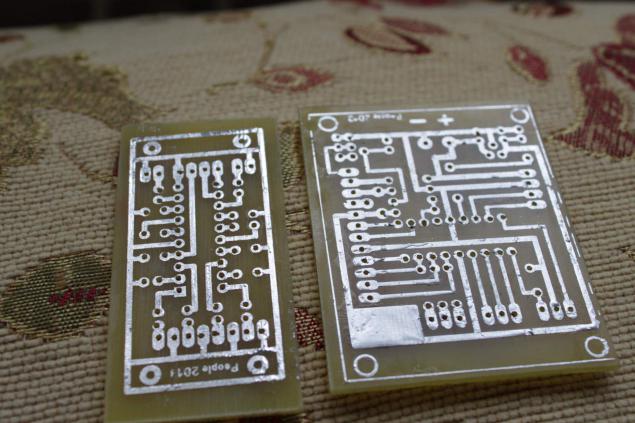
Obluzhivaem track solder ...
And soldered to the board members, according to the scheme
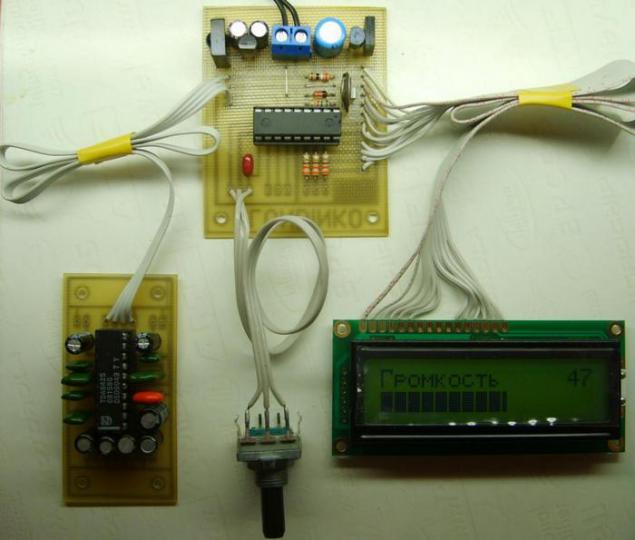
Something like this should look tone-assembled without housing (photo not mine, because I gathered it completely later and photograph the forces were not) Photos here
Posted in [mergetime] 1385635776 [/ mergetime]
And of course, the video work (also not mine, but I have worked as well =))
In front of me waiting for alteration of columns and the assembly of the amplifier.
Budget: kept within about 1,000 rubles, and spent several memorable evenings for you love))
Thank you for attention! I finished.
Source:
Sitting at home long winter evenings, I thought what to do. And then fate decided everything for me))
17 photos + video

One evening, they gave me an excellent powerful speaker but an amplifier for them was not. Without thinking, I decided to put it on their own, especially because little experience of shamanism in electronics already had.
This article is not described in the assembly of the amplifier, and TONE, ie a device that allows you to adjust the volume, bass, and everything else.
So there you go. It will be 18 photos, and perhaps one video.
Please do not break like finish - please =)
P.S. The second theme, I hope it does not merge in BAYAN as the first, because this time all by myself. Strongly do not kick, I'm just learning))
The assembly of any electronic device usually starts with a search for a scheme or its development. Since I'm not a great guru of electrons, then I decided to go for the least complicated way. So I found a diagram on the Internet here.

The second part of the scheme

It usually starts with foil PCB, and it you can see on this photo.

To begin with it should be cut off by the size of the PCB. For this purpose, a variety of devices, I'm not looking for easy ways - Peel hacksaw))

There are several methods for the production of printed circuit boards. The simplest of these, in my opinion, this is a method called in common LUT or Laser technology of the iron.

The point of this technology is that the image of the PCB tracks printed on paper by a laser printer, and then under the influence of high temperature (iron!) Carried on the PCB. I decided to play it safe, and printed on the whole sheet)

Approximately transferred pattern (fee already proglazhena iron)

After this paper macerated and gently removed, and the pattern of tracks left on the PCB.

While soak the paper, trying to take pictures of assistant =)

So the future looks board after removing the paper

Then we plunge charge solution of ferric chloride, and watched her. When the board will only tracks that are under the toner, remove the board and wash under running water.
Next to the two boards (which is in the middle) are fees from the first unsuccessful attempt everything quickly solder =) By force of habit, before the print pattern of the PCB, I have it mirror your (displayed the mirror), and to do that it was not necessary, for which he paid a pause of a few days (in care).

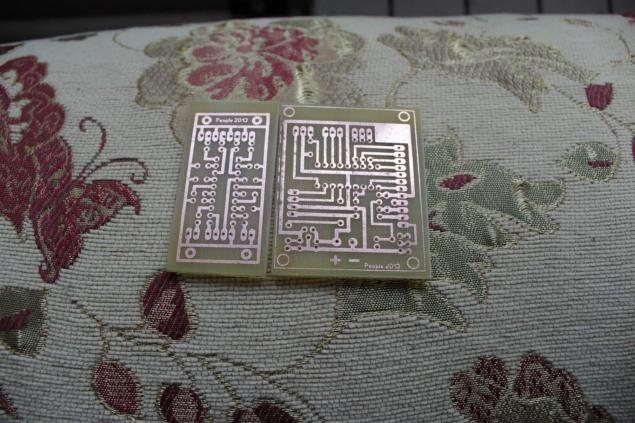
The next step - remover and toner rassverlovka holes radio. Toner perfectly washed off with acetone or nail polish remover. But still better than acetone))

Sometimes I think that my cat idea of creating something new captures more than me =)

Obluzhivaem track solder ...

And soldered to the board members, according to the scheme

Something like this should look tone-assembled without housing (photo not mine, because I gathered it completely later and photograph the forces were not) Photos here
Posted in [mergetime] 1385635776 [/ mergetime]
And of course, the video work (also not mine, but I have worked as well =))
In front of me waiting for alteration of columns and the assembly of the amplifier.
Budget: kept within about 1,000 rubles, and spent several memorable evenings for you love))
Thank you for attention! I finished.

Source:

