1137
The internal layout and decoration of Russian bath.
The story about the first experience of interior decoration Russian baths. At the time the work is not intended to create a report about it, so for the quality of the photos, please do not kick much. I will try to elaborate on milestones in tex story.
Will be 52 photos.
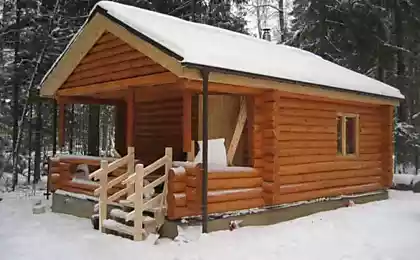
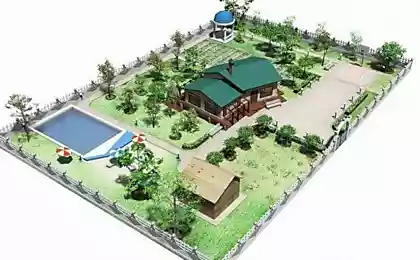
So the background. In early summer 2011, when the planned infrastructure is very humble plot in the village where I live, I laid the foundation for two of the most important objects in his house - garage and sauna. Garage built in the same year, and the construction of the bath has been postponed indefinitely due to lack of the required number of funds.
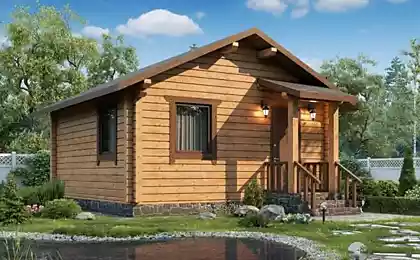
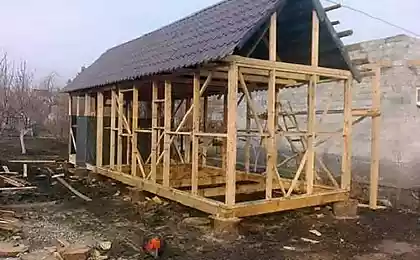
After studying for the autumn construction technology, has decided to put a frame on the foundation laid in the winter, be sure of the forest, which was also harvested in the winter. No sooner said than done. I found a good contractor who was willing to make a frame 3, 7x4, 5 in the off-season, the size of my foundation. For the period January holidays a team of 5 people manufactured and assembled at the site frame, and drove it under a roof. It is worth noting that the cost of logs and work was lower by 25-30% compared to summer prices.
The assembled frame stood until October. In October, I started for the final finishing touches and finishing baths. A month in the evenings and weekends caulk wall with inner and outer sides, made ceilings, and filled the subfloor. Drew all the necessary information on the Internet at various sites, I will not enumerate all. I must say that were adopted following prerequisites:
1. Bath under constant heating of the water floor heating system.
2. Steam and washing compartment separate from each other.
3. Hot and cold water are carried from the house, which is located nearby.
4. In the bath have to be an opportunity to listen to light, classical, relaxing music, which promotes complete relaxation.
To ensure that these conditions have been met, before work had been installed all the utilities from the house to the bath. The bath itself was filled with a plasticizer in a screed floor heating pipes - seamless metal and plastic production d25 Korea - on the advice of experts. There were also probrosheny wiring for lighting and acoustic silicone cable for mounting the speaker system in the future.
So, the actual finish.
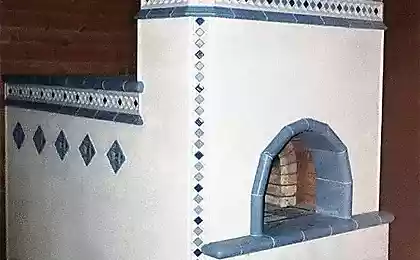
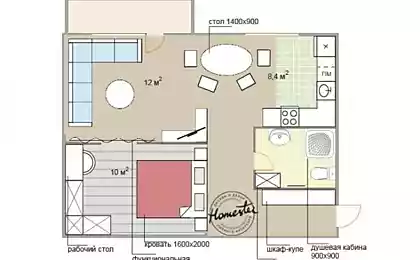
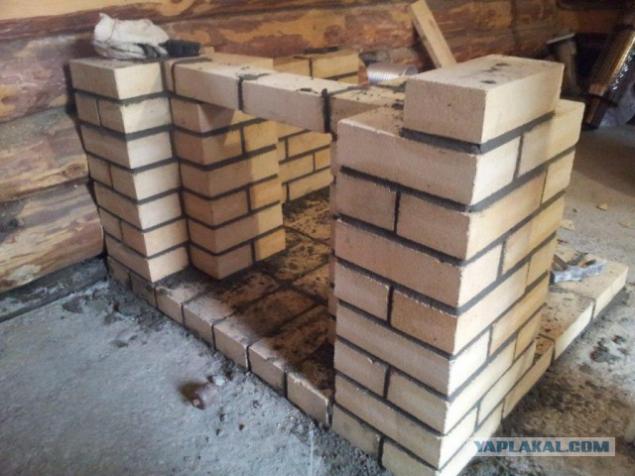
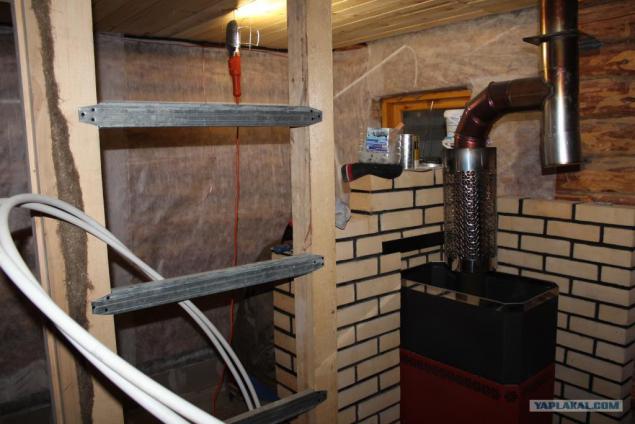
First of all it was necessary to purchase the boiler, as it is from him and had to dance at the finish. It was necessary to make the correct layout of the portal and the chimney of the boiler, which depended on the location of the location of the partition. Sketched on paper in the cage that I wanted to count the number of bricks and set to work.

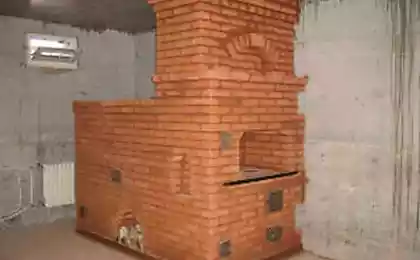
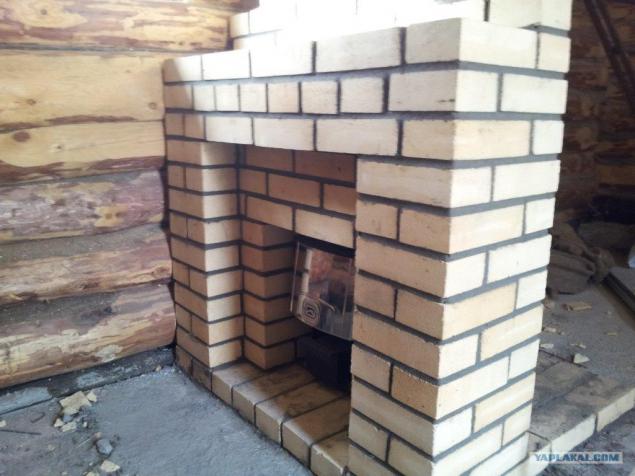
This is a preliminary result with mounted boiler.
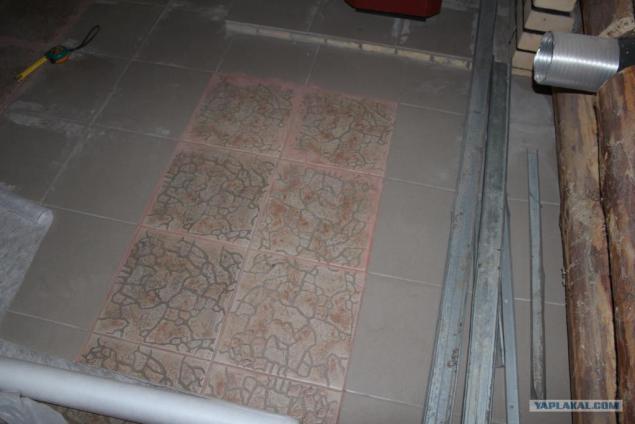
Immediately after that, the approximate estimated future location of partitions and started laying stoneware tiles. Tiles laid in two colors - in the center of one of the other edges. Naturally, the tile to fit into the slope of the gutter.
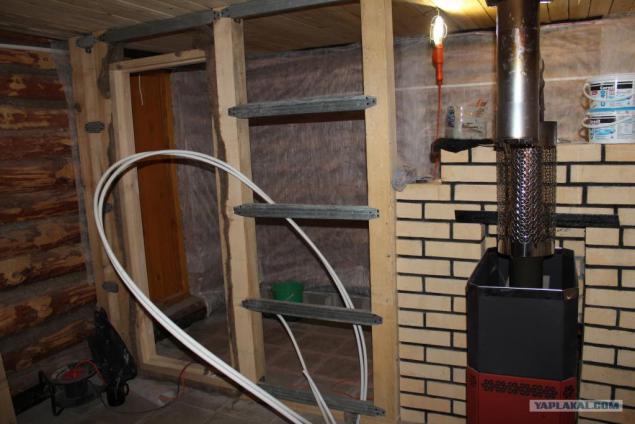
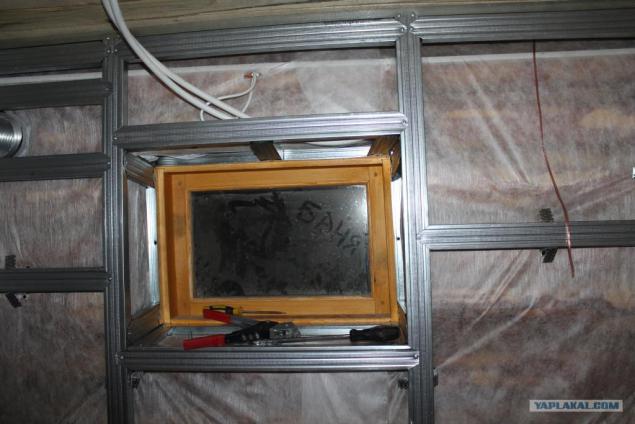
When the tile is dry before mounting the frame future walls. Was based on timber 100x100, dry-edged boards 25h100 and galvanized metal profile. It will in future be attached lining. At this stage it was inserted into door frames, but the door is not hang so as not to interfere.
And more photos
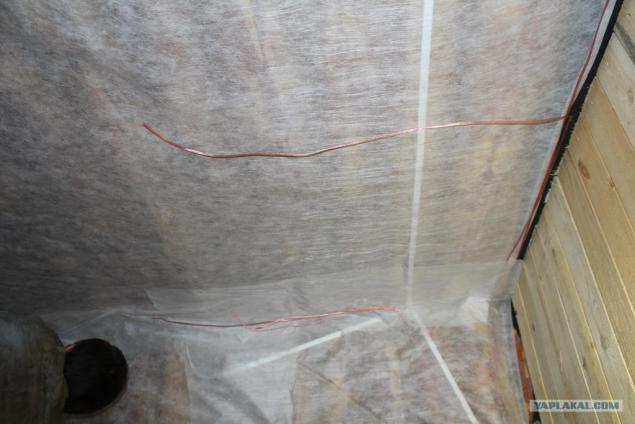
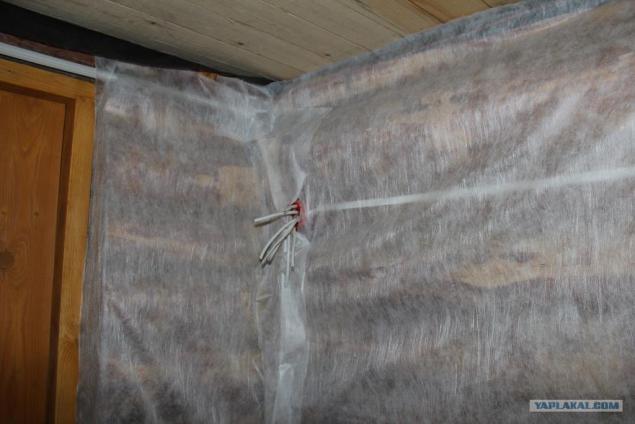
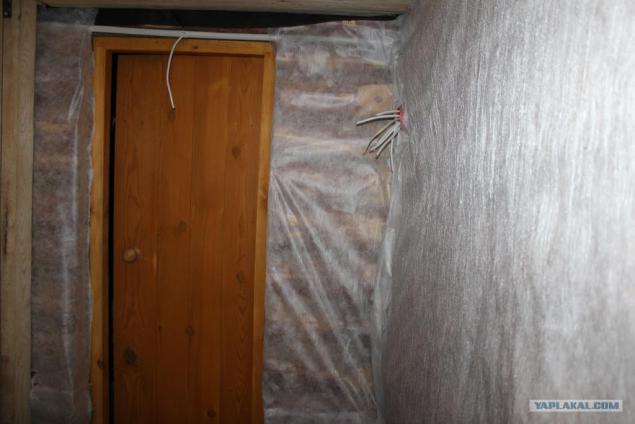
After you install the frame walls began laying a vapor barrier for the external walls. Vapor laid overlapping, all the wires, despite the fact that they are in third insulation and wire conduit must be underneath.
More photos.
And further.
A small break in the process.
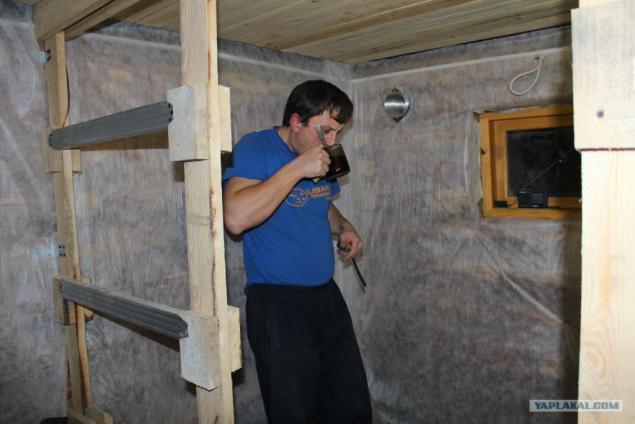
Getting assembling metal frame exterior walls. With such a condition that between the metal frame and the wall with a vapor barrier was a gap of at least 5 cm. The result is a turnkey metal frame on all the walls.
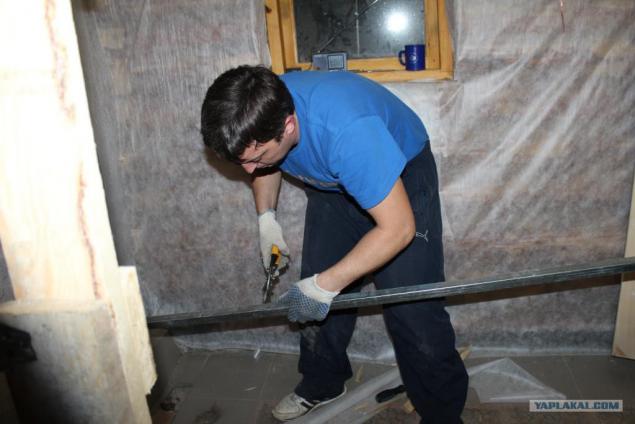
Cut and fasten.
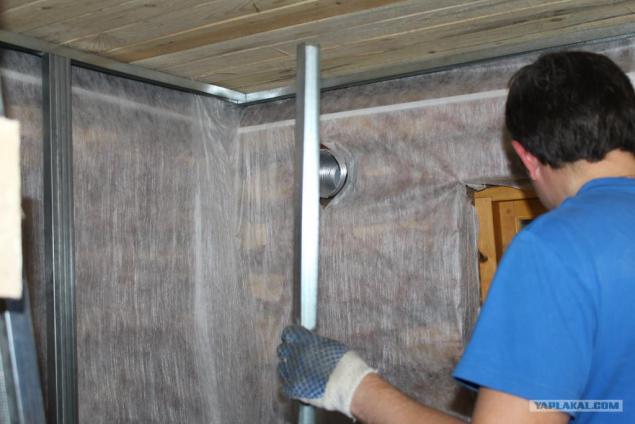
It turns out that's a result.
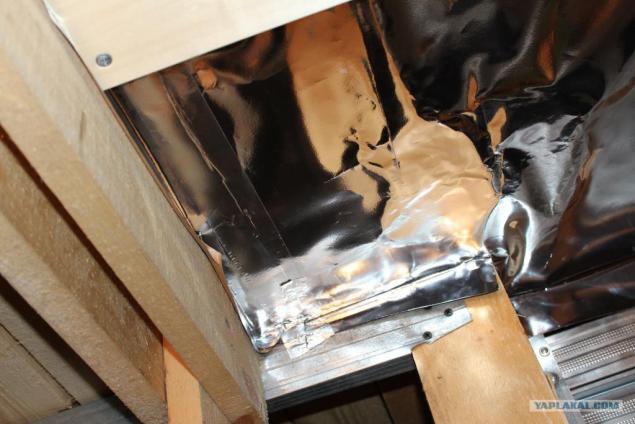
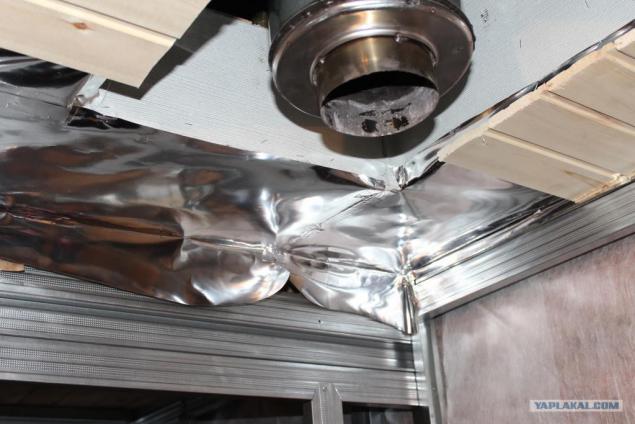
Once finished with the walls, ceiling vapor barrier started by a thick foil on paper and finishing headliner. It is worth noting that the foil must always be on paper. The use of different types of "folgoplasta" or similar materials - is unacceptable because of the high temperatures. Not necessary to make a lap on the walls of at least 3-5 cm. All joints are glued sure to tape with the same properties.
Like this.
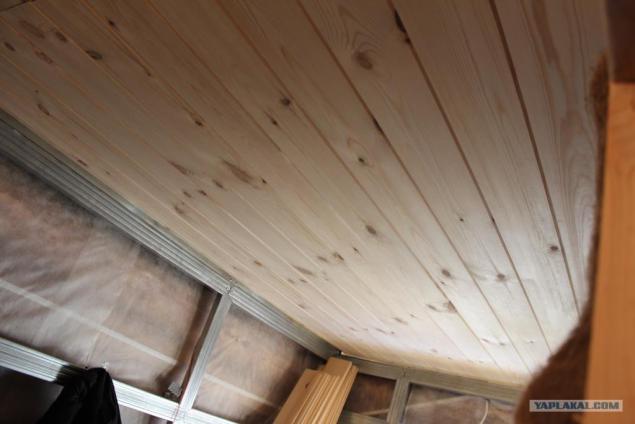
As a material for covering the ceiling and walls in the steam room and washing compartment was selected aspen, due to its unique properties: low density - it means less heat, it does not emit tar - exclude the possibility of burns, has a number of medicinal properties and it is hygienic , bright, clean, not afraid of moisture and does not warp. In all of this it is easy enough to operate.
The ceiling in the steam room.
Ceilings in the steam room and washing compartment finished fast enough for 3-4 nights. Here is the result.
Another result.
And one more photo.

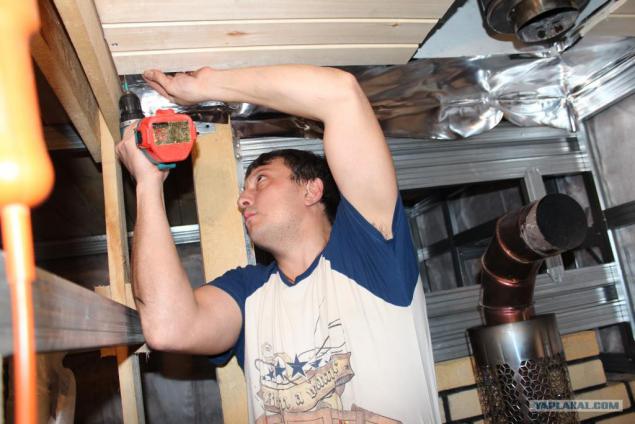
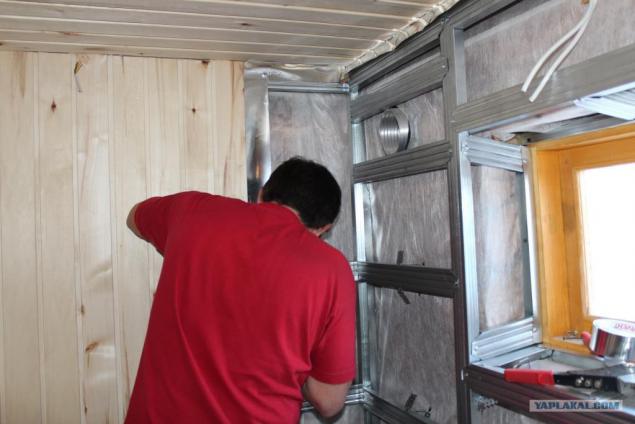
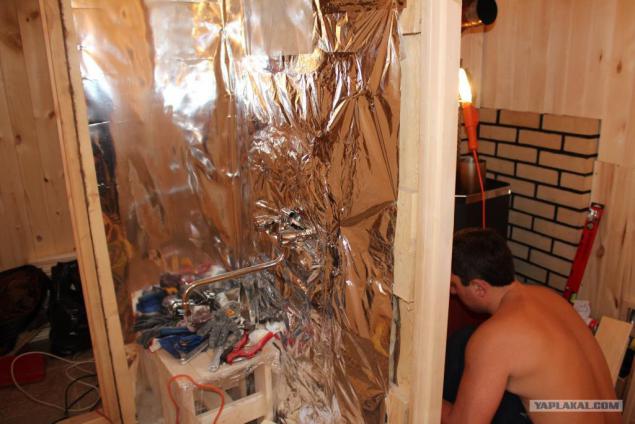
Then took the wall. Similarly paved the foil as a vapor barrier on top of the assembled metal frame and glue joint with adhesive tape the upper ceiling vapor barrier layer. To make it easier to strengthen the battens and in order not to damage the vapor barrier paneling produced gradually. First paved 1 meter vapor barrier, then sewed up its lining. So, I think it was easier. When decorating the walls I used a little trick, which read on one of the forums - make battens in two rows, so that in the future be able to replace the lower number in the case of prognivaniya lining near the floor, where the higher humidity.
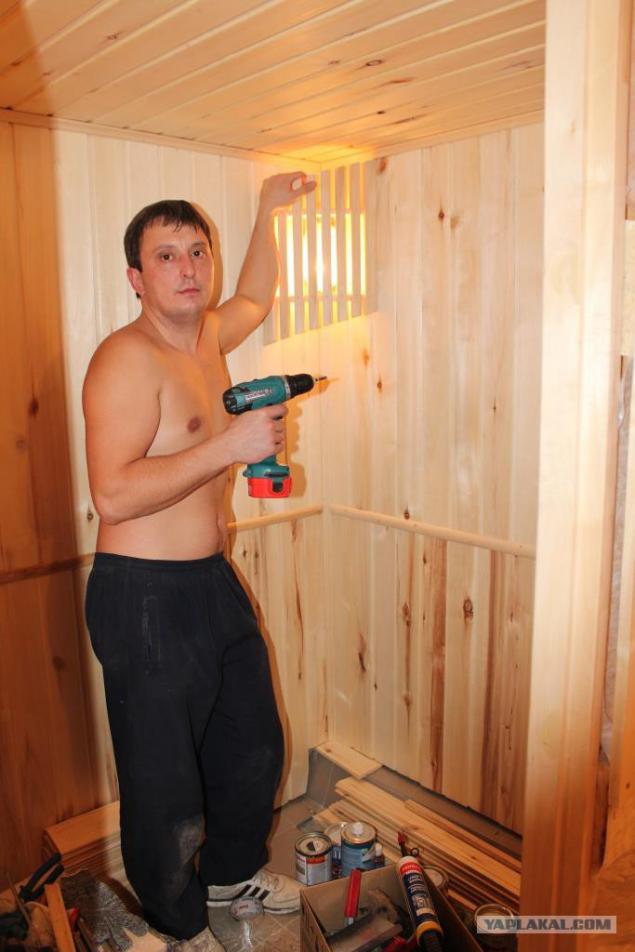
The process of lining the walls.
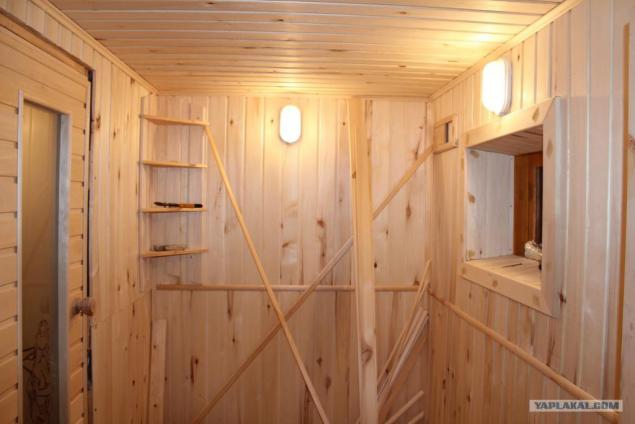
After finishing trim ceilings and walls of the washing compartment and the pair proceeded to furnish lounges. For finishing ceilings and walls was chosen pine paneling Class A "calm". Pine Lounge chosen for the following reasons: the absence of high temperatures (resin will not be released), the unique smell of wood, and of the price. Pine paneling is one of the cheapest, although the form is not inferior to bunk in another timber. Sheathing is made in the same way, first ceiling, then the walls on all vapor barrier of thick foil on paper.
Sheathing lining "Calm."
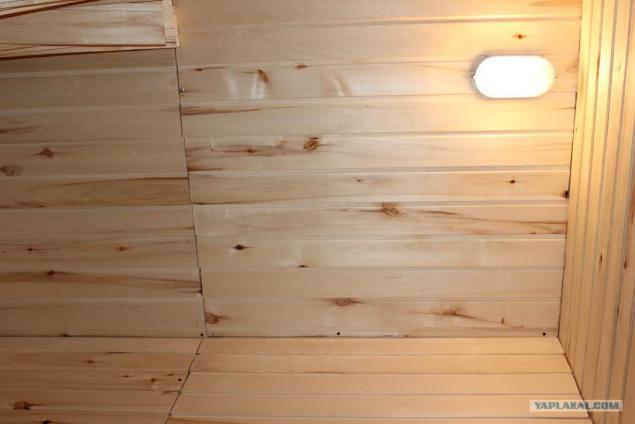
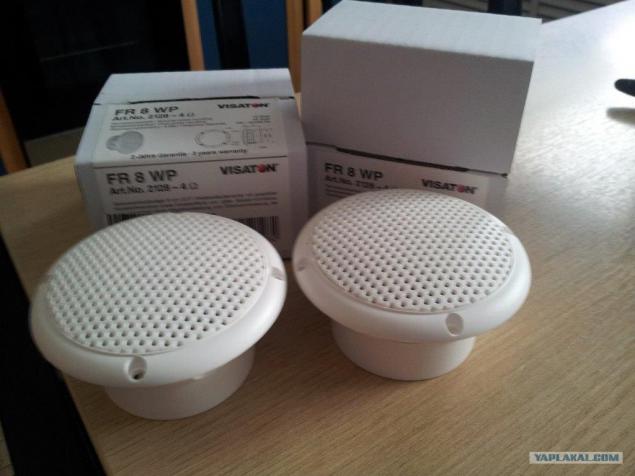
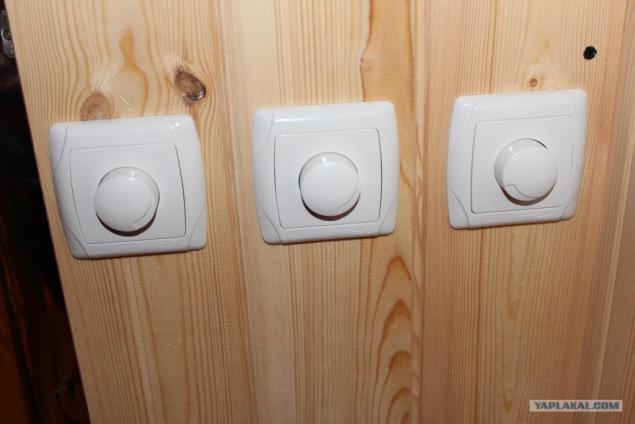
In parallel with the wall claddings are installing switches, sockets, lamps and pre-bought acoustic systems that are specifically designed to operate in a highly hot, humid environments. Switches installed with the possibility of fine adjustment of the light in all the rooms, with the purpose to create an intimate environment when required.
Acoustics for installation.
On regular place.
Switches with adjustable brightness.
Testing the acoustics. Everything is working. Continues.
Particular attention is paid to the partition between the lounge and steam room. Wood could not be used because Nearby is the chimney. I found the solution in the following way - set in a large thick porcelain tile. Thus spoiled the look inside the steam room.
From the relaxation room was laid on top of a sheet of asbestos and sewn lining, to prevent a fire from karamogranita lining.
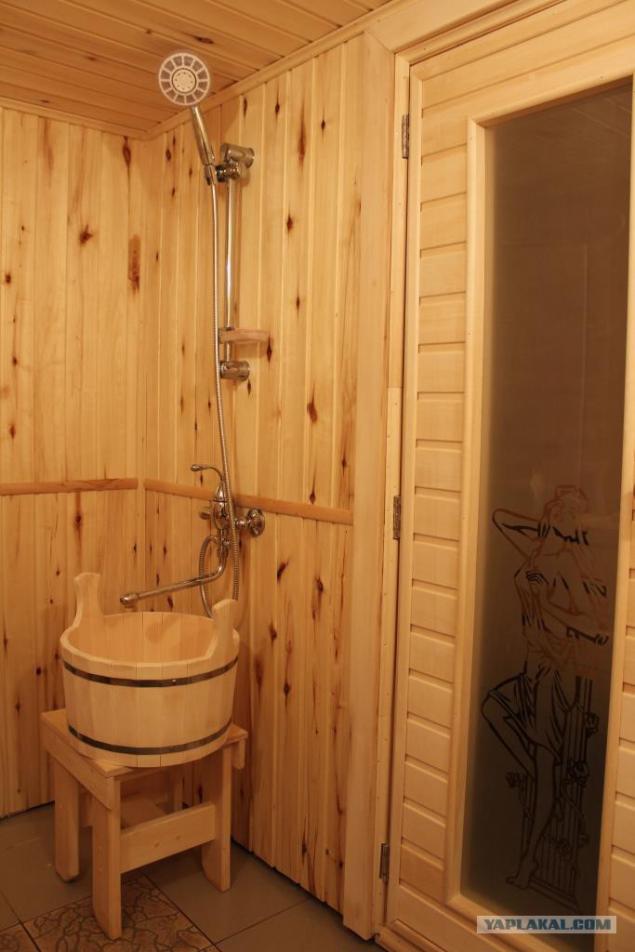
Before lining interior walls, which was founded in 100 mm layer of insulation between the layers of vapor barrier. It was mounted shower system simple and finished paneling.
More photos.
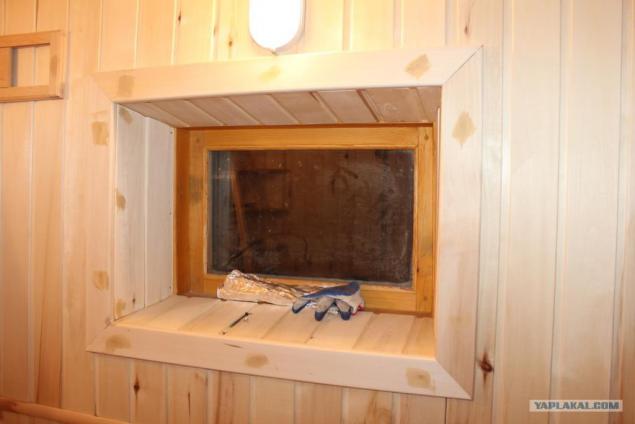
One of the most challenging works - lining slopes on the windows and doors. We must really try to have everything exactly.
The front door
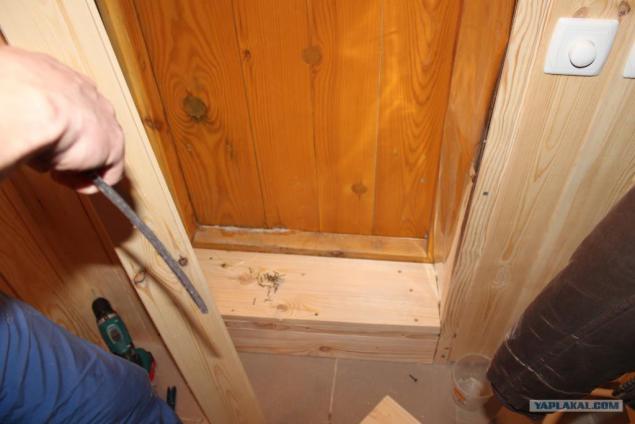
After the work was completed with clapboard, I set all the doors, and now they do not interfere. And proceed to installing moldings, baseboards, trims, without which all the seams, joints and irregularities to be seen. The necessary angle of 45 degrees zapilivaem butt-Mitre saw. Also rubbed into place all the shelves that get in the way.

Tired, but happy with the result.
More photos.
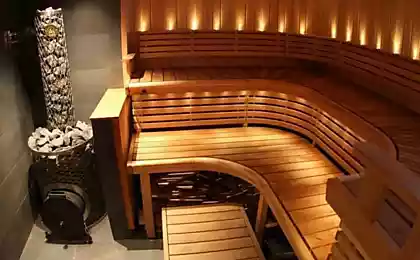
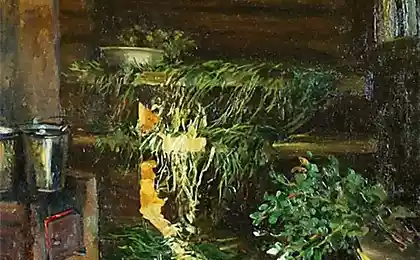
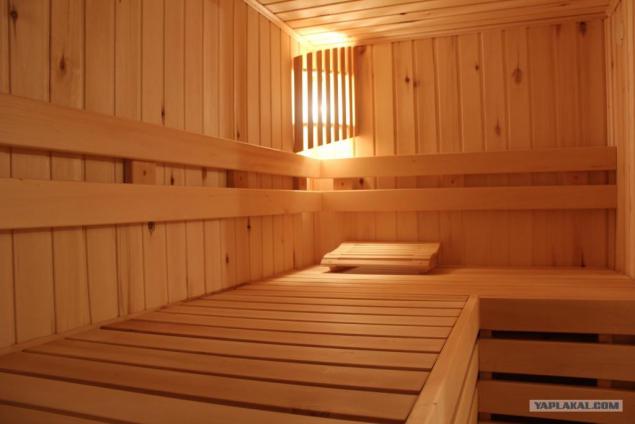
There was one small thing - to make the shelves in the steam room and the bench in the wash. For these purposes, I bought a lime-treated boards and assembled on a pine frame here such things. This photo in the steam room.

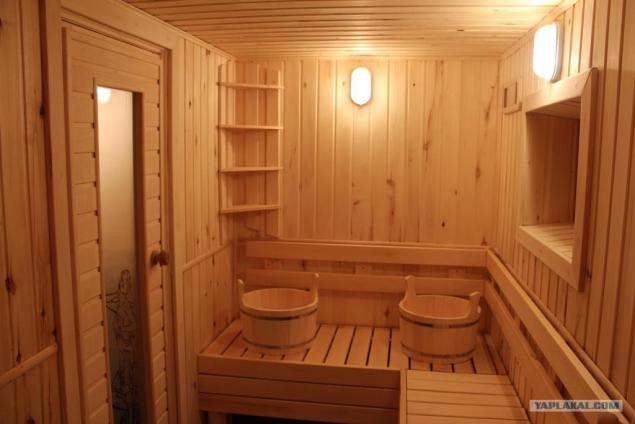
This washing.
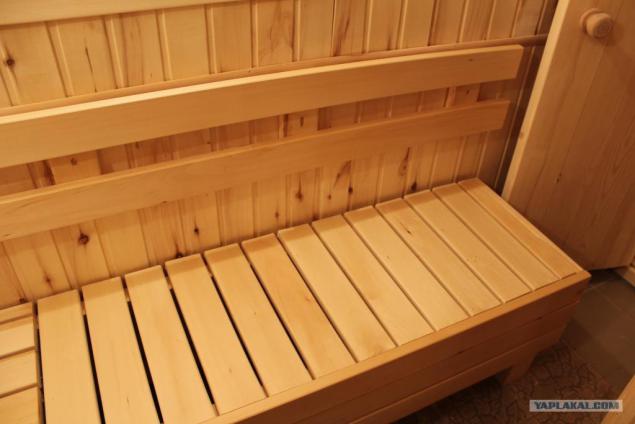
The general view in the wash.
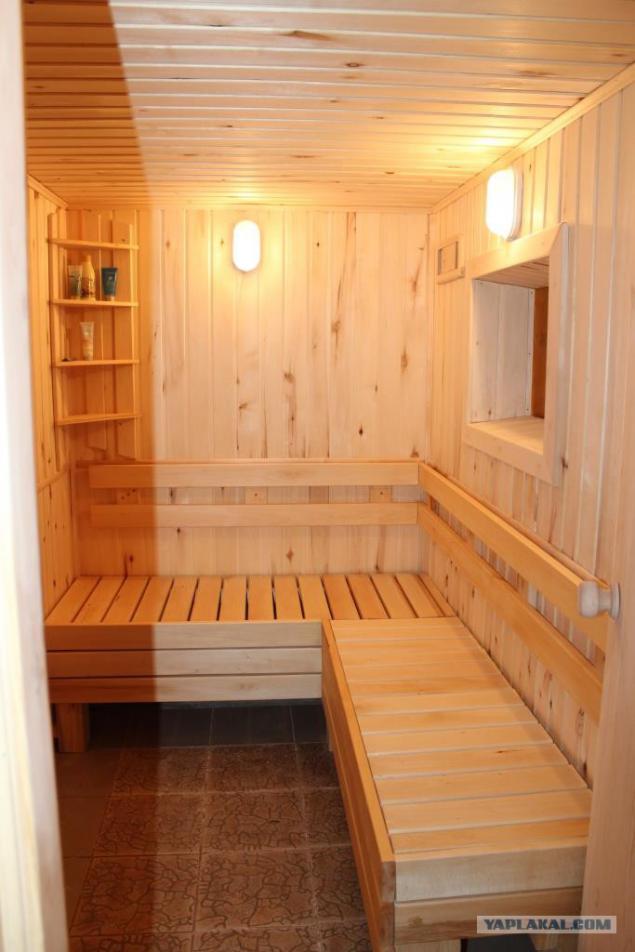
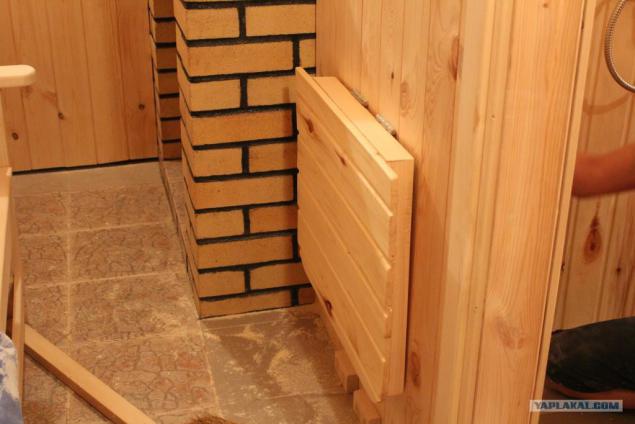
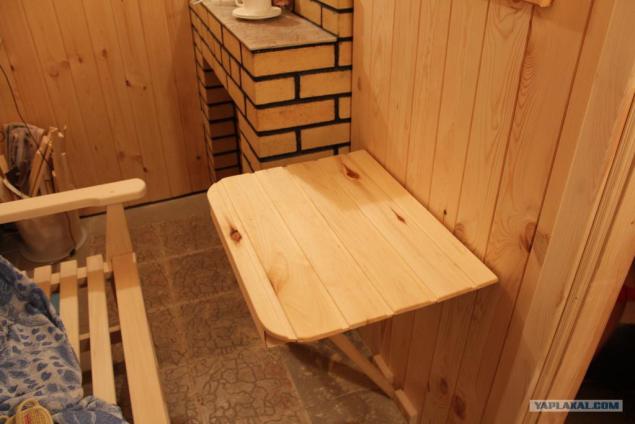
For the rest rooms do not become a bench, I saw the finished basswood sauna in the store and bought. And yet, since in the bath was supposed to drink tea, washed down folding table for this purpose from the remnants of lining.
In the folded state.
And this is unfolded.
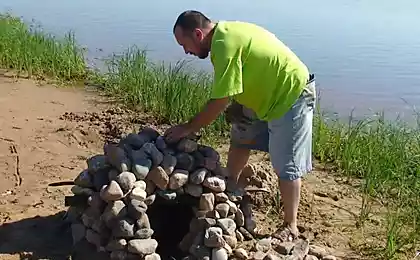
After completing all the dusty work filled the tight mesh around the boiler and chimney stone. It took about 100 kg.

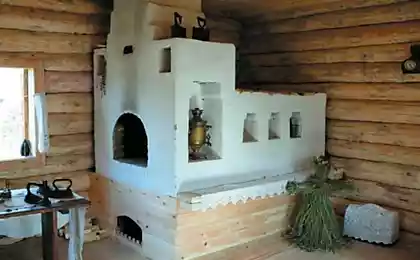
Most of the work was finished, it left to clean marafet and make a few design highlights from my wife. Here is the final result.
More
More
More
Source:
Will be 52 photos.

So the background. In early summer 2011, when the planned infrastructure is very humble plot in the village where I live, I laid the foundation for two of the most important objects in his house - garage and sauna. Garage built in the same year, and the construction of the bath has been postponed indefinitely due to lack of the required number of funds.
After studying for the autumn construction technology, has decided to put a frame on the foundation laid in the winter, be sure of the forest, which was also harvested in the winter. No sooner said than done. I found a good contractor who was willing to make a frame 3, 7x4, 5 in the off-season, the size of my foundation. For the period January holidays a team of 5 people manufactured and assembled at the site frame, and drove it under a roof. It is worth noting that the cost of logs and work was lower by 25-30% compared to summer prices.
The assembled frame stood until October. In October, I started for the final finishing touches and finishing baths. A month in the evenings and weekends caulk wall with inner and outer sides, made ceilings, and filled the subfloor. Drew all the necessary information on the Internet at various sites, I will not enumerate all. I must say that were adopted following prerequisites:
1. Bath under constant heating of the water floor heating system.
2. Steam and washing compartment separate from each other.
3. Hot and cold water are carried from the house, which is located nearby.
4. In the bath have to be an opportunity to listen to light, classical, relaxing music, which promotes complete relaxation.
To ensure that these conditions have been met, before work had been installed all the utilities from the house to the bath. The bath itself was filled with a plasticizer in a screed floor heating pipes - seamless metal and plastic production d25 Korea - on the advice of experts. There were also probrosheny wiring for lighting and acoustic silicone cable for mounting the speaker system in the future.
So, the actual finish.
First of all it was necessary to purchase the boiler, as it is from him and had to dance at the finish. It was necessary to make the correct layout of the portal and the chimney of the boiler, which depended on the location of the location of the partition. Sketched on paper in the cage that I wanted to count the number of bricks and set to work.

This is a preliminary result with mounted boiler.

Immediately after that, the approximate estimated future location of partitions and started laying stoneware tiles. Tiles laid in two colors - in the center of one of the other edges. Naturally, the tile to fit into the slope of the gutter.

When the tile is dry before mounting the frame future walls. Was based on timber 100x100, dry-edged boards 25h100 and galvanized metal profile. It will in future be attached lining. At this stage it was inserted into door frames, but the door is not hang so as not to interfere.

And more photos

After you install the frame walls began laying a vapor barrier for the external walls. Vapor laid overlapping, all the wires, despite the fact that they are in third insulation and wire conduit must be underneath.

More photos.

And further.

A small break in the process.

Getting assembling metal frame exterior walls. With such a condition that between the metal frame and the wall with a vapor barrier was a gap of at least 5 cm. The result is a turnkey metal frame on all the walls.

Cut and fasten.

It turns out that's a result.

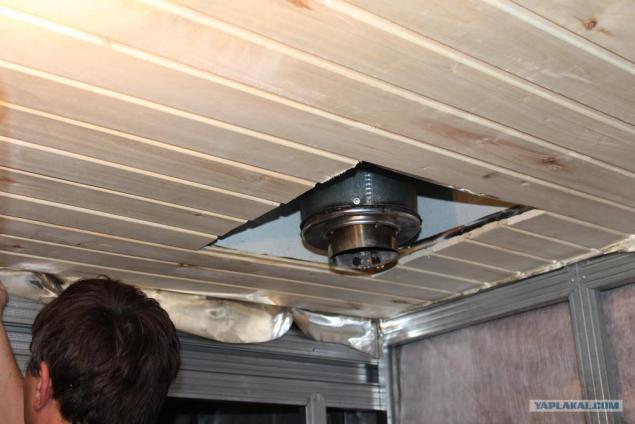
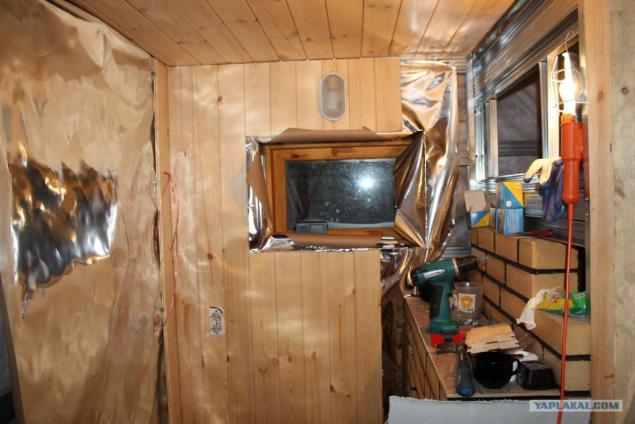
Once finished with the walls, ceiling vapor barrier started by a thick foil on paper and finishing headliner. It is worth noting that the foil must always be on paper. The use of different types of "folgoplasta" or similar materials - is unacceptable because of the high temperatures. Not necessary to make a lap on the walls of at least 3-5 cm. All joints are glued sure to tape with the same properties.

Like this.

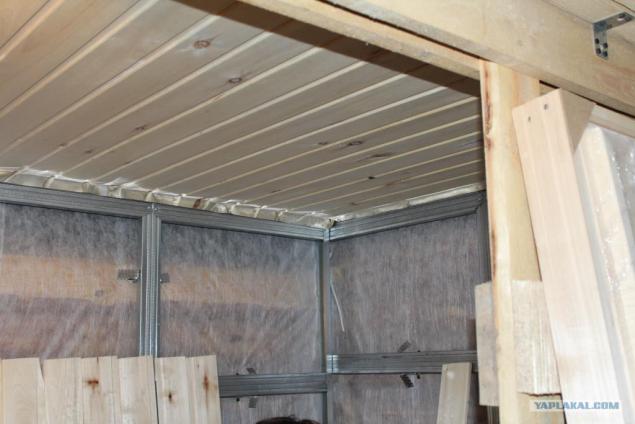
As a material for covering the ceiling and walls in the steam room and washing compartment was selected aspen, due to its unique properties: low density - it means less heat, it does not emit tar - exclude the possibility of burns, has a number of medicinal properties and it is hygienic , bright, clean, not afraid of moisture and does not warp. In all of this it is easy enough to operate.

The ceiling in the steam room.

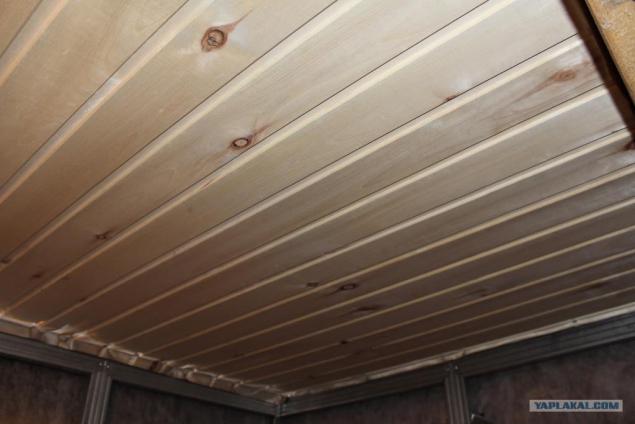
Ceilings in the steam room and washing compartment finished fast enough for 3-4 nights. Here is the result.

Another result.

And one more photo.

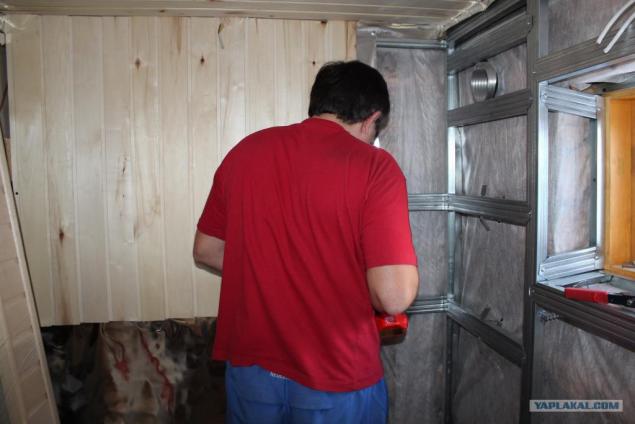
Then took the wall. Similarly paved the foil as a vapor barrier on top of the assembled metal frame and glue joint with adhesive tape the upper ceiling vapor barrier layer. To make it easier to strengthen the battens and in order not to damage the vapor barrier paneling produced gradually. First paved 1 meter vapor barrier, then sewed up its lining. So, I think it was easier. When decorating the walls I used a little trick, which read on one of the forums - make battens in two rows, so that in the future be able to replace the lower number in the case of prognivaniya lining near the floor, where the higher humidity.

The process of lining the walls.

After finishing trim ceilings and walls of the washing compartment and the pair proceeded to furnish lounges. For finishing ceilings and walls was chosen pine paneling Class A "calm". Pine Lounge chosen for the following reasons: the absence of high temperatures (resin will not be released), the unique smell of wood, and of the price. Pine paneling is one of the cheapest, although the form is not inferior to bunk in another timber. Sheathing is made in the same way, first ceiling, then the walls on all vapor barrier of thick foil on paper.

Sheathing lining "Calm."

In parallel with the wall claddings are installing switches, sockets, lamps and pre-bought acoustic systems that are specifically designed to operate in a highly hot, humid environments. Switches installed with the possibility of fine adjustment of the light in all the rooms, with the purpose to create an intimate environment when required.

Acoustics for installation.

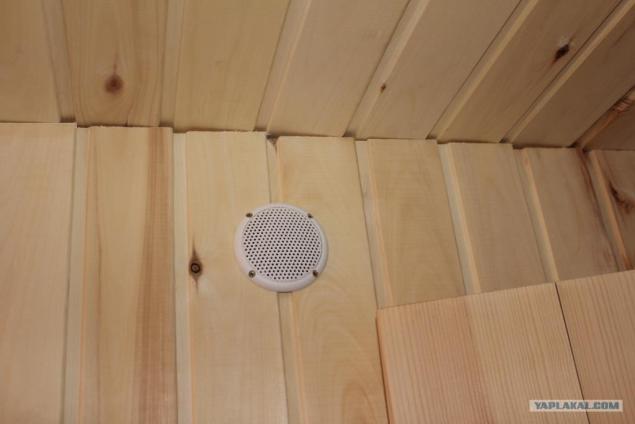
On regular place.

Switches with adjustable brightness.

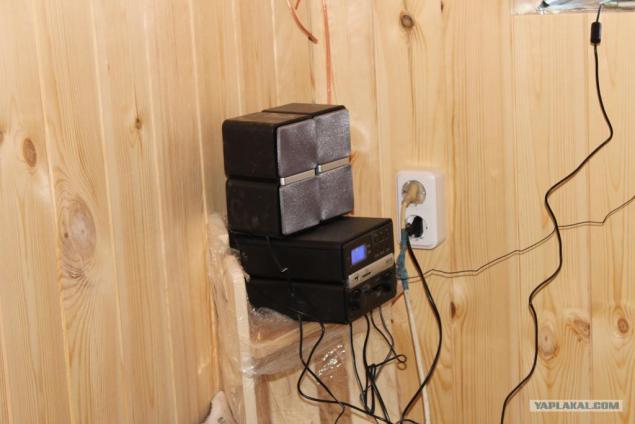
Testing the acoustics. Everything is working. Continues.

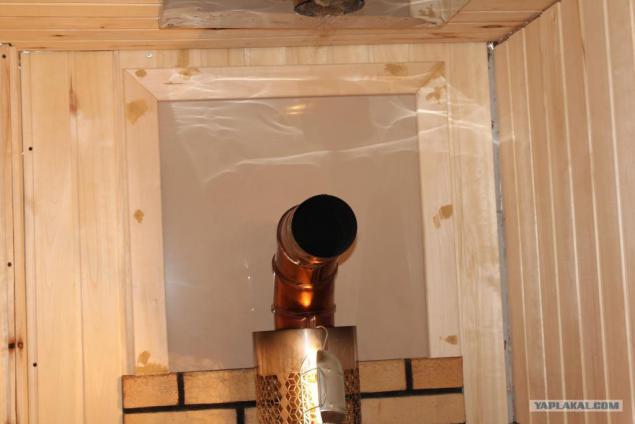
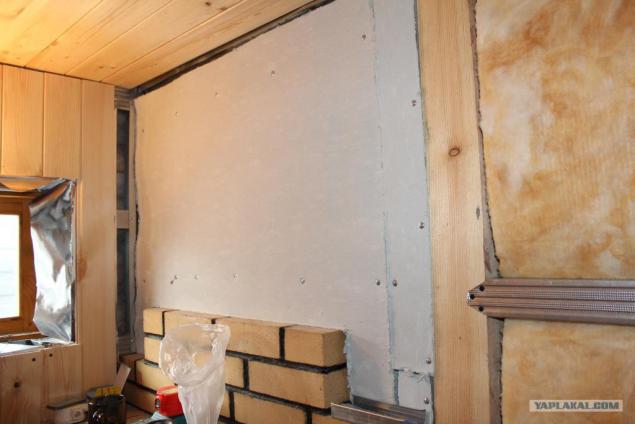
Particular attention is paid to the partition between the lounge and steam room. Wood could not be used because Nearby is the chimney. I found the solution in the following way - set in a large thick porcelain tile. Thus spoiled the look inside the steam room.

From the relaxation room was laid on top of a sheet of asbestos and sewn lining, to prevent a fire from karamogranita lining.

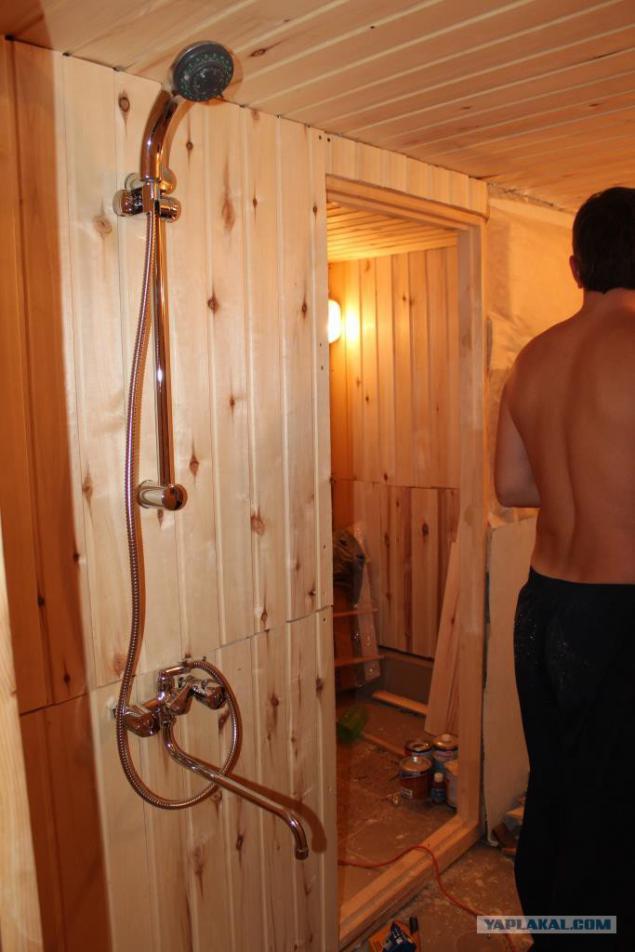
Before lining interior walls, which was founded in 100 mm layer of insulation between the layers of vapor barrier. It was mounted shower system simple and finished paneling.

More photos.

One of the most challenging works - lining slopes on the windows and doors. We must really try to have everything exactly.

The front door

After the work was completed with clapboard, I set all the doors, and now they do not interfere. And proceed to installing moldings, baseboards, trims, without which all the seams, joints and irregularities to be seen. The necessary angle of 45 degrees zapilivaem butt-Mitre saw. Also rubbed into place all the shelves that get in the way.

Tired, but happy with the result.

More photos.

There was one small thing - to make the shelves in the steam room and the bench in the wash. For these purposes, I bought a lime-treated boards and assembled on a pine frame here such things. This photo in the steam room.

This washing.

The general view in the wash.

For the rest rooms do not become a bench, I saw the finished basswood sauna in the store and bought. And yet, since in the bath was supposed to drink tea, washed down folding table for this purpose from the remnants of lining.
In the folded state.

And this is unfolded.

After completing all the dusty work filled the tight mesh around the boiler and chimney stone. It took about 100 kg.

Most of the work was finished, it left to clean marafet and make a few design highlights from my wife. Here is the final result.

More

More

More

Source: