866
Mahjong its Rukmi
Good day, YaPovtsy =)
My friends and commercials 3 years ago bought naborchik mahjong (optional budget - 2000 ubley) achali and fascinating journey into the world of this exciting and eerily eastern games of chance. China is considered the homeland of mahjong, but then he moved to Japan, Korea, Taiwan and other countries in the east. So that's about the Japanese-Dora riichi mahjong and will post. More precisely its manufacturing
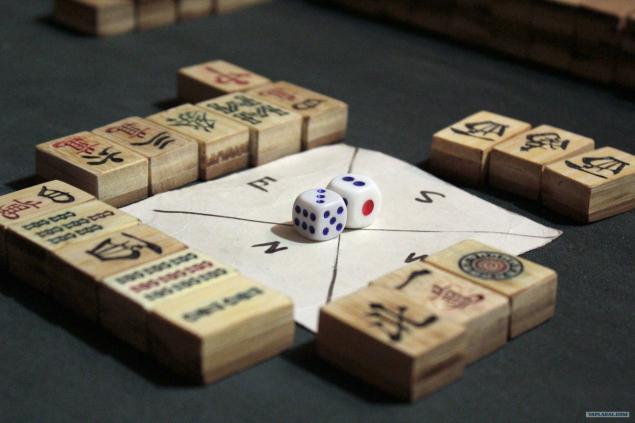
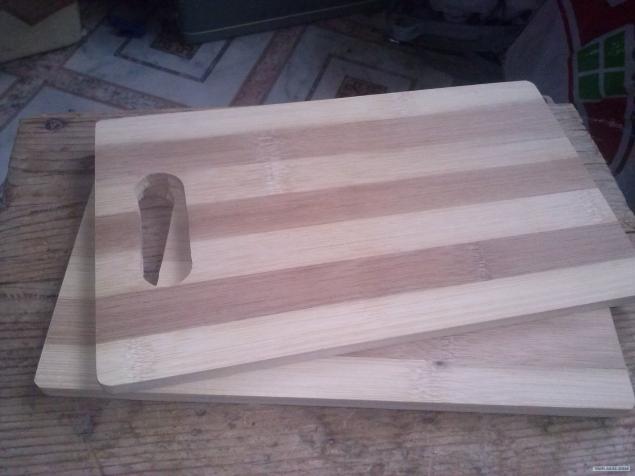
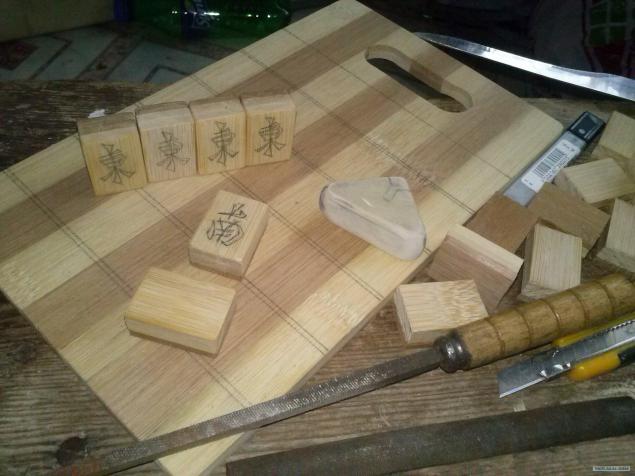
photo in the beginning - many well-known bamboo boards fix prise. So one of them and was successful (When you have completed a week ago) washed down the entire set.
But in order.
The idea to make your set came after a failed purchase more expensive set of the same bamboo. But to make the set was disgusting, and I decided to take matters into their own hands. Knocked on the floor business friends (one long and boring), chipped in for 100 rubles. to begin with, and bought boards.
2.
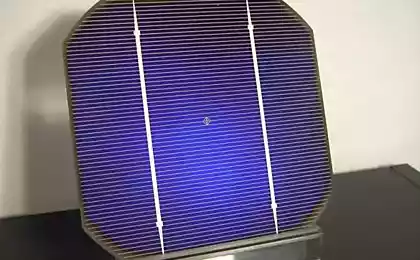
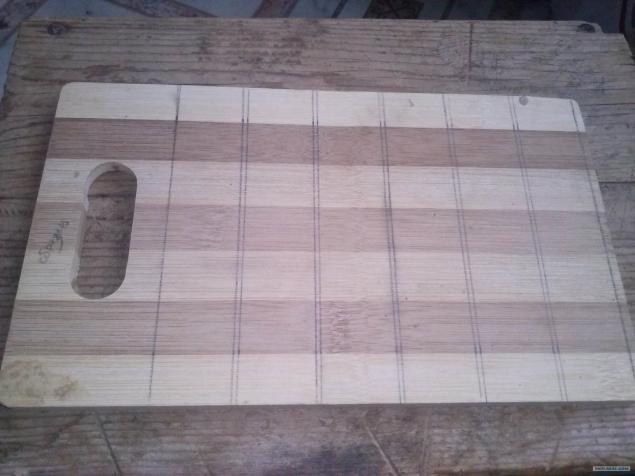
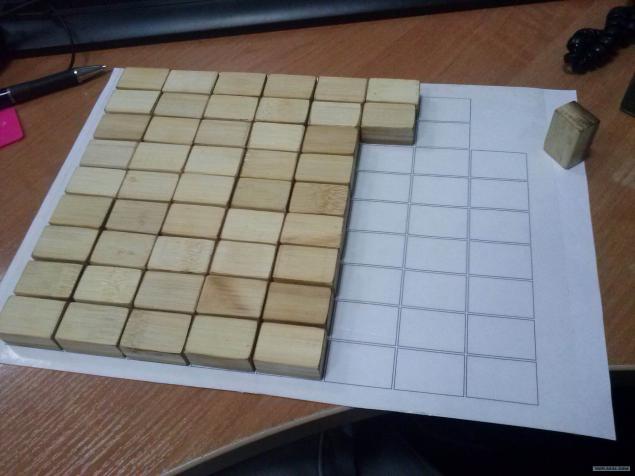
Here are the approximate layout of boards on the future of sawing. The gap between the strips 2 mm wide, 3 cm band itself. Somewhere)
3.
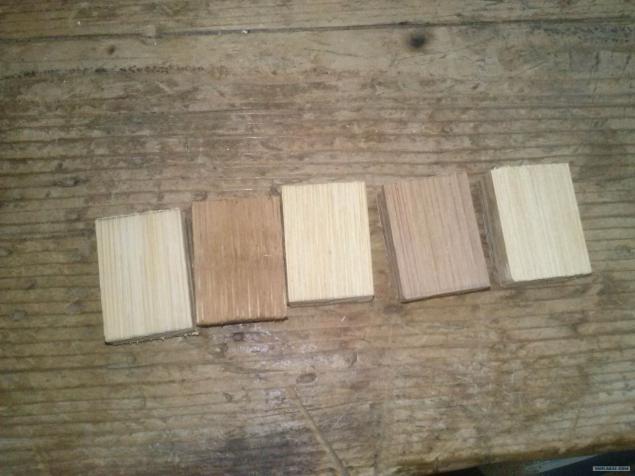
After sawing and splitting of these colors are here harvesting.
Brown then had another half to two things break down, the benefit of the whole board, glued and analysis of the problems with e not arisen
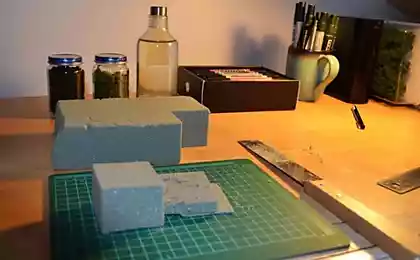
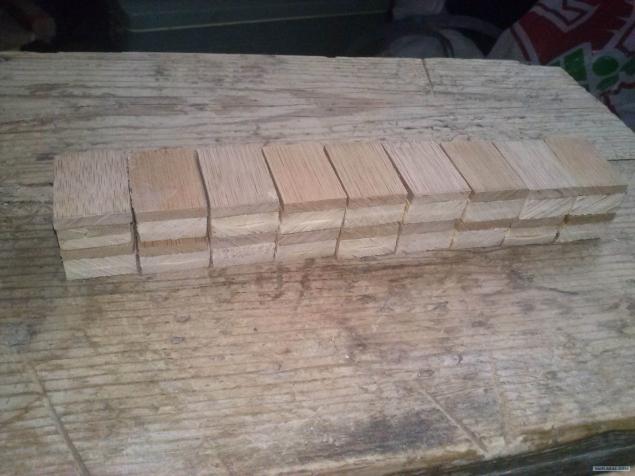
4. The test tiles (the dice in this game are called), I sawed / cleaved / pasted at home. Here are glued blanks
5. but the result of a file))) to help friends hooked and quickly came
6. Friends appreciated. Found an electric grinder, 2 rounds of medium and small grain, and the work went faster
7. I grind the tile)) sobsno process of turning the workpiece clearly. fotkal each of my mobile phones
8. The approximate scope of work for two weeks somewhere. Since almost everything is working, then we get together and do something succeeded or evening (2-3 hours at most), or on the weekend, so the process has slowed down.
9. When grind the first half of the tiles is a reasonable question arose: how we apply the pattern, then we ???
Option with a brush dropped at once - but I know how to draw and 1, I is not able to manage and for the year, burning out - not a ride due to the lack of color. The black / white version of the tiles do not look, and look at the bamboo a little boring. and then I got a job at the center of laser engraving ...))) and for a week on Mahjong forgotten. Just came in the midst of orders for laser cutting and engraving to make time for all the tiles did not work
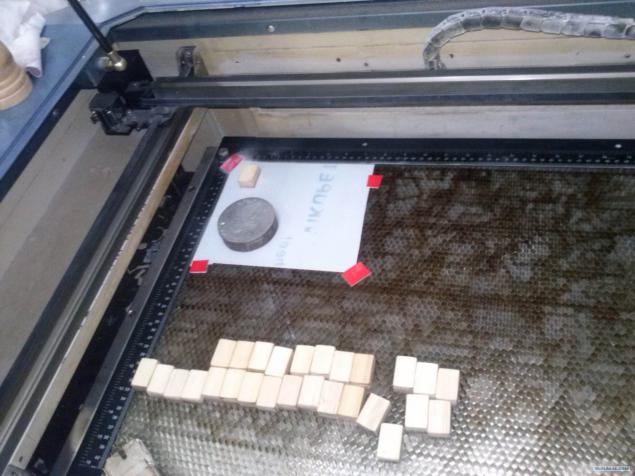
10. And then came an hour H. The regular working Friday Stas (machine operator) came up and said that the hours for the 4-D machine is in the public domain (the time just went in the evening), without hesitation threw the net production file rendered in the Corel DRAW drawings tiles and ran into the shop. pictured tiles are waiting for engraving
11. The actual engraving process (Sori for the fact that you can see bad - Laser machine guard, though transparent, but prevents cell)
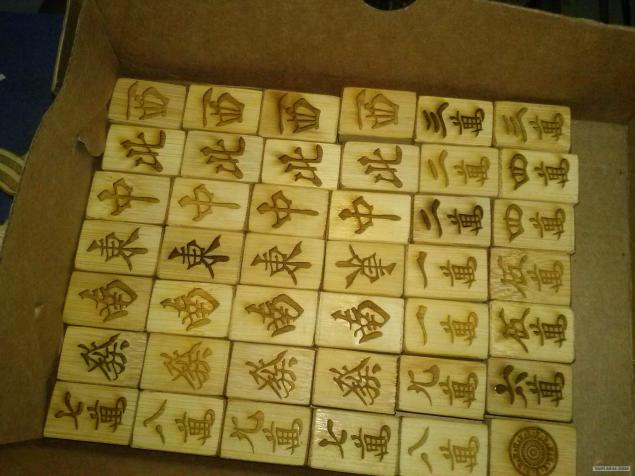
12. Somewhere over 1.5 hours the first half of the tiles was successfully engraved PC clock counts. Different color patterns can be explained quite simply: bamboo was from different backgrounds, so somewhere the laser burned deeper and blacker (loose part, closer to the middle of the "trunk"), somewhere Settle and, accordingly, less deep (thick portion which is closer to the outer part )
13. A parallel with tiles I started doing a box for them. Actually material - PVC - easy, relatively affordable and quite durable.
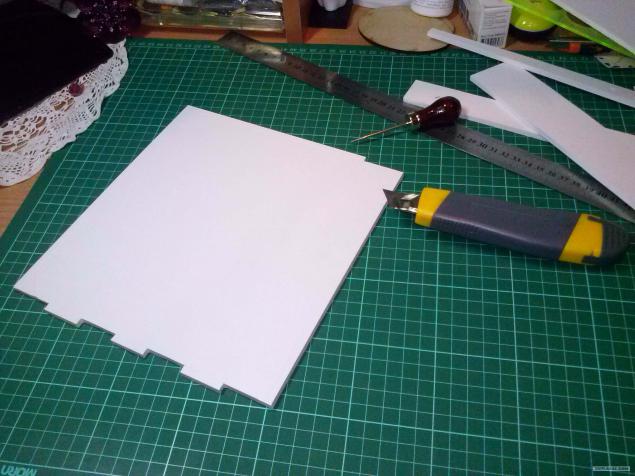
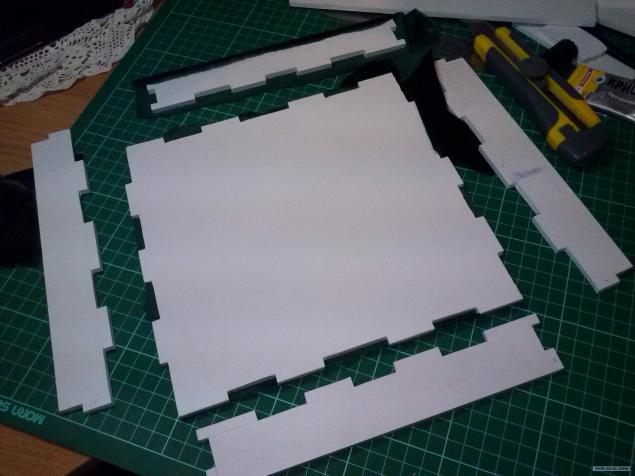
14. carved bottom and sides
15. a long time digging in the "rag" bins with his girlfriend for the presence of velvet or soft cloth. We found a dark green velvet. Ideally! His and used
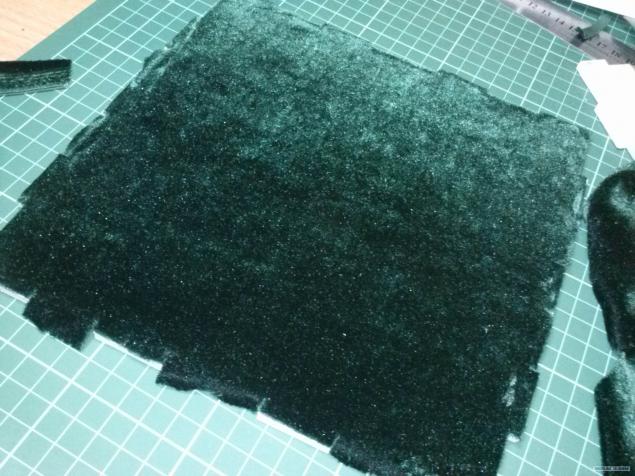
16. obyanul velvet bottom and walls at the "moment of crystal." Important uniform (and thin) layer and smear it all prikleetsya exactly, perfectly and without absorbing adhesive
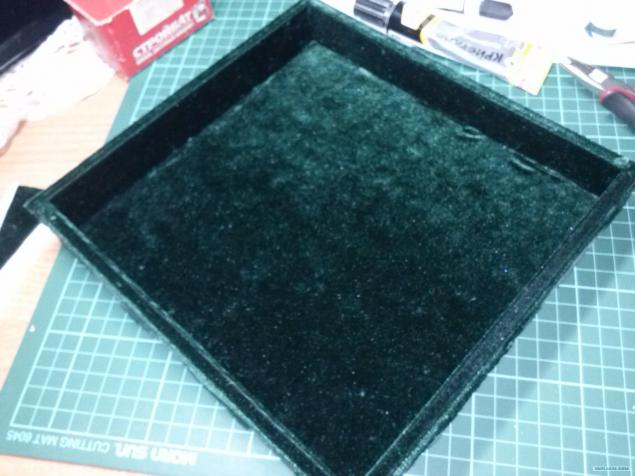
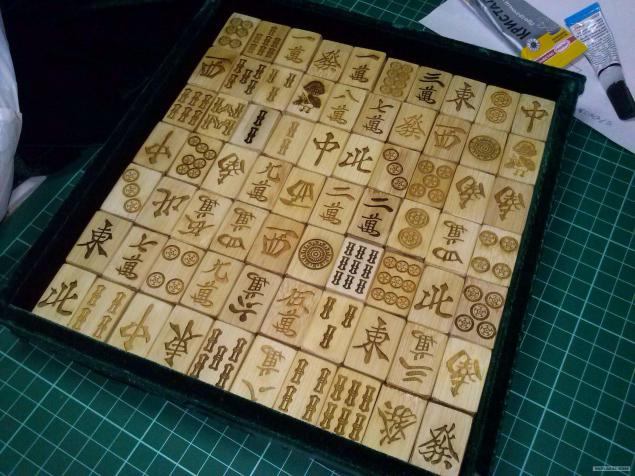
17. That the tiles in the box. Fit exactly 7 rows of 10 pieces on a layer ... or 10 rows of 7 pieces, floor depending on how you count)))
Posted in [mergetime] 1391705451 [/ mergetime]
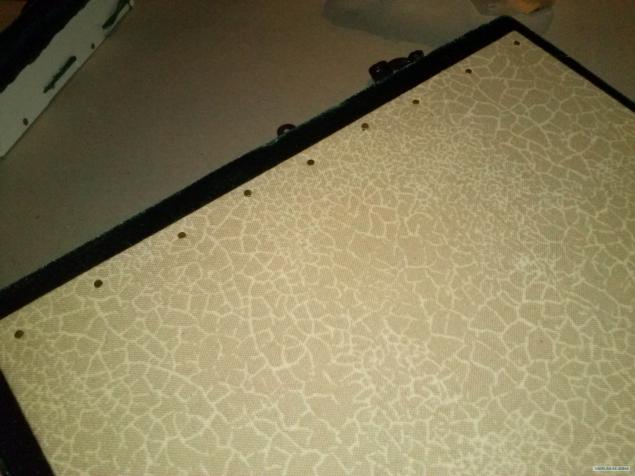
18. This overlay krushku inside. To get up close to the hole between the wall and press down on top of the tiles. That they are not in the box bryakali
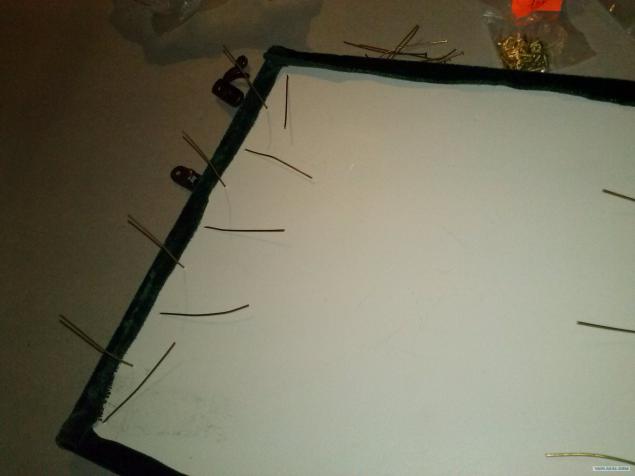
19. The decor and additional strength. It pins for jewelry.
20. Here's what the back cover. Long mustache cut so that there is 2 cm and bent. in fact, everything is kept on nails =)
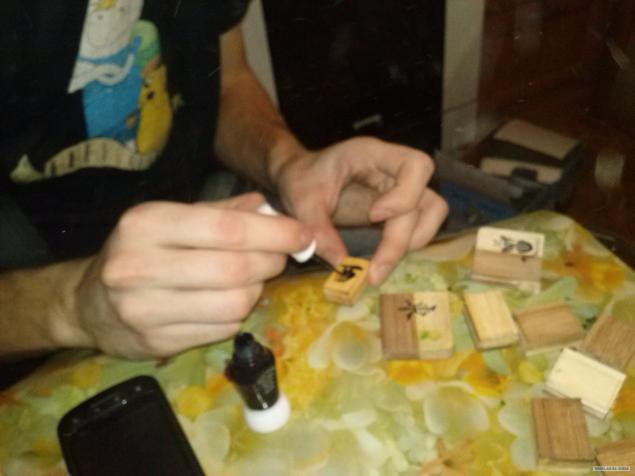
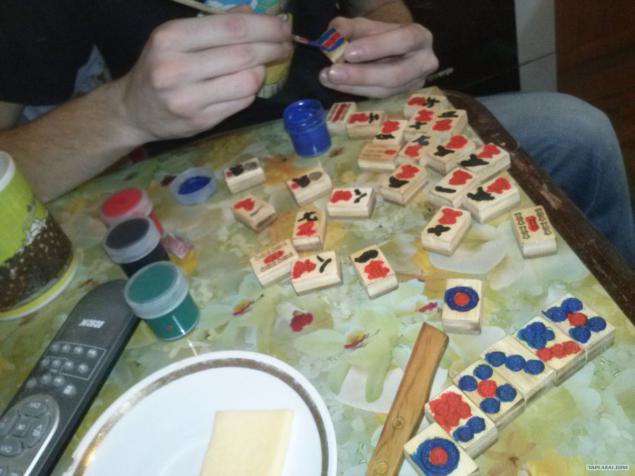
22. And here the weekend we got together and started driving engraved tiles of the paint. More precisely, some tiles were made as experimental. They are "painted" with black lacquer. Then to simplify plugging ink was dug out an old set of acrylic paints.
23. That somehow the way it looked. color tiles each, and I was distracted from sanding the dried tiles (on the grinding wheel layer of paint is removed and what remains of the zagravirovannoy in color) and sfotkal painting process at full scale
24. Returning to the long box. The fabric store has been chosen rather dense fabric lining on the outside finish. Then there was the interruption of the work, and when I was flooded in the work of improving the box, I could not stop and sfotkal already fitted by almost all (pictured right edge not covered with because of the fact that corny ended glue)).

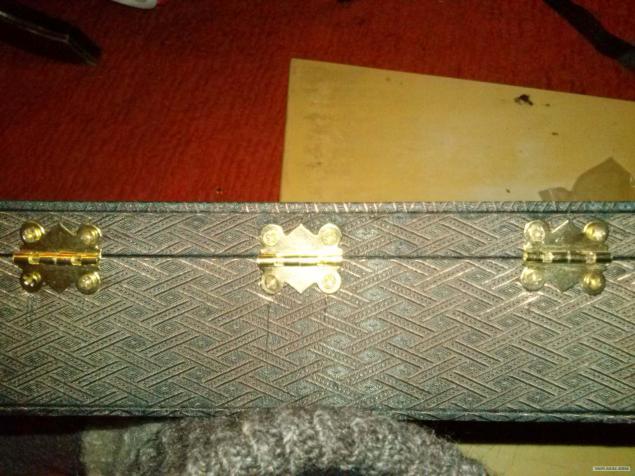
25. Crayons screws (good wall thickness of the box (1 cm) allows) 3 screwed hinges. For durability and looks neat
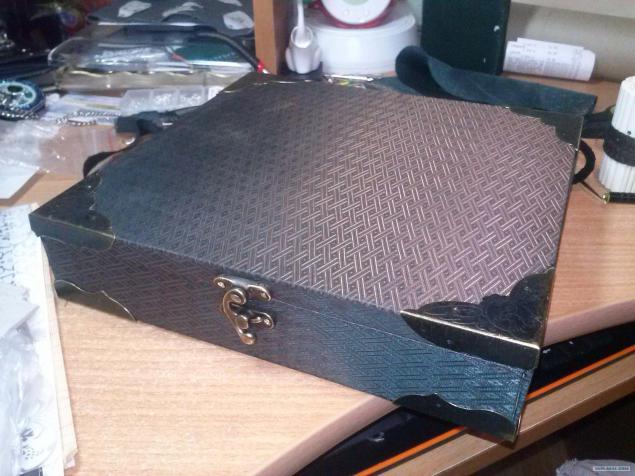
26. The lock on the cover hook type

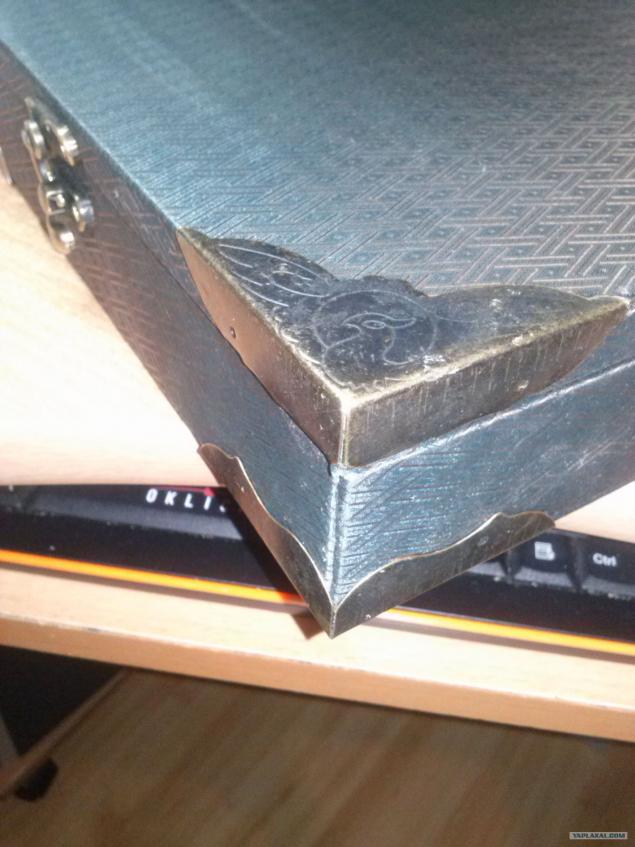
27. Sticking to supermegasekundny glue Cosmofen CA 12 corners on the top and bottom of the box
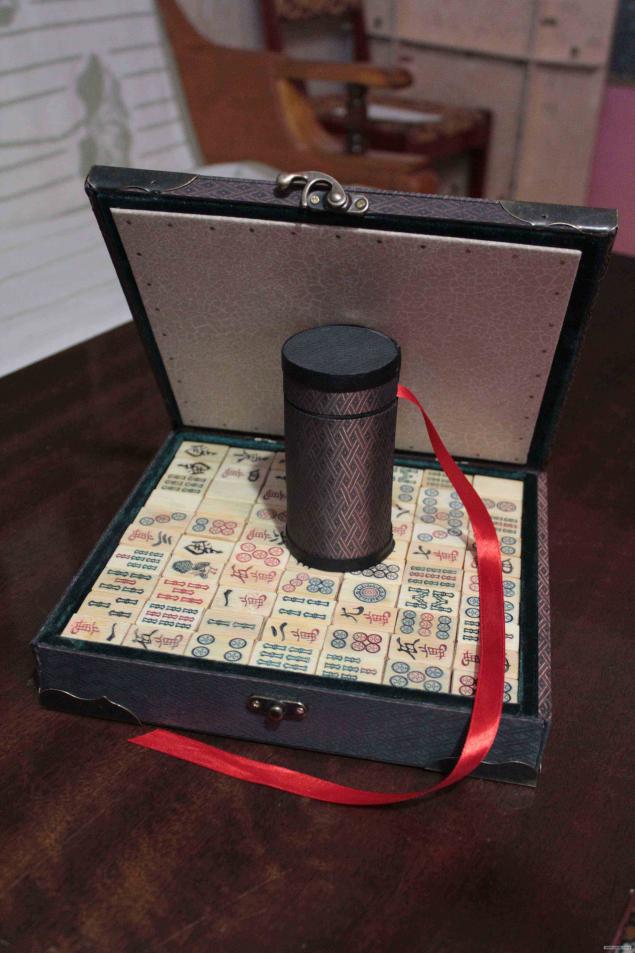
28. View the whole
29. And, indeed, the whole set of fully assembled =)))
box for counting sticks mahjong sfotkat again did not have time because of work-rush'a
Source:
My friends and commercials 3 years ago bought naborchik mahjong (optional budget - 2000 ubley) achali and fascinating journey into the world of this exciting and eerily eastern games of chance. China is considered the homeland of mahjong, but then he moved to Japan, Korea, Taiwan and other countries in the east. So that's about the Japanese-Dora riichi mahjong and will post. More precisely its manufacturing

photo in the beginning - many well-known bamboo boards fix prise. So one of them and was successful (When you have completed a week ago) washed down the entire set.
But in order.
The idea to make your set came after a failed purchase more expensive set of the same bamboo. But to make the set was disgusting, and I decided to take matters into their own hands. Knocked on the floor business friends (one long and boring), chipped in for 100 rubles. to begin with, and bought boards.

2.
Here are the approximate layout of boards on the future of sawing. The gap between the strips 2 mm wide, 3 cm band itself. Somewhere)

3.
After sawing and splitting of these colors are here harvesting.
Brown then had another half to two things break down, the benefit of the whole board, glued and analysis of the problems with e not arisen

4. The test tiles (the dice in this game are called), I sawed / cleaved / pasted at home. Here are glued blanks

5. but the result of a file))) to help friends hooked and quickly came

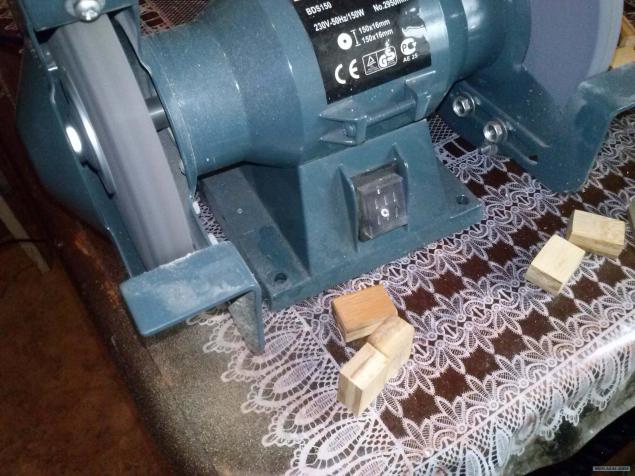
6. Friends appreciated. Found an electric grinder, 2 rounds of medium and small grain, and the work went faster

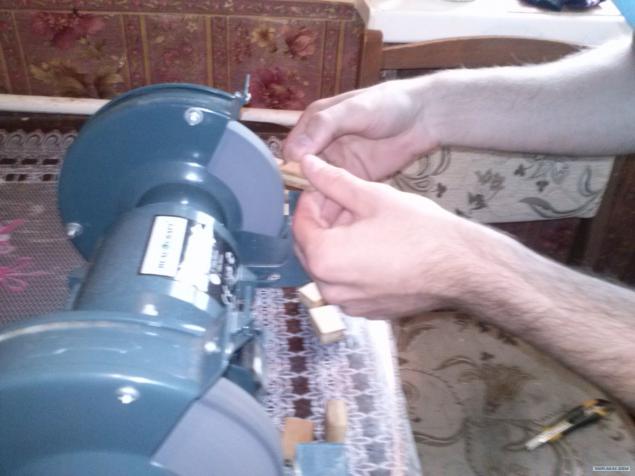
7. I grind the tile)) sobsno process of turning the workpiece clearly. fotkal each of my mobile phones

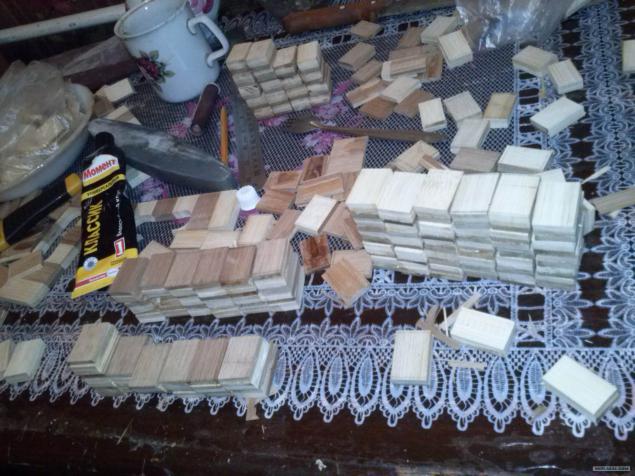
8. The approximate scope of work for two weeks somewhere. Since almost everything is working, then we get together and do something succeeded or evening (2-3 hours at most), or on the weekend, so the process has slowed down.

9. When grind the first half of the tiles is a reasonable question arose: how we apply the pattern, then we ???
Option with a brush dropped at once - but I know how to draw and 1, I is not able to manage and for the year, burning out - not a ride due to the lack of color. The black / white version of the tiles do not look, and look at the bamboo a little boring. and then I got a job at the center of laser engraving ...))) and for a week on Mahjong forgotten. Just came in the midst of orders for laser cutting and engraving to make time for all the tiles did not work

10. And then came an hour H. The regular working Friday Stas (machine operator) came up and said that the hours for the 4-D machine is in the public domain (the time just went in the evening), without hesitation threw the net production file rendered in the Corel DRAW drawings tiles and ran into the shop. pictured tiles are waiting for engraving

11. The actual engraving process (Sori for the fact that you can see bad - Laser machine guard, though transparent, but prevents cell)

12. Somewhere over 1.5 hours the first half of the tiles was successfully engraved PC clock counts. Different color patterns can be explained quite simply: bamboo was from different backgrounds, so somewhere the laser burned deeper and blacker (loose part, closer to the middle of the "trunk"), somewhere Settle and, accordingly, less deep (thick portion which is closer to the outer part )

13. A parallel with tiles I started doing a box for them. Actually material - PVC - easy, relatively affordable and quite durable.

14. carved bottom and sides

15. a long time digging in the "rag" bins with his girlfriend for the presence of velvet or soft cloth. We found a dark green velvet. Ideally! His and used

16. obyanul velvet bottom and walls at the "moment of crystal." Important uniform (and thin) layer and smear it all prikleetsya exactly, perfectly and without absorbing adhesive

17. That the tiles in the box. Fit exactly 7 rows of 10 pieces on a layer ... or 10 rows of 7 pieces, floor depending on how you count)))
Posted in [mergetime] 1391705451 [/ mergetime]
18. This overlay krushku inside. To get up close to the hole between the wall and press down on top of the tiles. That they are not in the box bryakali

19. The decor and additional strength. It pins for jewelry.

20. Here's what the back cover. Long mustache cut so that there is 2 cm and bent. in fact, everything is kept on nails =)

22. And here the weekend we got together and started driving engraved tiles of the paint. More precisely, some tiles were made as experimental. They are "painted" with black lacquer. Then to simplify plugging ink was dug out an old set of acrylic paints.

23. That somehow the way it looked. color tiles each, and I was distracted from sanding the dried tiles (on the grinding wheel layer of paint is removed and what remains of the zagravirovannoy in color) and sfotkal painting process at full scale

24. Returning to the long box. The fabric store has been chosen rather dense fabric lining on the outside finish. Then there was the interruption of the work, and when I was flooded in the work of improving the box, I could not stop and sfotkal already fitted by almost all (pictured right edge not covered with because of the fact that corny ended glue)).

25. Crayons screws (good wall thickness of the box (1 cm) allows) 3 screwed hinges. For durability and looks neat

26. The lock on the cover hook type

27. Sticking to supermegasekundny glue Cosmofen CA 12 corners on the top and bottom of the box

28. View the whole

29. And, indeed, the whole set of fully assembled =)))
box for counting sticks mahjong sfotkat again did not have time because of work-rush'a

Source: