165
What this woman does with the fabric is like magic! Finally found her ideal...
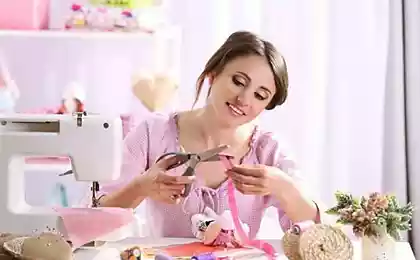
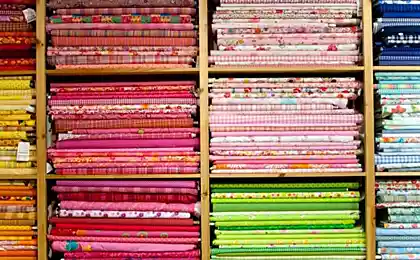
If you like to make amazing things with your own hands, this article is for you. Hand-stitched fabric The activity is very exciting and creative. With the help of this technique, you will easily decorate the interior, and most importantly - you will get a lot of pleasure and positive emotions! Such creativity does not require large costs, for everyone, and the result is simply magical. Let's try it!
"Site" I have prepared for you an amazing master class on the ancient technique of typing a picture on a fabric, which will captivate you completely. Promise.
Patterns on fabric Materials
The plucking process
You see, creating your own unique and unsurpassed design is very easy, and most importantly - so pleasant! I hope this wonderful class inspired you. Tell us about your successes in the comments.
"Site" I have prepared for you an amazing master class on the ancient technique of typing a picture on a fabric, which will captivate you completely. Promise.

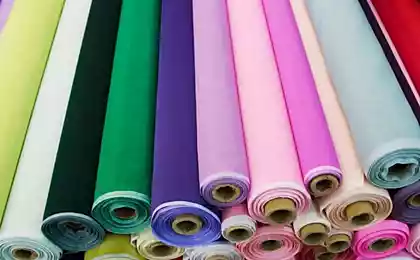
Patterns on fabric Materials
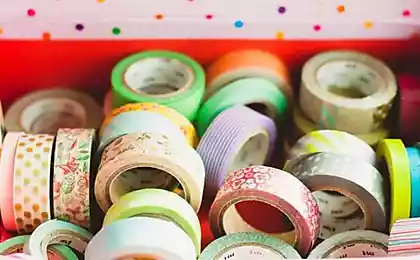
- paint
- stamping
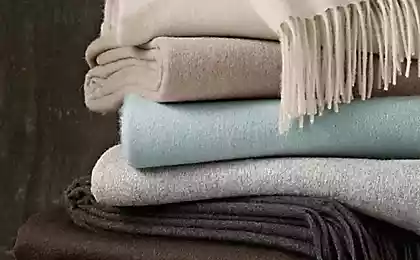
- natural fabric (cotton or linen)
- dish-sponge
- painter
- brush
- iron
- blanket
The plucking process
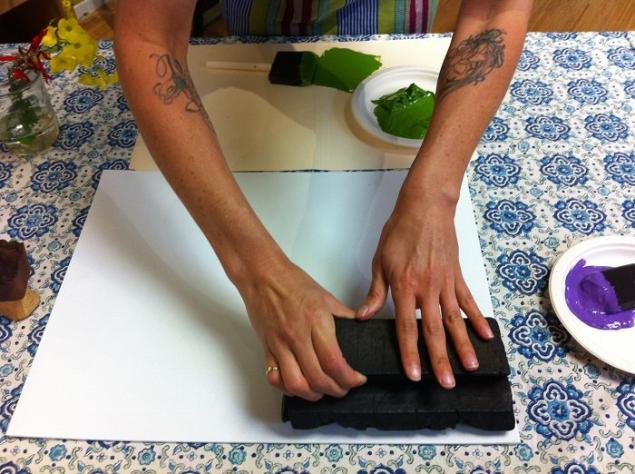
- Prepare the work field first. Fill the table with an old soft blanket or any other dense, but necessarily soft fabric. For tiling, a soft surface is needed to make the impression more clear.
- On top of the blanket lay a smoothed piece of fabric: it can be a linen napkin, and a cotton bag and even a pillowcase on the pillow. The main thing is that the fabric must be natural.
- Pour into the container a little paint of the desired color and mix well with a brush to a homogeneous consistency.
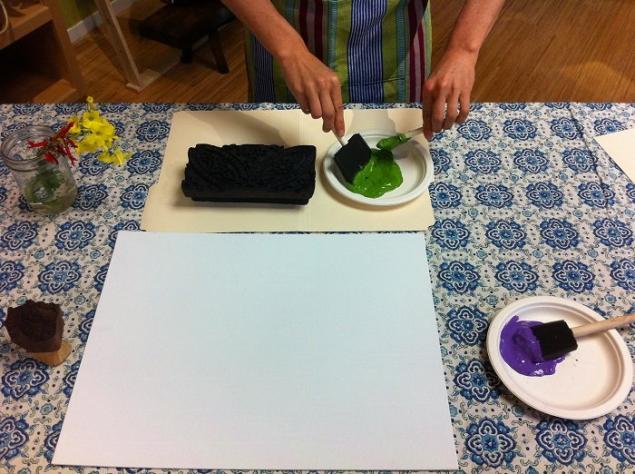
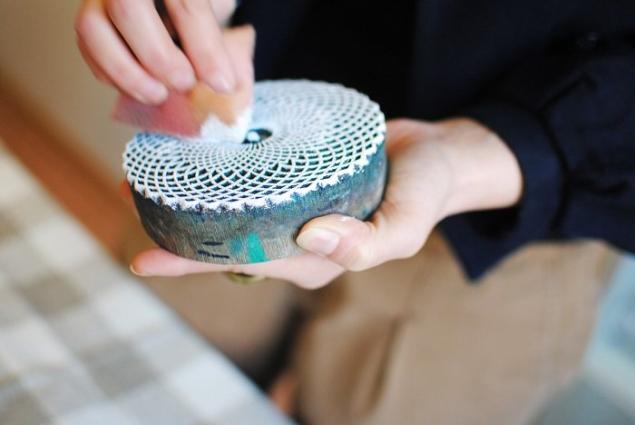
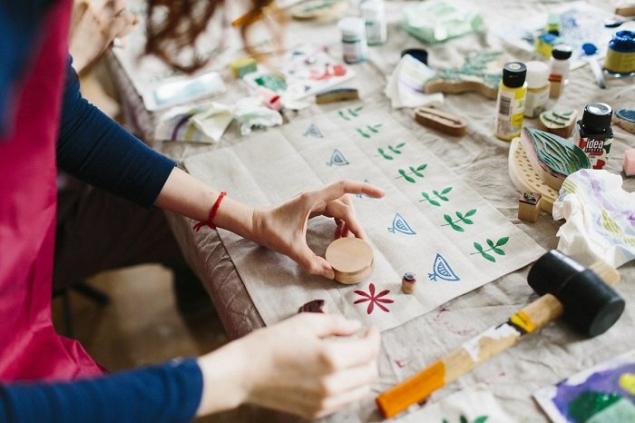
- Take the sponge and cut it into small squares, about 2 x 2 cm. Take a piece of sponge and macni in paint with a little pressure.
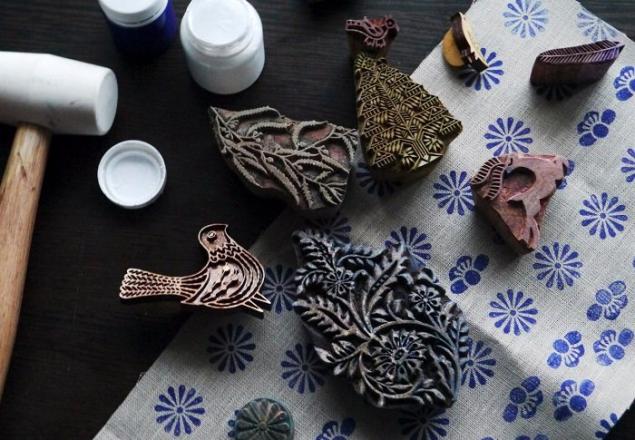
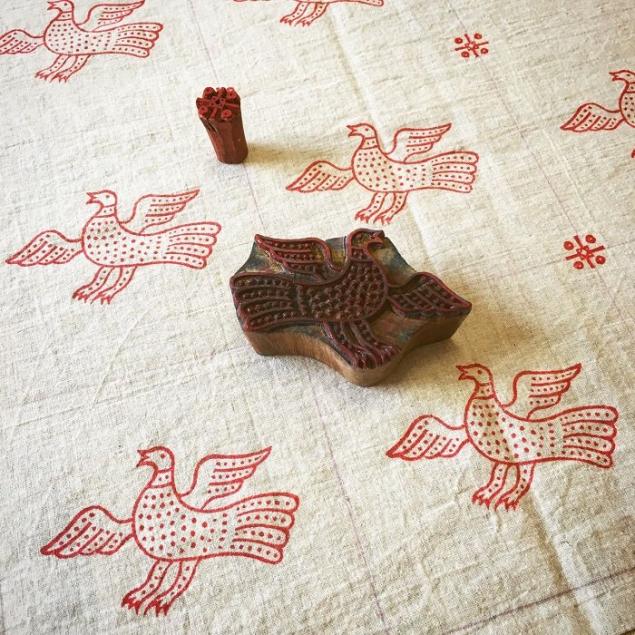
851561 - Now sneak the wooden stamp with a sponge. Paint carefully and evenly, from the bottom up with little pressure. Stamps for typing These are patterned wooden tablets that can be purchased in a specialized workshop or made with your own hands. It is not only wood that is used for this purpose. For homemade stamps, for example, half potatoes are perfect.
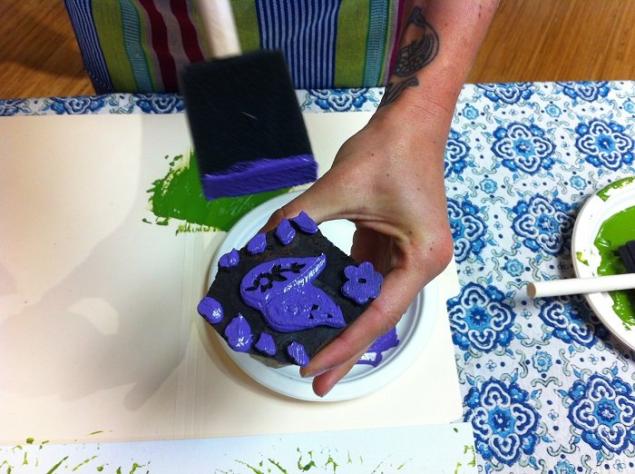
- Then proceed to the direct drawing. Apply the painted stamp to the surface of the fabric for a few seconds. For a more accurate filling, you can hit the stamp with a hammer. Only remove the stamp vertically! Otherwise, the drawing will be blurred. Remember, the stamp must be painted before each subsequent print.
- When the craft is ready, leave the fabric for a few hours until the paint is completely dry.
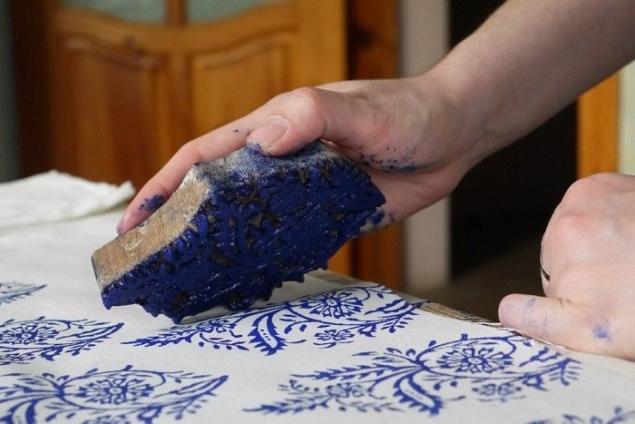
- After the fabric dries, the picture must be fixed with an iron. Smooth the inside out first and then the front side. The magic is ready! A napkin with hand ornamentation will be a wonderful gift and will please for many years.


You see, creating your own unique and unsurpassed design is very easy, and most importantly - so pleasant! I hope this wonderful class inspired you. Tell us about your successes in the comments.


7 days, 7 glasses: a technique that kills abdominal fat! That's the power.
Residential garage for mother-in-law with their own hands