138
The programmer learned the art of decorative plaster, making repairs in his apartment, a cunning guy shares tricks on finishing walls
Many people who are unfamiliar with construction professions want to make repairs with their own hands. But because of a lack of practice, they don't know, How to apply decorative plaster On the walls, what to use and how long it will take. As a result, it turns out poorly, and you have to redo everything first.
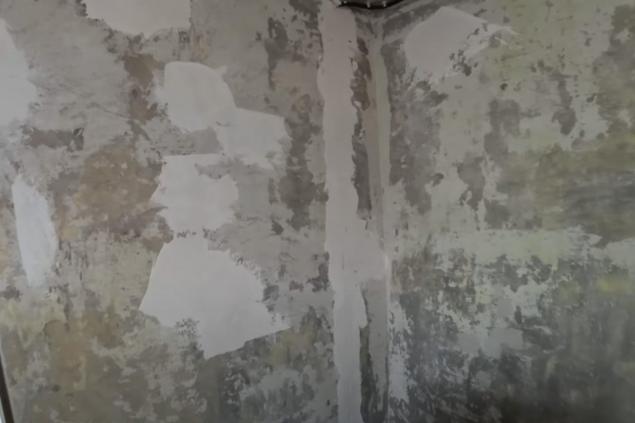
Of course, each work has its own nuances and tricks. They come with time. But in some cases, anyone can cope with the work, even the most recent profane. If you don't make it difficult and try a little. In this article, we will tell you how to bring the curved walls of the average area in order. With a minimum of knowledge, but with great perseverance of a person who wants to improve his living space.
How to apply decorative plaster Ingredients
Preparation
Are you saying it's too hard? Well, of course not. The master's case is afraid. The main thing is to start, and then everything will go as usual. In a few days with a room of 40 square meters can manage one professional. Or two newcomers. And the price of the materials you can find in your city. Anyone can afford it. Beautiful renovations are the dream of many families. So why not do it?

Of course, each work has its own nuances and tricks. They come with time. But in some cases, anyone can cope with the work, even the most recent profane. If you don't make it difficult and try a little. In this article, we will tell you how to bring the curved walls of the average area in order. With a minimum of knowledge, but with great perseverance of a person who wants to improve his living space.
How to apply decorative plaster Ingredients
- 3 bags of any plaster plaster
- water
- primer
- mother-of-pearl
- 3 cellophane bags
- tape
- gloves
- ironing
- spatula
- roller
- dishwasher
Preparation
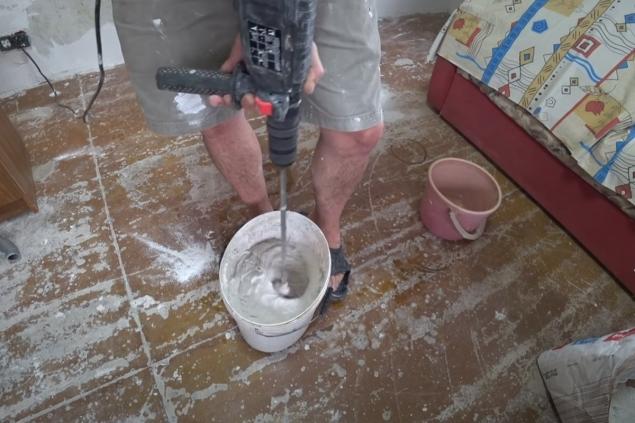
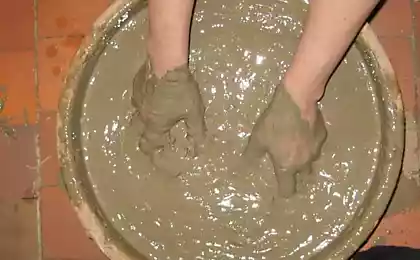
- So, the first thing we need to do is to breed plaster. We pour it into a bucket of water and mix it with a construction mixer. It should be airy, thin texture. So that it does not pour out from the shoulder blade or spatula, but as if moved away. Remember the proportions, because we will use them with all the walls.
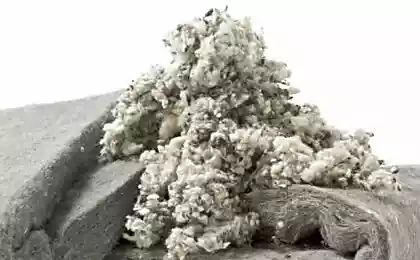
- Now we create a “tool” for applying plaster. Take a large package from the grocery store, put in it 2 of the same crumpled bags. It's like a very crumpled, deflated balloon. The neck of the package is fixed with scotch for convenience. Tool ready.
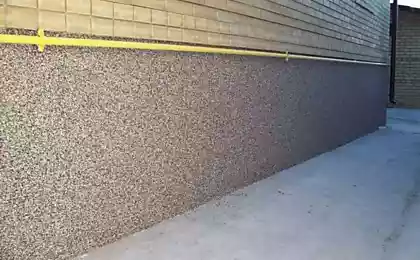
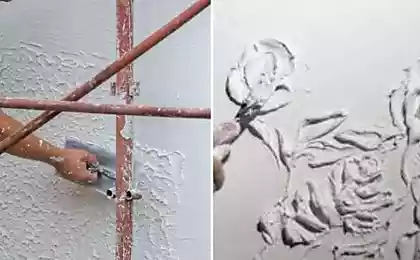
491190 - Actually, let's go. Dip the package with the bottom side in the solution and press against the wall. Some part of the plaster remains on the wall, forming an interesting, unique shape. This is how we treat part of the wall. From time to time, you need to check if it is too dry. In 20-30 minutes, it will be ready for the next step.
- So, some time passed and the layer started to dry. That’s what we need to put in the right shape. Take out the ironing and level the finished layer. This will give you a pleasant texture. But don't relax, there's a lot of work to do.

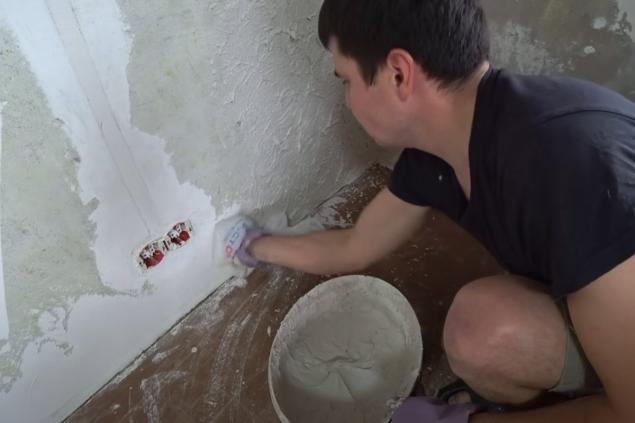
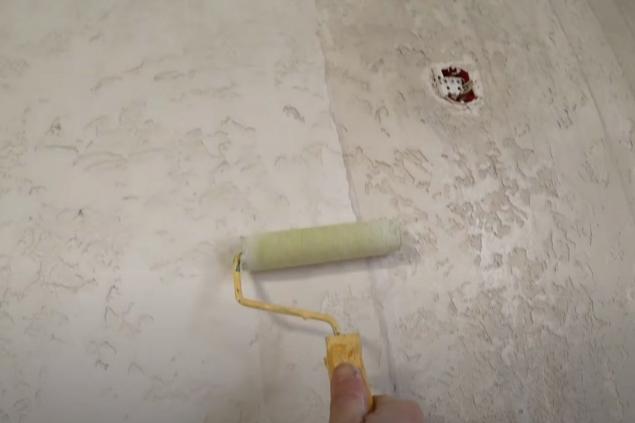
- The next day, when the plaster dried up, we take out the spatula. We bend it slightly on the sides so that it does not scratch the wall and just remove all the excess material. Eyes. Then we open the can with a primer and apply it with a roller on the wall. Bottom-up movements. So there will be no divorces, and the primer is well saved. Let the walls dry up and come back when we can work with them.
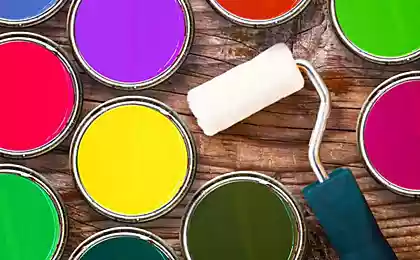
- One last push. Open a jar of pearl enamel. Just a little bit, about a liter. Get a sponge. We collect a little mixture and confident circular movements as if rub it into the wall. The job isn't complicated. More like a quick one. But now the walls will shine like a real pearl. Or whatever color you choose. In the store you can pick up any shade.


Are you saying it's too hard? Well, of course not. The master's case is afraid. The main thing is to start, and then everything will go as usual. In a few days with a room of 40 square meters can manage one professional. Or two newcomers. And the price of the materials you can find in your city. Anyone can afford it. Beautiful renovations are the dream of many families. So why not do it?


Is it possible to fry eggs in butter and when it is time to add a pinch of salt
Why there are almost no planes flying over the Pacific Ocean