169
Genius homemade for giving from an old loose barrel
If the farm did not “fall down” a small truck, the removal of suburban garbage outside its territory can turn into a real problem. And we're not talking about ordinary household waste, but about leaves, branches, perhaps the trunks of fallen trees. In such cases, it helps a lot. recycling by burning it.
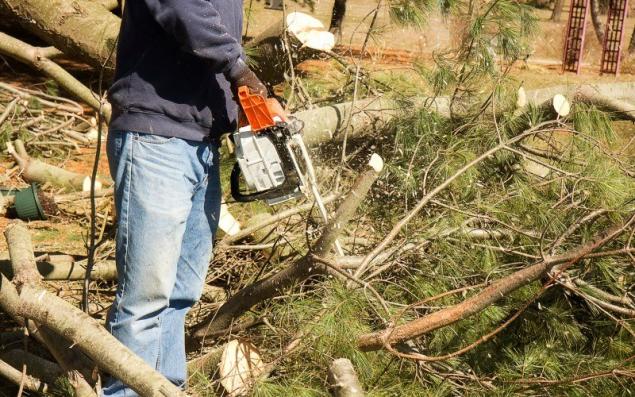
In order to burn all the excess debris, you can make a common cottage craft from a metal barrel. A standard tool, a couple of hard-working hands and a little inspiration will turn an unnecessary piece of metal into a comfortable stove, giving a huge amount of ash to fertilize the garden.
First of all, you need to say that burn plastic, polyethylene, plastic and other similar materials in such a craft. cannot. This threatens to emit poisonous smoke, besides, the device itself will be spoiled: the ash after that, even from wood, will be poisonous and unsuitable for household needs.
On the other hand, branches, leaves, dry weeds and other grass, paper and similar environmentally friendly materials will work very well. Smoke will stand only from the leaves, you just need to put the barrel away from the cottage itself. But the garbage on the site will be less, and garden plants will get a good feeding.
You're gonna need a stove.
Preparation
Take our instructions as a basic, because in creating something new, and even with your own hands, creativity is very much revealed. For example, on the lid you can weld a tube thicker as a chimney. This will make operation easier. And in its middle it would be nice to place a grille of reinforcement, to separate ash and coal. In short, there are many opportunities, you will have a place to turn!

In order to burn all the excess debris, you can make a common cottage craft from a metal barrel. A standard tool, a couple of hard-working hands and a little inspiration will turn an unnecessary piece of metal into a comfortable stove, giving a huge amount of ash to fertilize the garden.
First of all, you need to say that burn plastic, polyethylene, plastic and other similar materials in such a craft. cannot. This threatens to emit poisonous smoke, besides, the device itself will be spoiled: the ash after that, even from wood, will be poisonous and unsuitable for household needs.

On the other hand, branches, leaves, dry weeds and other grass, paper and similar environmentally friendly materials will work very well. Smoke will stand only from the leaves, you just need to put the barrel away from the cottage itself. But the garbage on the site will be less, and garden plants will get a good feeding.
You're gonna need a stove.
- empty metal barrel 200-500 l
- door-hinges
- Bulgarian
- welder
- galvanized
- pruning
- iron-pipe
- gloves
Preparation
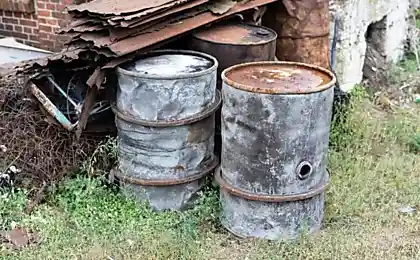
- Wear special gloves so as not to hurt yourself and simply not to smear your hands, we have a good job to do. So, take a barrel (it should be used, a new one is pathetic) and a Bulgarian. Now carefully cut the top of the barrel. It will also go into business, namely to the bottom: it will serve as an additional basis for the oven so that the real bottom of the barrel does not burn out so much.
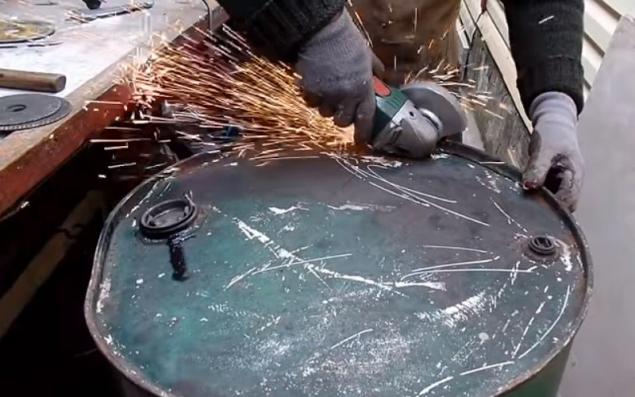
- Time to do the door. Draw "by eye" a square with a side of 20 cm at the base of the barrel. This will be the hole through which your “fuel” for the oven will be supplied.
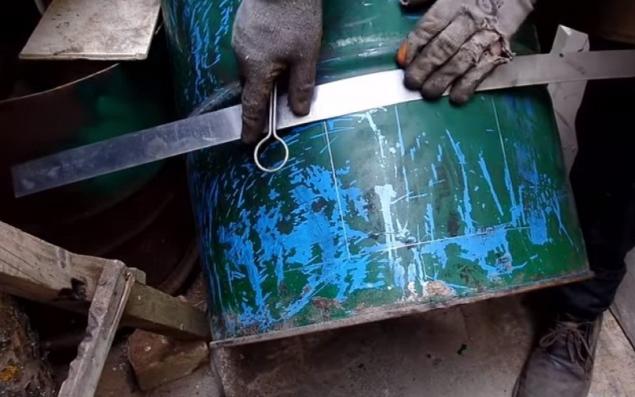
- Cut the right side of the square with a Bulgarian. Then weld 1-2 hinges for the door to it - on them it will hold. Now, if you wish, from iron pruning, build a brace for your door so that it can somehow close. At the end, cut out the remaining sides: it turns out a nice flap.
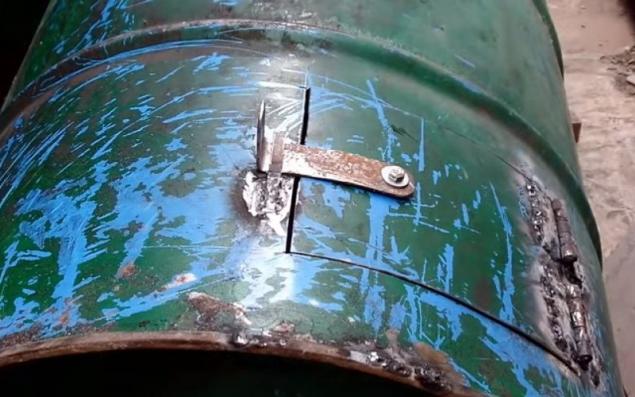
- Further, from a thin pipe or fittings, cut with a Bulgarian 4 identical pieces, about 7 cm long. It will be the legs of the stove so that it does not stand on bare ground or a swamp if it rains. Weld them to the bottom of the barrel so that the structure is stable.
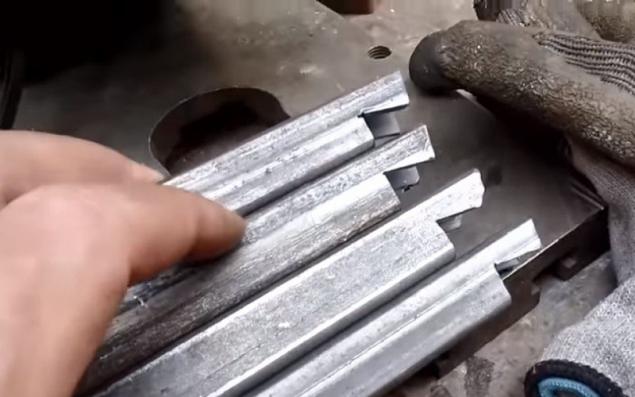
- It is time to create a lid for the oven: so that it can burn in the rain and the ashes do not blow away. On the galvanized sheet of metal, draw a circle with a diameter of the barrel ring + 1 cm for reserve. Add another 5cm and draw another circle for the lid walls. Now cut the Bulgarian lid on the outer circle.
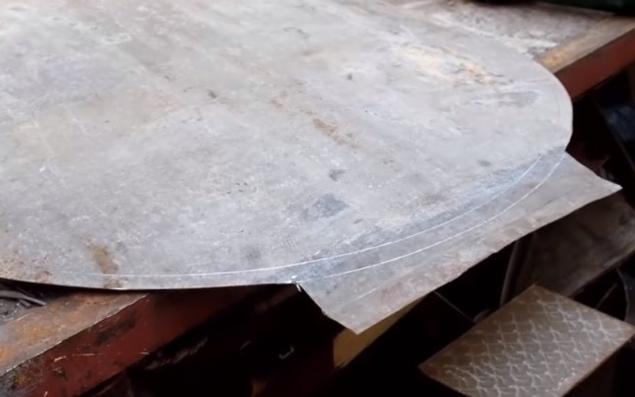
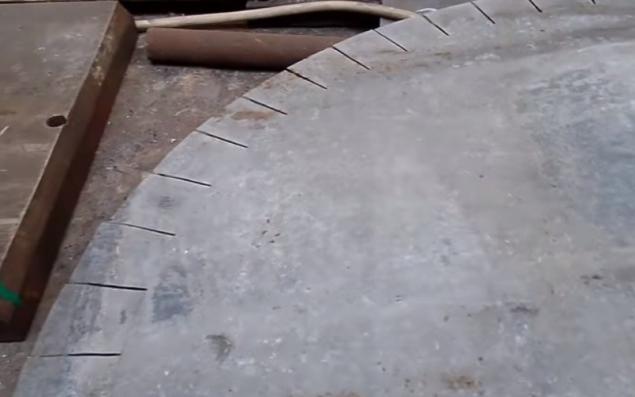
- Now carefully make slots every 5 cm, as in the photo. These will be the edges of the lid, at the end they need to be bent down. Thus, it will be well fixed on the barrel and will sit tightly without falling down.
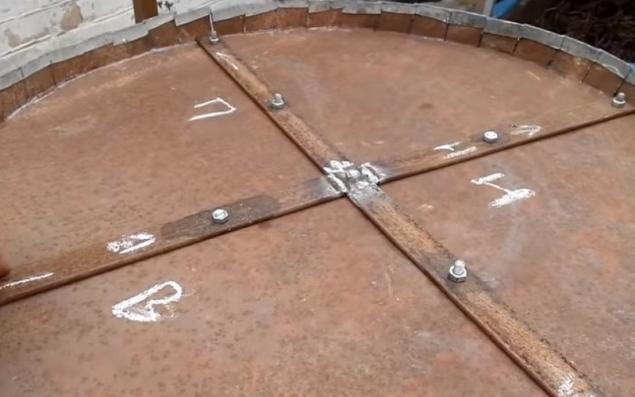
- Since the galvanizing sheet is quite thin, we advise welding a pair of iron strips of metal cross-cross on the inside and fixing this case with bolts.
- The last chord will be a cap handle made of iron trimming and also welded with a welding machine or simply fixed with bolts. All right, the stove is ready for the first firing and hard summer work.
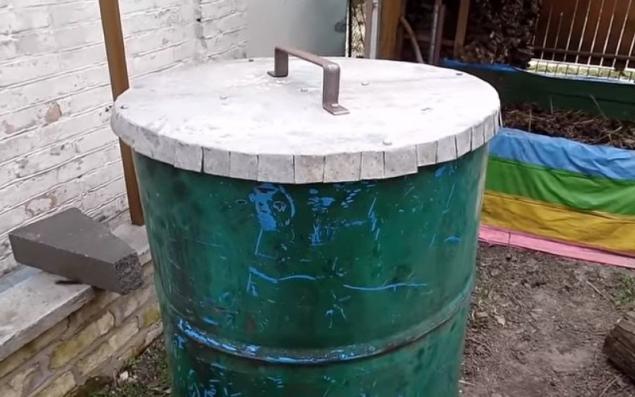
Take our instructions as a basic, because in creating something new, and even with your own hands, creativity is very much revealed. For example, on the lid you can weld a tube thicker as a chimney. This will make operation easier. And in its middle it would be nice to place a grille of reinforcement, to separate ash and coal. In short, there are many opportunities, you will have a place to turn!
What is useful thyme, how to properly collect, dry and use it
Why you should not buy nuts in the market


