482
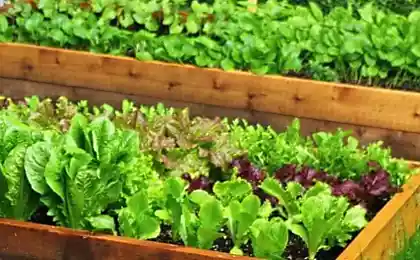
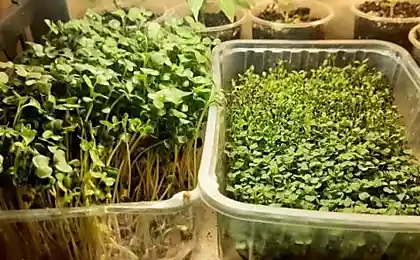
Garden at home: fresh greens on the table all year round
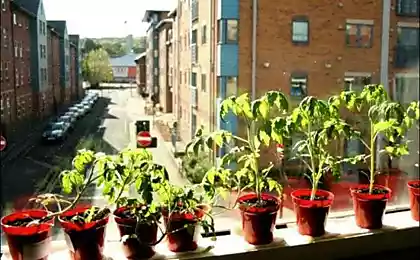
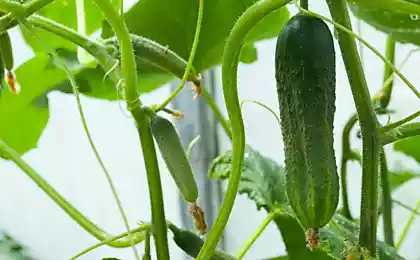
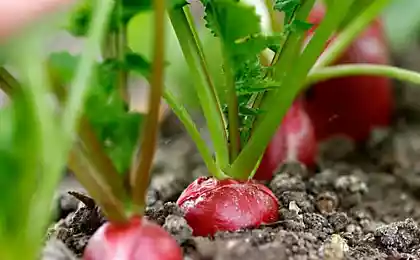
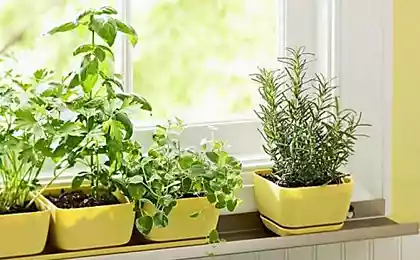
Fresh greens to the table is not only delicious, but also useful. As you know, the greatest number of nutrients found in vegetables, fruits and herbs for two hours after they were disrupted. Such luxury can afford in rural areas, but in cities and even small towns to buy such products practically impossible. There remains one way out is to grow it yourself.
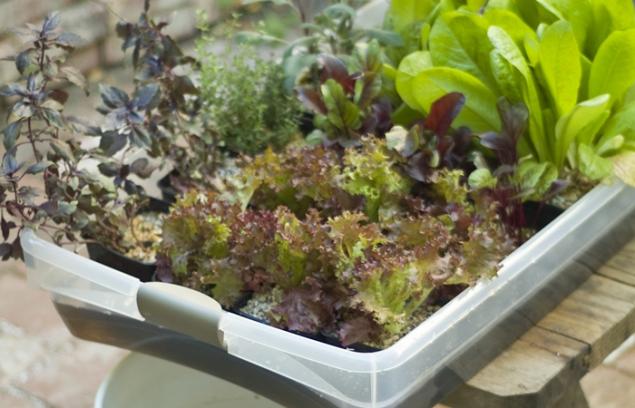
In our time, there is a unique method of growing plants – hydroponics, is available even in city apartments. It has a number of advantages. First, it saves water. For our project we need just 23 litres of water that will be used repeatedly throughout the week. If you plant plants in the ground, it is unlikely that we will be able to use the same water repeatedly.
Second, it saves space. For example, in conventional farming Bush of lettuce will grow as much as it will allow the seedling pot 10cm in diameter. In hydroponics the plant roots are growing outside of the pot, allowing it to reach full size, if you don't eat before, of course.
Step 1: Selection of materialsWe need:
• a bucket with a lid,
• water,
• fertilizers for plants,
• any stand tray (stool, table etc.)
• the emitters for drip irrigation,
• tray,
• tablets for germination of coconut fiber or mineral wool
• perlite or vermiculite
• plastic pots 10cm,
• seeds.
Step 2: Germination of seeds
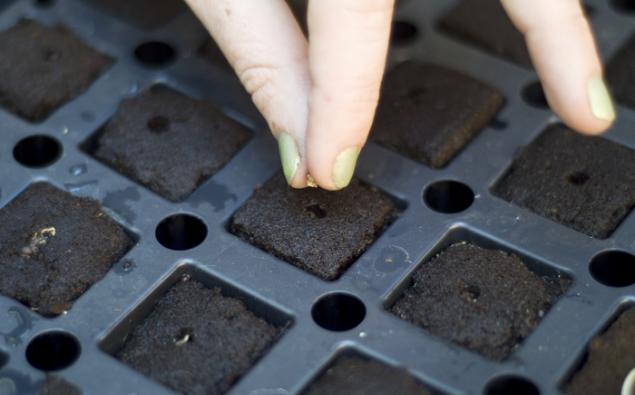
Moisten the tablet and place 2-3 seeds of lettuce (or other greens) to each of them. Better use of existing pallets for seedlings with trays and lids.
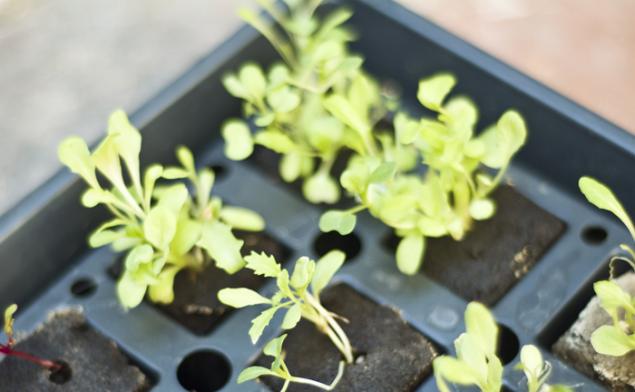
Place the pallets in the sun. After 1-2 days, the seeds will germinate. Watch out for humidity, if necessary, water them until the leaves appear.
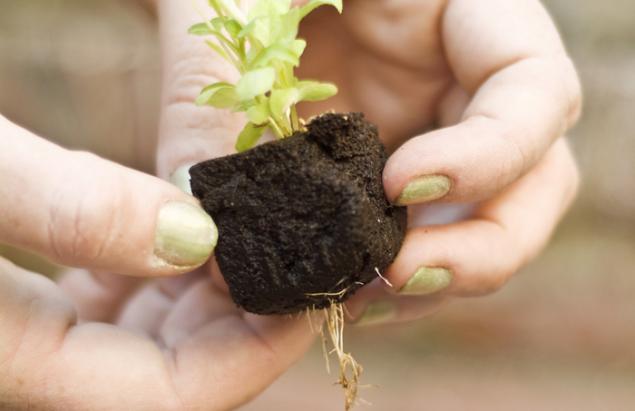
When the leaves get stronger, carefully lift the tablet to check that the roots are already well developed and "peeking" from the bottom to a few inches. It's time to repot the plants. This stage will take you about 1-2 weeks.
Step 3: select the system flooding If you seriously want to start growing plants hydroponically, it's better to buy a ready-made system tailored to fill with water and drying, equipped with a pump and timer. In our case, we use a homemade system, where water is poured manually.
The amount of water that we will use is 23 litres, so the system pick up a tank with a volume of 46-55l. When the system is filled, the water should reach half the height of pot 10cm.
Step 4: Install emitters for drip irrigation
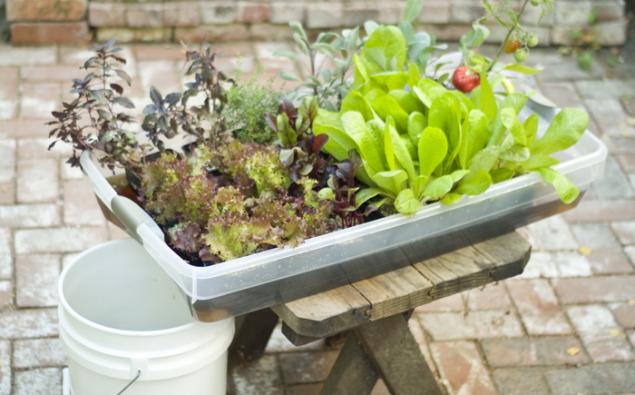
The emitters can be purchased in any hardware store in the Department of irrigation. We need to hold 23L water for about 1 hour, so you need to install 2 emitter with a capacity of 9L/h. Deciding where to install them, you need to consider the location of the sump and bucket. You can put the tray on the stool, and under its edge to expose the bucket.
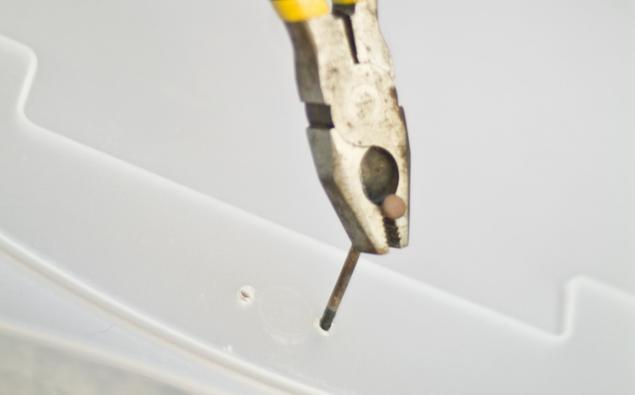
Pierce pallet
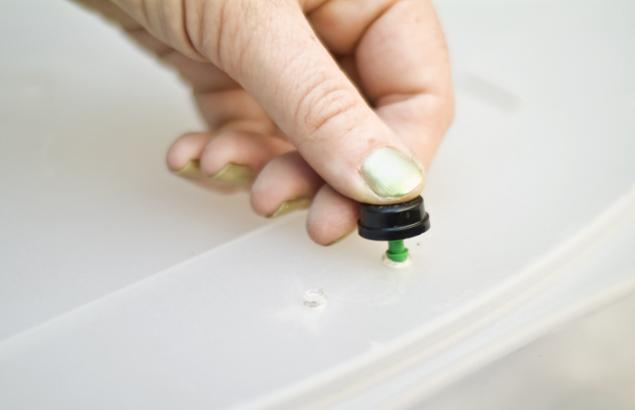
In order to pierce the pan, use a heated nail. Hold the nail with pliers and rascality it over the burner of a gas stove. Pierce them 2 holes in the bottom of the pan, remove melted plastic with a sharp knife, small power trowel with sandpaper, so the surface was smooth, insert the emitters. If water is poured too quickly, you can try to seal the emitters epoxy or hot glue.
Step 5: Preparation of the nutrient medium
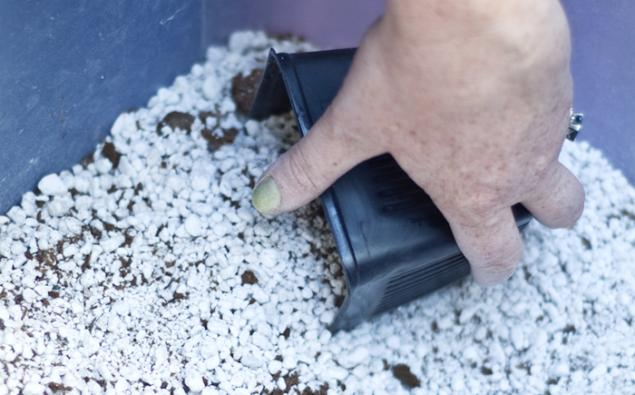
When plants grow in soil, they get nutrients and minerals from it. When they grow hydroponically, they are in a sterile environment and only feed on water and fertilizers. For optimal plant development, they need to put this in the environment that will hold moisture, and to protect them from waterlogging. It should also provide aeration of the roots. To do this, use a dry, retaining the air, perlite, and moisture-retaining, fertile coconut fiber. It is possible to replace them with vermiculite and moss-sphagnum. If the climate is dry, add more perlite, coconut fiber, and if wet – less.
Step 6: Transplant
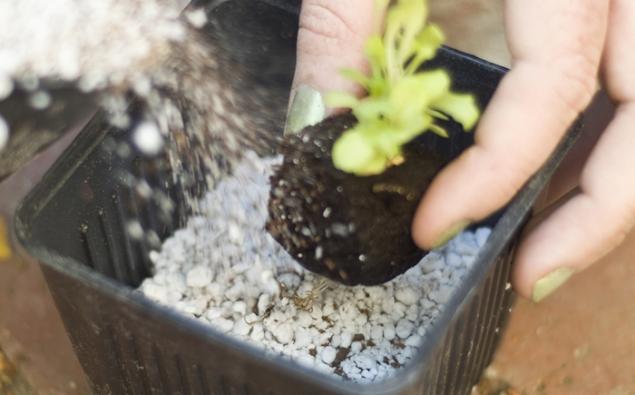
Make sure the pots (10cm) to have enough holes at the bottom. Plants would receive food and water through them. If necessary, poke a few holes in the bottom of plastic pots. Fill pots 1/3 of the cooked mixture.
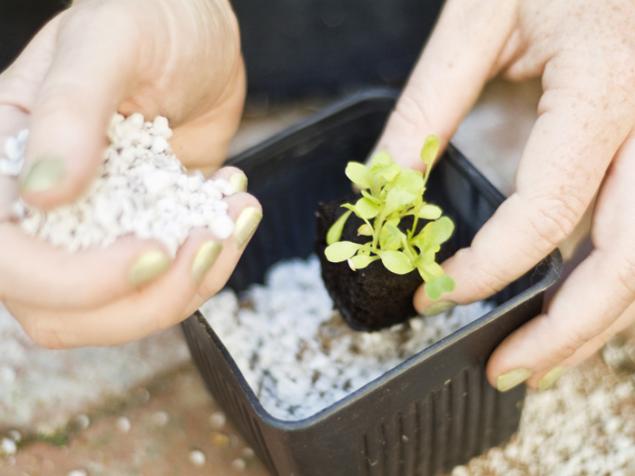
Place in a pot the pill with the herb and pour mixture to the brim. Pour the plants and place them in the pan.
Step 7: Preparation of fertilizers
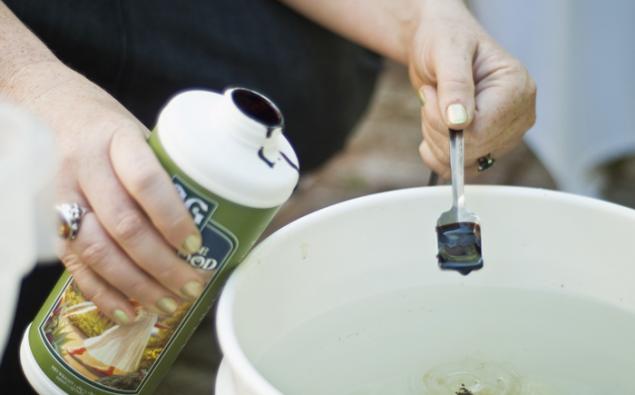
There are many fertilizers for plants grown with the hydroponic method. They need 2 types of nutrients: macronutrients (nitrogen, phosphorus, potassium) and micronutrients (molybdenum, zinc, cobalt, manganese, etc.).
Fill a 23L bucket with water, add fertilizer according to the instructions and mix thoroughly.
Step 8: Feeding plants

Slowly pour the mixture into the pan. Don't forget to place a bucket under the emitters.
Step 9: Care and harvesting
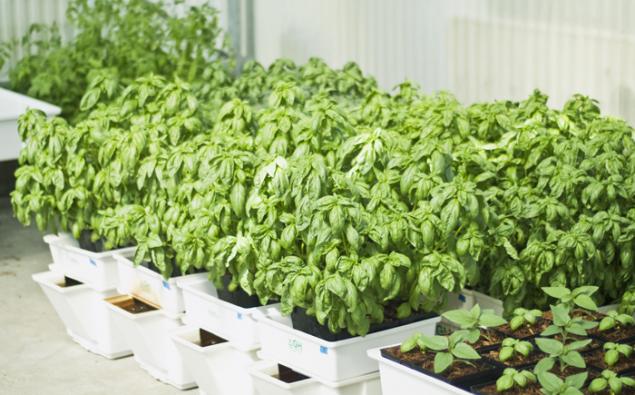
When the water from the sump will drain into a bucket, cover it with a lid, because fertilizers are sensitive to light. Watering plants every day, if necessary, twice a day. Nutrients and water are absorbed by plants, so necessary, add water. If the nutrient solution is acquire an unpleasant odor, prepare a fresh batch. In General, it should be changed every 7-10 days.
When the greens grow up, make a delicious salad and enjoy its taste, freshness and aroma, and then again begin to sow the seeds! published
P. S. And remember, only by changing their consumption — together we change the world! ©
Join us in Facebook and Vkontakte, and we're Classmates

In our time, there is a unique method of growing plants – hydroponics, is available even in city apartments. It has a number of advantages. First, it saves water. For our project we need just 23 litres of water that will be used repeatedly throughout the week. If you plant plants in the ground, it is unlikely that we will be able to use the same water repeatedly.
Second, it saves space. For example, in conventional farming Bush of lettuce will grow as much as it will allow the seedling pot 10cm in diameter. In hydroponics the plant roots are growing outside of the pot, allowing it to reach full size, if you don't eat before, of course.
Step 1: Selection of materialsWe need:
• a bucket with a lid,
• water,
• fertilizers for plants,
• any stand tray (stool, table etc.)
• the emitters for drip irrigation,
• tray,
• tablets for germination of coconut fiber or mineral wool
• perlite or vermiculite
• plastic pots 10cm,
• seeds.
Step 2: Germination of seeds

Moisten the tablet and place 2-3 seeds of lettuce (or other greens) to each of them. Better use of existing pallets for seedlings with trays and lids.

Place the pallets in the sun. After 1-2 days, the seeds will germinate. Watch out for humidity, if necessary, water them until the leaves appear.

When the leaves get stronger, carefully lift the tablet to check that the roots are already well developed and "peeking" from the bottom to a few inches. It's time to repot the plants. This stage will take you about 1-2 weeks.
Step 3: select the system flooding If you seriously want to start growing plants hydroponically, it's better to buy a ready-made system tailored to fill with water and drying, equipped with a pump and timer. In our case, we use a homemade system, where water is poured manually.
The amount of water that we will use is 23 litres, so the system pick up a tank with a volume of 46-55l. When the system is filled, the water should reach half the height of pot 10cm.
Step 4: Install emitters for drip irrigation

The emitters can be purchased in any hardware store in the Department of irrigation. We need to hold 23L water for about 1 hour, so you need to install 2 emitter with a capacity of 9L/h. Deciding where to install them, you need to consider the location of the sump and bucket. You can put the tray on the stool, and under its edge to expose the bucket.

Pierce pallet

In order to pierce the pan, use a heated nail. Hold the nail with pliers and rascality it over the burner of a gas stove. Pierce them 2 holes in the bottom of the pan, remove melted plastic with a sharp knife, small power trowel with sandpaper, so the surface was smooth, insert the emitters. If water is poured too quickly, you can try to seal the emitters epoxy or hot glue.
Step 5: Preparation of the nutrient medium

When plants grow in soil, they get nutrients and minerals from it. When they grow hydroponically, they are in a sterile environment and only feed on water and fertilizers. For optimal plant development, they need to put this in the environment that will hold moisture, and to protect them from waterlogging. It should also provide aeration of the roots. To do this, use a dry, retaining the air, perlite, and moisture-retaining, fertile coconut fiber. It is possible to replace them with vermiculite and moss-sphagnum. If the climate is dry, add more perlite, coconut fiber, and if wet – less.
Step 6: Transplant

Make sure the pots (10cm) to have enough holes at the bottom. Plants would receive food and water through them. If necessary, poke a few holes in the bottom of plastic pots. Fill pots 1/3 of the cooked mixture.

Place in a pot the pill with the herb and pour mixture to the brim. Pour the plants and place them in the pan.
Step 7: Preparation of fertilizers

There are many fertilizers for plants grown with the hydroponic method. They need 2 types of nutrients: macronutrients (nitrogen, phosphorus, potassium) and micronutrients (molybdenum, zinc, cobalt, manganese, etc.).
Fill a 23L bucket with water, add fertilizer according to the instructions and mix thoroughly.
Step 8: Feeding plants

Slowly pour the mixture into the pan. Don't forget to place a bucket under the emitters.
Step 9: Care and harvesting

When the water from the sump will drain into a bucket, cover it with a lid, because fertilizers are sensitive to light. Watering plants every day, if necessary, twice a day. Nutrients and water are absorbed by plants, so necessary, add water. If the nutrient solution is acquire an unpleasant odor, prepare a fresh batch. In General, it should be changed every 7-10 days.
When the greens grow up, make a delicious salad and enjoy its taste, freshness and aroma, and then again begin to sow the seeds! published
P. S. And remember, only by changing their consumption — together we change the world! ©
Join us in Facebook and Vkontakte, and we're Classmates
12 incredible things for home and garden with your own hands: the photo instructions
All Dutch trains will switch to wind energy in three years

