211
Vitamins on the windowsill, or How I grow microgreen at home
I don’t go for supplements, I grow vitamins right at home. I boast of an enviable harvest, because the microgreens on the windowsill grow like yeast. At the same time, special efforts are not needed to grow microgreens.
Today's edition. "Site" share microgreening on the windowsill at home. With your hands!
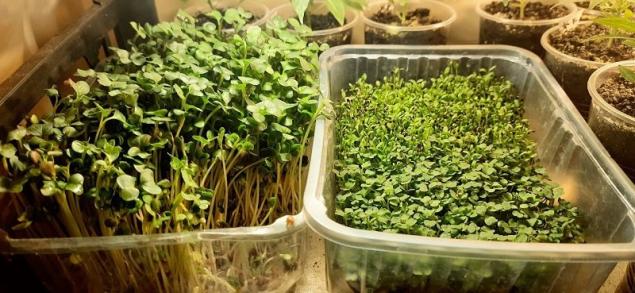
While seasonal vegetables have not ripened yet, I am pleased with homemade microgreens, especially now it is in trend. One small sprout can contain as many vitamins and trace elements as a whole vegetable. Often this healthy green has a high price. But in order not to waste money, you can grow microgreen yourself.
There are 2. cultivation Microgreens: with and without soil. The first option is intuitive, but the second I will stop a little. The most ideal option is to grow microgreens on linen mats (they are sold in many stores for the garden and garden).
But you can grow on cotton wool, paper napkins and even on toilet paper. Tested by experience, all these types of substrate perfectly cope with their task.
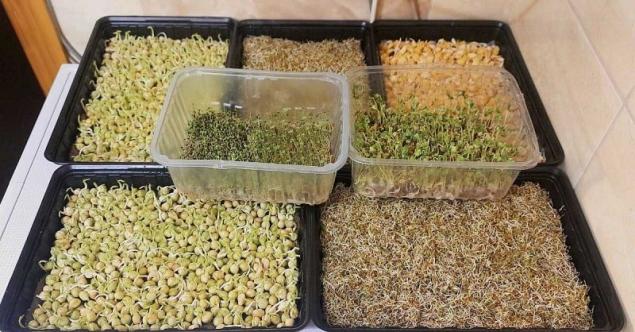
If you’re just beginning to discover the world of microgreens, don’t take stiff seeds. Stop your choice on cabbage, clover, radish, alfalfa, watercress or turnips. They germinate easily and do not require special care.
Seeds in small bags that are widely sold for gardeners are not designed to grow microgreens! They undergo pre-sowing treatment and are etched with chemistry. Therefore, buy seeds only in specialized health food stores.
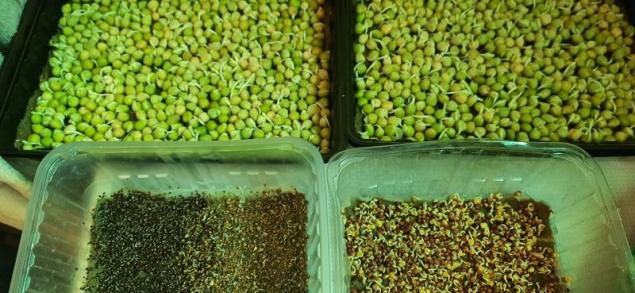
Subtleties of growing microgreen Large seeds before planting need to soakBut such small as basil or mustard, you do not need to soak. For example, alfalfa should be soaked for a day. Then you need to drain the water and leave the seeds on the strainer for another 2 days in a dark place.
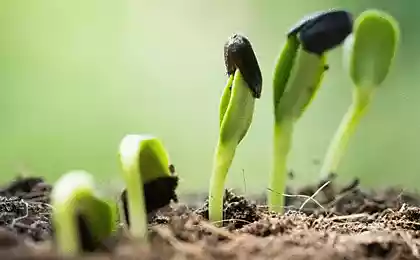
Place a linen mat or any other substrate in the container. Moisten him a little. On the surface of the substrate evenly distribute the seeds, and then cover the container with a lid or package to create a “greenhouse effect”. To begin with, the seeds should be put in a dark place (for example, in the closet, under the bed). After 3-5 days, get the sprouted seeds into the light. Ensure the plants are watered enough and wait for the harvest to be ready.
In another 3-7 days you will get a delicious and healthy portion of microgreens!
And, please, think in advance that your container or pot has enough holes to drain excess water, if necessary, make them.
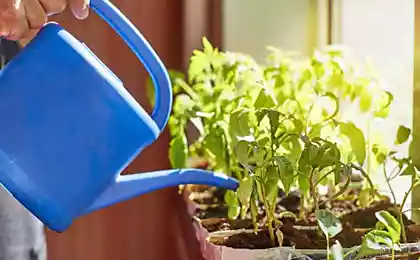
Next, the most difficult thing when growing microgreen is not to forget to water the shoots. Excessive or insufficient watering can prevent you from enjoying the microgreen harvest.
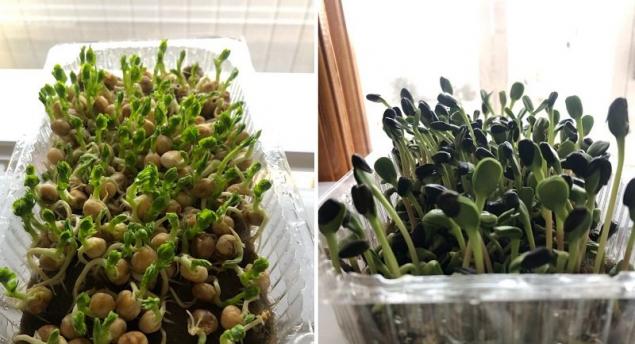
Microgreen does not require abundant watering, spray the sprouts 1-2 times a day from the sprayer. There are cultures that love moisture more than others. For example, peas and sunflowers drink plenty of water. The sunflower should not be poured with water, otherwise it can rot.
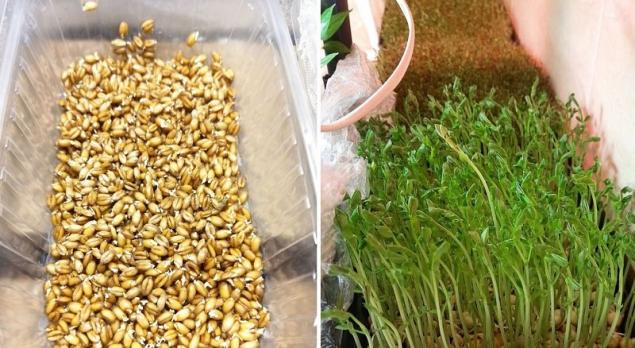
Each type of microgreen is valuable with its own set of nutrients! Some of them are so rare that microgreens become their unique source.
Microgreens do not accumulate harmful substances from the soil and atmosphere. Not treated with fertilizers and chemicals! Watered with clean filtered water. Sprouted seeds are not only useful, but also very tasty. I love an omelet with alfalfa or sunflower sprouts. Well, mustard will help make meat dishes even more delicious!
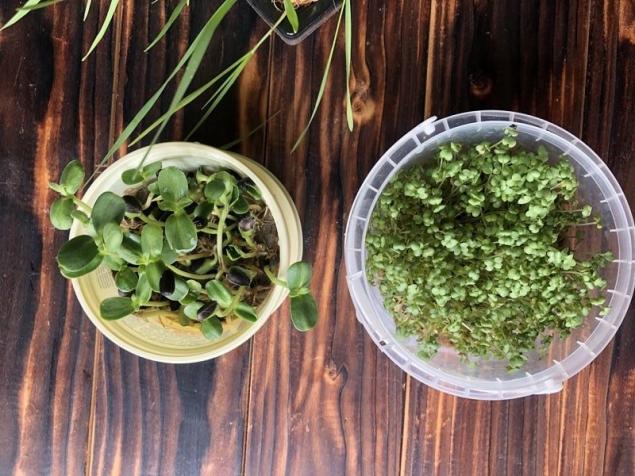
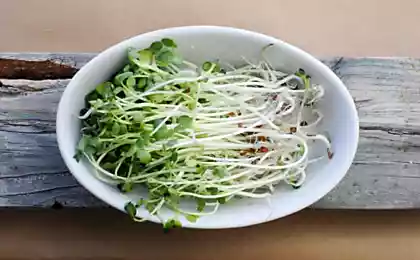
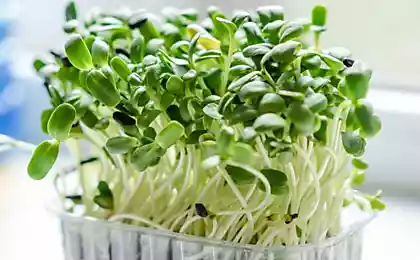
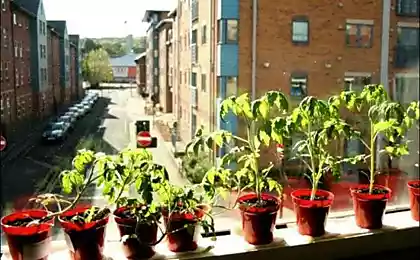
And I, as an aesthete, can not fail to note the beauty of microgreens. They look delightful both on the sandwich and on the windowsill - pleasing to the eye and cheering up!
Now you understand why the success of microgreens is growing so rapidly not only among breeders, athletes and those who follow the figure!

I also suggest you find out what you can do with the stems of greens if you throw out the hand does not rise. It is best to use them according to the situation!
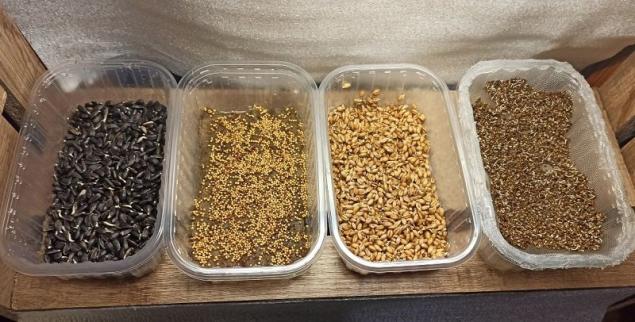
As you can see, growing microgreens on a windowsill is not at all difficult. The seeds have a huge potential, there is everything to support life, you only need moisture. Just add water and the power of nature will do its job.
Cultures that I loved: alfalfa, sunflower, peas, radishes, arugula, watercress and even mustard. I choose on the principle: germinateThey grow quickly and quickly gain green mass. I do not want to mess with hard thoughts and I will not. It's just a haste in my diet!
Have you ever grown microgreens at home?
Today's edition. "Site" share microgreening on the windowsill at home. With your hands!

While seasonal vegetables have not ripened yet, I am pleased with homemade microgreens, especially now it is in trend. One small sprout can contain as many vitamins and trace elements as a whole vegetable. Often this healthy green has a high price. But in order not to waste money, you can grow microgreen yourself.
There are 2. cultivation Microgreens: with and without soil. The first option is intuitive, but the second I will stop a little. The most ideal option is to grow microgreens on linen mats (they are sold in many stores for the garden and garden).
But you can grow on cotton wool, paper napkins and even on toilet paper. Tested by experience, all these types of substrate perfectly cope with their task.

If you’re just beginning to discover the world of microgreens, don’t take stiff seeds. Stop your choice on cabbage, clover, radish, alfalfa, watercress or turnips. They germinate easily and do not require special care.
Seeds in small bags that are widely sold for gardeners are not designed to grow microgreens! They undergo pre-sowing treatment and are etched with chemistry. Therefore, buy seeds only in specialized health food stores.

Subtleties of growing microgreen Large seeds before planting need to soakBut such small as basil or mustard, you do not need to soak. For example, alfalfa should be soaked for a day. Then you need to drain the water and leave the seeds on the strainer for another 2 days in a dark place.
Place a linen mat or any other substrate in the container. Moisten him a little. On the surface of the substrate evenly distribute the seeds, and then cover the container with a lid or package to create a “greenhouse effect”. To begin with, the seeds should be put in a dark place (for example, in the closet, under the bed). After 3-5 days, get the sprouted seeds into the light. Ensure the plants are watered enough and wait for the harvest to be ready.
In another 3-7 days you will get a delicious and healthy portion of microgreens!

And, please, think in advance that your container or pot has enough holes to drain excess water, if necessary, make them.
Next, the most difficult thing when growing microgreen is not to forget to water the shoots. Excessive or insufficient watering can prevent you from enjoying the microgreen harvest.
Microgreen does not require abundant watering, spray the sprouts 1-2 times a day from the sprayer. There are cultures that love moisture more than others. For example, peas and sunflowers drink plenty of water. The sunflower should not be poured with water, otherwise it can rot.

Each type of microgreen is valuable with its own set of nutrients! Some of them are so rare that microgreens become their unique source.
Microgreens do not accumulate harmful substances from the soil and atmosphere. Not treated with fertilizers and chemicals! Watered with clean filtered water. Sprouted seeds are not only useful, but also very tasty. I love an omelet with alfalfa or sunflower sprouts. Well, mustard will help make meat dishes even more delicious!

And I, as an aesthete, can not fail to note the beauty of microgreens. They look delightful both on the sandwich and on the windowsill - pleasing to the eye and cheering up!
Now you understand why the success of microgreens is growing so rapidly not only among breeders, athletes and those who follow the figure!

I also suggest you find out what you can do with the stems of greens if you throw out the hand does not rise. It is best to use them according to the situation!

As you can see, growing microgreens on a windowsill is not at all difficult. The seeds have a huge potential, there is everything to support life, you only need moisture. Just add water and the power of nature will do its job.
Cultures that I loved: alfalfa, sunflower, peas, radishes, arugula, watercress and even mustard. I choose on the principle: germinateThey grow quickly and quickly gain green mass. I do not want to mess with hard thoughts and I will not. It's just a haste in my diet!
Have you ever grown microgreens at home?
Runologist Denis Maklashevsky gave his forecast for the near future, what fate awaits us
Last year, they didn't know where to put the beans after planting, the pledge of a rich harvest is already in your kitchen.

