195
Stopped buying microgreen for a lot of money, made a small plantation in a plastic bottle
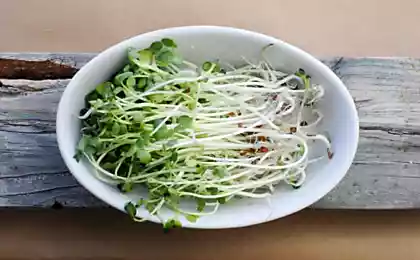
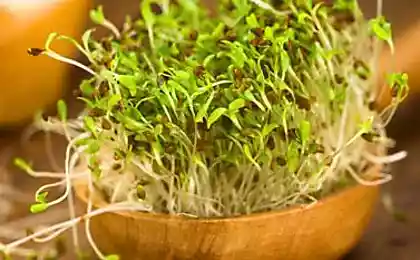
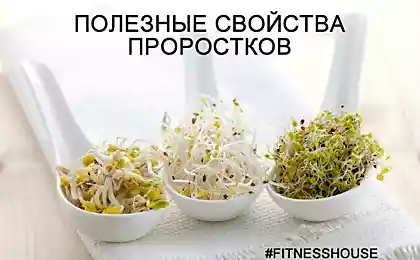
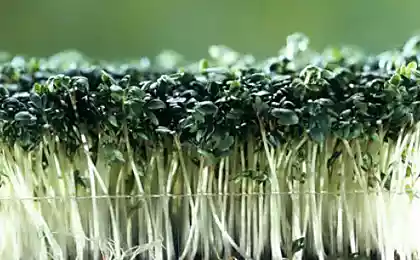
It is spring and the body desperately needs fresh vitamins. But where to get them in March, when the snow has not come off the ground? Recently, they have become increasingly popular. seedling. Connoisseurs of healthy nutrition and environmental protection prefer sprouted microgreens. It is such greens that are very useful and have a huge amount of useful vitamins and microelements. But in the store it is very expensive, and not everyone can afford to buy it.
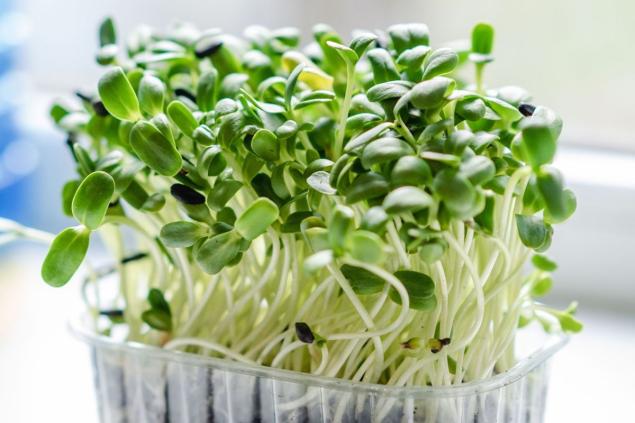
Therefore, the editorial board "Site" I found a way for you to grow microgreens in your own apartment at minimal cost. All you need are seeds and plastic bottles of mineral water. Just a week of waiting, and on your table will already show off a vitamin salad of juicy healthy greens.
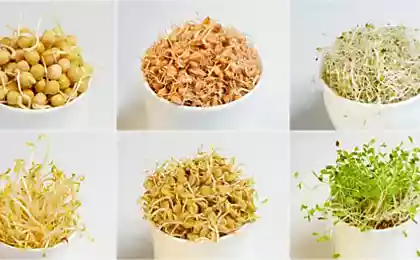
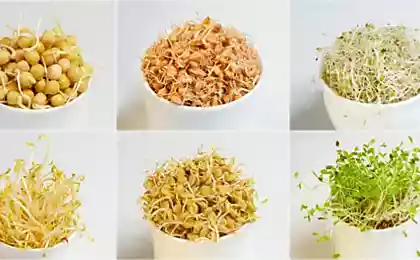
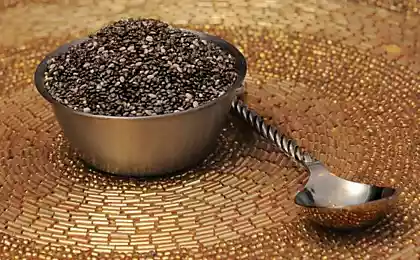
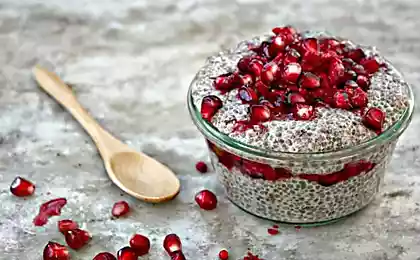
For the germination of greens suitable seeds of flax, wheat, chia, peas, watercress, mustard, radish, daikon, broccoli, alfalfa, basil and amaranth. Finding these seeds will not be difficult. Most of them are sold in a supermarket near your home.
If you want some exotic greens, then on the Internet you can find ready-made sets for microgreens from the most incredible seeds.
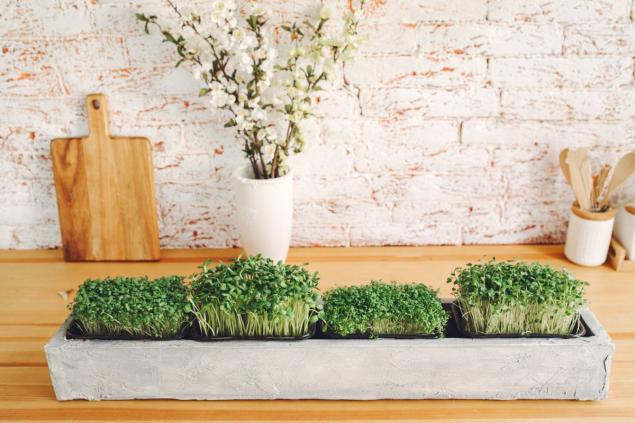
Just like mature foods, microgreens should be good for your body. Therefore, exotic seeds should be consumed with caution and carefully monitor the reaction of your body. After all, the main rule of healthy eating is not to harm yourself.
How to grow microgreens in bottles So how to grow juicy greens at home? You're gonna need a plastic mineral water bottle. On top of the bottle right under the lid make holes. Then pour some water into the bottle and sprinkle the seeds.
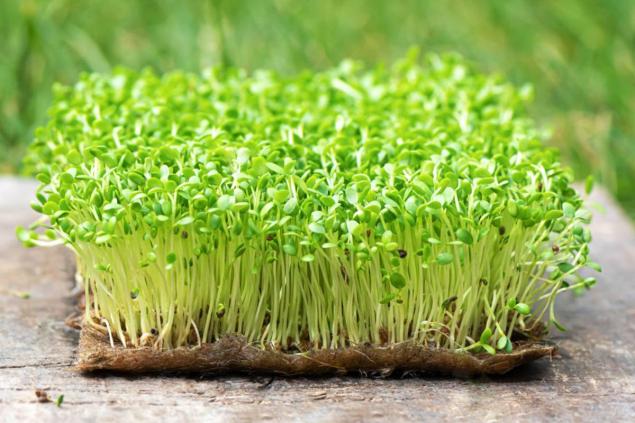
Leave the seeds to swell for a while in the bottle. After draining the water from the bottle through the holes. Place the bottle on its side and spread the seeds all over the side of the bottle. Put the bottle in a warm place. Just make sure that the seeds do not get direct sunlight.
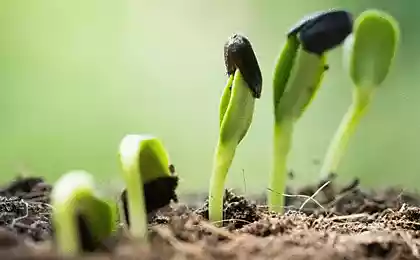
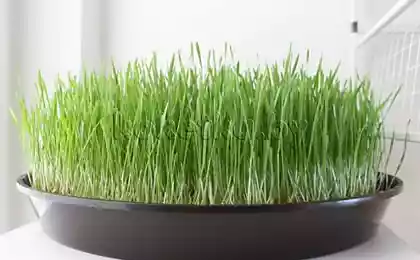
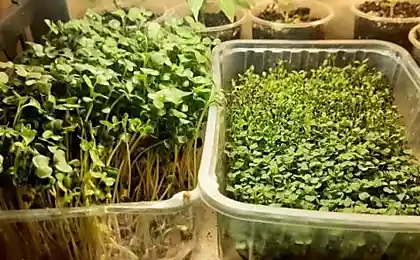
The seeds will begin to germinate at room temperature. You can additionally make a few more holes so that the sprouts have enough oxygen for full growth. After about 7-10 days, you will see how your seeds have turned into juicy healthy greens that you can already eat. Cut the bottle neck and get the greens.
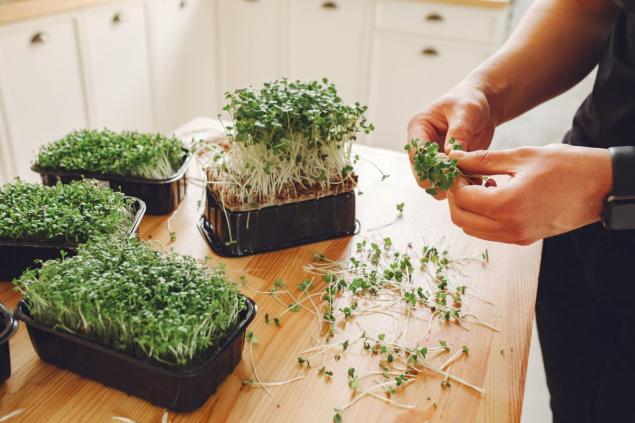
Such greens can be consumed separately and added to different dishes. It all depends on your taste preferences. Just do not expose it to heat treatment, otherwise the greens will lose all their useful properties.
 19
19
Such a simple and budgetary method will help you grow a healthy microgreen at home. And you don’t have to pay a lot of money for greens already grown. You can also use plastic containers instead of bottles. And to create a greenhouse effect for germination, just wrap them in food film and make small holes. The result will surely surprise and delight you!
Share in the comments how you feel about microgreens and grow it at home for yourself and your family.

Therefore, the editorial board "Site" I found a way for you to grow microgreens in your own apartment at minimal cost. All you need are seeds and plastic bottles of mineral water. Just a week of waiting, and on your table will already show off a vitamin salad of juicy healthy greens.
For the germination of greens suitable seeds of flax, wheat, chia, peas, watercress, mustard, radish, daikon, broccoli, alfalfa, basil and amaranth. Finding these seeds will not be difficult. Most of them are sold in a supermarket near your home.
If you want some exotic greens, then on the Internet you can find ready-made sets for microgreens from the most incredible seeds.

Just like mature foods, microgreens should be good for your body. Therefore, exotic seeds should be consumed with caution and carefully monitor the reaction of your body. After all, the main rule of healthy eating is not to harm yourself.
How to grow microgreens in bottles So how to grow juicy greens at home? You're gonna need a plastic mineral water bottle. On top of the bottle right under the lid make holes. Then pour some water into the bottle and sprinkle the seeds.

Leave the seeds to swell for a while in the bottle. After draining the water from the bottle through the holes. Place the bottle on its side and spread the seeds all over the side of the bottle. Put the bottle in a warm place. Just make sure that the seeds do not get direct sunlight.
The seeds will begin to germinate at room temperature. You can additionally make a few more holes so that the sprouts have enough oxygen for full growth. After about 7-10 days, you will see how your seeds have turned into juicy healthy greens that you can already eat. Cut the bottle neck and get the greens.

Such greens can be consumed separately and added to different dishes. It all depends on your taste preferences. Just do not expose it to heat treatment, otherwise the greens will lose all their useful properties.
 19
19Such a simple and budgetary method will help you grow a healthy microgreen at home. And you don’t have to pay a lot of money for greens already grown. You can also use plastic containers instead of bottles. And to create a greenhouse effect for germination, just wrap them in food film and make small holes. The result will surely surprise and delight you!

Share in the comments how you feel about microgreens and grow it at home for yourself and your family.
A plate of borscht heals the soul and body, we tell you why you can eat it every day
Monastery on Cool Rock (also known as Sumela Monastery)
