751
There once was a dog 2.
At the request of his father finally found the time and still blinded wolf dogs in the company. And of course, the numerous requests Yapovtsev. You do spodvigli.
I dragged myself to hell knows how many more. Thanks to you overcame my laziness. I did not want to mold and spread earlier in the light of recent events. I think it would be somehow inappropriate. But in the calm I ask for your attention. Evaluate. Campaign calculations pictures description will do.
At this time better prepared and tried to minimize the effect of "how to draw an owl».
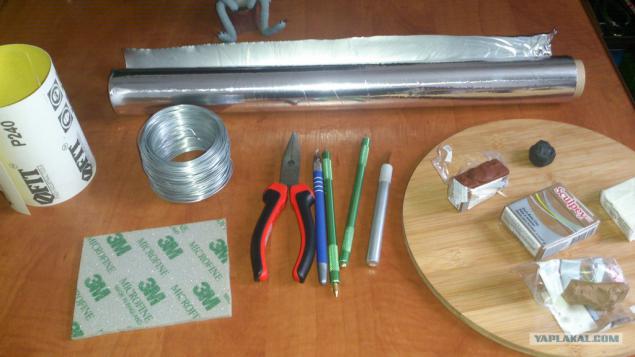
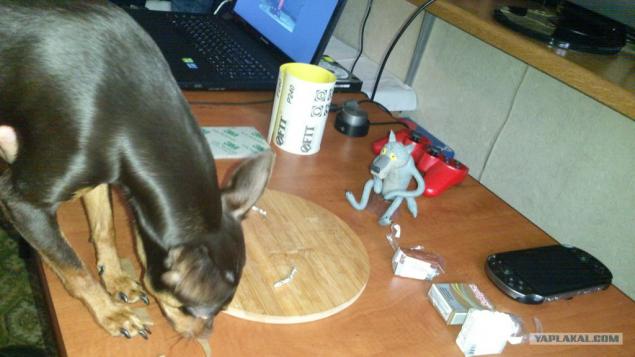
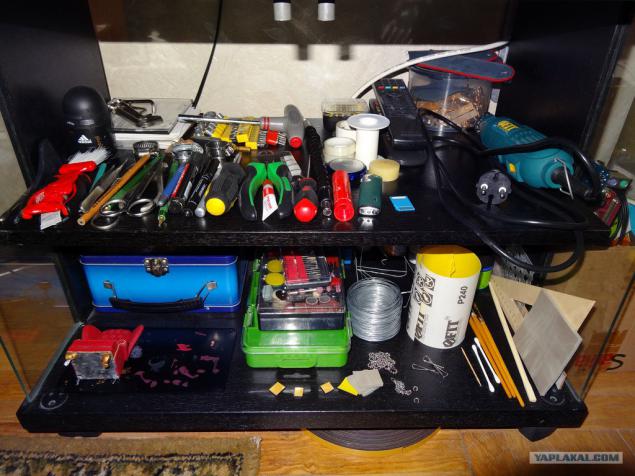
In the photo the tools and materials that I used in the manufacture of a dog.
Will be 61 photos, including a bonus for the curious.
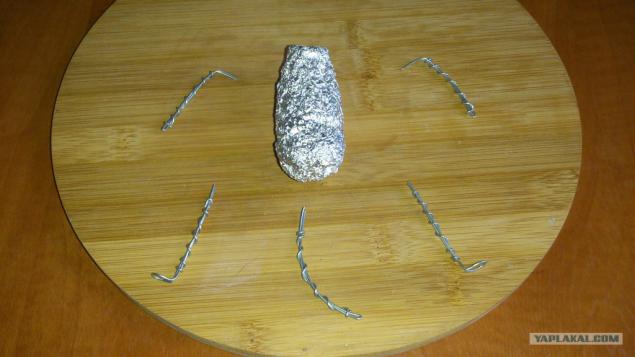
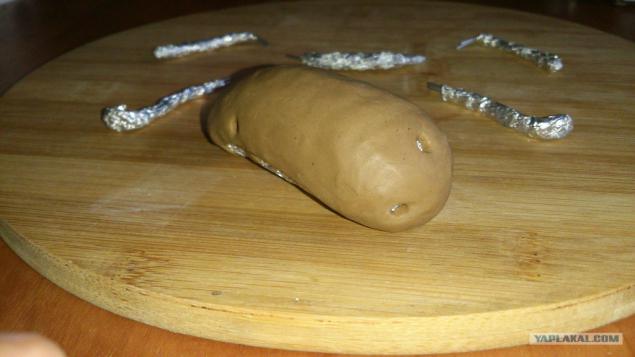
2) Then I did the body of the foil and braided wire frame for the legs.
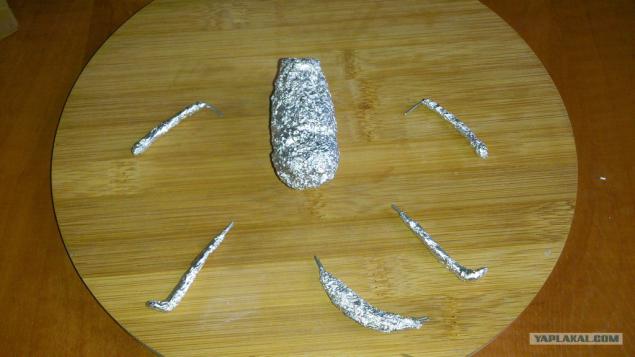
3) Then I limbs wrapped with foil. For economy and of course to reduce the weight. In addition, because the figure is uniformly propechёtsya than one piece of plastic.
4) Controller Izyumka come check out how we are working.
5) The body plastered plastic and leave openings for the rear la, front and tail.
6) Here is how I separate pieces of plastic close up the cavity in the foil. This order not to leave the air in the cavity.

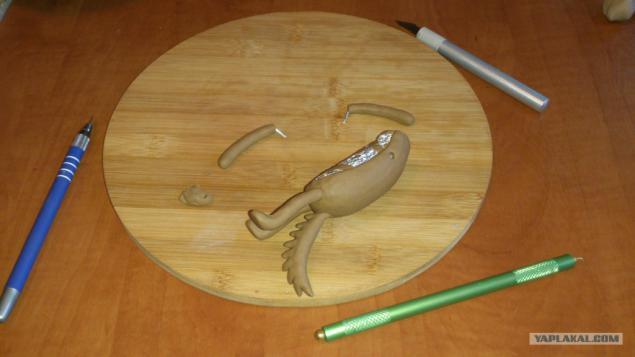
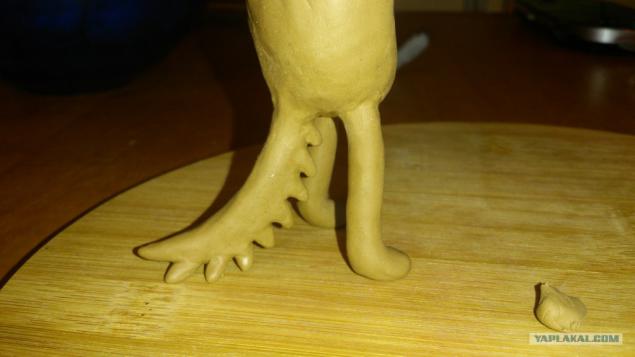
7) Examples of the hind legs and tail. Tail at this stage suited me.
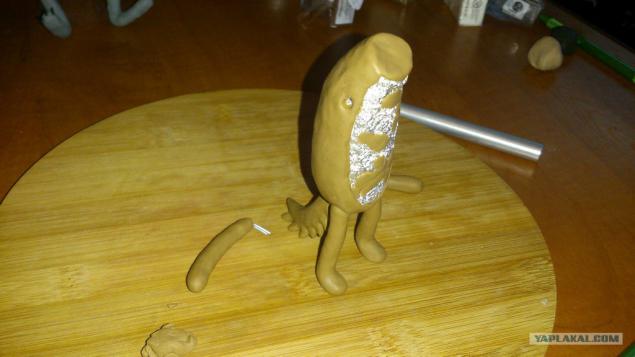
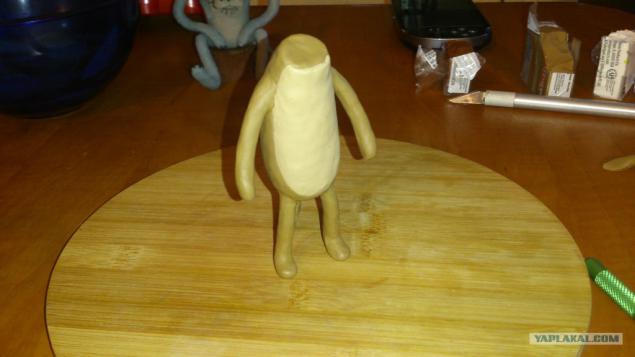
8) As you can see a figure already stands. 3 fulcrum. What can be sustained.
9) I show how to attach legs. Wipe the seams. That does not fall off and firmly.

10) Another photo of early tail. He begins to embarrass me.
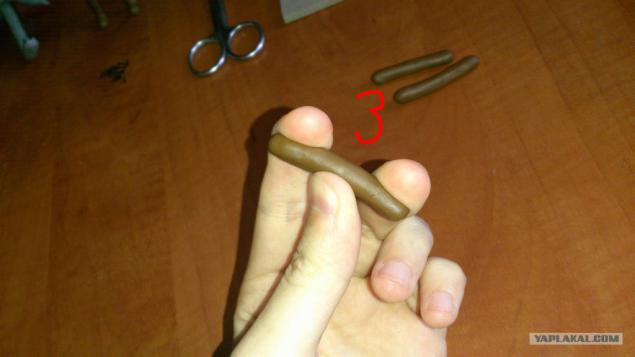
11) the trailer part of the chest and abdomen lighter plastic.
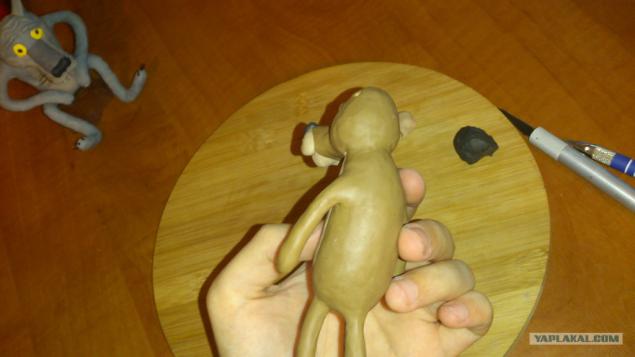
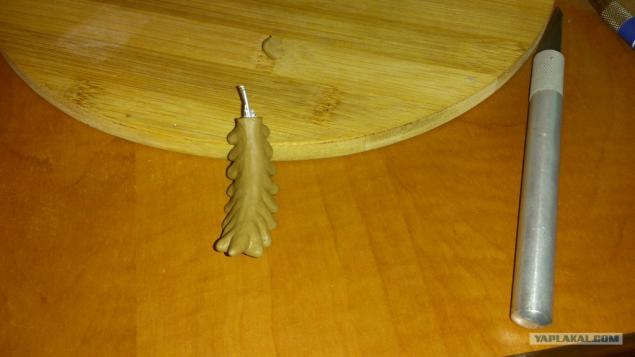
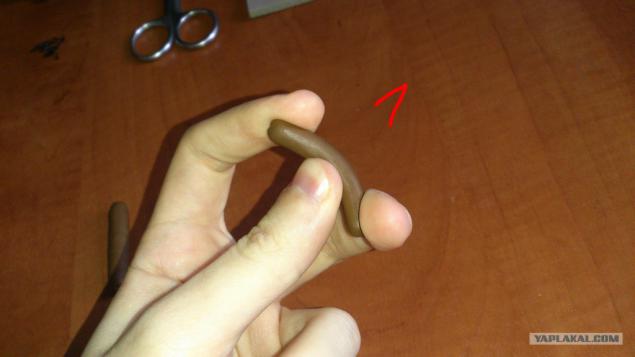
12) The front legs in place. View from the back. Again zatёrty joints, legs kept securely.
13) are made of foil to form little head. If you do entirely of plastic, it will override the upper part.
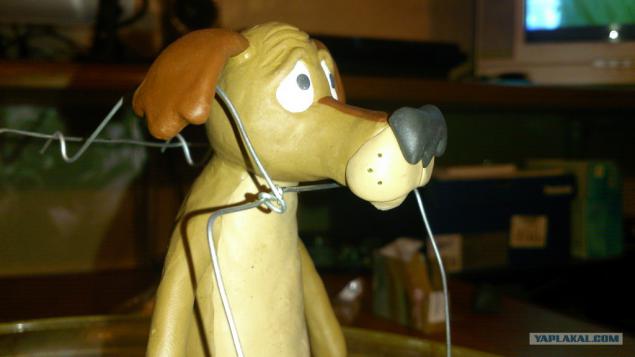
14) stuck to his head. I did recess for the eyes and blinded sad eyebrows. On the nose I put a strip of darker plastic.
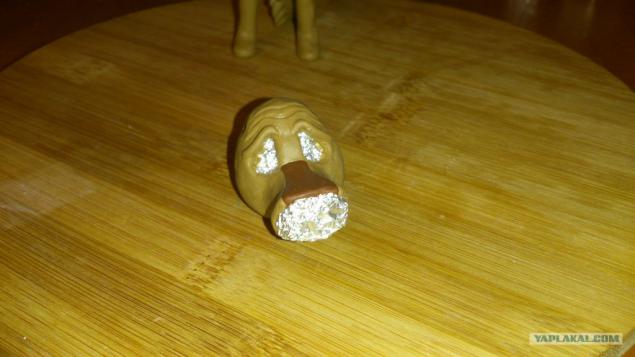
15) Make a paste and nose.
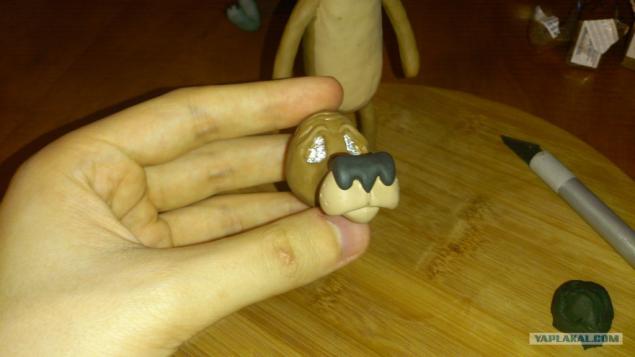
16) Then I show how to attach the head. The photo is not visible, but the body is inserted toothpick on her head already. Then the seams zatёrty.
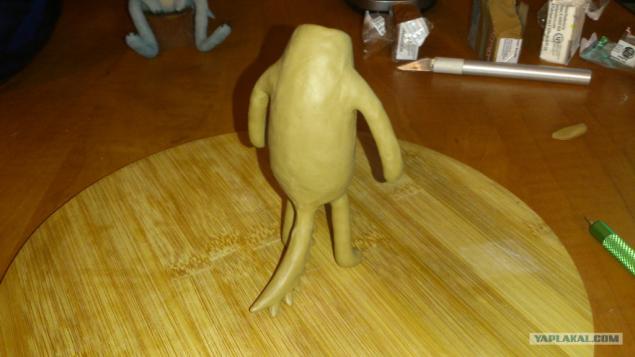
17) Flat tail cut off. Once again I looked in the net image of the cartoon. From all angles the same flat tail.
18) he makes such. It turns out in the multi, but voluminous.
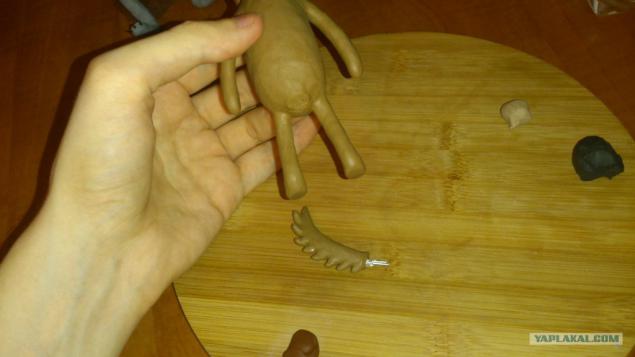
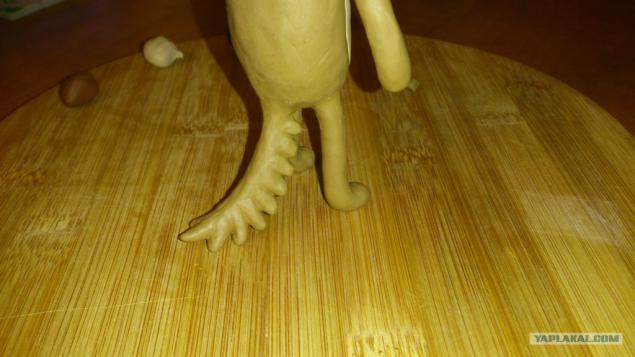
19) The tail is pinned back to the ass))) stood wire into the hole in the foil. Seams smeared. Everything is held securely and is itself.
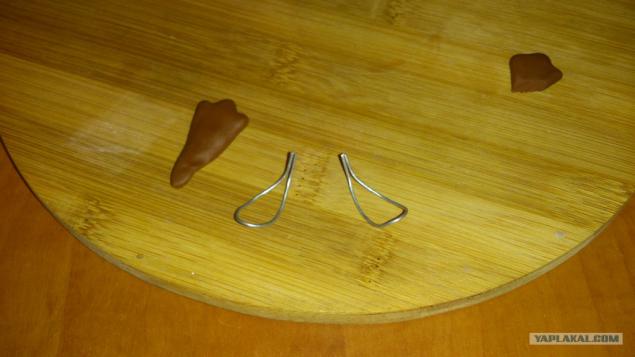
20) These parts are made of wire for the ears. To keep the holes in the head and did not fall during baking.
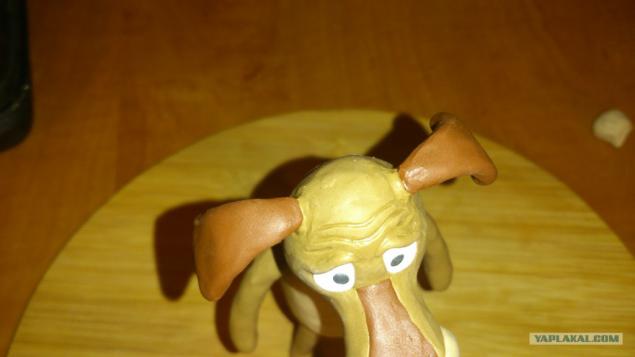
21) The ears are already attached to the head. Slightly mobile, but that's okay.
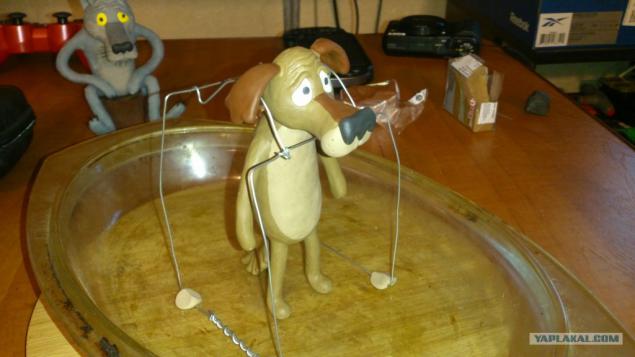
22) The general view before baking. As you can see my eyes are already in place. In the face holes for whiskers. The holes for the paws claws. Even before baking figure is well worth currently in place. So basically, you can not bake a hurry.
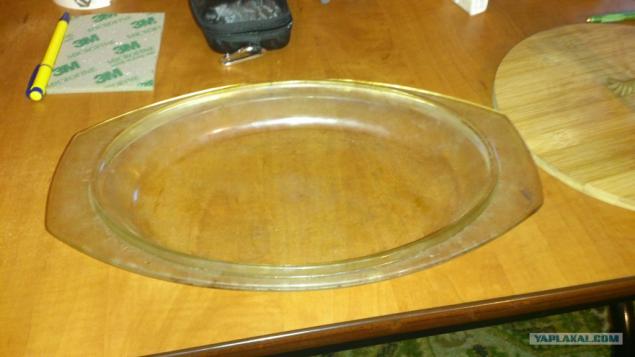
23) This is my filthy dish for the oven heat-resistant glass. But you can bake on a piece of wood, foil, baking paper or tile.
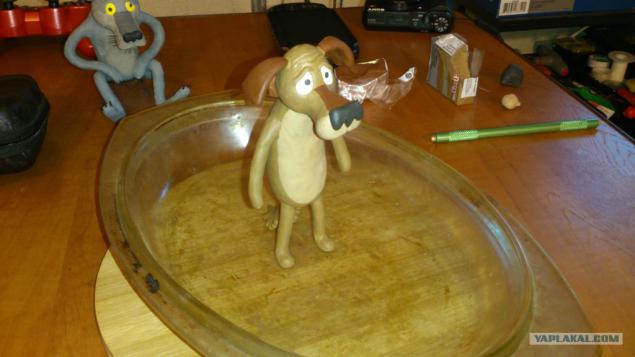
24) For a dog is on a plate. Basically, you can send it in the oven.
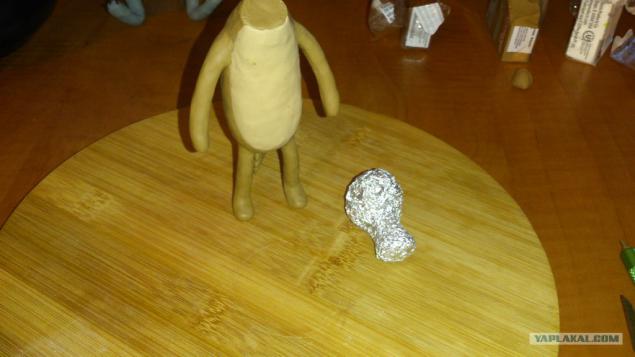
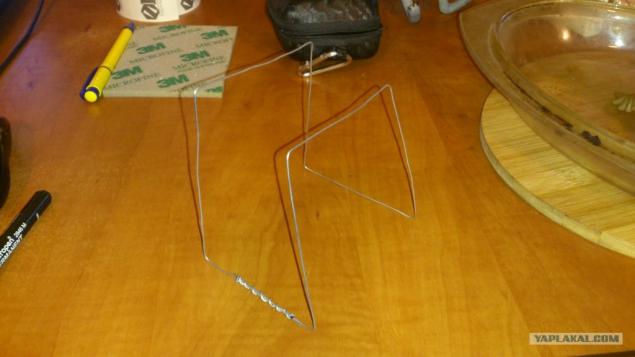
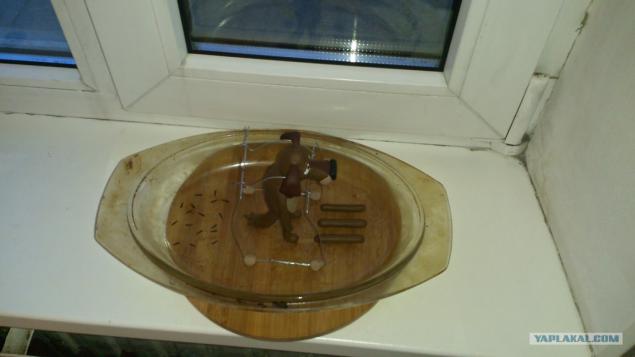
25) But as the saying goes better than perebzdet nedobzdet. Sometimes I do a wire safety cage.
26) The frame in place. Insures the dog from falling forward, by lowering the muzzle and other deformations. They are rare. More precisely does not happen if there is a figure in a frame. But I decided to err.
27) In general, I was worried about the ears. For them, it made such an arc, but as it turned out they were not useful. I did so safely and ears. They have not fallen.
28) includes an oven. I am waiting until warmed up. 110. Time will expose 15 minutes. The instructions to my plastic need a temperature of 130 degrees Celsius. But it is not the name of an accurate thermometer with email. scoreboard and by trial and error has chosen a level of the regulator.

29) 15 minutes had passed. Open the oven. Mmmm. The smoke chemicals. We reach the plate and put an ice pack on the board for cutting. Open a window and ventilate the room. We put on the window sill to cool.
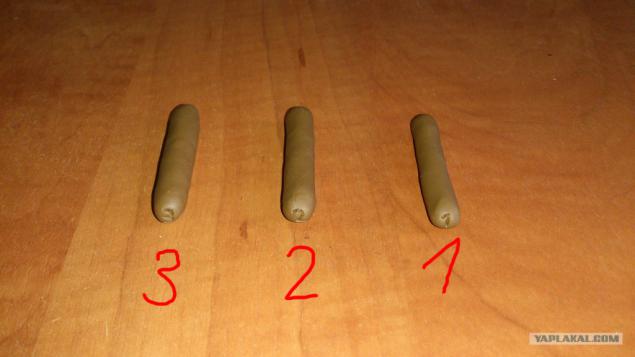
30) A bit of waiting until cooled. That bonus. For those who are interested in the properties of the material. 1) entirely of plastic rod 2) to the frame of the foil 3 only) to the frame of the foil and wire.
31) As you can see entirely of plastic bends. With some difficulty, but all the same. Do not break. Then he takes the original form.
32) from the frame only foil bends too clear the stump, but the form has not returned back.

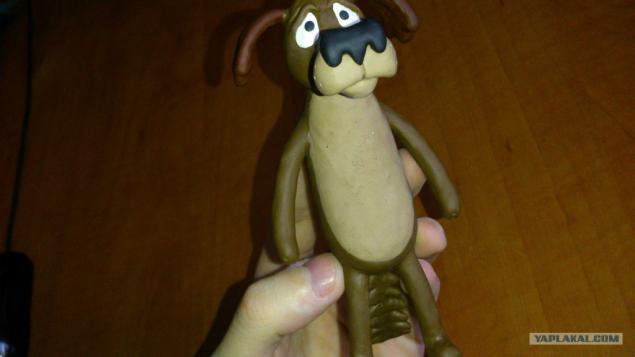
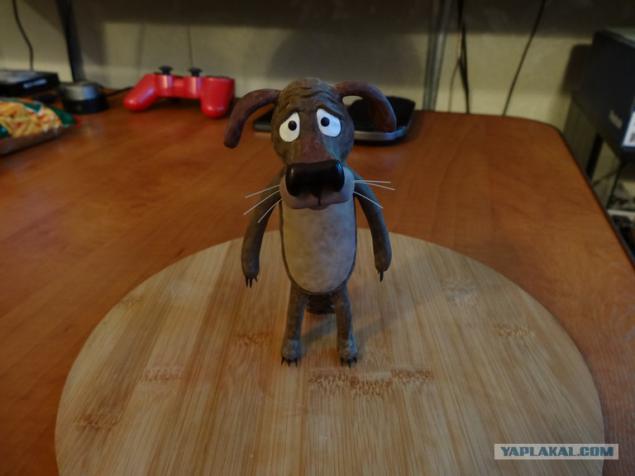
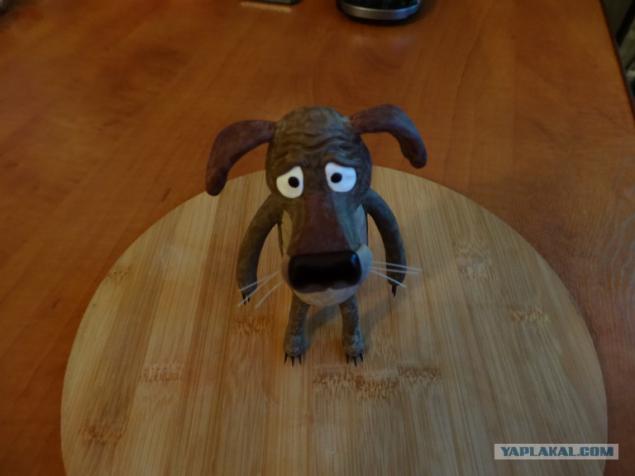
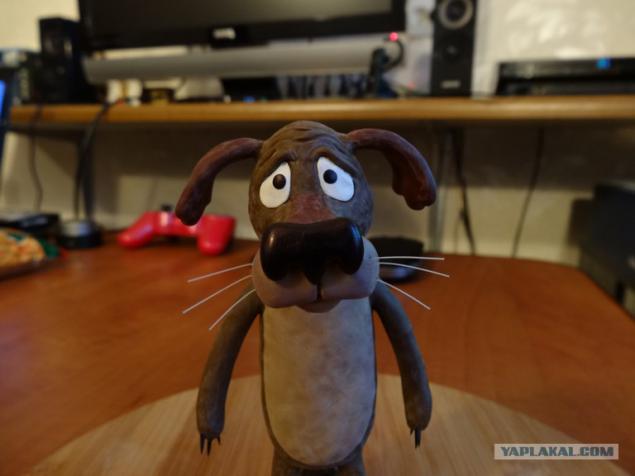
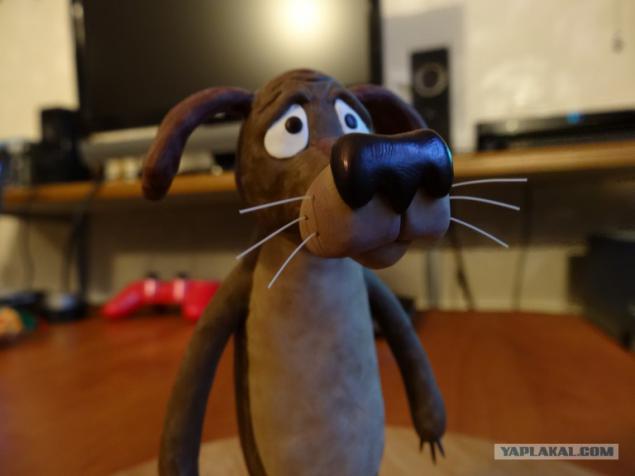
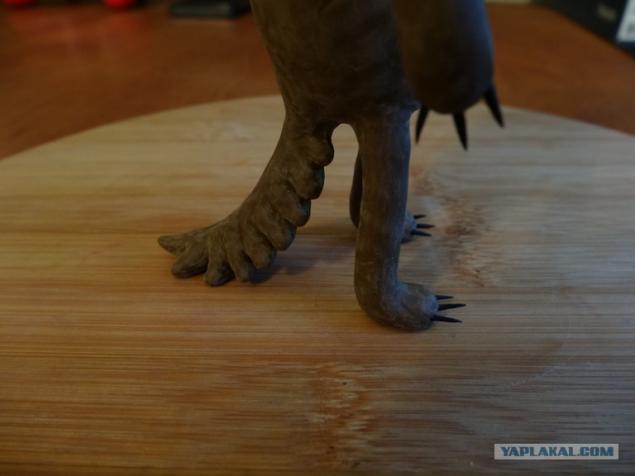
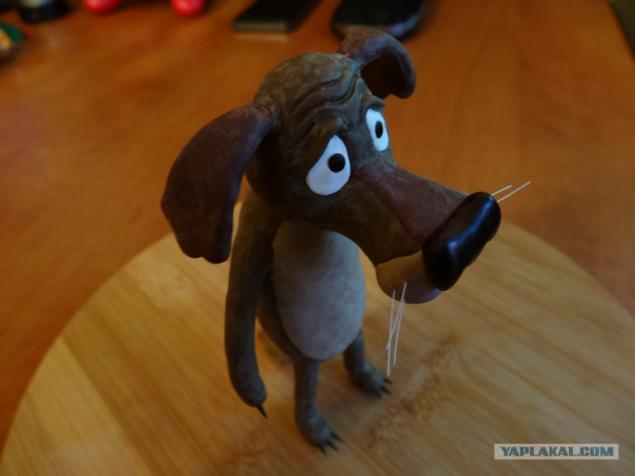
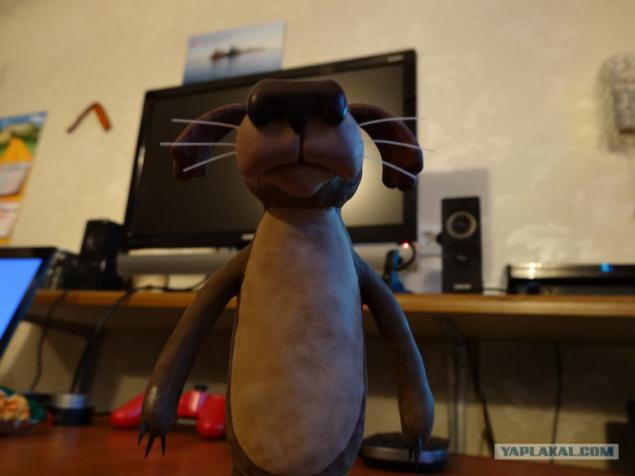
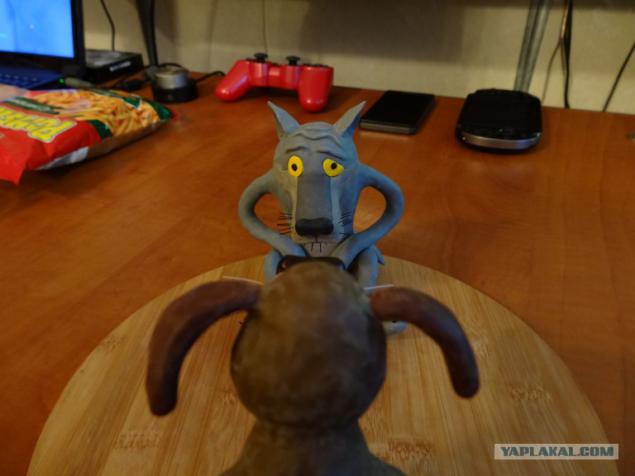
33) With no wire bends (of course you can, but I think there is already crack at the fold out), which is good for hands, feet and long parts.
34) Well, back to sobakenu. Pay attention. Plastic main darkened. No problem. I expected it. Puzo during molding filthy. Then he sanded.
35) Izyumka again come check fellow.
36) Then I went through the dog sandpaper. So conceived. Do not invent anything has become superfluous. Let the wolf is shabby life.
37) Then I replaced the phone on the norms of the camera. But in my hands curves it is not noticeable. The dog then went sponge for polishing. 600-800 grit. Over time, the traces of grinding zamaslyatsya. Hands and others. Do not worry. Paste mustache of white plastic cloth. Claws also in place.
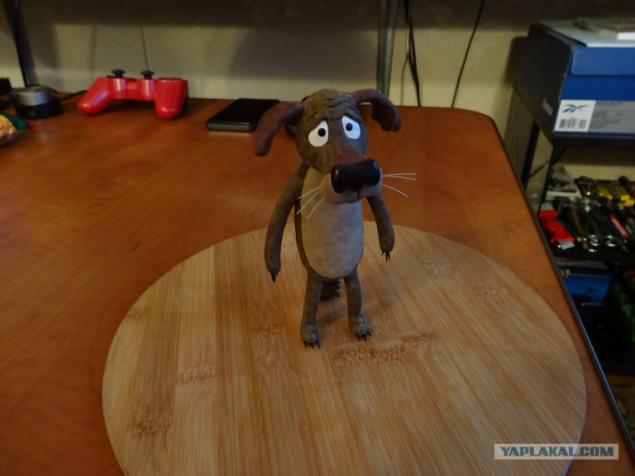
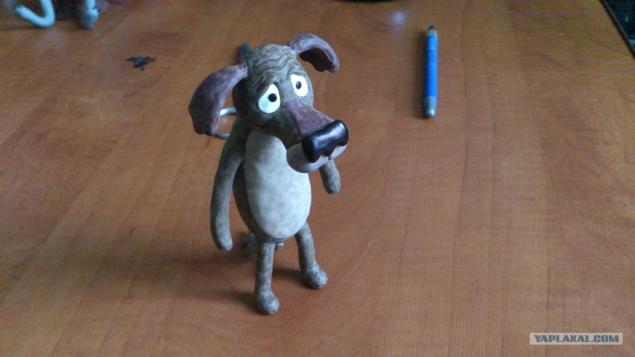
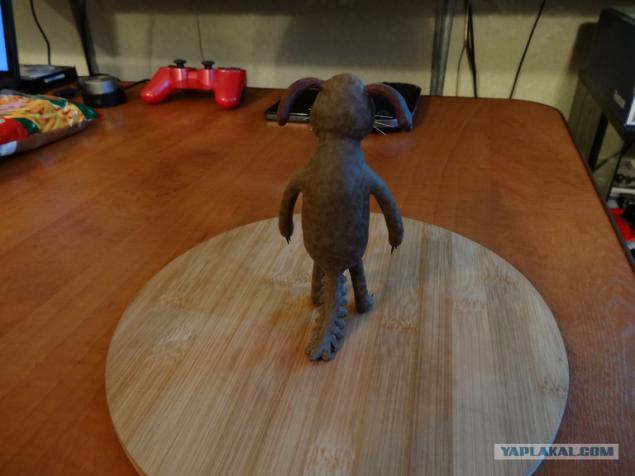
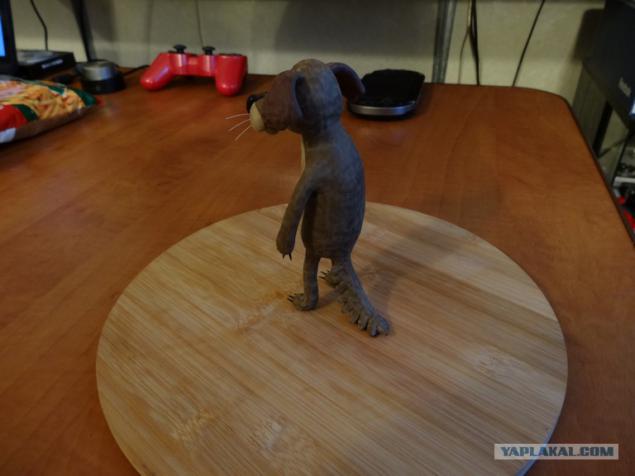
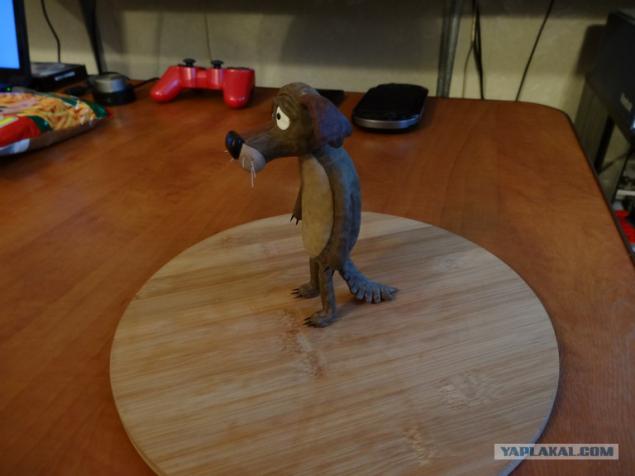
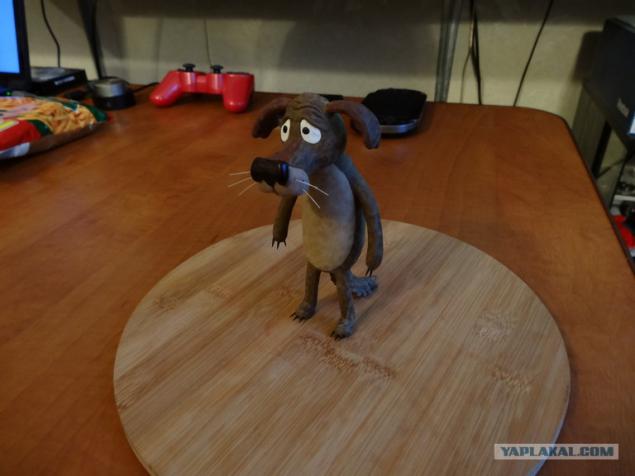
38) Then a photo from different angles.
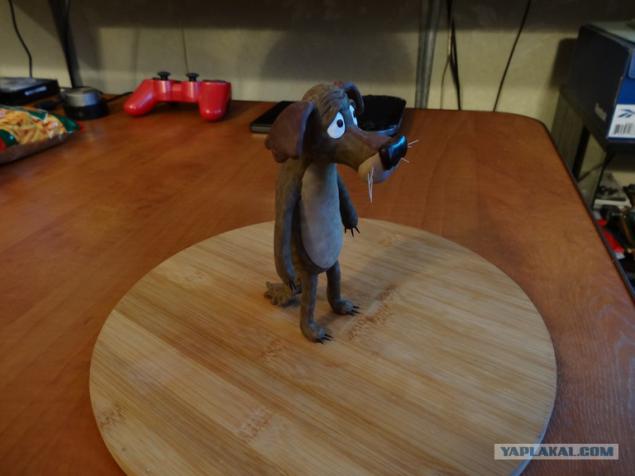
39)
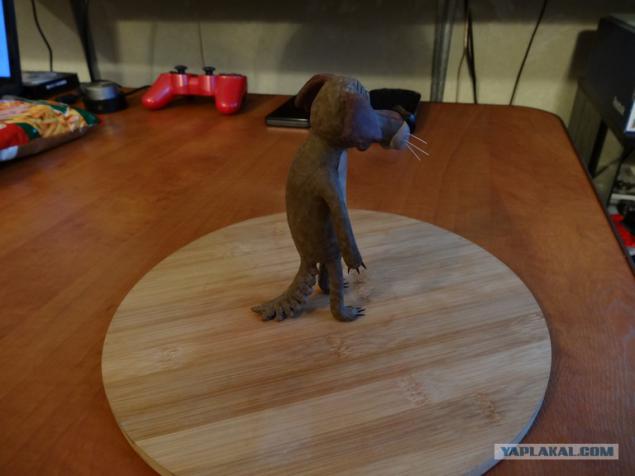
40)
41)
42)
43)
44)
45)
46)
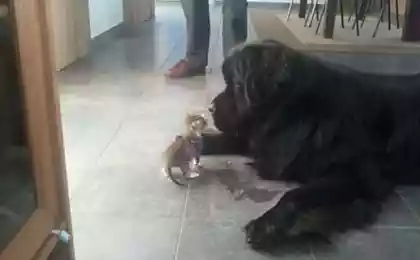
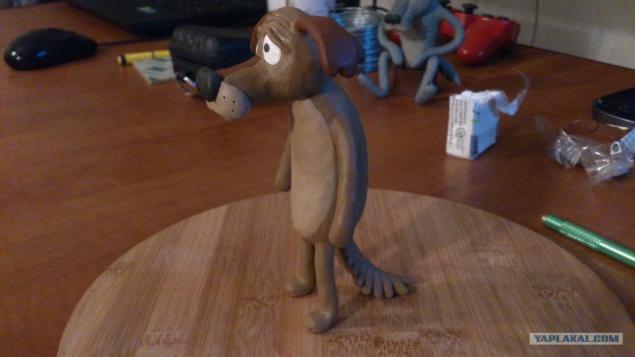
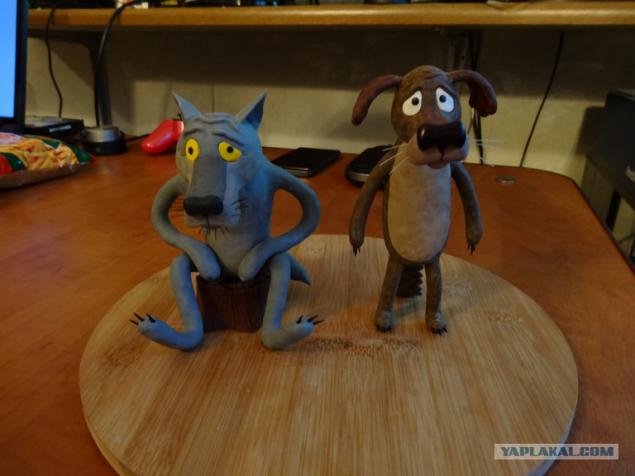
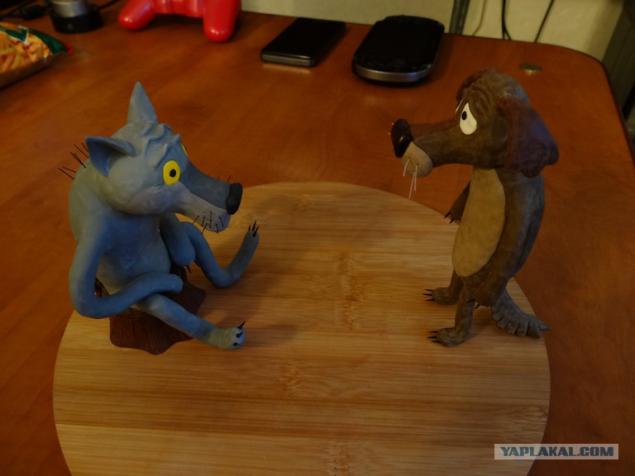
47)
48)
49)
50)
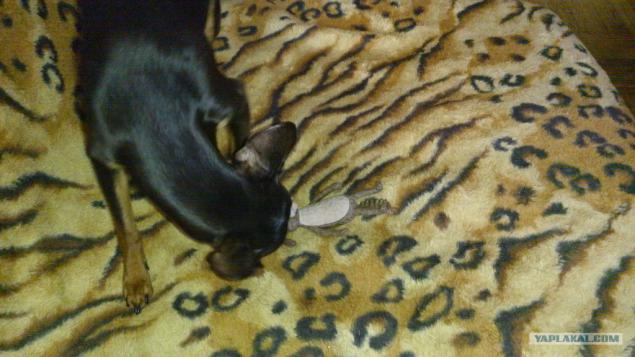
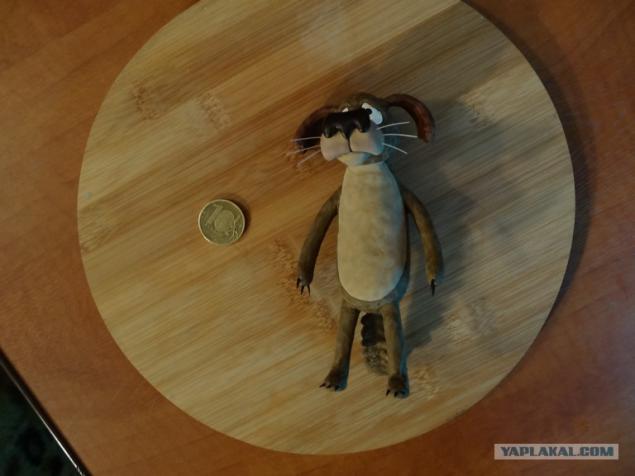
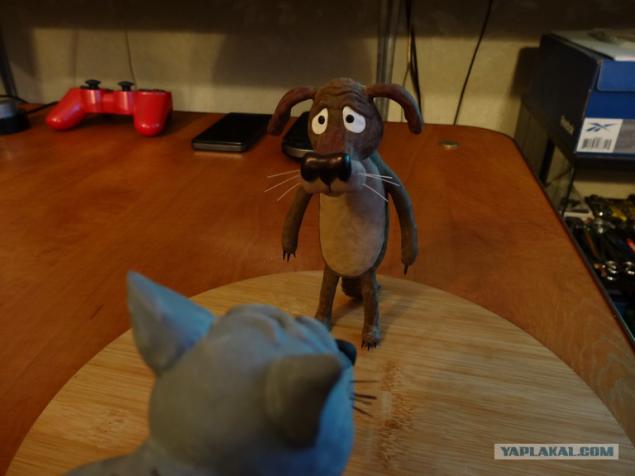
51) Next to the coin. To represent the size of the figures.
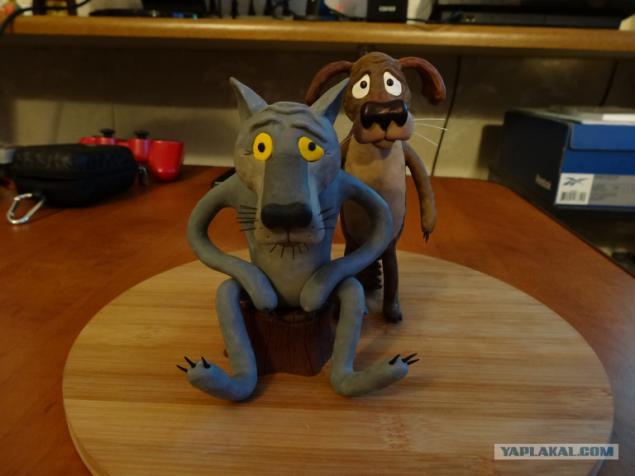
52) And of course, next to his comrade wolf)))
53) How would the dog responds - Well, I do tipoooo ...
54)
55)
56) For the dog's throat peregryzu)))
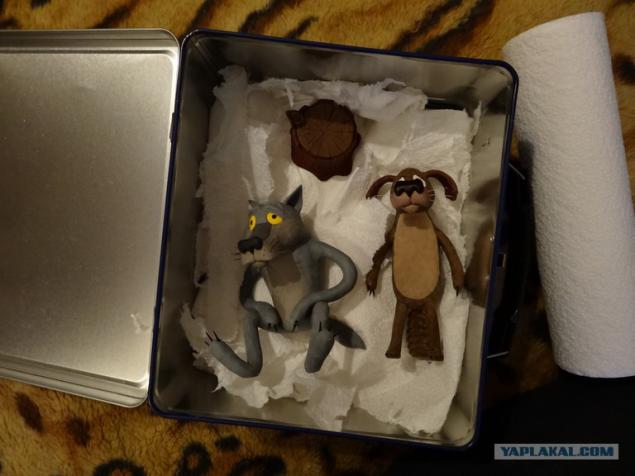
57) Packaging friends for a trip to his father's work. Already today, I will review.
58)
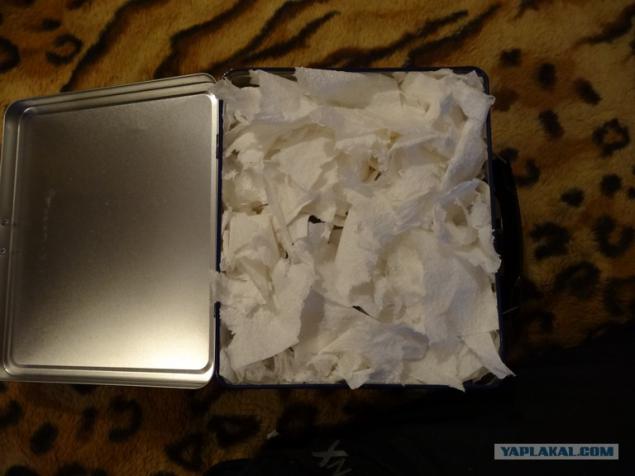
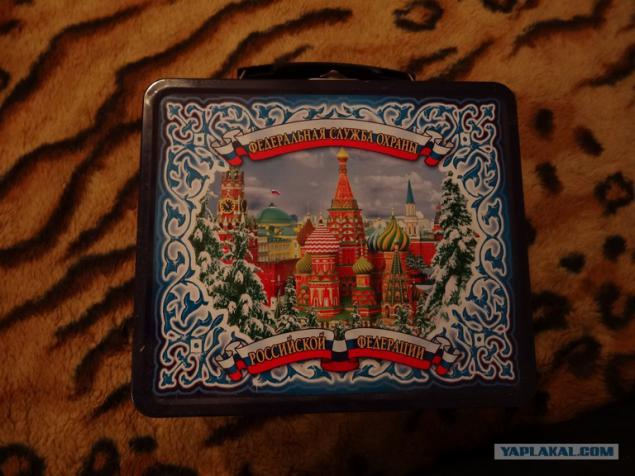
59) That is such a great box they will go)))
60) For those who are interested, here is my shop so to speak.
I dragged myself to hell knows how many more. Thanks to you overcame my laziness. I did not want to mold and spread earlier in the light of recent events. I think it would be somehow inappropriate. But in the calm I ask for your attention. Evaluate. Campaign calculations pictures description will do.
At this time better prepared and tried to minimize the effect of "how to draw an owl».
In the photo the tools and materials that I used in the manufacture of a dog.
Will be 61 photos, including a bonus for the curious.

2) Then I did the body of the foil and braided wire frame for the legs.

3) Then I limbs wrapped with foil. For economy and of course to reduce the weight. In addition, because the figure is uniformly propechёtsya than one piece of plastic.

4) Controller Izyumka come check out how we are working.

5) The body plastered plastic and leave openings for the rear la, front and tail.

6) Here is how I separate pieces of plastic close up the cavity in the foil. This order not to leave the air in the cavity.

7) Examples of the hind legs and tail. Tail at this stage suited me.

8) As you can see a figure already stands. 3 fulcrum. What can be sustained.

9) I show how to attach legs. Wipe the seams. That does not fall off and firmly.

10) Another photo of early tail. He begins to embarrass me.

11) the trailer part of the chest and abdomen lighter plastic.

12) The front legs in place. View from the back. Again zatёrty joints, legs kept securely.

13) are made of foil to form little head. If you do entirely of plastic, it will override the upper part.

14) stuck to his head. I did recess for the eyes and blinded sad eyebrows. On the nose I put a strip of darker plastic.

15) Make a paste and nose.

16) Then I show how to attach the head. The photo is not visible, but the body is inserted toothpick on her head already. Then the seams zatёrty.

17) Flat tail cut off. Once again I looked in the net image of the cartoon. From all angles the same flat tail.

18) he makes such. It turns out in the multi, but voluminous.

19) The tail is pinned back to the ass))) stood wire into the hole in the foil. Seams smeared. Everything is held securely and is itself.

20) These parts are made of wire for the ears. To keep the holes in the head and did not fall during baking.

21) The ears are already attached to the head. Slightly mobile, but that's okay.

22) The general view before baking. As you can see my eyes are already in place. In the face holes for whiskers. The holes for the paws claws. Even before baking figure is well worth currently in place. So basically, you can not bake a hurry.

23) This is my filthy dish for the oven heat-resistant glass. But you can bake on a piece of wood, foil, baking paper or tile.

24) For a dog is on a plate. Basically, you can send it in the oven.

25) But as the saying goes better than perebzdet nedobzdet. Sometimes I do a wire safety cage.

26) The frame in place. Insures the dog from falling forward, by lowering the muzzle and other deformations. They are rare. More precisely does not happen if there is a figure in a frame. But I decided to err.

27) In general, I was worried about the ears. For them, it made such an arc, but as it turned out they were not useful. I did so safely and ears. They have not fallen.

28) includes an oven. I am waiting until warmed up. 110. Time will expose 15 minutes. The instructions to my plastic need a temperature of 130 degrees Celsius. But it is not the name of an accurate thermometer with email. scoreboard and by trial and error has chosen a level of the regulator.

29) 15 minutes had passed. Open the oven. Mmmm. The smoke chemicals. We reach the plate and put an ice pack on the board for cutting. Open a window and ventilate the room. We put on the window sill to cool.

30) A bit of waiting until cooled. That bonus. For those who are interested in the properties of the material. 1) entirely of plastic rod 2) to the frame of the foil 3 only) to the frame of the foil and wire.

31) As you can see entirely of plastic bends. With some difficulty, but all the same. Do not break. Then he takes the original form.

32) from the frame only foil bends too clear the stump, but the form has not returned back.

33) With no wire bends (of course you can, but I think there is already crack at the fold out), which is good for hands, feet and long parts.

34) Well, back to sobakenu. Pay attention. Plastic main darkened. No problem. I expected it. Puzo during molding filthy. Then he sanded.

35) Izyumka again come check fellow.

36) Then I went through the dog sandpaper. So conceived. Do not invent anything has become superfluous. Let the wolf is shabby life.

37) Then I replaced the phone on the norms of the camera. But in my hands curves it is not noticeable. The dog then went sponge for polishing. 600-800 grit. Over time, the traces of grinding zamaslyatsya. Hands and others. Do not worry. Paste mustache of white plastic cloth. Claws also in place.

38) Then a photo from different angles.

39)

40)

41)

42)

43)

44)

45)

46)

47)

48)

49)

50)

51) Next to the coin. To represent the size of the figures.

52) And of course, next to his comrade wolf)))

53) How would the dog responds - Well, I do tipoooo ...

54)

55)

56) For the dog's throat peregryzu)))

57) Packaging friends for a trip to his father's work. Already today, I will review.

58)

59) That is such a great box they will go)))

60) For those who are interested, here is my shop so to speak.