548
Repair iPad 2. Replacement glass.
Breaking, kicking, etc. - You can (if you want too much).
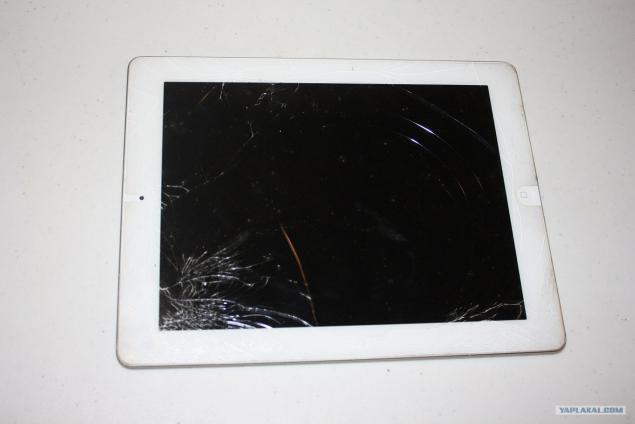
Returning last week from work to home and see your iPad 2 shattered. I start to understand. It turns out: the penultimate my son (4 years) took the iPad to play. Here as there appear younger (2 years) and of course also illuminates the same desire to play. Begins to pull to yourself, do not let go first, followed by the "untranslatable play on words" and in the course is a fist. On the screen, the screen ... and everything. Then both sharply perehotelos play ... Of course, I will see it - upset, well, they are also "upset" and promised not to do that anymore . I ordered a repair kit for $ 38. Yesterday I received in the mail and here today to beg off early from work at the boss (ie, host) and started ...
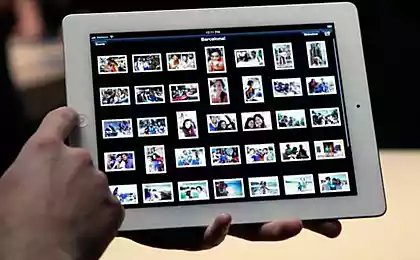
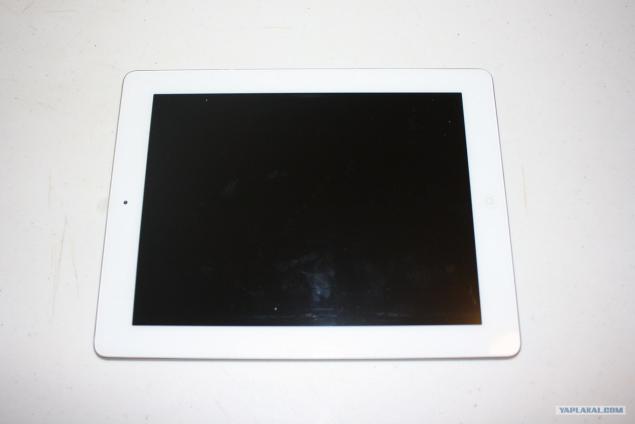
1. This is the way I found your iPad having come from work
2. That this set I ordered for $ 38

3. otdolzhil his wife Feng hair began to heat up on the perimeter, it's easier to work at least 3 times (I first tried without heating)

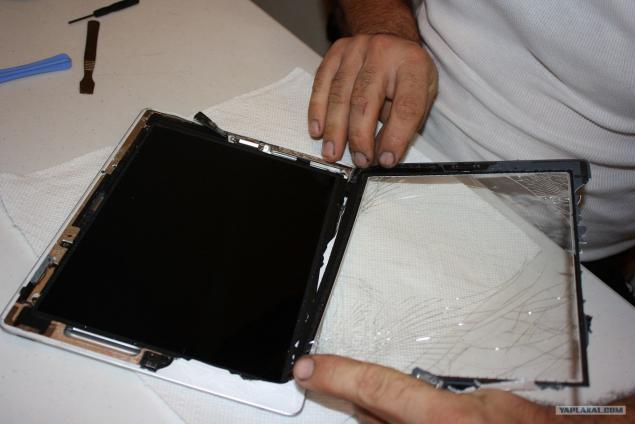
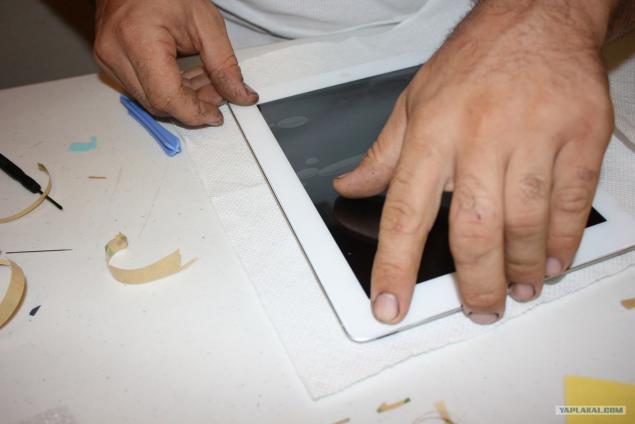
4. Then small distances began to lift the glass from the body. For those who are strongly concerned with the question: No, it is best to wash your hands could not. For the mechanics is very clean!
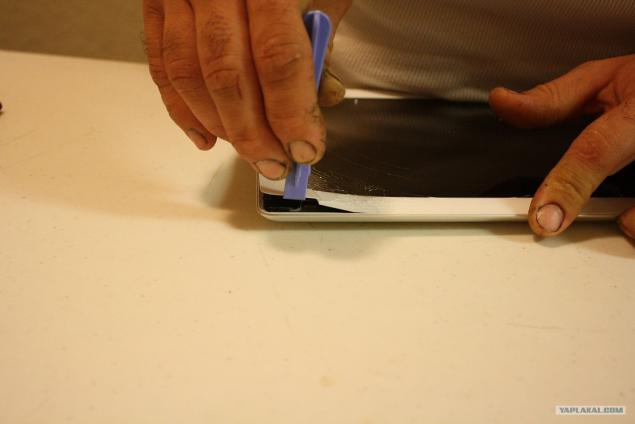
5. Beginning with the lower right corner and counterclockwise. Glass was broken badly, well, I did not want to go up in one piece. Strongly crumble.

6. Now, where was easier. I began to warm up the whole side.
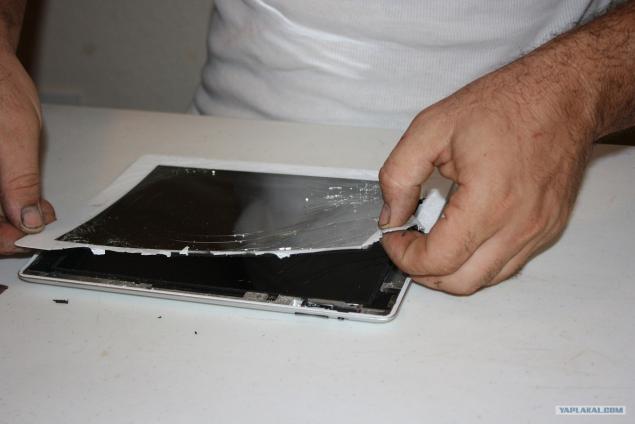
7. Remove the glass.
8 ..
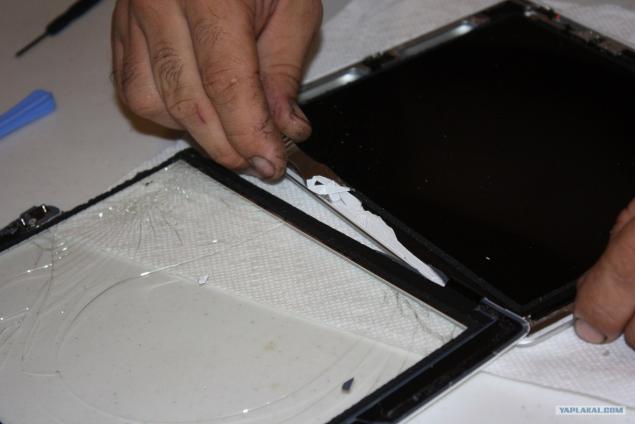
9. Remove the remains of glass on the perimeter.
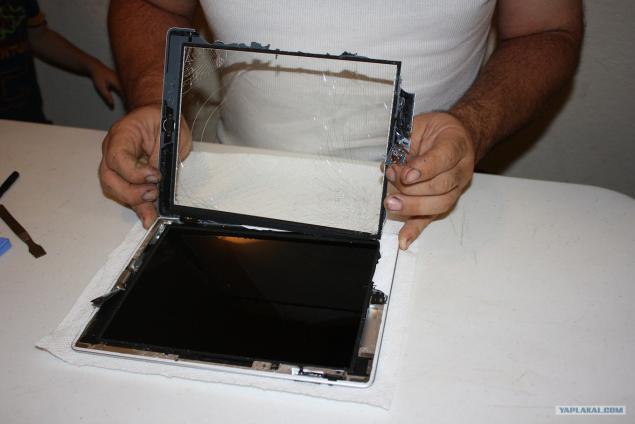
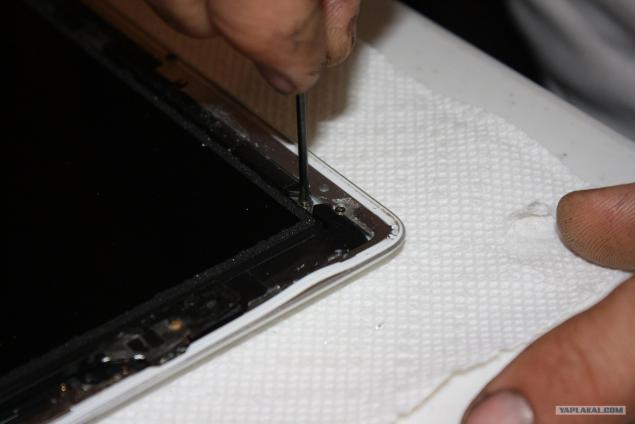
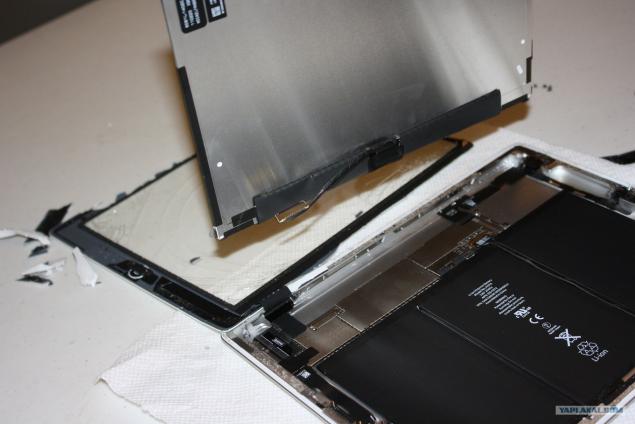
10. unscrew the screen. 4 screws on the edges.
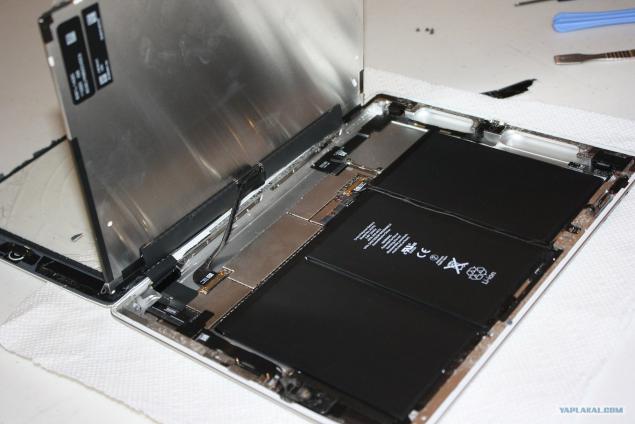
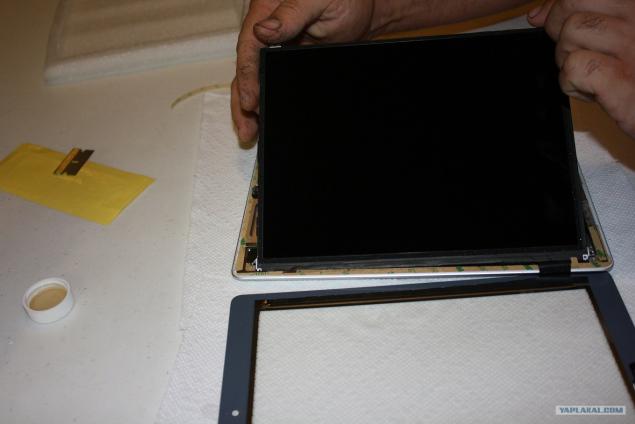
11. Raise the screen.
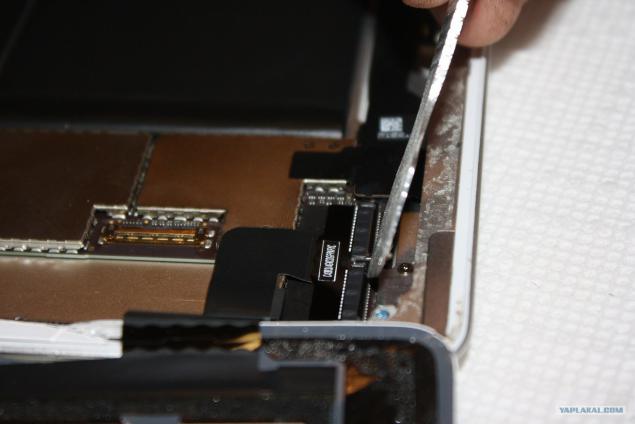
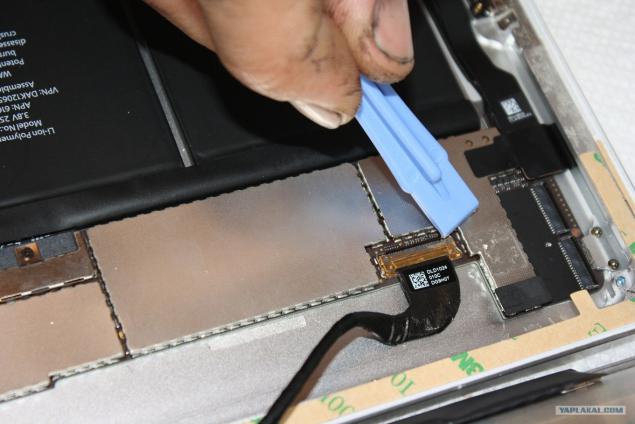
12. okuratno disconnect from the socket.
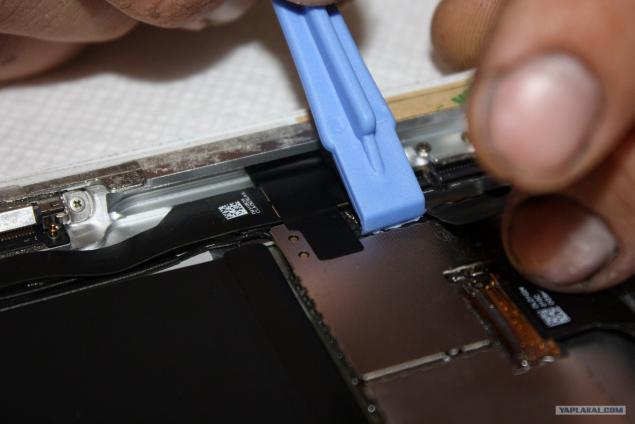
13. Further lifting clamps release the glass from the connector.
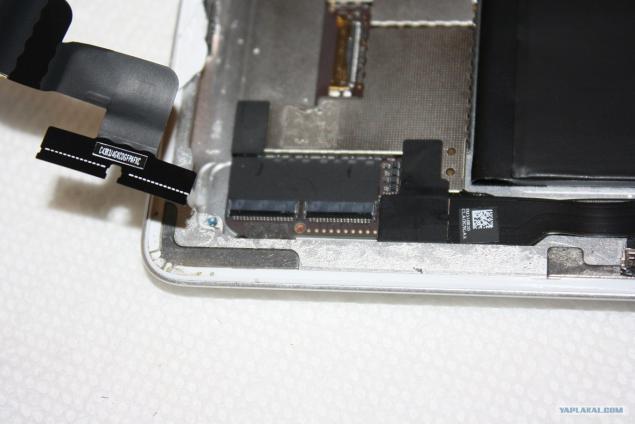
14. Connector window.
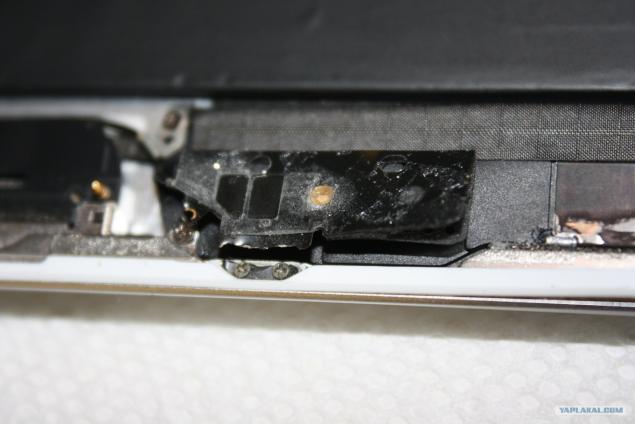
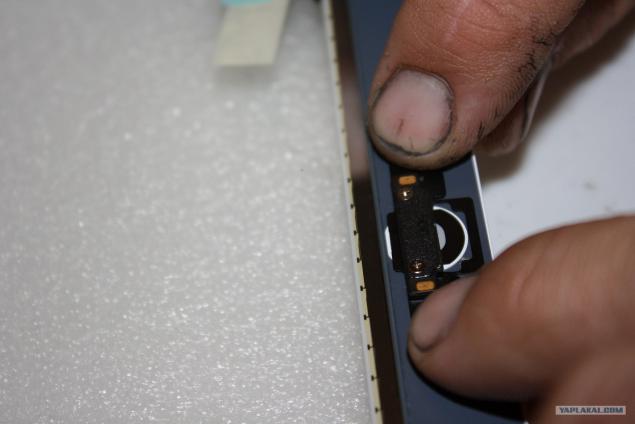
15. On the right side of the button is wi-fi antenna. About her presence I knew. But there was not very accurate. and damaged. It is glued to the glass. We had to go to the lower right corner counterclockwise, and reaching the buttons propodnyav glass, gently separate the antenna from the glass. And I, for reasons unknown to me on the floor of the road turned and walked in the opposite direction. After assembly, all I checked - works. WI-FI is also no problem (the wires are not damaged, only the mount).
16. Begin to glue 2-sided tape.
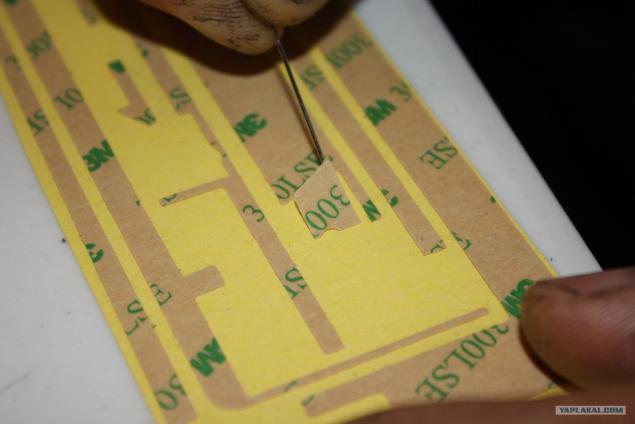
17. First of all, remove the glass from the old button and sticking a new one.
18. Connect the screen.
19. After that put the glass under the screen and connect it.
20. Install the screen in place.
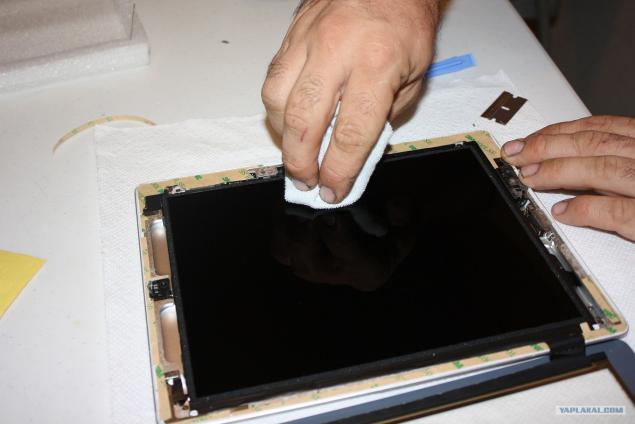
21. Wipe dust and fingerprints.
22. Remove the protective film from the inside of the glass.
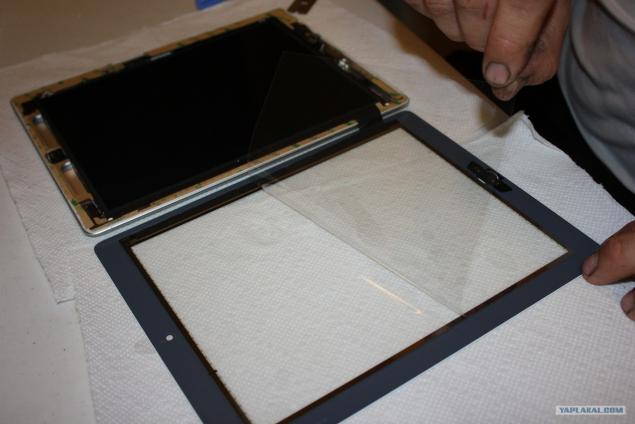
23. Install the glass.
24. 24.
25. presses on the perimeter.

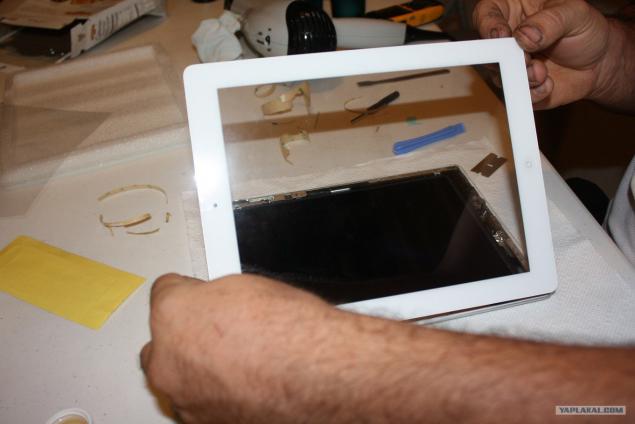
26. Done.
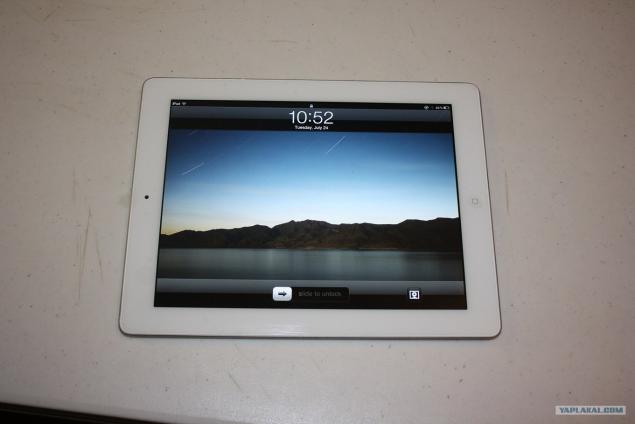
27. Check. WORKING!!! I have everything.
Source:
Returning last week from work to home and see your iPad 2 shattered. I start to understand. It turns out: the penultimate my son (4 years) took the iPad to play. Here as there appear younger (2 years) and of course also illuminates the same desire to play. Begins to pull to yourself, do not let go first, followed by the "untranslatable play on words" and in the course is a fist. On the screen, the screen ... and everything. Then both sharply perehotelos play ... Of course, I will see it - upset, well, they are also "upset" and promised not to do that anymore . I ordered a repair kit for $ 38. Yesterday I received in the mail and here today to beg off early from work at the boss (ie, host) and started ...
1. This is the way I found your iPad having come from work

2. That this set I ordered for $ 38

3. otdolzhil his wife Feng hair began to heat up on the perimeter, it's easier to work at least 3 times (I first tried without heating)

4. Then small distances began to lift the glass from the body. For those who are strongly concerned with the question: No, it is best to wash your hands could not. For the mechanics is very clean!

5. Beginning with the lower right corner and counterclockwise. Glass was broken badly, well, I did not want to go up in one piece. Strongly crumble.

6. Now, where was easier. I began to warm up the whole side.

7. Remove the glass.

8 ..

9. Remove the remains of glass on the perimeter.

10. unscrew the screen. 4 screws on the edges.

11. Raise the screen.

12. okuratno disconnect from the socket.

13. Further lifting clamps release the glass from the connector.

14. Connector window.

15. On the right side of the button is wi-fi antenna. About her presence I knew. But there was not very accurate. and damaged. It is glued to the glass. We had to go to the lower right corner counterclockwise, and reaching the buttons propodnyav glass, gently separate the antenna from the glass. And I, for reasons unknown to me on the floor of the road turned and walked in the opposite direction. After assembly, all I checked - works. WI-FI is also no problem (the wires are not damaged, only the mount).

16. Begin to glue 2-sided tape.

17. First of all, remove the glass from the old button and sticking a new one.

18. Connect the screen.

19. After that put the glass under the screen and connect it.

20. Install the screen in place.

21. Wipe dust and fingerprints.

22. Remove the protective film from the inside of the glass.

23. Install the glass.

24. 24.

25. presses on the perimeter.

26. Done.

27. Check. WORKING!!! I have everything.

Source: