1097
Miniature street light
Steal here
Immediately I tell a moped is not mine, like the form of the report, as it is necessary to draw up positions "His hands!»
She told how his own hands can make a miniature street lamp. But accordingly, that he shone ...
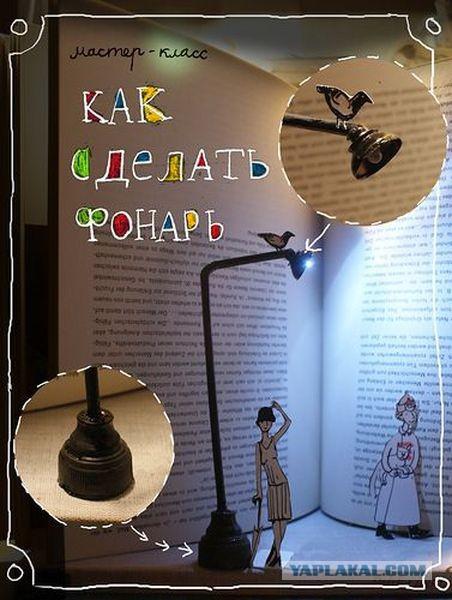
I want to tell you how I did lights for illustrations to the book Mandelstam "Two tram." There are slightly different vnshne, but made on the same principle. Since the book it happens at night, I had a lot of lanterns that lit up to the city in which the trams go. They were on the one hand to be like street lights, on the other hand still shining, that is, somewhere I had to hide the wires. I thought for a long time, as if to arrange it, until one day I did not come to mind - a cocktail stick! It is just perfect: you can hide the wires inside of the bulb, and it is already very bending "lamp."
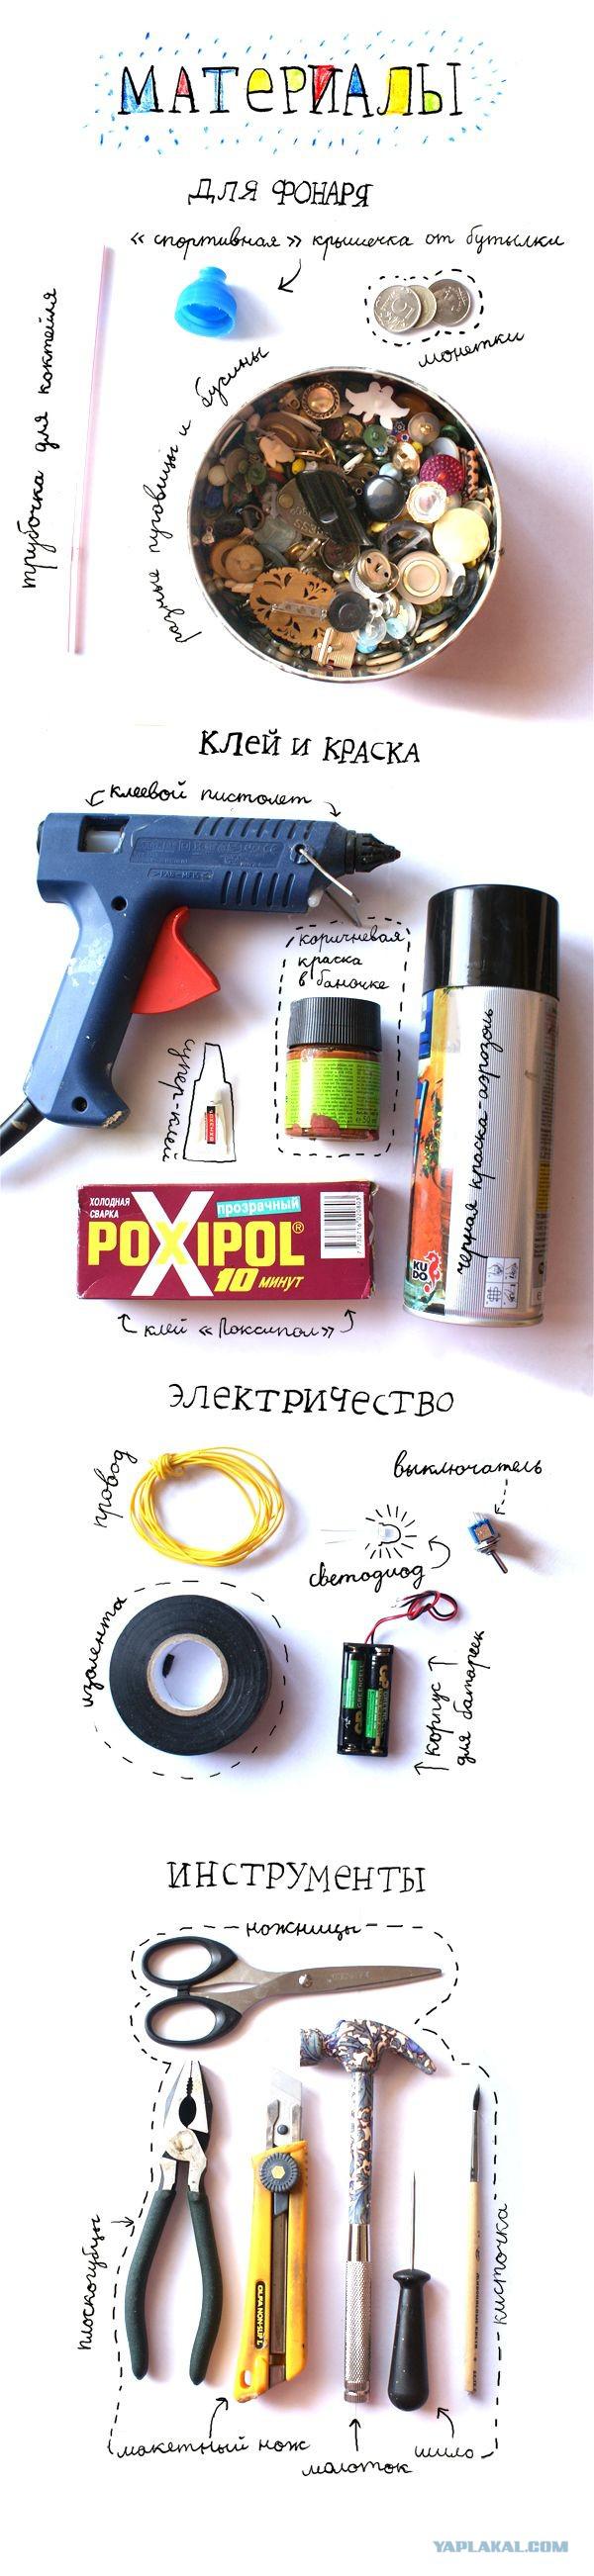
Materials you will need: For most lamp: tube, cap the bottle of sports, buttons and beads - among them will have to find the ones that will come out of a suitable bowl and coins, with which we weight the bottom of the lamp so that it does not fall. Adhesive glue gun (if it is not, in principle, possible to manage, but it is a million times more comfortable), super glue - to glue beads, "Poksipol" - to stick a coin. Colour: black paint-spray (select such that fell on the plastic!), And a second, different color (I chose brown) in a jar. For electricity: LED (you can buy at the store "Chip & Dip" or in any store like "Radio components") at 3 volts, the battery casing for two batteries (also sold in "Chip & Dip"), a wire switch ( Again, you can buy in the "Chip & Dip", and no, they did not pay for advertising :)), and electrical tape. Tools: the main thing - breadboard knife, scissors and a brush, you can do without the rest. Nevertheless, pliers, awl and hammer handy.
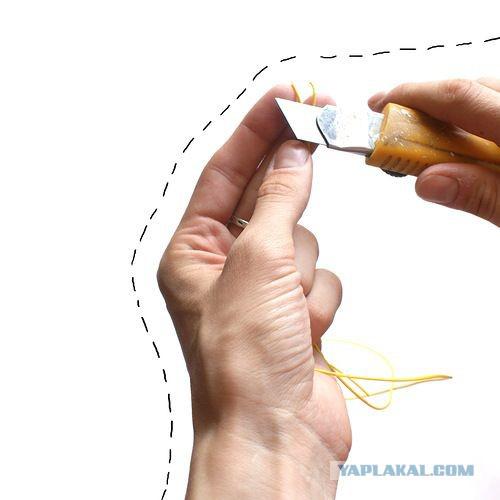
Let's start with the fact that the two pieces of wire cut by 7 centimeters long tube knife and smooth out their tips: cut off the plastic layer.
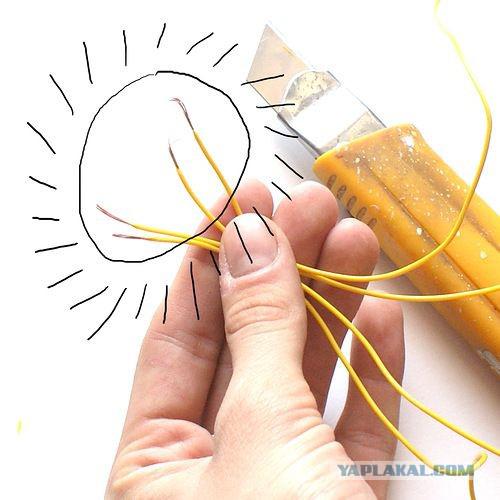
You got two wires, in which both ends of the metal sticks:
Then you need to attach the harness to the LED. If you know how to solder - that, firstly, I envy you, and secondly - just solder them. If you, like me, do not know how to solder, then you have two choices. The first - is to ask someone to solder :) For example, near my house there is a shop "radio" there is a nice gentleman repairing television sets and tape recorders, and between that of the $ 100 I soldered wires to the bulb.
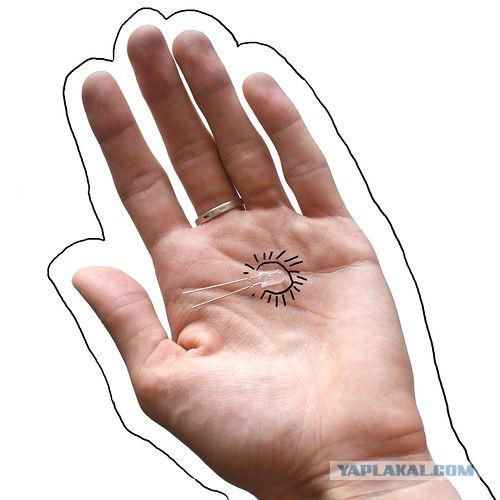
Well, if it's not possible for some reason, you can do differently. This method is less durable, but what to do. Exc svettodiod pliers and gently bend the wire at the ends, so as to obtain a loop:
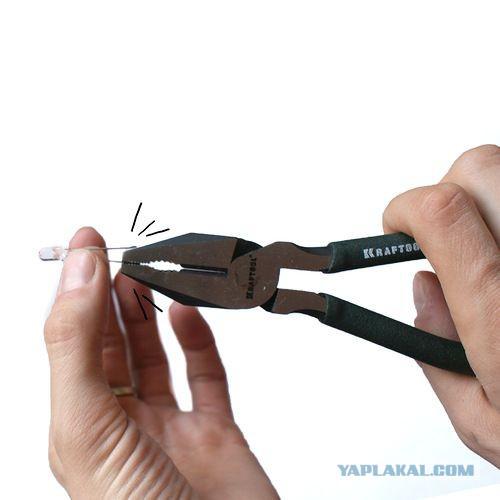
Here's a loop:
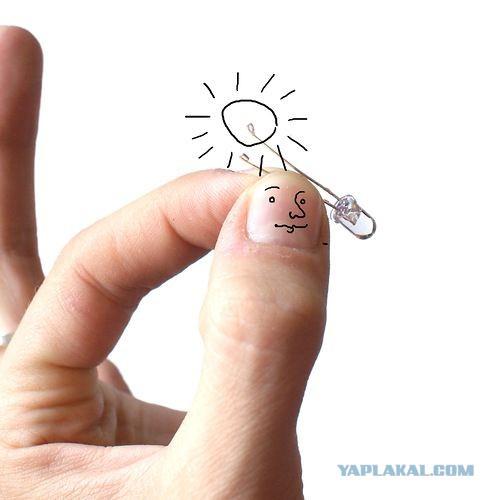
Then insert the stripped end of the wire in a loop:
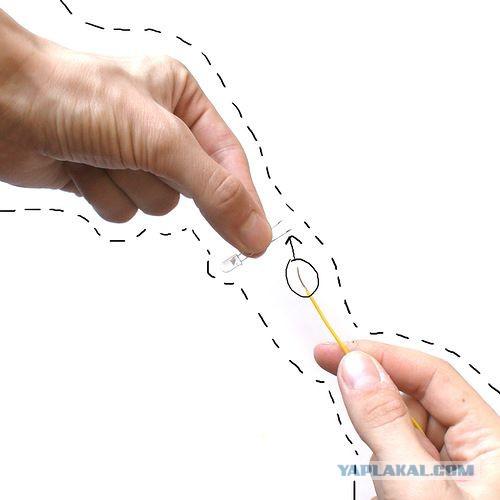
And tighten properly. Do the same with the second wire.
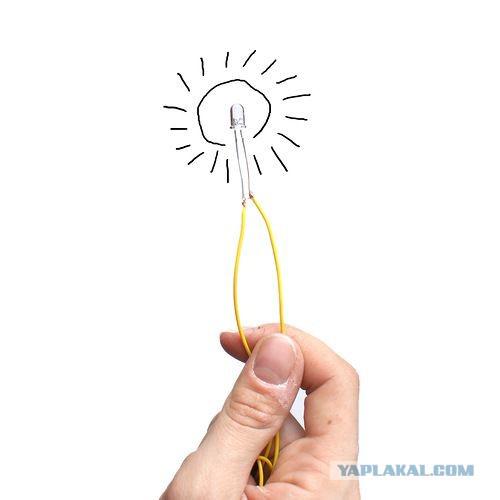
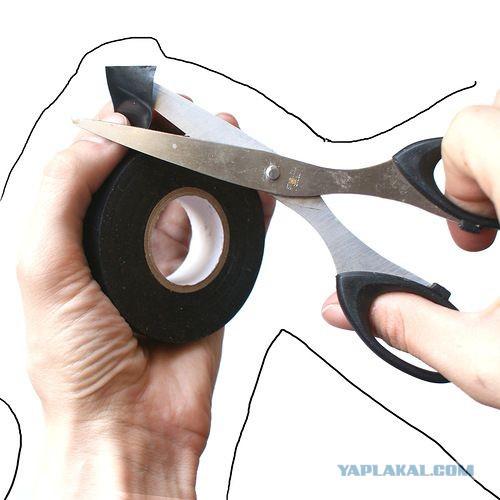
Then cut a small piece of tape:
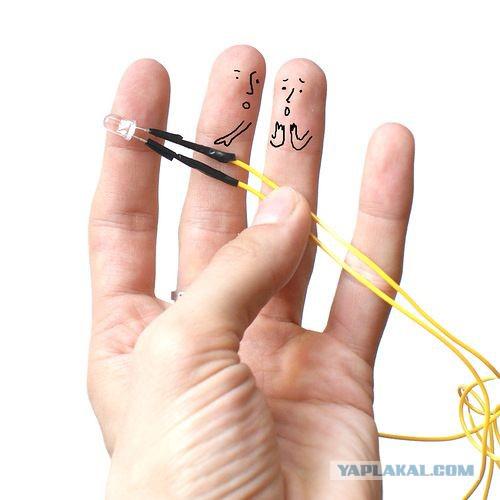
Wrap and place wire connections and LEDs:
Then carefully consider your collection of beads and buttons and select it something from which you can make the ceiling lamp:
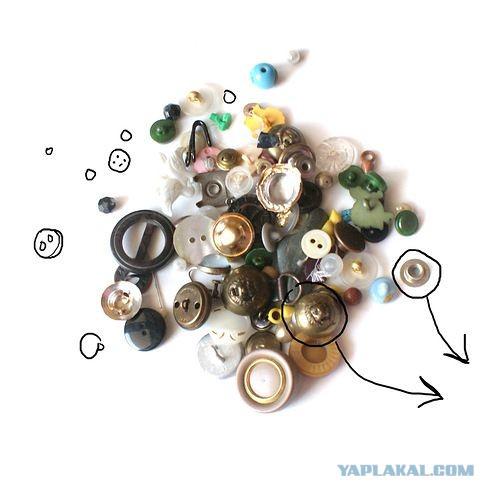
I chose the big metal buttons with lions' heads, consisting of two parts and some small metal little thing with a hole.
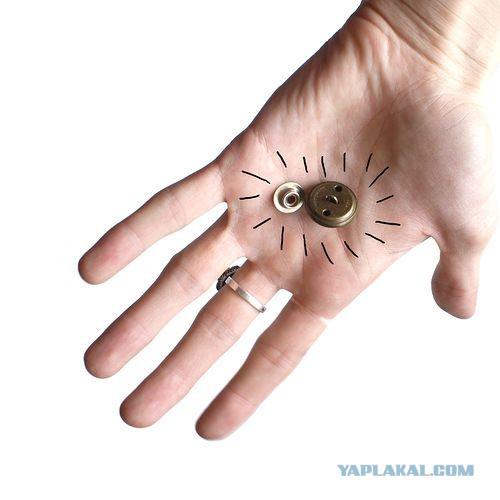
I have pliers unbent buttons ledge where connects two parts:
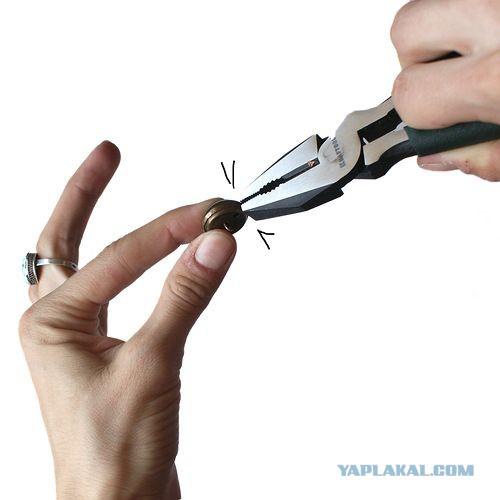
And when the end unbent, Disconnect:
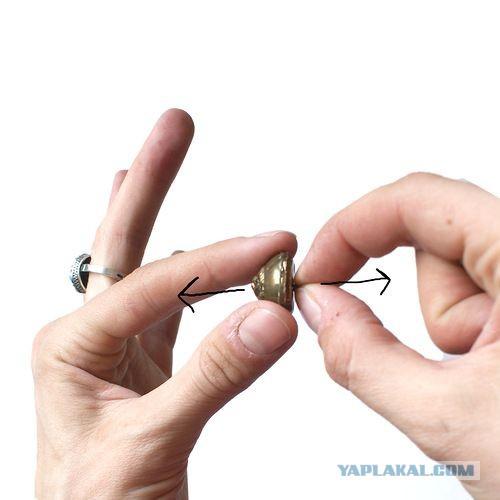
As a result, I got this basis for the ceiling:
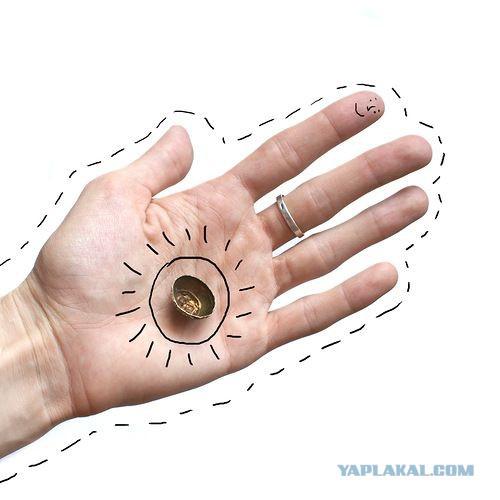
Use the awl and hammer, I made a hole:
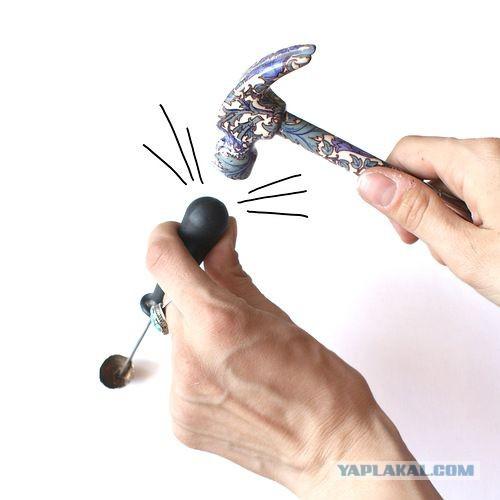
Then I put a light bulb in the ceiling, and the ceiling - a small metal contraption. This little thing is needed in order to place the connection lamp and ceiling were accurate. Then I glued them super-glue.
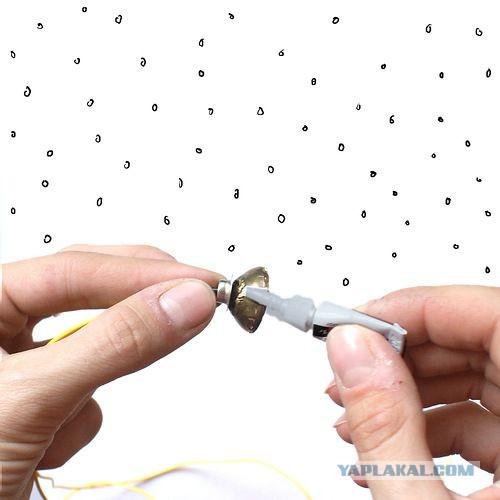
It is understood that, depending on what you have buttons, a method for manufacturing the ceiling may vary. When you have made it, insert the wires sticking out of the ceiling, into a tube:
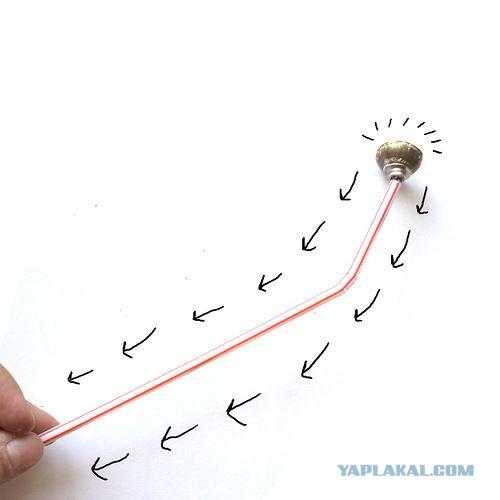
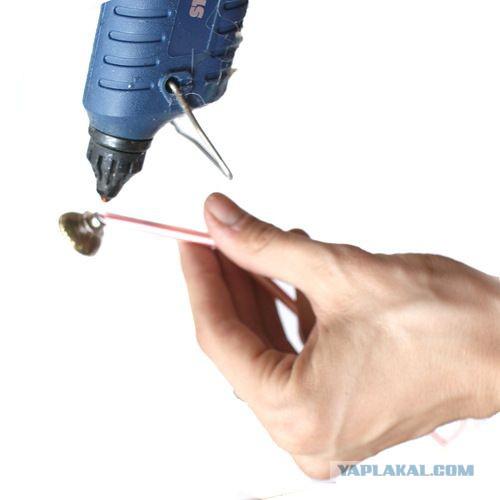
Glue the tube and dome super-glue or glue gun.
Then take the cap off the bottle and cut her all unnecessary: a transparent cap:
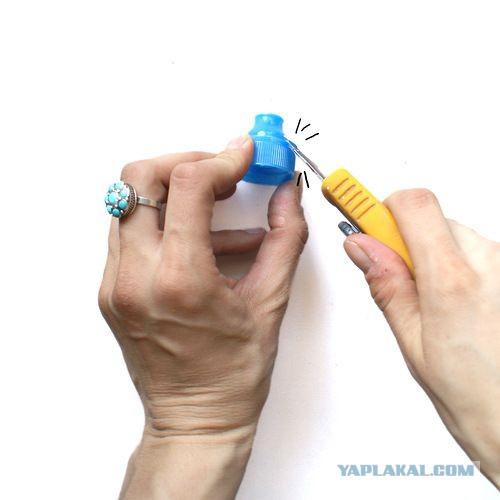
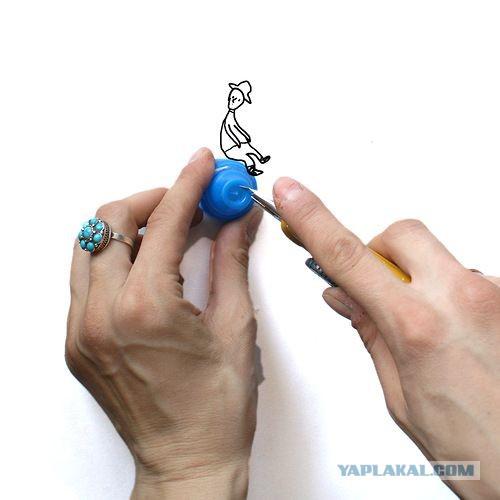
Details in the hole:
And cut two holes for the wires inside:
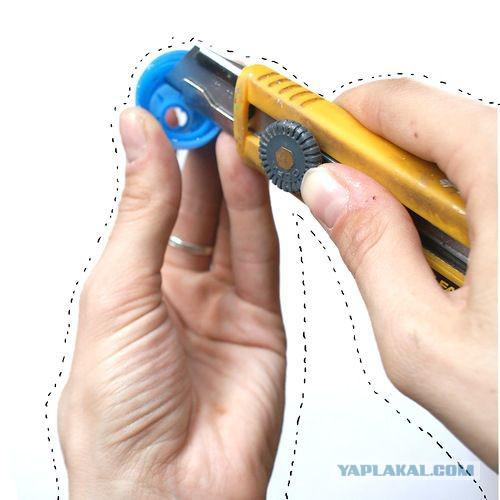
You should receive these "hoop»:

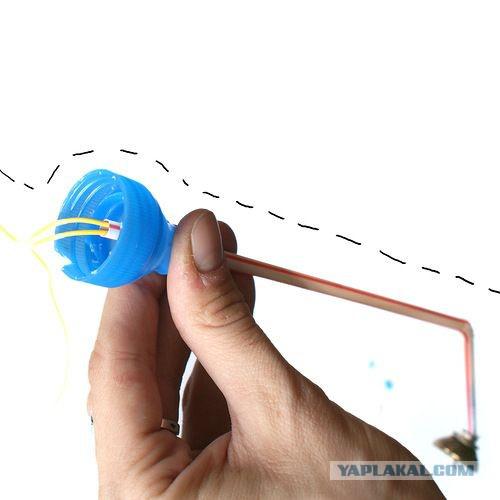
And insert the tube into the hole lids so that the first tube reaches the "gate." Glue it Glue Gun. Important! Do not heat the gun too much, and the tube is melted. Start glue once it warms up, do not wait. If you do not have a gun, I think we can hold it together or make palstikoy weight of napkins and PVA, but, of course, is long and dreary.
And then with the help of glue "Poksipol" glue coin (2-3 pieces) inside the lids. This is to ensure that the bottom of the flashlight was heavy and it did not fall. The wires should go to the slotted holes for them.
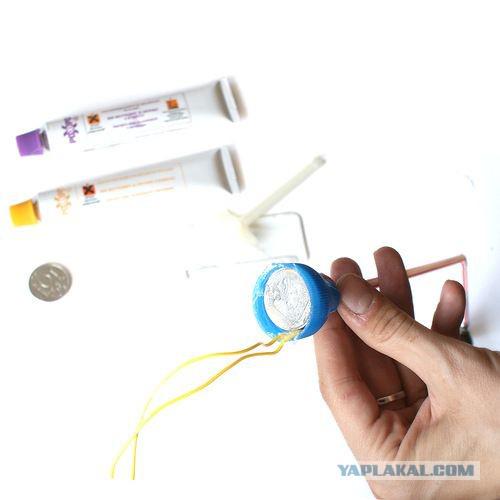
Actually, lantern ready, it remains only to paint.
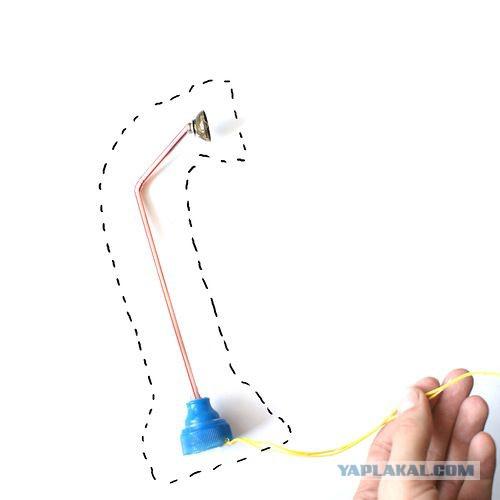
Prime the brown paint it - it would be nice shine through the black.
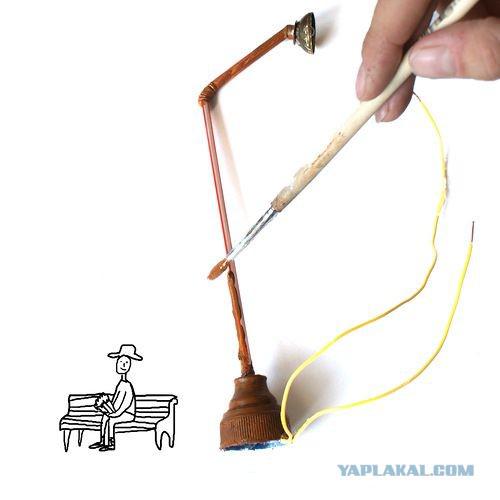
Then, cover the bulb with paper tape and spray paint color flashlight.
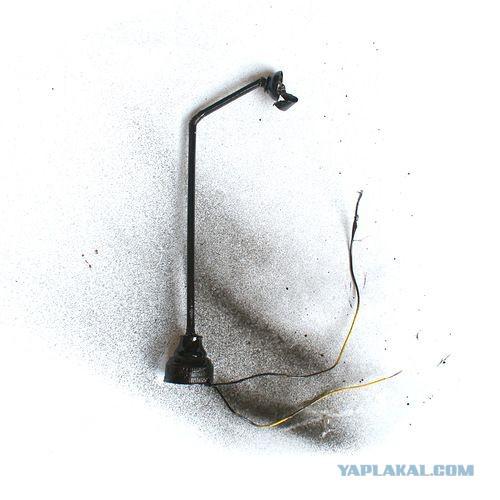
It remains to connect the electricity. Take the battery housing and the switch and solder or wire, or if you do not know how to solder, insert the wire into a special "eye" on the switch and tighten it.
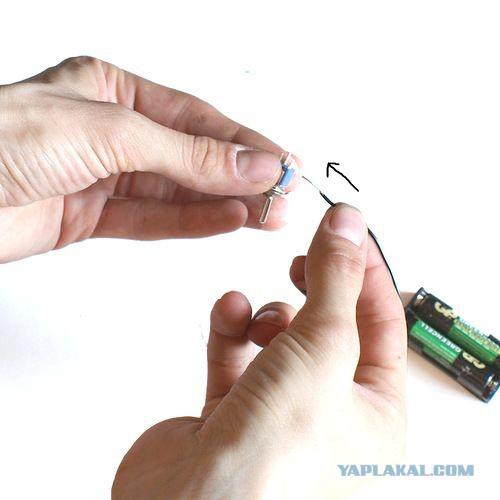
So did one wire from the light:
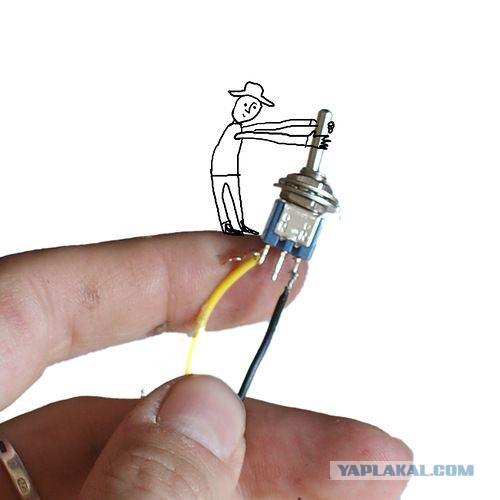
And connect the remaining wire and lamp housing with batteries. Note: LED is important, where the plus and minus where - so if you have connected, and the light does not light - reverse lamp wire.
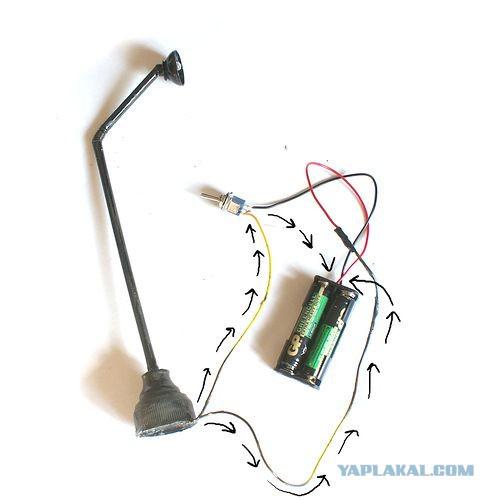
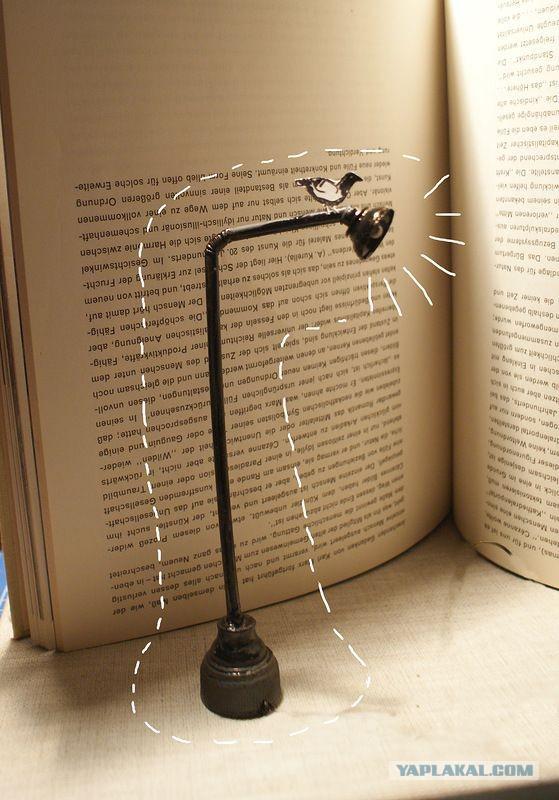
That's all! Lantern ready!
PYSY, a few comments
1 Duct tape should be siney- this postulate!
2 All the same it is necessary to put a small 1-10 ohms resistance
Source: ">