720
How I spent Children's Day.
The past Children's Day - dedicated. Albeit belatedly, but still ...
Will be 12 photos, 1 picture and accompanying text ...
Otchetik small gashes, because nothing complicated, but not quite in the spirit of "draw a circle, and dorisovyvat remaining minor portion of the owls."
Background ... In general, the "worn out" sandbox in the group of kindergarten, where my daughter goes ... It was decided to replace thereof, to the new. Search by city revealed no particular desire of people to produce and install the new sandbox, and the prices they were called, the earth will not name.
I'm not a carpenter and joiner, but the ability to work and to do accurately, his father from childhood brought up in me, so I decided to help, and here and Children's Day on the nose, well, just exactly a sign that it is necessary to make a sandbox ...
So, lesobaze and hardware store was bought and brought:
1) Eaves 2030h150h25mm 12p already postrogannaya (for the coin of course)
2) Bruce 50h50mm 8pcs
3) Self oxidized L = 45mm 50pcs
4) Impregnation protective
5) Enamel PF, green, blue, green
6) Brush paint 2pcs
7) A bit of beer ... to leap)))
And now ... He collected pictures sandbox is basically one, so sometimes forget to take a picture a few steps, well, I think that's okay, fotkal on a passing beetle ......
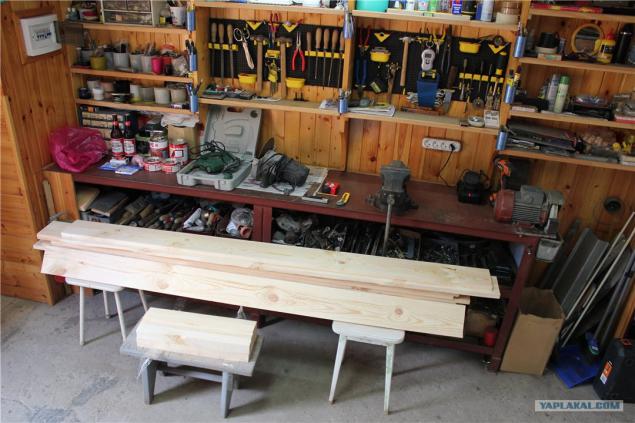
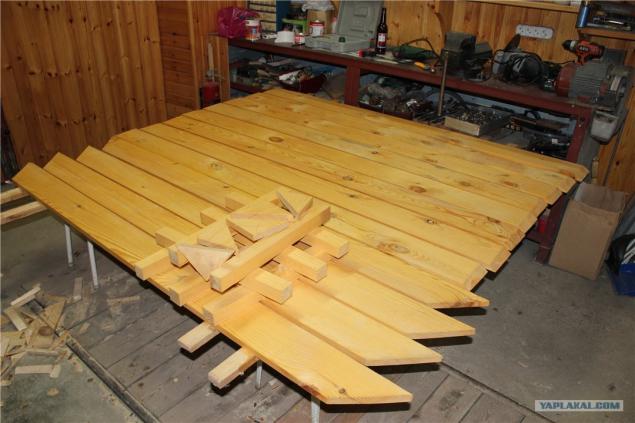
1. He brought in the garage and unloaded materials
2. Please choose the longest board as the top board (where you can sit) should be with an overlap, it came 2030 mm. Saw off the edges at an angle of 45 degrees, for the subsequent joining together, everything just draw a square that is equal to the width of the board 150x150 and diagonal sawing, sawn corners do not throw! Also, first tortsuem length 1980 mm (20 mm overlap) and then saw off the same 45, 60 as possible and (believe it is more convenient) degrees at the edges of the boards of which the side plates are made. Then I helped jigsaw, whose lower plane can be tilted, thereby to obtain the desired angle of cut. Since we have a board of 150 mm, then 2 pcs on the edge will be 300 mm - this is the height of the shield, under which napilivaem corner trims (at 300mm), they are also made of wood and generally serve to cover the corner joint. In the photo they do not lie on the side. Last activity - sanding, rather smooth corners on the top board - sure, and the kids will break them on the legs. Then thoroughly impregnate all to protect our sandbox on weather and ground conditions ...
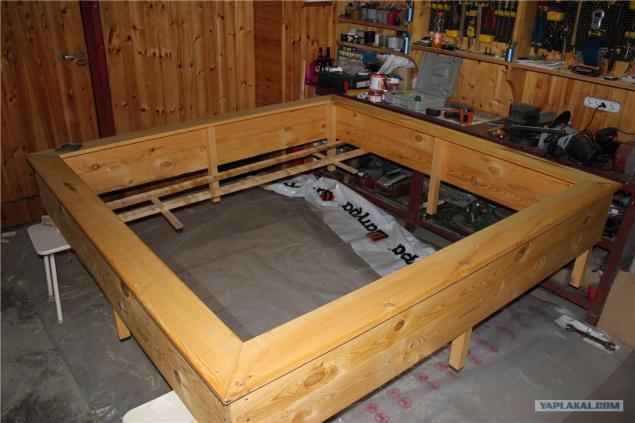
3. design and collect ... (just like in a manual repair of the machine .... "And remove the spare") baits on the two self-tapping screws in each board ... leans against the back of the timber and fasten 2 boards to the beam. Clear Flag - at angles from the top to the end of the rod is mounted are the same angular cuttings, which are 45 degrees were - an additional support for the upper board so as not staggered in general, so that in a corner, the beam must be slightly lower to the width of the bracket. The photo shows №6 them at the lower corners. Do not be afraid on account of the angles (convergent - does not converge), all outside the bracket closes, and the inside - timber. Then fasten the top board. An important point - all the screws should be nearly drown, and then putty, well sanded and then, of course, the last two steps to do with knot holes and other irregularities on the board. Fasten the angle bracket for "copper" carnation or other to cap it was not very big. Check all your hand, if everything is OK - ready to paint.
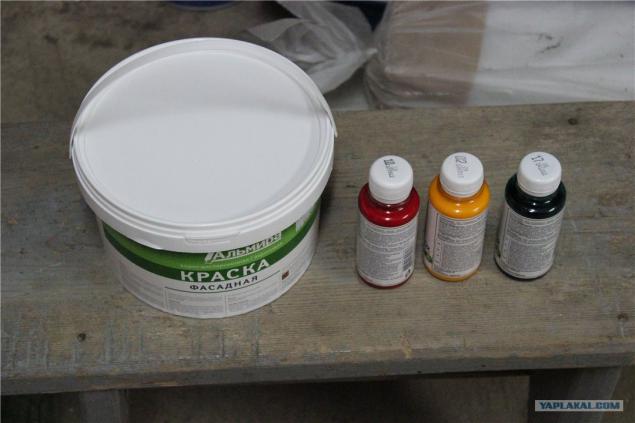
4. As long as the paint dries PF, and that there is little time left, it was decided to paint than the other, well, there was not a lot of options, or take a nitro (NC enamel) or facade water-based paint. In short, I passed quickly bought back the paint and surcharges, purchased advised sellers fasadku and three color schemes (red, yellow, blue) ...
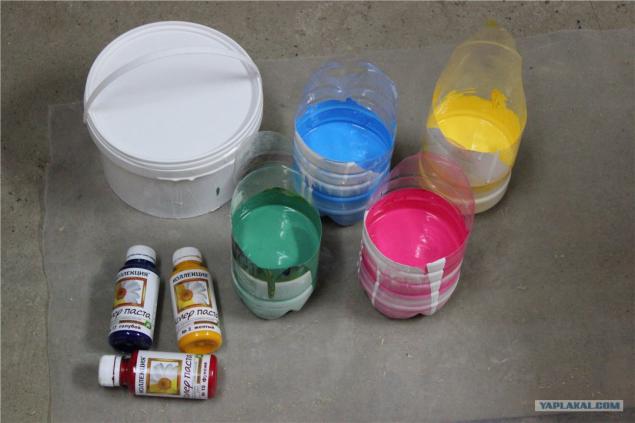
5. Koliruem paint obtain three colors. Remembering drawing lessons at school, and of looking in the online course, do a fourth color - green (Yellow + Blue).
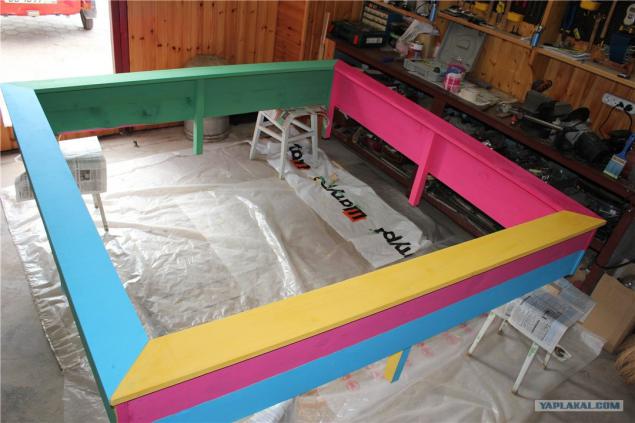
6. Paint the inside, then outside. Paint 2 layers with intermediate drying for about 1 hour between coats. I first walked in one color wherever it is necessary, then another and so on, and at the time of application of the last color, the first layer of the first ink - has dried up, well, respectively, again, circle apply a second coat. By the way you can see the corners of which I spoke earlier.

7. Overturn sandbox and paint over the top board.
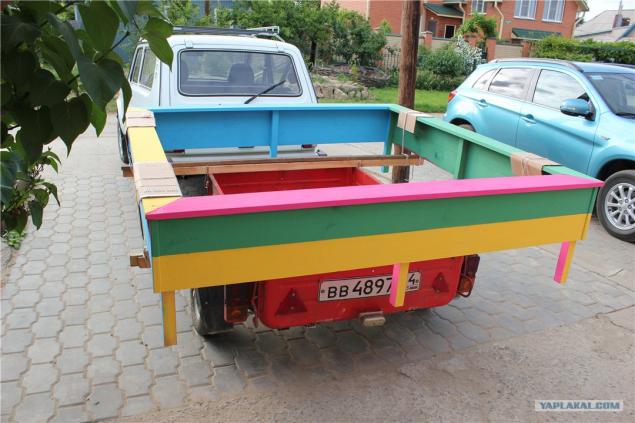
8. fetches trailer, ship, fix, we carry ...
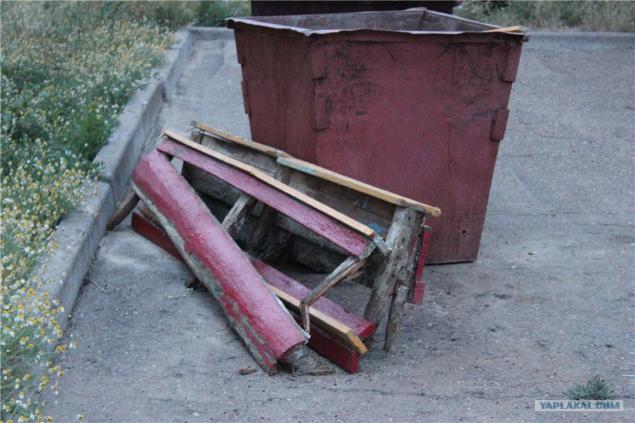
9. Raskurochivaem trash and carry on the old sandbox.
10. scraped the old, dirty sand (which were found sovochki molds and other children's tool), plus raking around the same sandbox, it will ship the bags into the trailer. Altogether, it was about 25 "nifiganelegkih" bags which were emptied into a pit on a country far away from the garden penny. Digs a hole under the legs and put her sandbox.
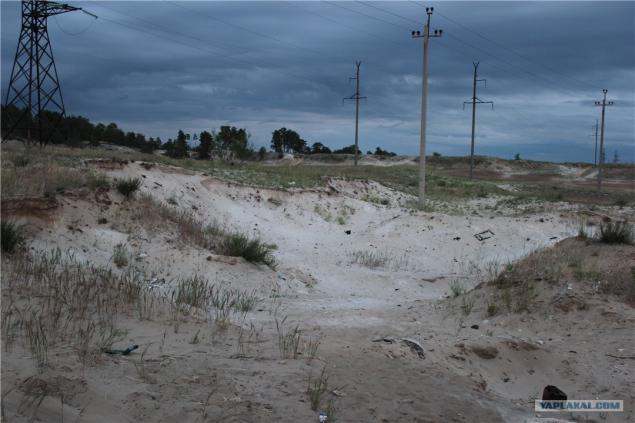
11. leave the city and find the pit with clean sand Belenky. To dig the hole, pour into bags, carry, ship and are taking the same amount of sand back.
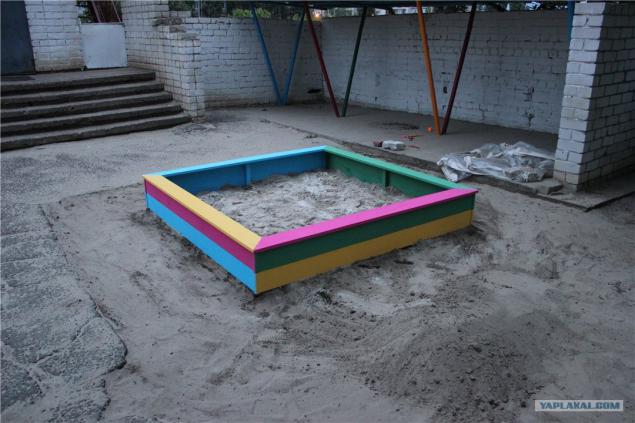
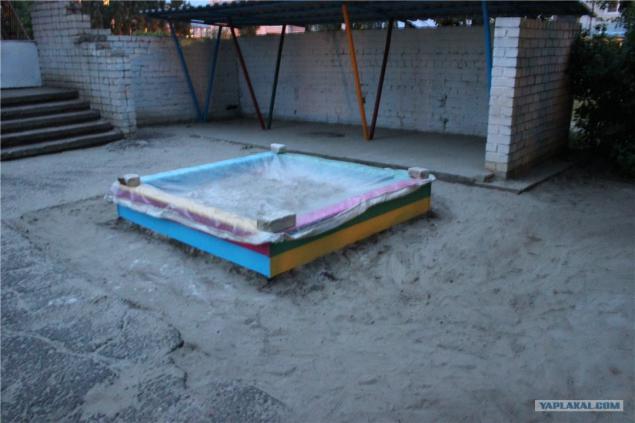
12. newcomer pours sand into a new sandbox. Screed, cover with foil and look forward to the joy of children.
I returned home around 11 pm. Well and further under the old scheme))) shower, cold beer resting in general.
This basically ended. The purpose of this post is not something that would "see how I can" and "See how simple it is." Budget 1600 p., Then beat with a paint - increased by 150r. If all the money distributed between the parents in the group - even a penny, the main thing that was a desire. Give joy to children as possible, all our children! All good, I have everything.
Source:
Will be 12 photos, 1 picture and accompanying text ...
Otchetik small gashes, because nothing complicated, but not quite in the spirit of "draw a circle, and dorisovyvat remaining minor portion of the owls."
Background ... In general, the "worn out" sandbox in the group of kindergarten, where my daughter goes ... It was decided to replace thereof, to the new. Search by city revealed no particular desire of people to produce and install the new sandbox, and the prices they were called, the earth will not name.
I'm not a carpenter and joiner, but the ability to work and to do accurately, his father from childhood brought up in me, so I decided to help, and here and Children's Day on the nose, well, just exactly a sign that it is necessary to make a sandbox ...
So, lesobaze and hardware store was bought and brought:
1) Eaves 2030h150h25mm 12p already postrogannaya (for the coin of course)
2) Bruce 50h50mm 8pcs
3) Self oxidized L = 45mm 50pcs
4) Impregnation protective
5) Enamel PF, green, blue, green
6) Brush paint 2pcs
7) A bit of beer ... to leap)))
And now ... He collected pictures sandbox is basically one, so sometimes forget to take a picture a few steps, well, I think that's okay, fotkal on a passing beetle ......
1. He brought in the garage and unloaded materials

2. Please choose the longest board as the top board (where you can sit) should be with an overlap, it came 2030 mm. Saw off the edges at an angle of 45 degrees, for the subsequent joining together, everything just draw a square that is equal to the width of the board 150x150 and diagonal sawing, sawn corners do not throw! Also, first tortsuem length 1980 mm (20 mm overlap) and then saw off the same 45, 60 as possible and (believe it is more convenient) degrees at the edges of the boards of which the side plates are made. Then I helped jigsaw, whose lower plane can be tilted, thereby to obtain the desired angle of cut. Since we have a board of 150 mm, then 2 pcs on the edge will be 300 mm - this is the height of the shield, under which napilivaem corner trims (at 300mm), they are also made of wood and generally serve to cover the corner joint. In the photo they do not lie on the side. Last activity - sanding, rather smooth corners on the top board - sure, and the kids will break them on the legs. Then thoroughly impregnate all to protect our sandbox on weather and ground conditions ...

3. design and collect ... (just like in a manual repair of the machine .... "And remove the spare") baits on the two self-tapping screws in each board ... leans against the back of the timber and fasten 2 boards to the beam. Clear Flag - at angles from the top to the end of the rod is mounted are the same angular cuttings, which are 45 degrees were - an additional support for the upper board so as not staggered in general, so that in a corner, the beam must be slightly lower to the width of the bracket. The photo shows №6 them at the lower corners. Do not be afraid on account of the angles (convergent - does not converge), all outside the bracket closes, and the inside - timber. Then fasten the top board. An important point - all the screws should be nearly drown, and then putty, well sanded and then, of course, the last two steps to do with knot holes and other irregularities on the board. Fasten the angle bracket for "copper" carnation or other to cap it was not very big. Check all your hand, if everything is OK - ready to paint.

4. As long as the paint dries PF, and that there is little time left, it was decided to paint than the other, well, there was not a lot of options, or take a nitro (NC enamel) or facade water-based paint. In short, I passed quickly bought back the paint and surcharges, purchased advised sellers fasadku and three color schemes (red, yellow, blue) ...

5. Koliruem paint obtain three colors. Remembering drawing lessons at school, and of looking in the online course, do a fourth color - green (Yellow + Blue).

6. Paint the inside, then outside. Paint 2 layers with intermediate drying for about 1 hour between coats. I first walked in one color wherever it is necessary, then another and so on, and at the time of application of the last color, the first layer of the first ink - has dried up, well, respectively, again, circle apply a second coat. By the way you can see the corners of which I spoke earlier.

7. Overturn sandbox and paint over the top board.

8. fetches trailer, ship, fix, we carry ...

9. Raskurochivaem trash and carry on the old sandbox.

10. scraped the old, dirty sand (which were found sovochki molds and other children's tool), plus raking around the same sandbox, it will ship the bags into the trailer. Altogether, it was about 25 "nifiganelegkih" bags which were emptied into a pit on a country far away from the garden penny. Digs a hole under the legs and put her sandbox.

11. leave the city and find the pit with clean sand Belenky. To dig the hole, pour into bags, carry, ship and are taking the same amount of sand back.

12. newcomer pours sand into a new sandbox. Screed, cover with foil and look forward to the joy of children.

I returned home around 11 pm. Well and further under the old scheme))) shower, cold beer resting in general.
This basically ended. The purpose of this post is not something that would "see how I can" and "See how simple it is." Budget 1600 p., Then beat with a paint - increased by 150r. If all the money distributed between the parents in the group - even a penny, the main thing that was a desire. Give joy to children as possible, all our children! All good, I have everything.

Source: