897
Tiled floor on a wooden base
The wife was puzzled to make the kitchen and the hallway floor tiles. At that time, we had wooden floors. The options were 2 - to destroy everything and pour concrete or lay tiles on wood, that nobody in their right mind ever does.
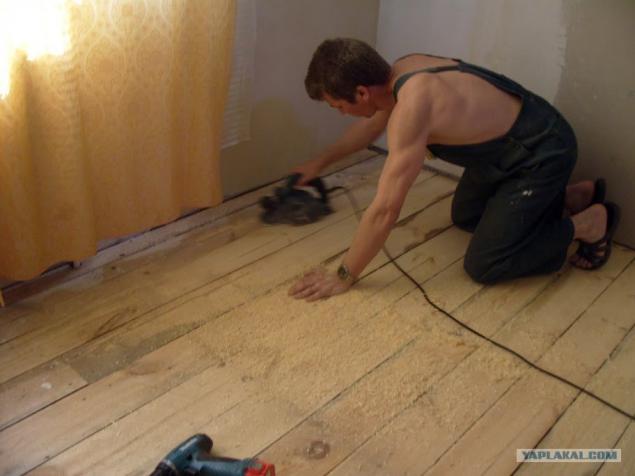
He started from the kitchen. To start korachkah climbed on board and prostrogat to make it flat and smooth.
There will be 40 ph.
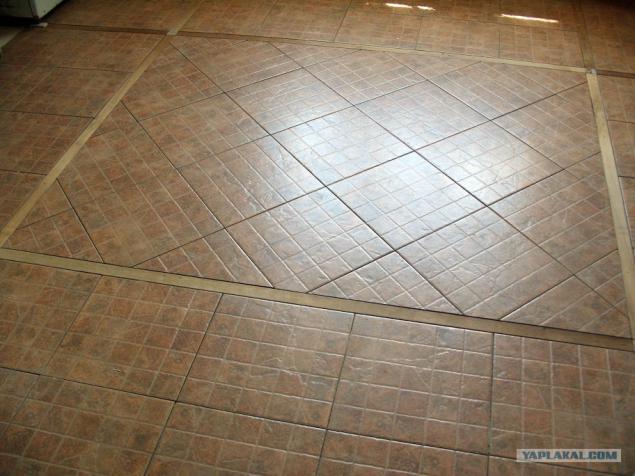
On board he spreads a plywood. Stela in the glue and screws. Laying tiles "as all" was bored and decided to make a "tic-tac" of the heat-treated oak.
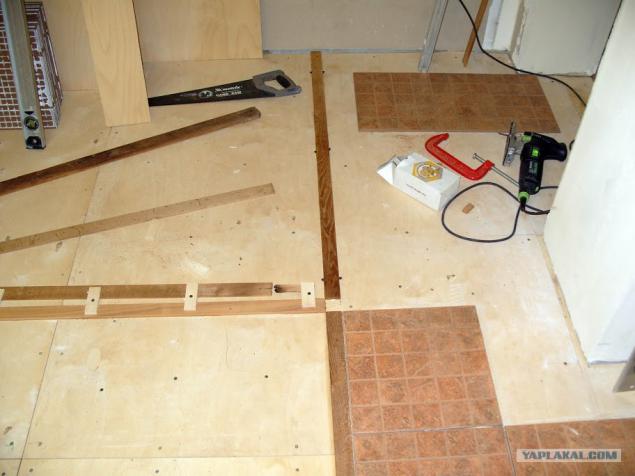
Reiki is glued to the plywood on the PVA glue tiles laid on the COP, smeared with a notched trowel.
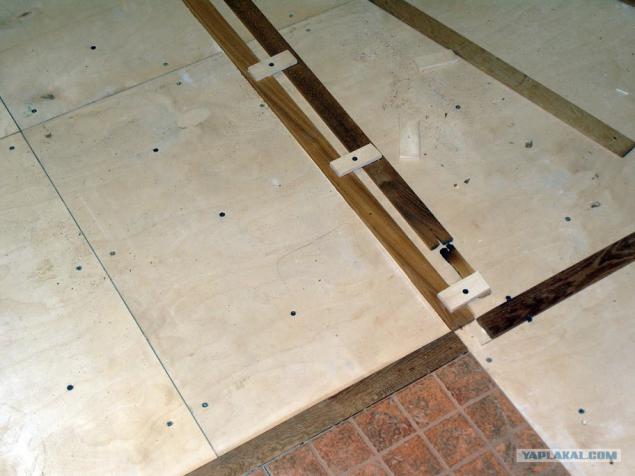
First laid out perimeter.
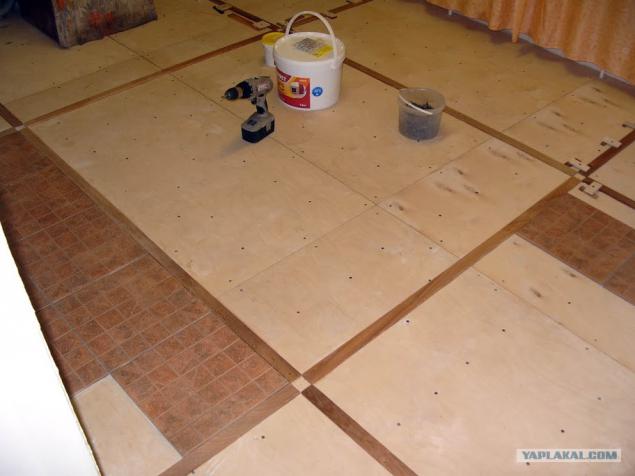
Midway wife ordered to put on the diagonal. and the right - "no sports" she thought.
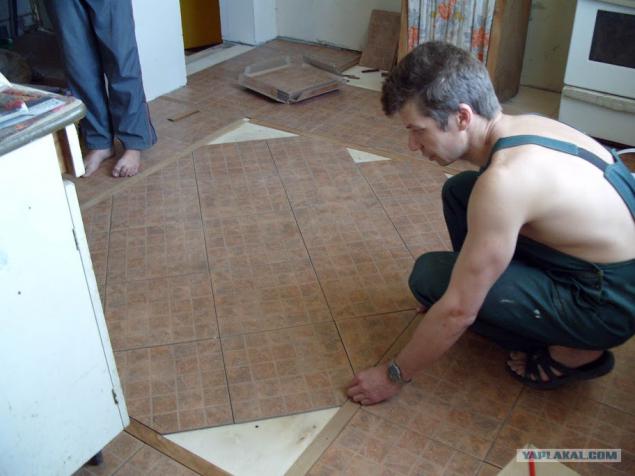
Well, that's already something clearer
My wife has taken away the most important thing - to sniff paint. Occupy itself, which was very pleased :)
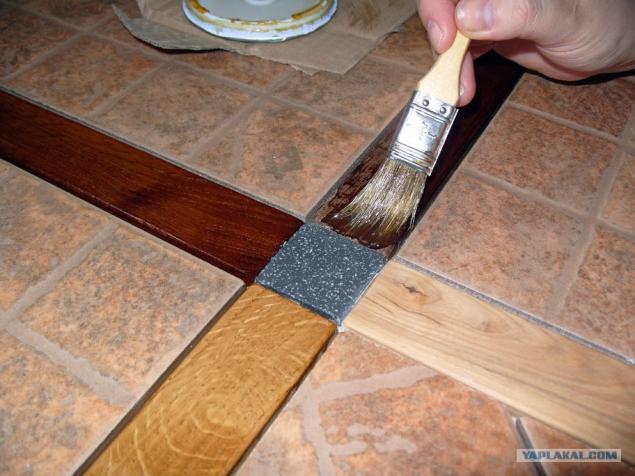
With prolachennymi strips is much more fun
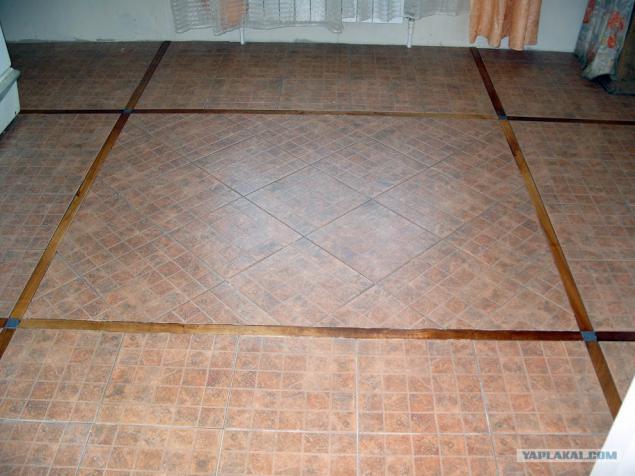
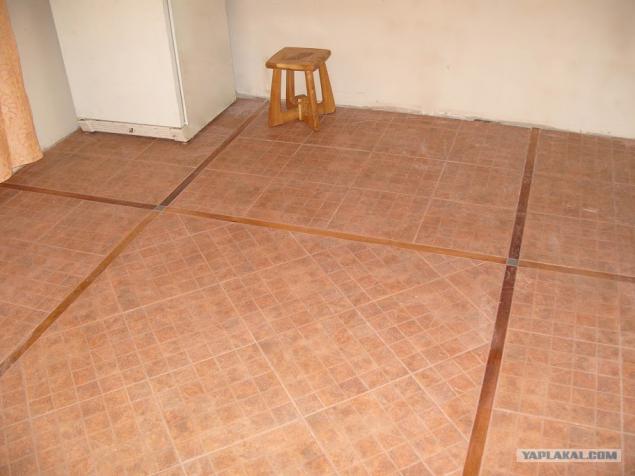
Well, after the grout has a very different kind.
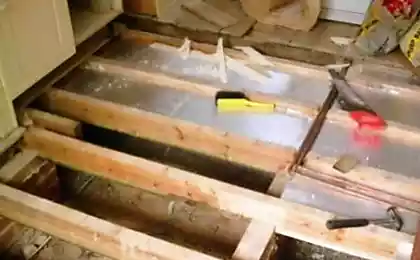
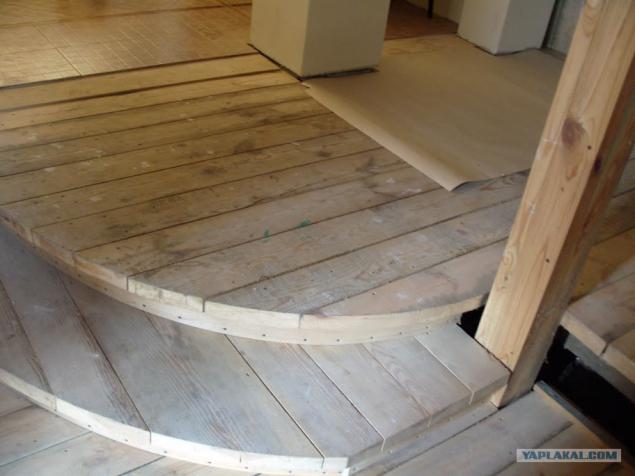
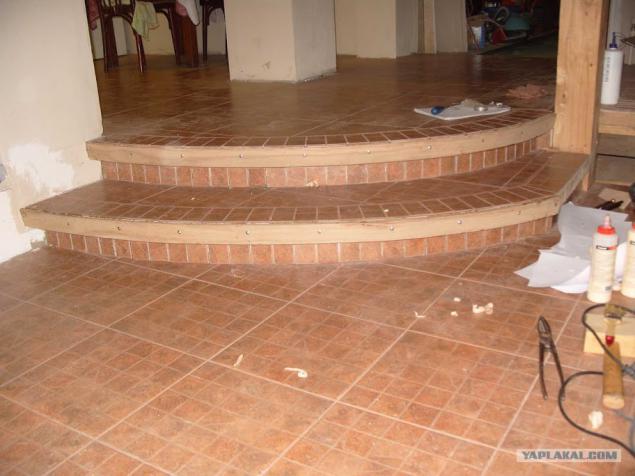
And now it was the turn of the corridor. Creepy board porozhki curves ... the horror !!!
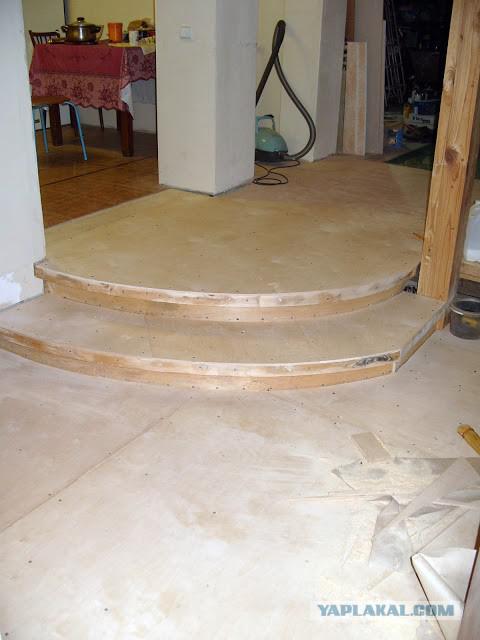
All carpeted plywood. All the same - 8mm plywood, glue, screws ...
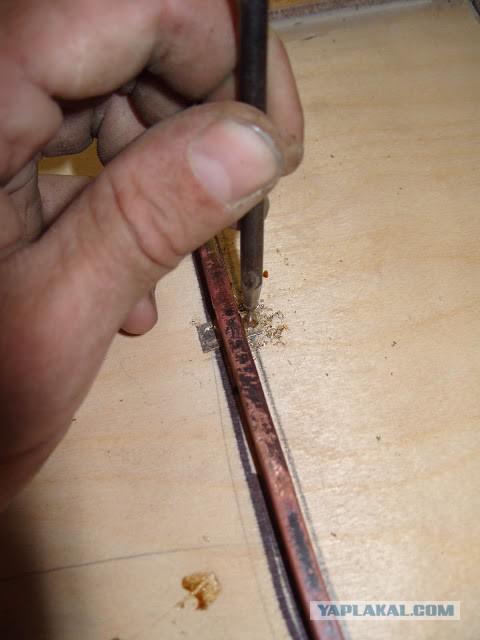
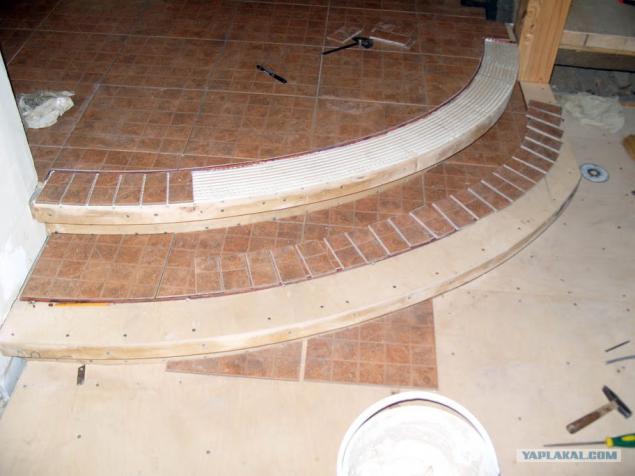
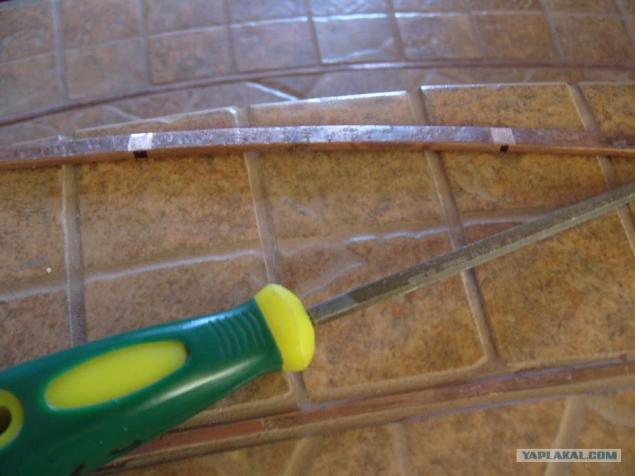
Again - just put it was boring. The main area is laid out in the same manner with the rack. But the edge of the nut has decided to issue differently. Nakromsal tiles on the pieces to make a fan. Himself fan decided to separate the copper bus. Otzheg bus on fire and tapped on rotten rail to give the figure. To a well-kept tire and fell out, her soldered brass strips.
Drill a hole in the strip and nailed to the floor with nails bus
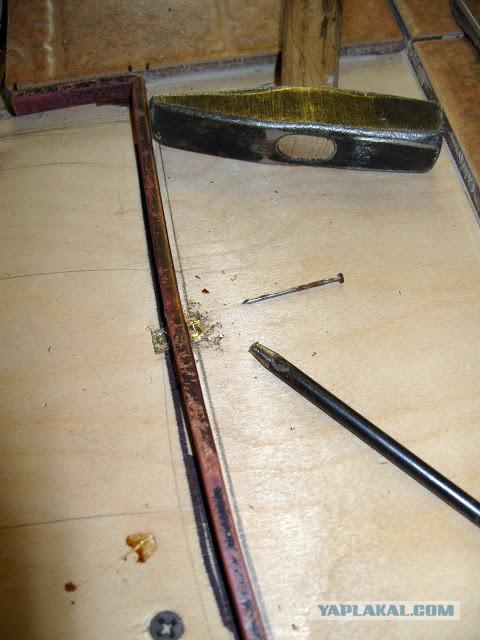
For convenience bashed dobojnika
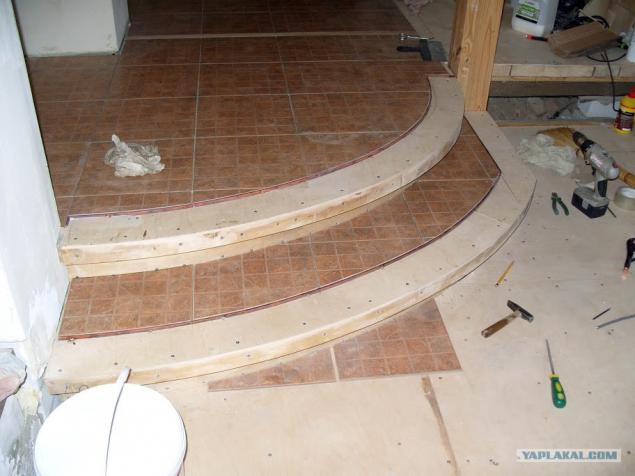
Bus nailed, continues. Go to the bottom step. We shred tile
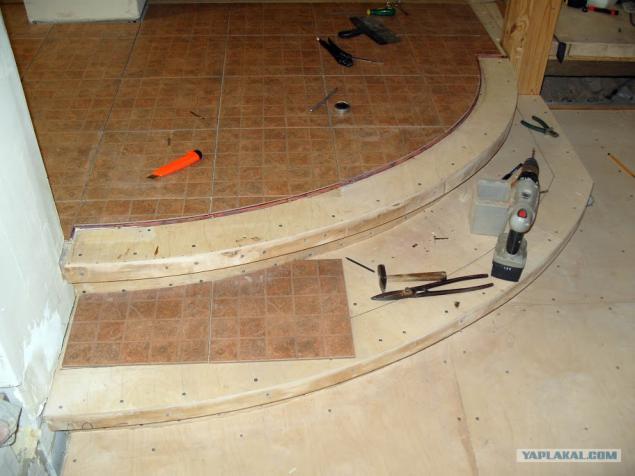
We cut along the contour is painted on the plywood. On the bottom step, too, will be the same copper bus.
The best option - to make a paper template on which you can easily mark the tile
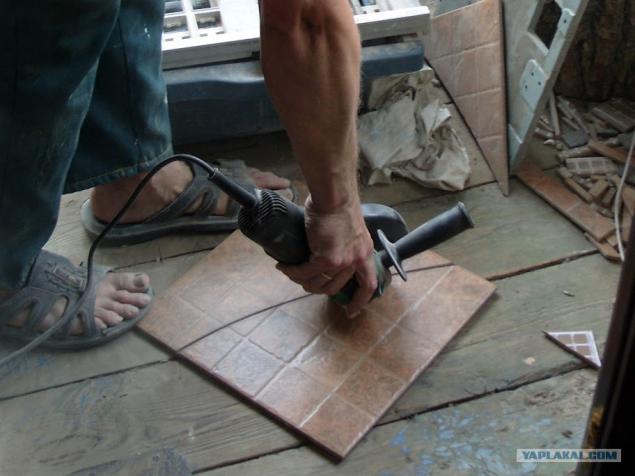
Cutting tile is not difficult. For this is enough "wife Bulgarians" to drive to the stone (not concrete)
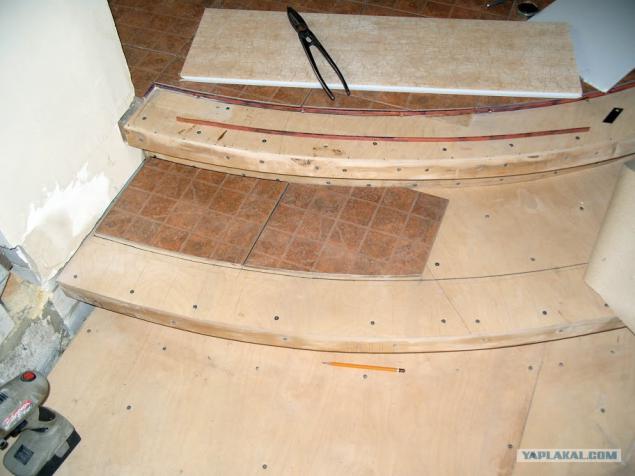
Puts the tiles on the space curves
For nearly ready the second stage
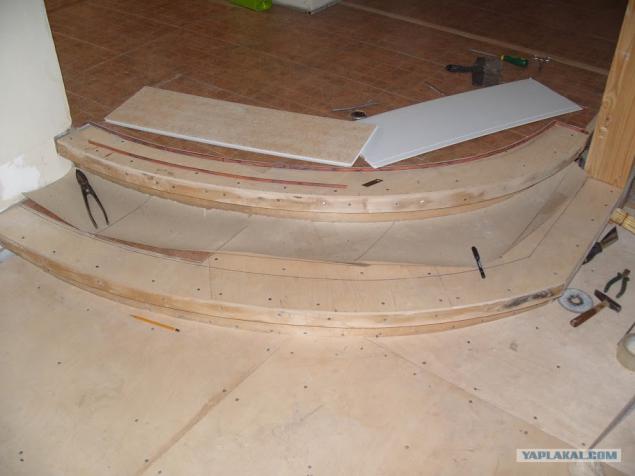
Sticking fan to the same adhesive COP. Spread it with a notched trowel 6mm
The top level is lined
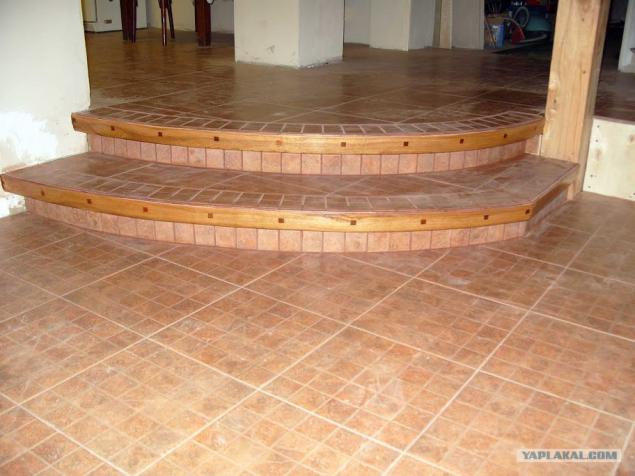
And here the two are almost ready
Another view
After the grout has a much nicer look, although so far and dirty ...
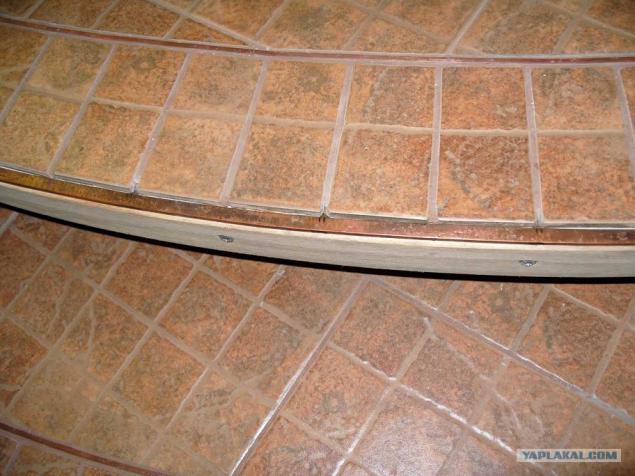
The ends of the steps decided to decorate the oak rail. For this beautiful section planed stick, wet well, screwed to the steps to dry and gave them to keep in shape. Next shot, smeared with glue and screw back.
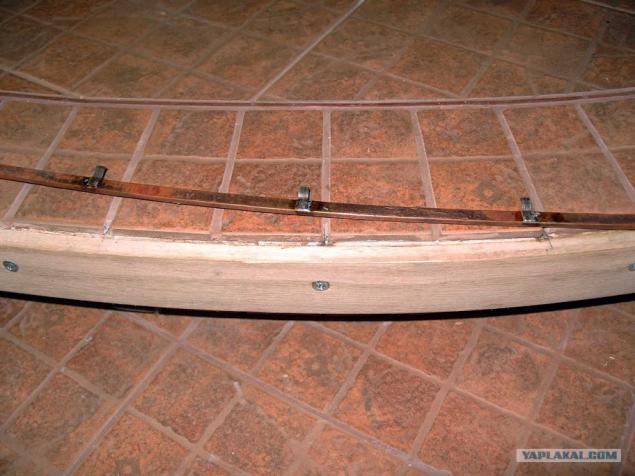
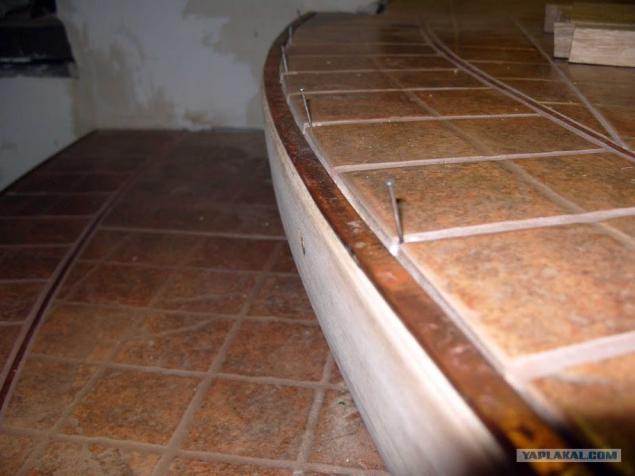
Creepy screws is left alone, and the engaged rib design stages. Also I decided to frame the shank. First spaced, bent and strip soldering strips of brass
Cropped and bent petals, that they could slip under the tile
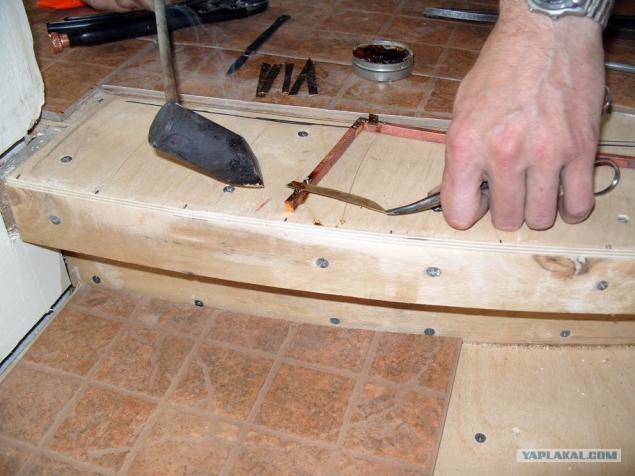
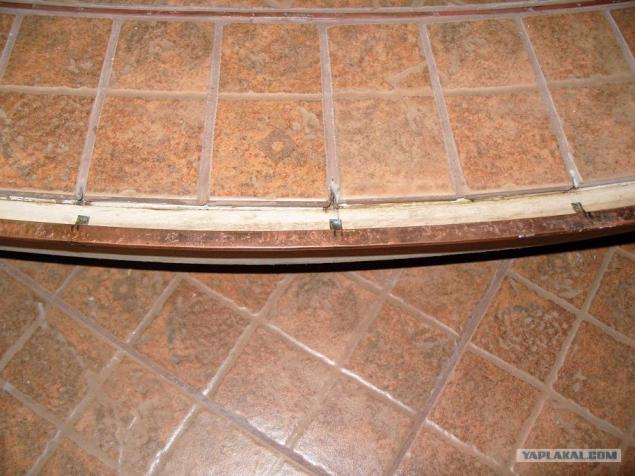
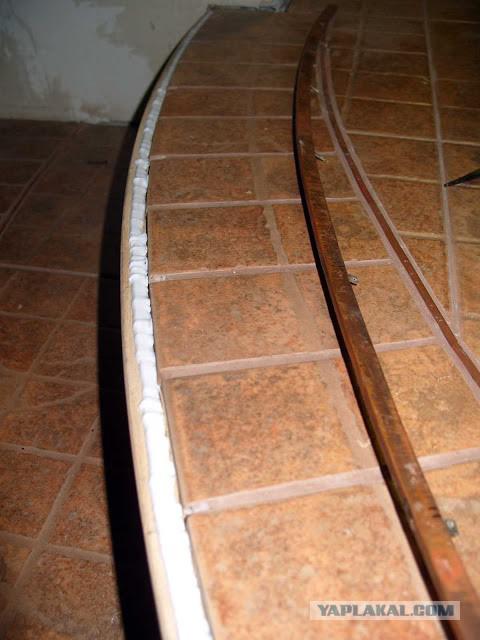
Removed grout to the joints in the strip can be nailed nails
Established a tavern in place, it should be located.
It marks the place to be nailed in place tavern
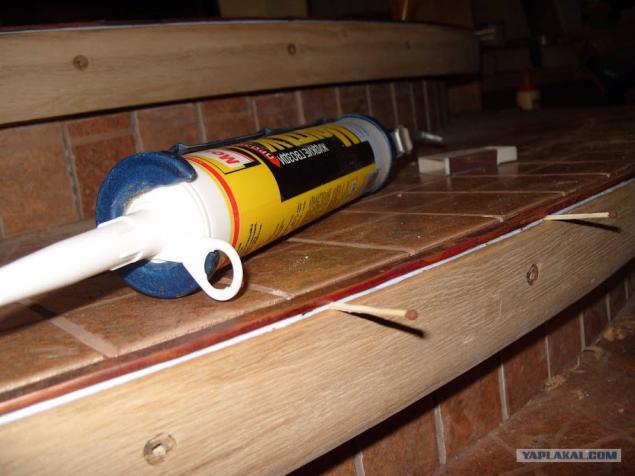
He took off his tavern, smeared zhyyyrnyuchy layer of glue "Moment montage super-strong»
Priladit tavern in place. That it does not "pecked", put a match to dry completely.
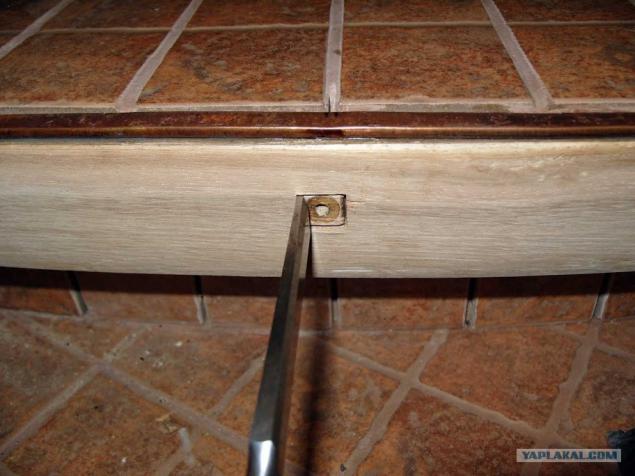
Now is the time to do terrible screws. Hollow deepening 12h12mm post holes
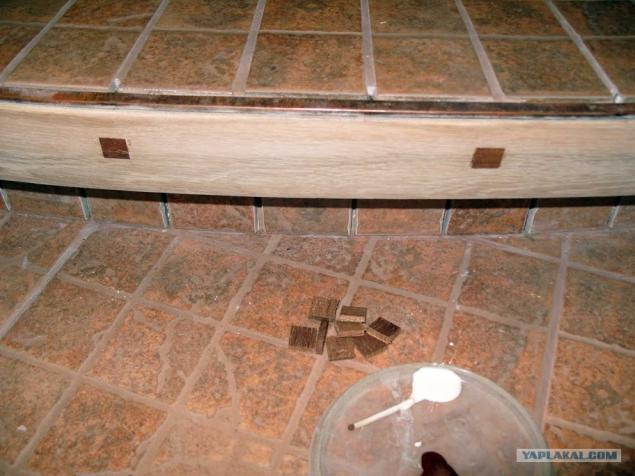
I spun screw into place and sealed the deepening of square wood merbau
Further, the total polishing and varnishing
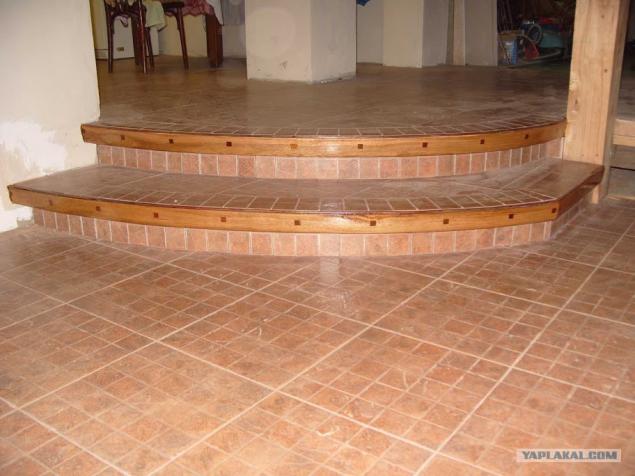
That's how it looks pre
And most importantly - the ultimate floating shank on all sides
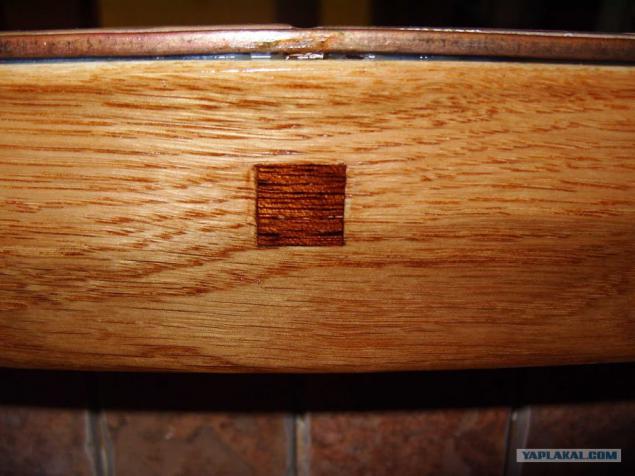
Here is near the edge of the stage
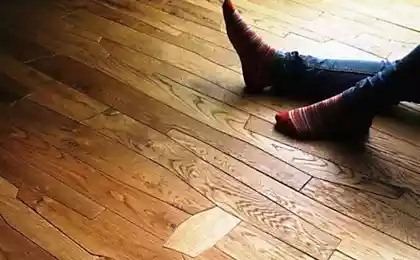
And because the tree has a pearlescent, then under another point of view, it looks different. That's all ready ...
Source:
He started from the kitchen. To start korachkah climbed on board and prostrogat to make it flat and smooth.
There will be 40 ph.

On board he spreads a plywood. Stela in the glue and screws. Laying tiles "as all" was bored and decided to make a "tic-tac" of the heat-treated oak.

Reiki is glued to the plywood on the PVA glue tiles laid on the COP, smeared with a notched trowel.

First laid out perimeter.

Midway wife ordered to put on the diagonal. and the right - "no sports" she thought.

Well, that's already something clearer

My wife has taken away the most important thing - to sniff paint. Occupy itself, which was very pleased :)

With prolachennymi strips is much more fun

Well, after the grout has a very different kind.

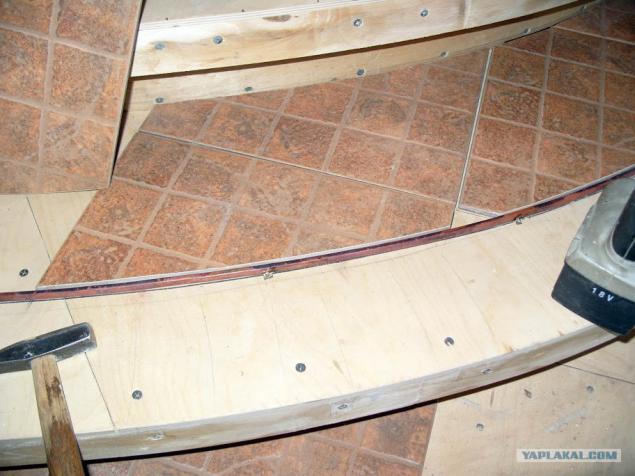
And now it was the turn of the corridor. Creepy board porozhki curves ... the horror !!!

All carpeted plywood. All the same - 8mm plywood, glue, screws ...

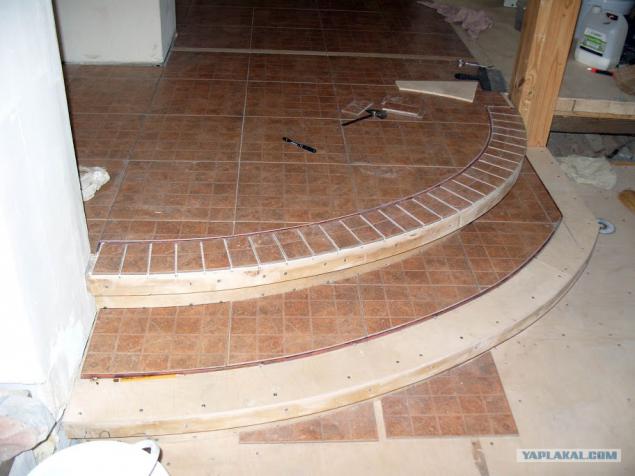
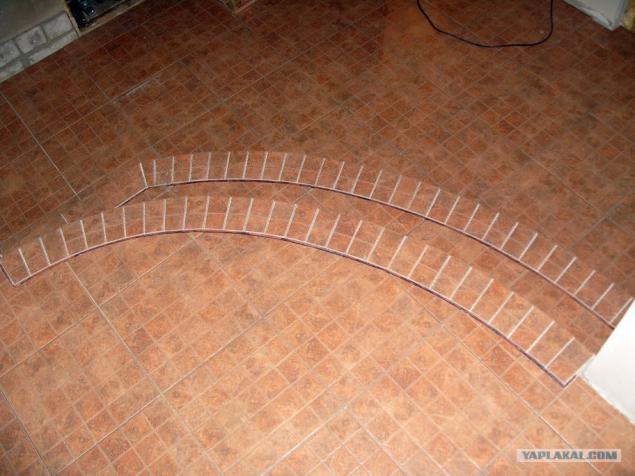
Again - just put it was boring. The main area is laid out in the same manner with the rack. But the edge of the nut has decided to issue differently. Nakromsal tiles on the pieces to make a fan. Himself fan decided to separate the copper bus. Otzheg bus on fire and tapped on rotten rail to give the figure. To a well-kept tire and fell out, her soldered brass strips.

Drill a hole in the strip and nailed to the floor with nails bus

For convenience bashed dobojnika

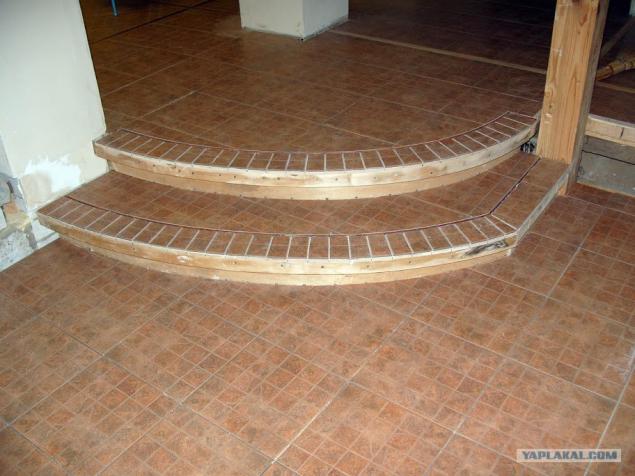
Bus nailed, continues. Go to the bottom step. We shred tile

We cut along the contour is painted on the plywood. On the bottom step, too, will be the same copper bus.

The best option - to make a paper template on which you can easily mark the tile

Cutting tile is not difficult. For this is enough "wife Bulgarians" to drive to the stone (not concrete)

Puts the tiles on the space curves

For nearly ready the second stage

Sticking fan to the same adhesive COP. Spread it with a notched trowel 6mm

The top level is lined

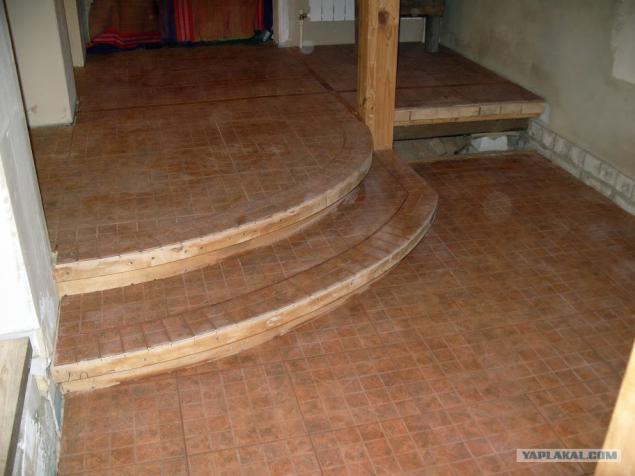
And here the two are almost ready

Another view

After the grout has a much nicer look, although so far and dirty ...

The ends of the steps decided to decorate the oak rail. For this beautiful section planed stick, wet well, screwed to the steps to dry and gave them to keep in shape. Next shot, smeared with glue and screw back.

Creepy screws is left alone, and the engaged rib design stages. Also I decided to frame the shank. First spaced, bent and strip soldering strips of brass

Cropped and bent petals, that they could slip under the tile

Removed grout to the joints in the strip can be nailed nails

Established a tavern in place, it should be located.

It marks the place to be nailed in place tavern

He took off his tavern, smeared zhyyyrnyuchy layer of glue "Moment montage super-strong»

Priladit tavern in place. That it does not "pecked", put a match to dry completely.

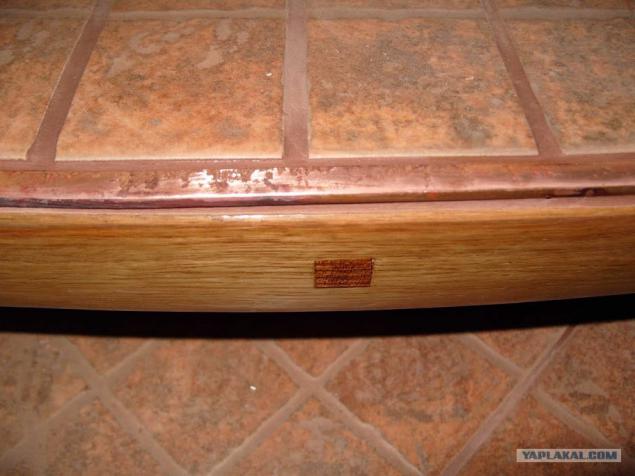
Now is the time to do terrible screws. Hollow deepening 12h12mm post holes

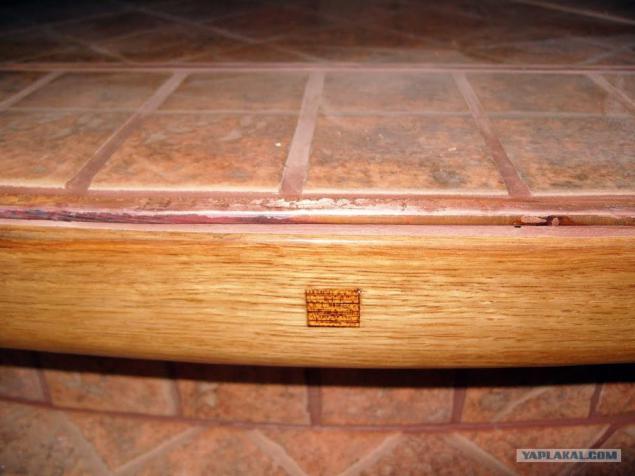
I spun screw into place and sealed the deepening of square wood merbau

Further, the total polishing and varnishing

That's how it looks pre

And most importantly - the ultimate floating shank on all sides

Here is near the edge of the stage

And because the tree has a pearlescent, then under another point of view, it looks different. That's all ready ...

Source: