668
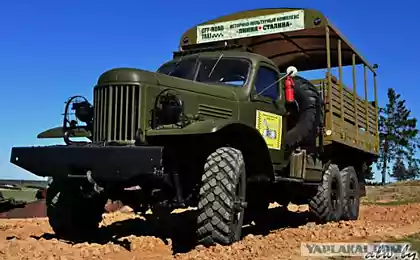
Project 131 Ziel!
After the first self-made models, which I described in the article cat project, I thought, and decided to build another model only in the scale of 1Q10, and the idea of construction of ZIL 131 models!
Will be 23 photos and some text. Source

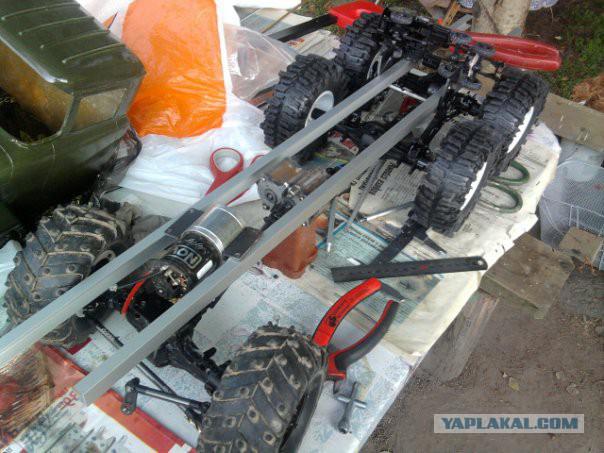
2 photos. First of all, I began to collect the frame. The frame of the usual aluminum slats, bought in the hardware store, I just drilled them and rolled bolts.
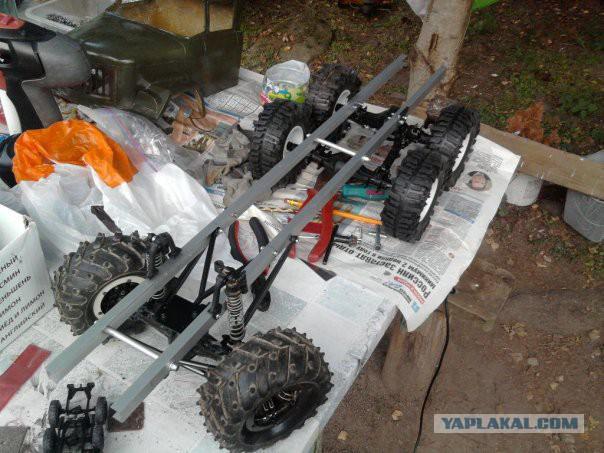
3 photo. Once installed axles, differentials, engine, gearbox.
4 photo. The differentials are locked, purchased most do not want to, as soldering in a project with the scale of the cat would not have received, had to cook.
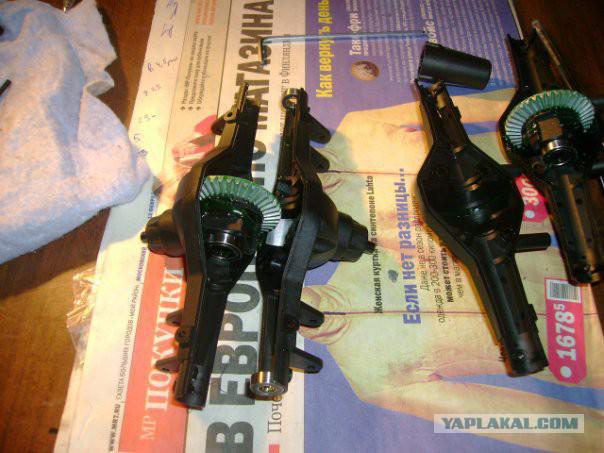
5 photos. Here are collected differentials with springs and bridges. I ordered everything on the rc-go.
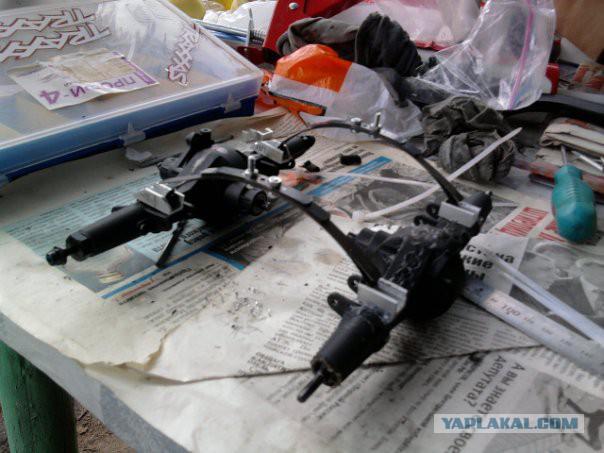
6 photos. Of course, they had to be adjusted to match the frame, remodel, but it was worth it.
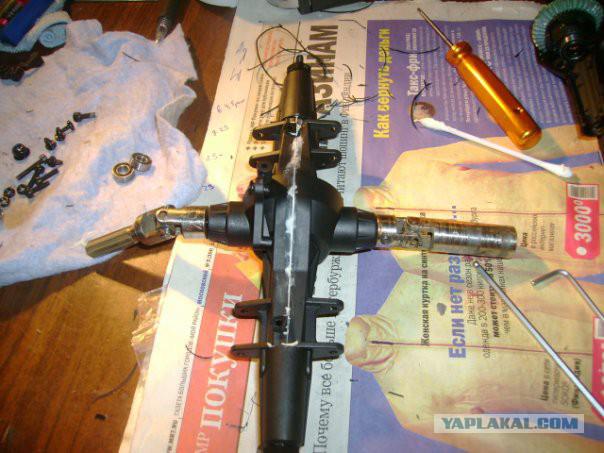
7 photo. That's actually rework the suspension I chose spring because they add the original models, and simply because they are reliable.
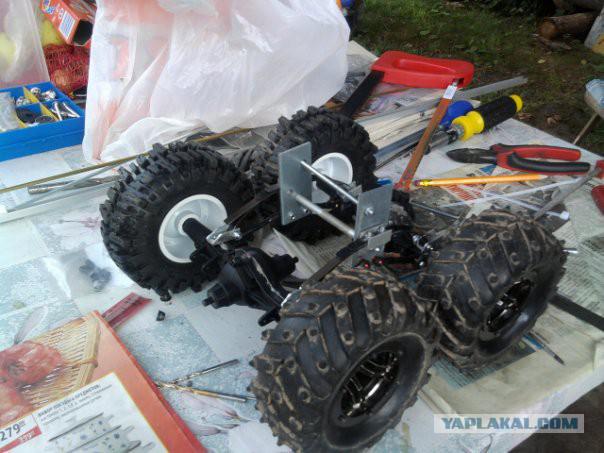
8 photos. Established suspension with springs on the frame, gear, wheels, levers, thrust engine
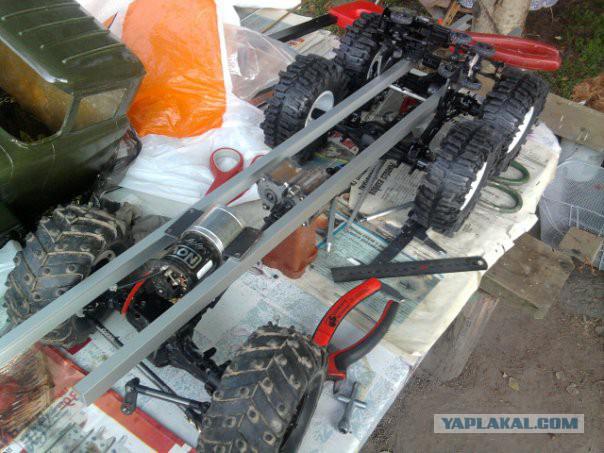
9 photo. Reducer of the purchase, with reduction gear, it is activated from the control servo.
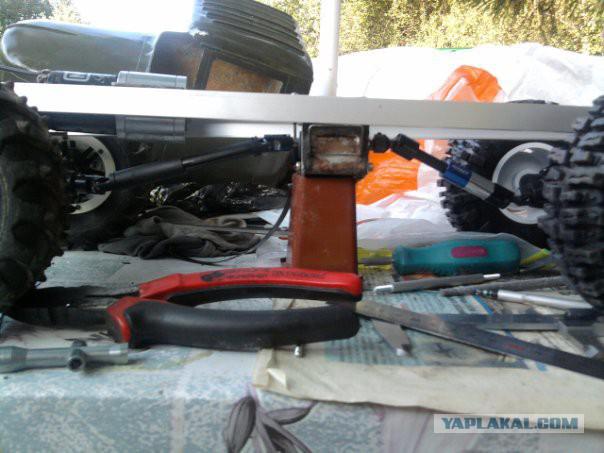
10 photo. First, the drawing, which is found on the web, made of wood disc.
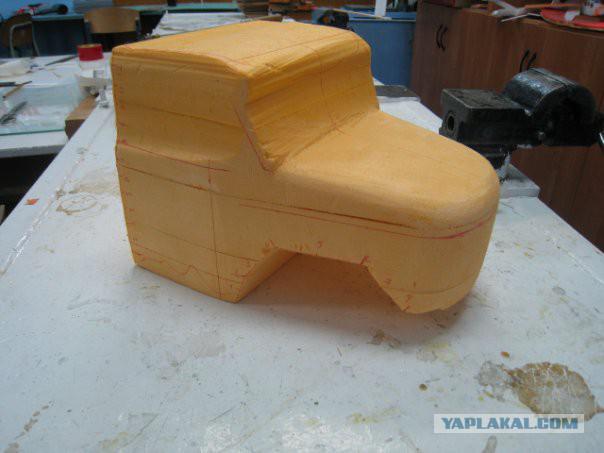
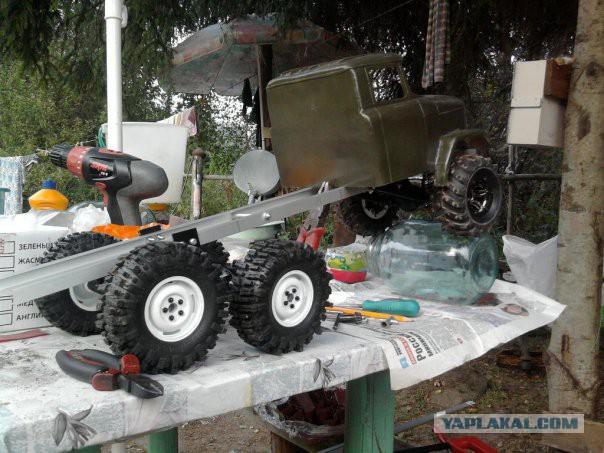
11 photo. Then get this such a body, it has turned out pretty rough, had to hide and leveling.
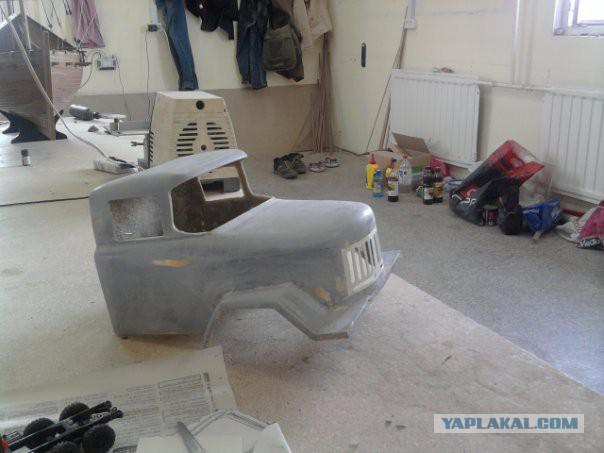
12 photo. Then the usual colored enamels, dirty black Zilovskoye color.
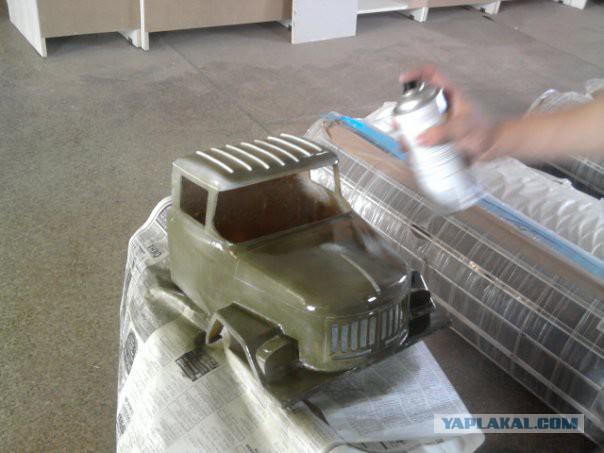
13 photo. Established a body on frame fastened all the bolts came out safely, but had to tinker with the body to set it straight.
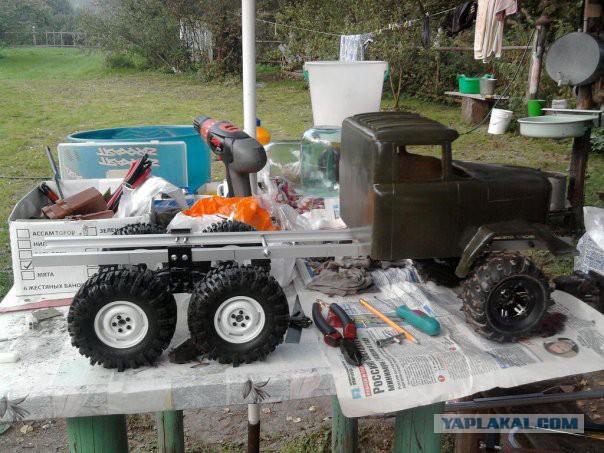
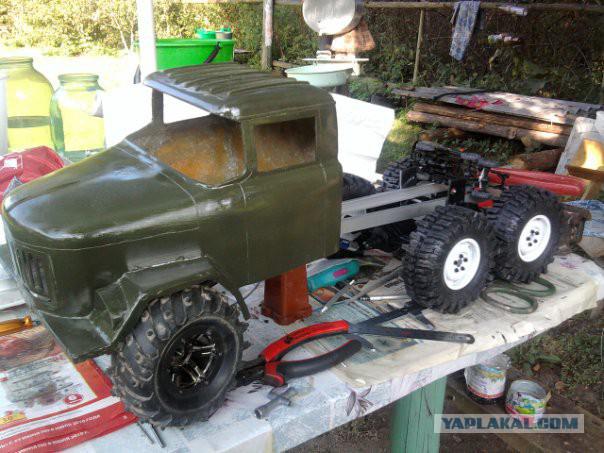
14 photo. That's the way he looked after small improvements, I do not get enough attention from others. Hug me and sundry. deduced lines and fins on the roof of the body.
15 photo.
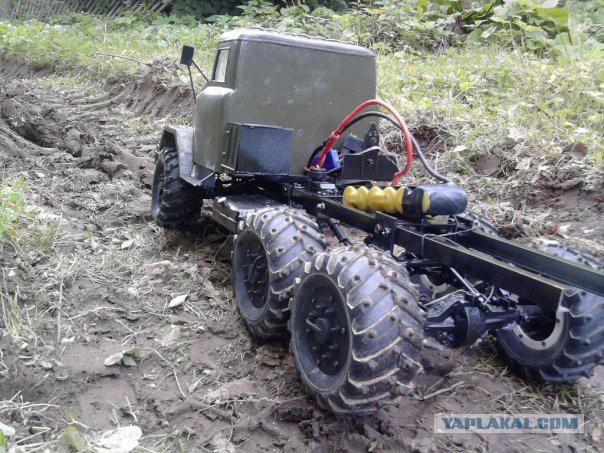
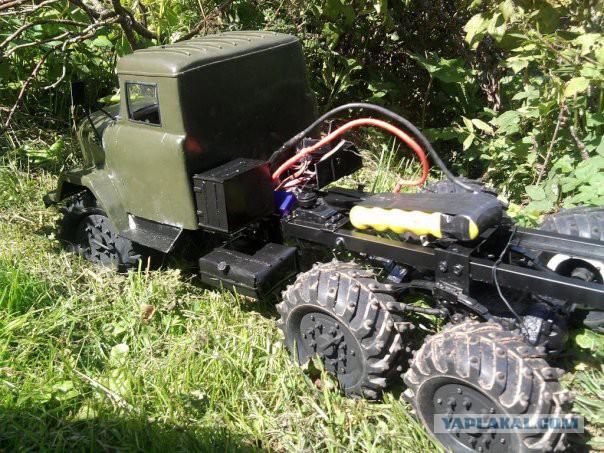
16 photo. Once installed electronics, bodywork, chassis, engine, decided to ride on the roads in the village, well, you know I want to check out how it works, but for a long time I could not look at the body without the trunk had to do everything myself.
17 photo.
18 photo.
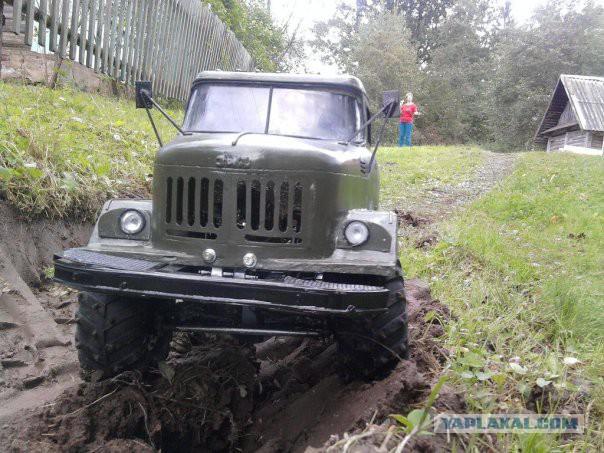
19 photo. That's the way he looked after the installation of the trunk gas tank washers and other small parts and components
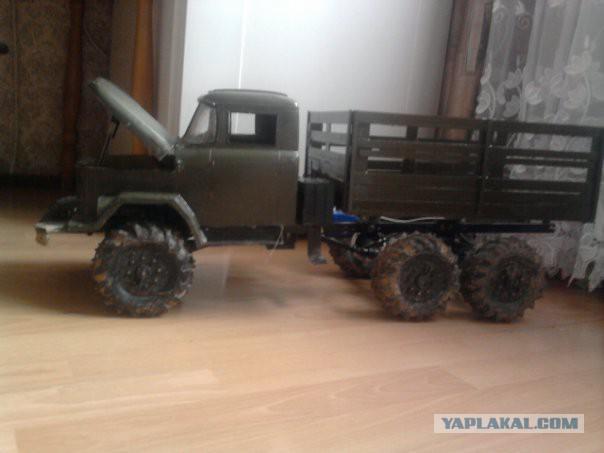
20 photo. Wheels all repainted in black, because I wanted as close resemblance to the original model.
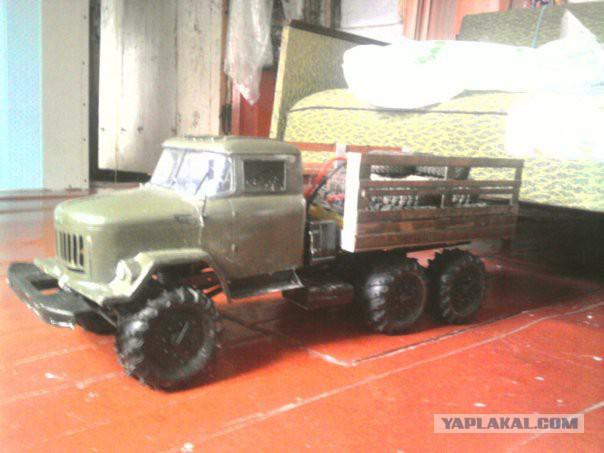
21 photo.
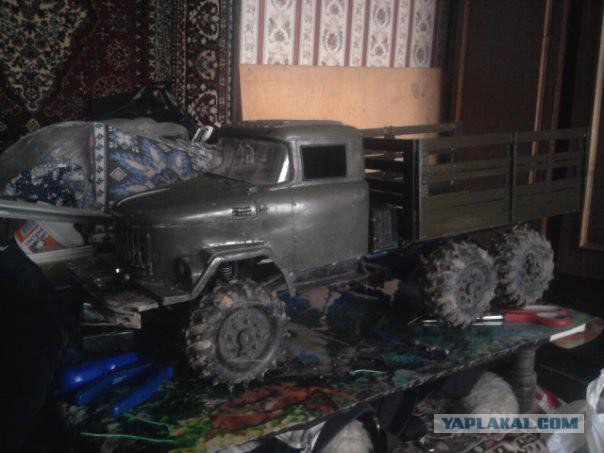
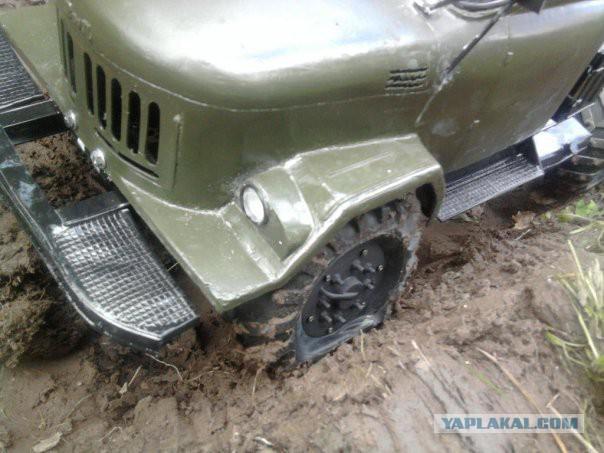
22 photo. Well, look went to trial, but that's not the task of friends invited to go fishing, but then I thought it's because the idea to drive along the beach for one to show off to friends.
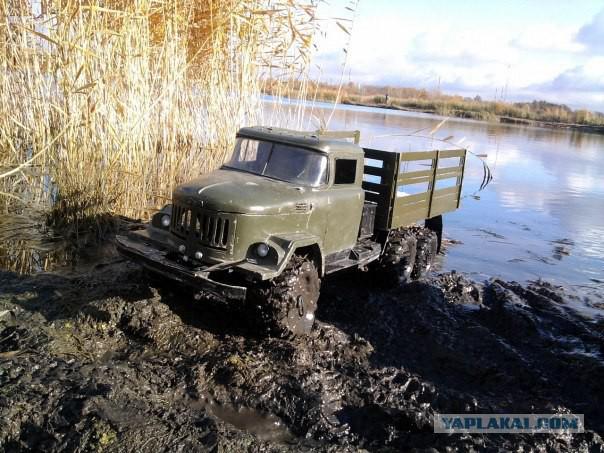
23 photo. Total for the construction of a model gone a month, but it was worth all the luck in their creations. Only now the wheels were too soft, weight did not fit.
Author: Dmitry Sidorov
ALL.
Source:
Will be 23 photos and some text. Source

2 photos. First of all, I began to collect the frame. The frame of the usual aluminum slats, bought in the hardware store, I just drilled them and rolled bolts.

3 photo. Once installed axles, differentials, engine, gearbox.

4 photo. The differentials are locked, purchased most do not want to, as soldering in a project with the scale of the cat would not have received, had to cook.

5 photos. Here are collected differentials with springs and bridges. I ordered everything on the rc-go.

6 photos. Of course, they had to be adjusted to match the frame, remodel, but it was worth it.

7 photo. That's actually rework the suspension I chose spring because they add the original models, and simply because they are reliable.

8 photos. Established suspension with springs on the frame, gear, wheels, levers, thrust engine

9 photo. Reducer of the purchase, with reduction gear, it is activated from the control servo.

10 photo. First, the drawing, which is found on the web, made of wood disc.

11 photo. Then get this such a body, it has turned out pretty rough, had to hide and leveling.

12 photo. Then the usual colored enamels, dirty black Zilovskoye color.

13 photo. Established a body on frame fastened all the bolts came out safely, but had to tinker with the body to set it straight.

14 photo. That's the way he looked after small improvements, I do not get enough attention from others. Hug me and sundry. deduced lines and fins on the roof of the body.

15 photo.

16 photo. Once installed electronics, bodywork, chassis, engine, decided to ride on the roads in the village, well, you know I want to check out how it works, but for a long time I could not look at the body without the trunk had to do everything myself.

17 photo.

18 photo.

19 photo. That's the way he looked after the installation of the trunk gas tank washers and other small parts and components

20 photo. Wheels all repainted in black, because I wanted as close resemblance to the original model.

21 photo.

22 photo. Well, look went to trial, but that's not the task of friends invited to go fishing, but then I thought it's because the idea to drive along the beach for one to show off to friends.

23 photo. Total for the construction of a model gone a month, but it was worth all the luck in their creations. Only now the wheels were too soft, weight did not fit.
Author: Dmitry Sidorov
ALL.

Source:

