1221
Homemade wardrobe bed
From the author: It has long been thought to build the so-called cabinet bed. Afternoon - a seemingly ordinary wardrobe, night - full sleeper couch. To translate ideas helped save the prospect square meters in his two-room apartment, and scratched hands long after the office work on drills and screwdrivers. Physical work was preceded by mental: sketching, drawing, must be reconciled sizes. And now, after the approval of a consultation on the family of the final sketch bed and choice of colors, a company engaged reveal chipboard, were ordered by the relevant details for future beds.
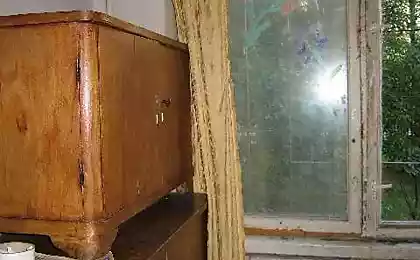
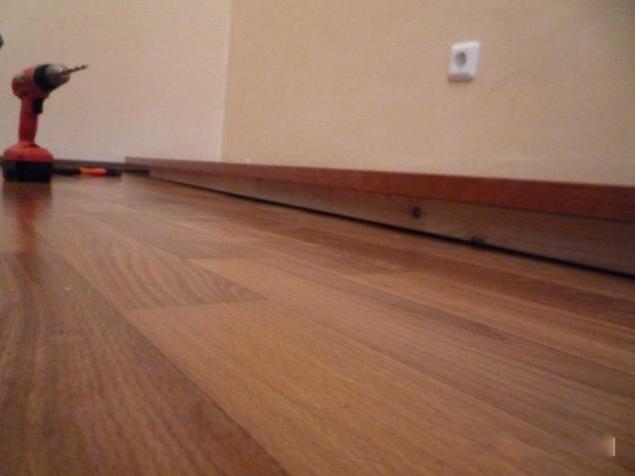
1. A start.
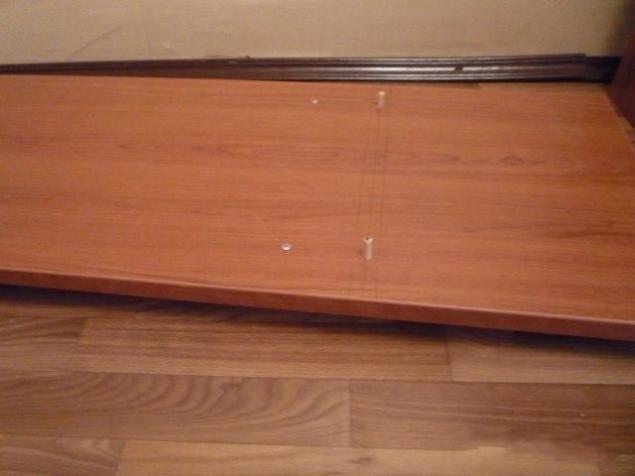
2. The basis of the beds were taken orthopedic mattress base and exploited while the bed berth 180 x 200 cm.

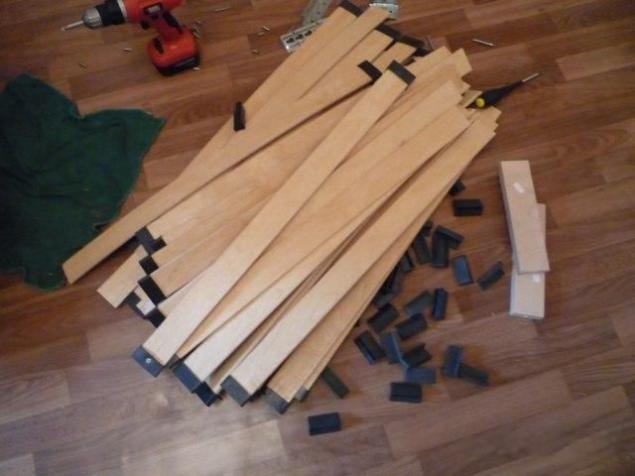
3. Remove the so-called lamella - strips of birch plywood, curved arc.
4. Thinking that what little furniture legs will be able to adequately support the weight of the future bed, cabinet base, it was decided to install on two bars 40 x 50 mm.
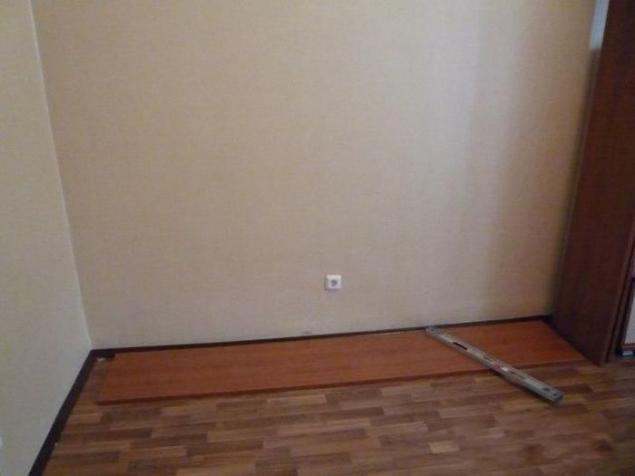
5. Mark up seats for cabinet side.
6. butted cabinet base with its side panels.
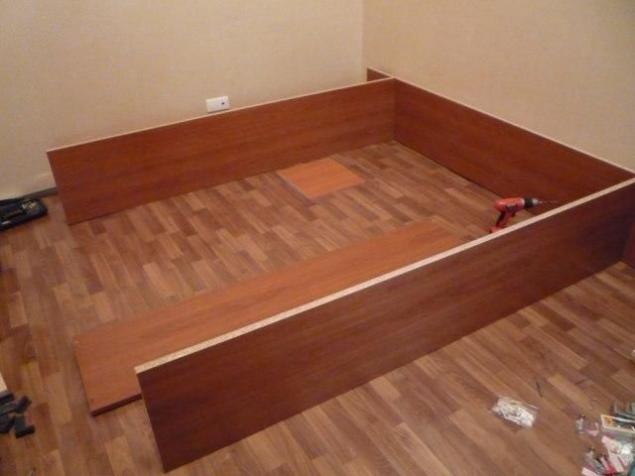
7. Fasten the top panel.

8. The "skeleton" of the cabinet is ready.

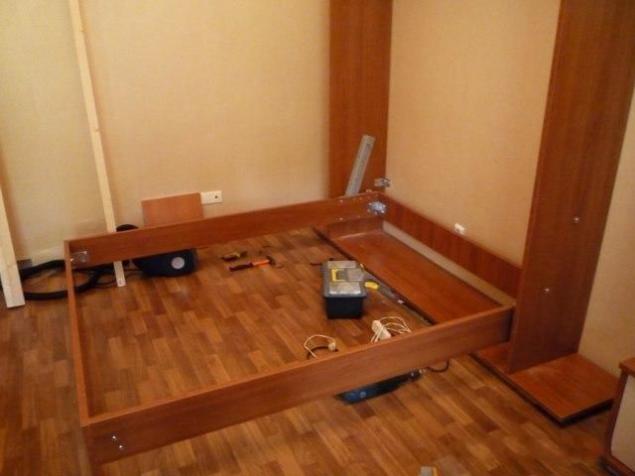
9. Fasten "skeleton" to the main wall of apartment.

10. Particular attention - this "tool". All work is done in an apartment, had a lot of chips. Therefore, it was taken as a rule of thumb drilled a hole - just clean up stuff.

11. Getting mounting frame bed with a mechanism for lifting bed and gas springs.

12. An important node bed - in this place the greatest burden.

13. Putting ...

14. Putting ...
15. Enhances ...

16. Voila ...

17. Install the facade as a makeshift closet doors. Handles bed will be transferred to the horizontal position.
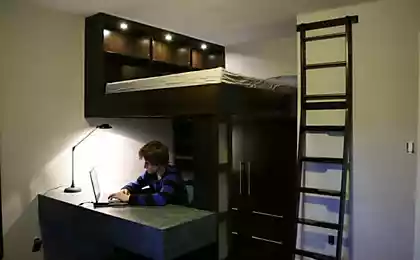
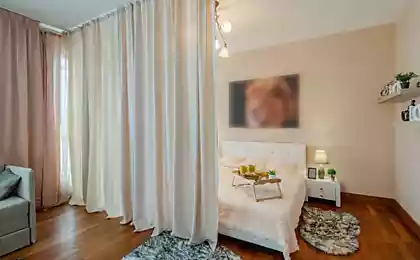
18. Side lockers - for bedding. Cornice cabinet - he foot of the bed. Later, you can set the cornice lamps, fitted wardrobe with additional shelves, but that's another story ...

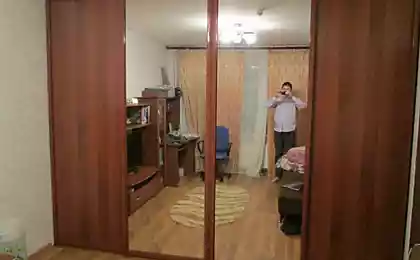
19. Actually the result. Thank you for your attention.


1. A start.

2. The basis of the beds were taken orthopedic mattress base and exploited while the bed berth 180 x 200 cm.

3. Remove the so-called lamella - strips of birch plywood, curved arc.

4. Thinking that what little furniture legs will be able to adequately support the weight of the future bed, cabinet base, it was decided to install on two bars 40 x 50 mm.

5. Mark up seats for cabinet side.

6. butted cabinet base with its side panels.

7. Fasten the top panel.

8. The "skeleton" of the cabinet is ready.

9. Fasten "skeleton" to the main wall of apartment.

10. Particular attention - this "tool". All work is done in an apartment, had a lot of chips. Therefore, it was taken as a rule of thumb drilled a hole - just clean up stuff.

11. Getting mounting frame bed with a mechanism for lifting bed and gas springs.

12. An important node bed - in this place the greatest burden.

13. Putting ...

14. Putting ...

15. Enhances ...

16. Voila ...

17. Install the facade as a makeshift closet doors. Handles bed will be transferred to the horizontal position.
18. Side lockers - for bedding. Cornice cabinet - he foot of the bed. Later, you can set the cornice lamps, fitted wardrobe with additional shelves, but that's another story ...

19. Actually the result. Thank you for your attention.