1129
Cover for the reader with his own hands (20 photos)
I want to show you how to easily make a cover for the reader.
For work, we need:
-dense Cardboard
-risunok / picture for the cover
-pruzhina (you can pull out the old notebook, notebook)
-kantselyarsky knife
-kley
-prozrachnaya adhesive tape
-Good punch
-dvuhstoronny Scotch Foam
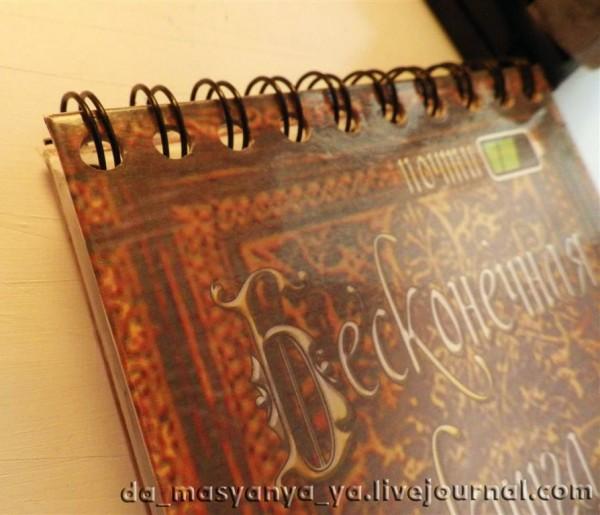
And the little things: a ruler, a pencil, a sheet of plain white paper.
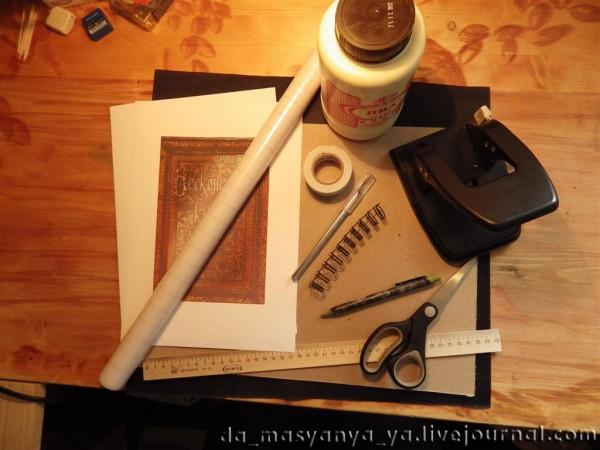
1. We measure reader, add 2 mm to the sides and bottom, the top 1 cm (!) And features. Cut will be two identical parts.
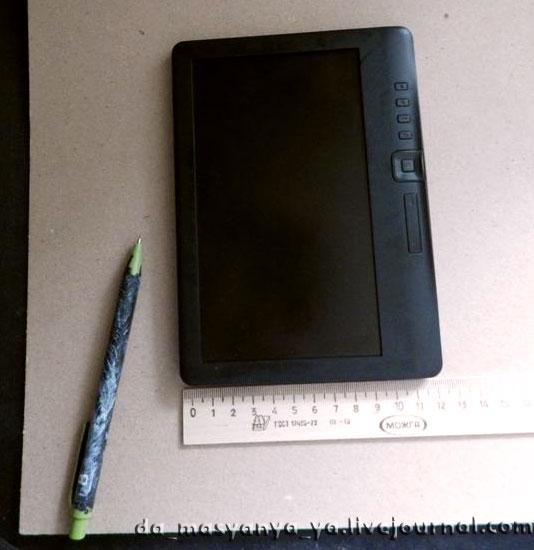
2. Cut a cardboard is not easy. If the edges are not turned out perfect, do not worry, we do not care we glue)
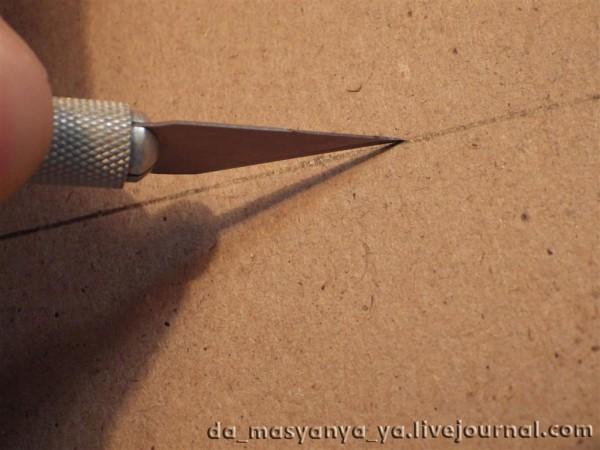
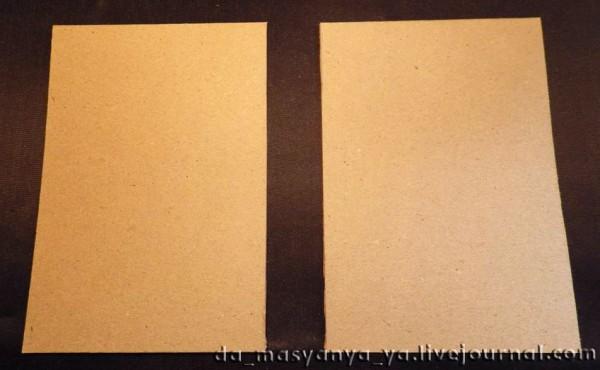
3. These are the pieces in the end we should get.
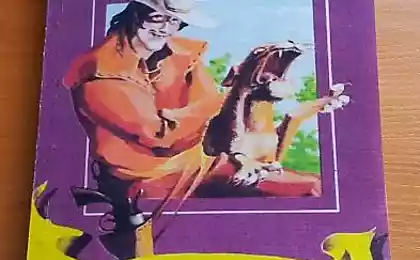
4. And now come to the most interesting part. Cover. That is what it will be depends on your imagination. This can be a favorite picture, any photo, collage, but at least the kids would figure) If you do not want the hassle, you can buy at any hardware store, self-adhesive vinyl and just stick it. The result is quite good, and looks quite durable. But we include creativity and quickly do the following picture:
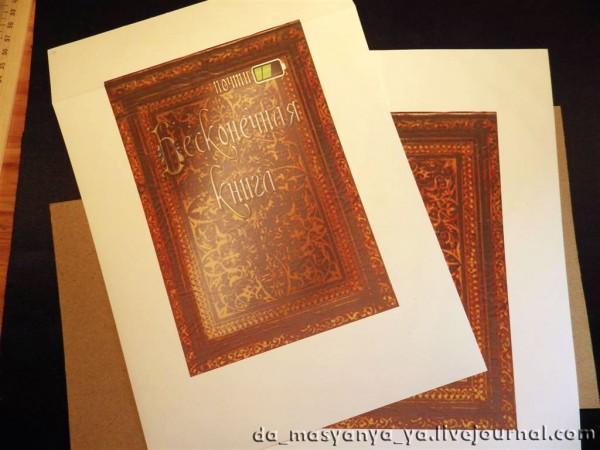
5. Carefully Fold the edges that would have been unnecessary creases paper
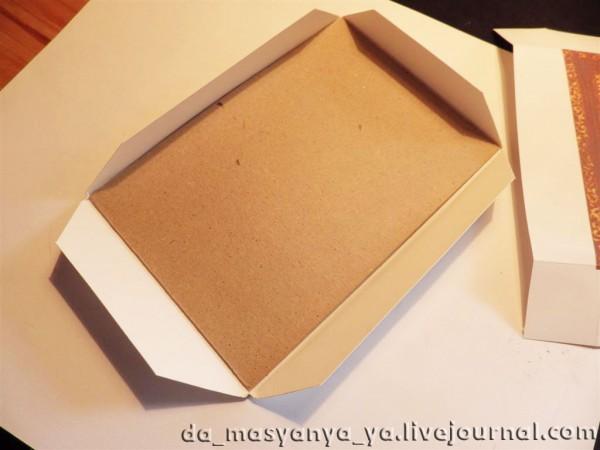
6. and paste
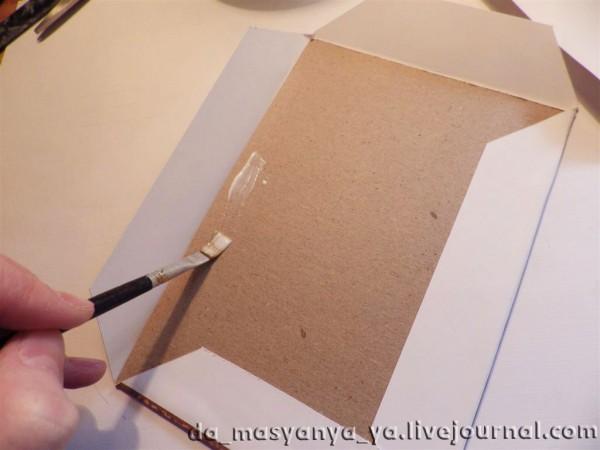
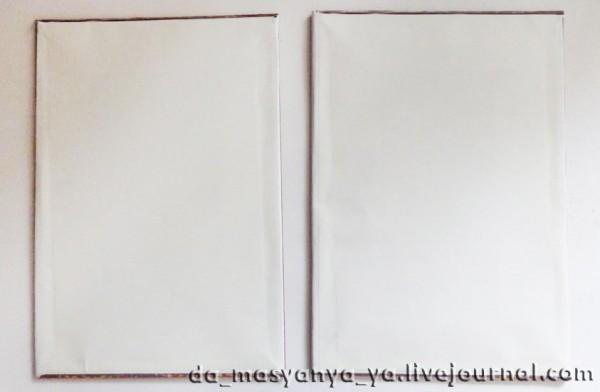
7. It is the inside of the cover, it we seal the white paper.
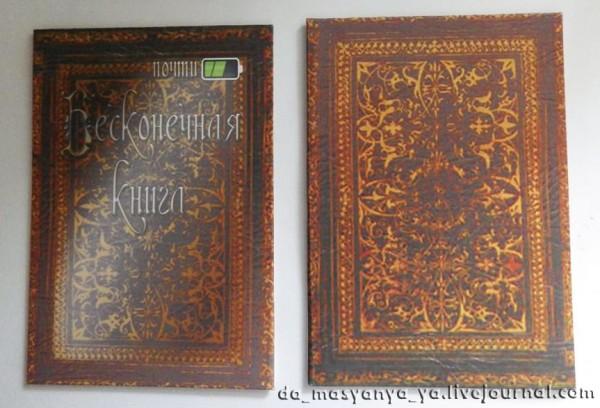
8. Here's how it looks from the outside
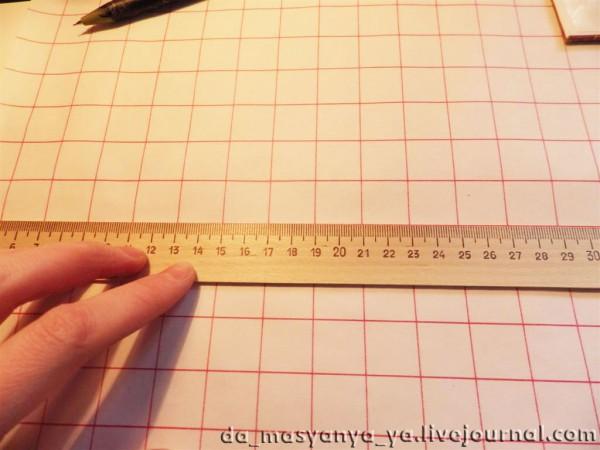
9. Undertake the responsible thing: self-adhesive film. On the reverse side it has a comfortable layout.
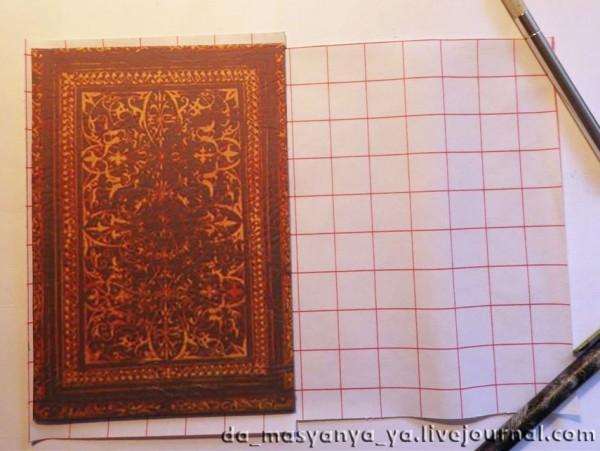
10. Cut a piece of the right and sticking with bated breath. Unfortunately, we have only one attempt to tear it without the loss will not leave.
11. right) to mark up, which will host the spring.
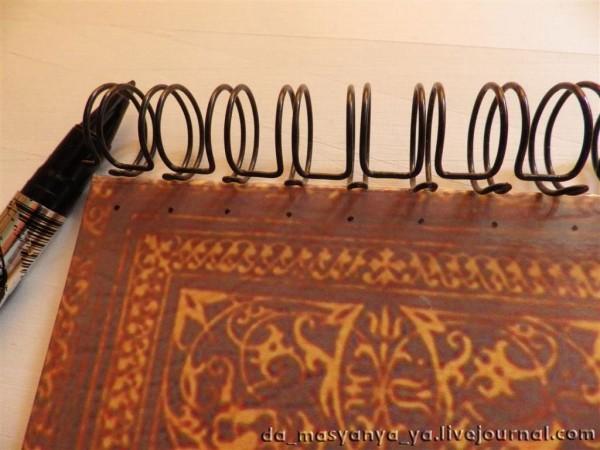
12. The thickness of the cover and an impressive punch should be a great and good, that hole would have turned out even. Actually, what they generally get.
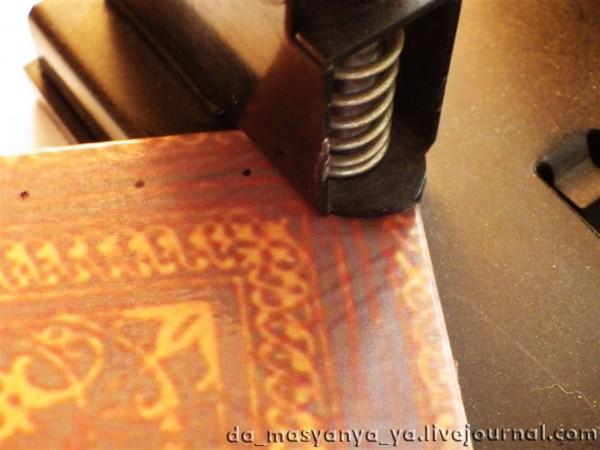
13. Hail to the Soviet punches) is now the case for small - to collect the resulting cover.
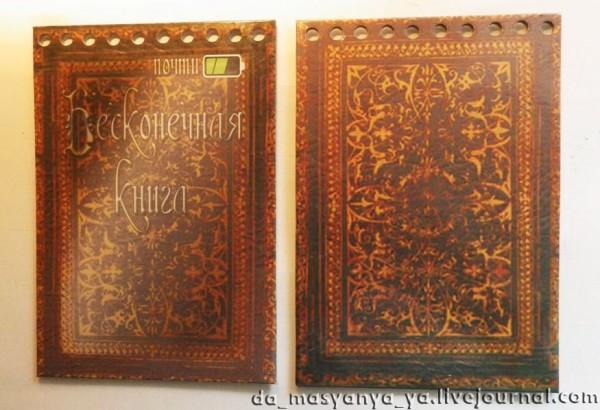
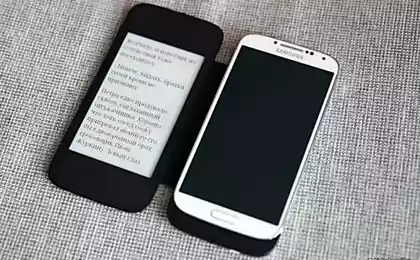
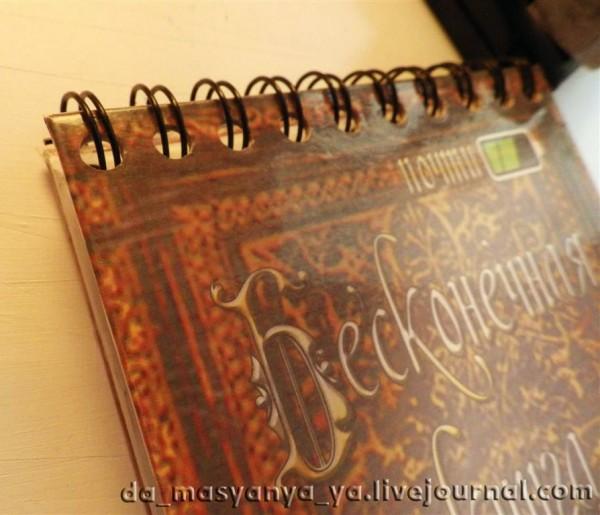
14. Here it is what it is. I like)
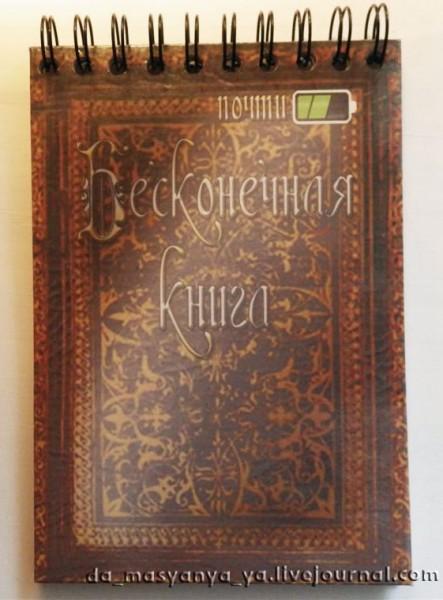
15. On the back of the cover strips sticking three double-sided tape. Do not worry, it is quite firmly holds and easily peeled off from the body.
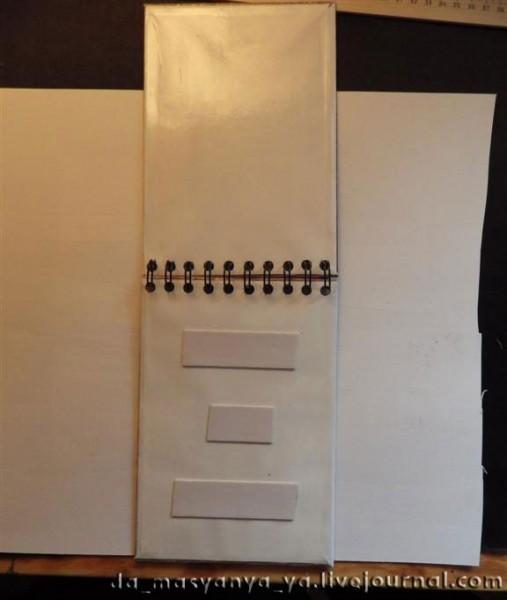
16. Voila.
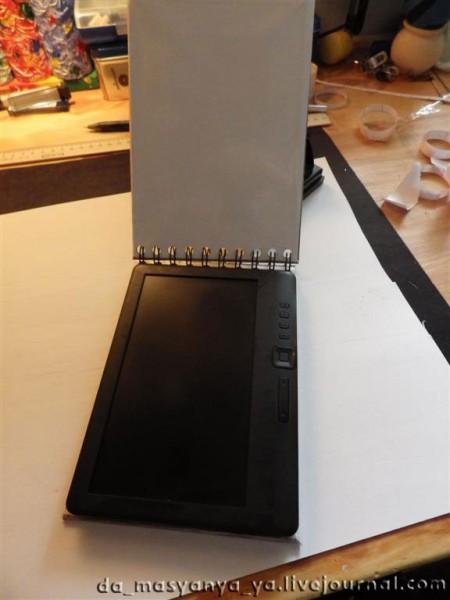
I hope this workshop you liked and useful) Good luck!
Source: master-klass.livejournal.com
For work, we need:
-dense Cardboard
-risunok / picture for the cover
-pruzhina (you can pull out the old notebook, notebook)
-kantselyarsky knife
-kley
-prozrachnaya adhesive tape
-Good punch
-dvuhstoronny Scotch Foam

And the little things: a ruler, a pencil, a sheet of plain white paper.

1. We measure reader, add 2 mm to the sides and bottom, the top 1 cm (!) And features. Cut will be two identical parts.

2. Cut a cardboard is not easy. If the edges are not turned out perfect, do not worry, we do not care we glue)

3. These are the pieces in the end we should get.

4. And now come to the most interesting part. Cover. That is what it will be depends on your imagination. This can be a favorite picture, any photo, collage, but at least the kids would figure) If you do not want the hassle, you can buy at any hardware store, self-adhesive vinyl and just stick it. The result is quite good, and looks quite durable. But we include creativity and quickly do the following picture:

5. Carefully Fold the edges that would have been unnecessary creases paper

6. and paste

7. It is the inside of the cover, it we seal the white paper.

8. Here's how it looks from the outside

9. Undertake the responsible thing: self-adhesive film. On the reverse side it has a comfortable layout.

10. Cut a piece of the right and sticking with bated breath. Unfortunately, we have only one attempt to tear it without the loss will not leave.

11. right) to mark up, which will host the spring.

12. The thickness of the cover and an impressive punch should be a great and good, that hole would have turned out even. Actually, what they generally get.

13. Hail to the Soviet punches) is now the case for small - to collect the resulting cover.

14. Here it is what it is. I like)

15. On the back of the cover strips sticking three double-sided tape. Do not worry, it is quite firmly holds and easily peeled off from the body.

16. Voila.

I hope this workshop you liked and useful) Good luck!

Source: master-klass.livejournal.com


