343
How to make slippers from felt
Have you heard of Josh Jaccus? Personally, I never saw his amazing work, from handbags to shoes. At the heart of its popular products is the idea of making a convenient container for everyday use from one solid piece of felt. So that nothing (or almost nothing) has to be stitched. Just cut.
When I saw his comfortable and very feminine things, I immediately wanted something similar. Realizing that I could not afford to buy designer products, I decided to turn to needlework, which has never let me down.
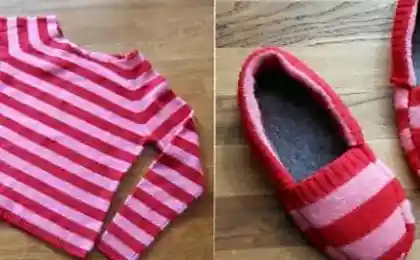
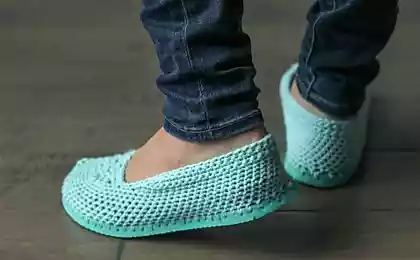
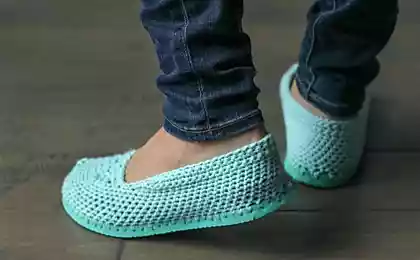
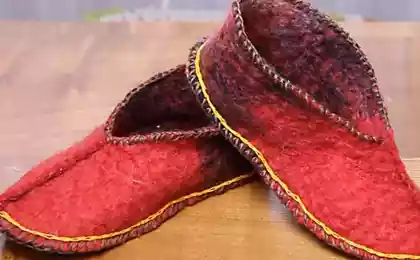
Asking for help from my longtime friend, an avid needlewoman, and showing her the thing I really wanted to have, I set to work. And the best part is that it worked out, and now I'm enjoying flaunting around the house in incredibly warm and relaxed environments. stylish felt slippers.

Slippers from felt Editorial "Site" I have prepared an accessible and very useful master class for you. How to make shoes felt. A product that warms the soul.
Manufacture
The advice of the editorial board A also suggest you familiarize yourself with a simple master class, how to sew a set of slippers for guests in just 1 evening. It will be useful for hospitable hostess!
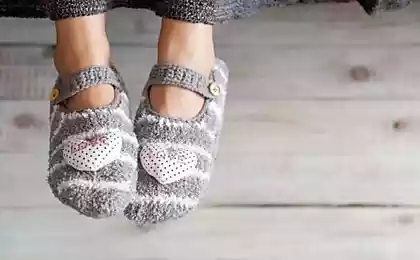
These warm comfortable and stylish slippers turned out. I hope you liked this idea and would love to make such a thing with your own hands. Such slippers They can be a great gift to a loved one, they will feel warmth and care. Good luck to you and all the best!
Don’t forget to share this amazing idea with your friends, let them also be inspired by a great master class!
When I saw his comfortable and very feminine things, I immediately wanted something similar. Realizing that I could not afford to buy designer products, I decided to turn to needlework, which has never let me down.
Asking for help from my longtime friend, an avid needlewoman, and showing her the thing I really wanted to have, I set to work. And the best part is that it worked out, and now I'm enjoying flaunting around the house in incredibly warm and relaxed environments. stylish felt slippers.

Slippers from felt Editorial "Site" I have prepared an accessible and very useful master class for you. How to make shoes felt. A product that warms the soul.
Manufacture
- First, circle the foot, and then determine the middle of the heel. And then draw the pattern according to the following principle. From the middle of the heel, place the top 6-7 cm and draw a line. At this distance, measure the width of the heel, divide this mark in half and from the point of the middle of the heel through the point 1/2 of the width of the heel draw the horizontal upwards.

- Make the outer contour of the foot at a distance of 1-2 cm. Mark point 3 at the intersection of the vertical and the inner circuit. From it down vertically mark the length of the upper part of the slippers, it is about 12 cm (for dimensions 37-39). Through this point draw a perpendicular. And mark points 0, 1 and 2.
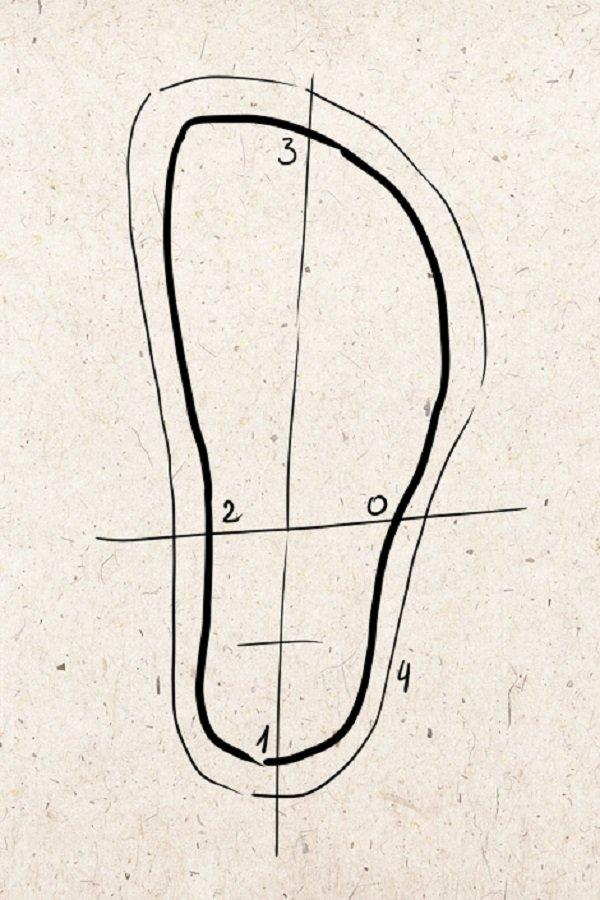
- Now you need to measure the inner circuit from point 1 to point 2. My measurements are 12.2 cm. From point 2 to point 3, my measurements are 17.3 cm. From point 3 to point 0, my measurements are 16.7 cm from point 0 to point 1, my measurements are 12.5 cm. Now from point 0 to the right, set the height of the product, which is 5-6 cm, and mark the point 5. Down from point 5 draw a perpendicular. In parallel, the lines from point 5 draw a horizontal - tangent to the outer contour of the foot. 4 is the touch point.
From point 5 draw a tangent to the upper part of the outer contour of the foot. And from point 10 down vertically, set the length of the segment from point 0 to point 1, that is, 12.5 cm, and denote this by point 11.
From point 11 down vertically, set the value of the value from point 1 to point 2 and denote the number 12. Run horizontally through point 12. From point 12 down, set the size of the upper part, 11-12 cm, and draw horizontally to the right. From the lower corner, draw a diagonal or bisector, and then set 2.5 cm and through this point output a smooth line. From point 12 along the resulting smooth line, set the value from point 2 to point 3, that is, 17.3 cm, and mark it with the number 13.
The line from point 13 to point 50 is the same value as from point 3 to point 0. Finally, a perpendicular must be drawn from point 6. Measure and add the distances of the inner circuit from point 3 to point 61 and the outer from point 6 to point 5. Now put the resulting segment from point 13 to the right along the pole line and mark the point 16.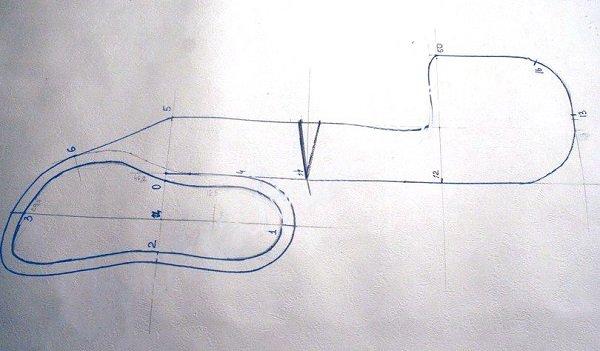
- Make a deflection on the vertical from point 5, which is 0.5 cm, and draw the last line from point 0.5 to point 50. The pattern is ready!

- And those who want to avoid mistakes in case the pattern turns out to be inappropriate, I suggest carving a prototype, for example, from a dense starched biscuit or any other fabric that more or less keeps the shape. In this case, I used a semi-transparent material, which I superimposed on the pattern, marking the control points and giving allowances to the circuit equal to 3 mm, so that I could assemble a slipper, overlaying the material and combining the dots.
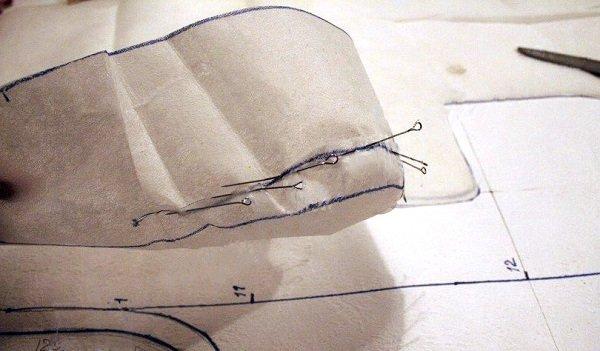
- Gently connect the layout, combining all the points.

- Cut out two details of the resulting pattern from the felt. And for the sole you can use leather or leather, it should be cut along the inner contour of the foot. The parts can be glued together with any rubber glue. Details can be sewn by a sewing machine or manually.
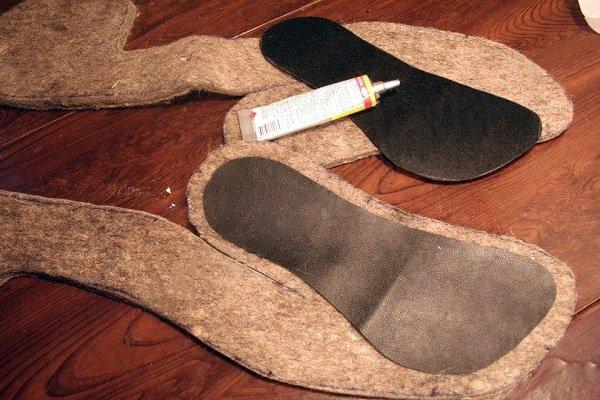
- As a connecting material, it is better to use an oblique bake or a shoe lace from sneakers. To squeeze the needle, first you need to make a hole with a construction knife. The needle should be injected at a distance of 1 cm from the edge. Also, do not forget to combine checkpoints that should have been transferred when you cut. In order to make the needle easier to reach, you can use passages.

- That's it, it's finished!
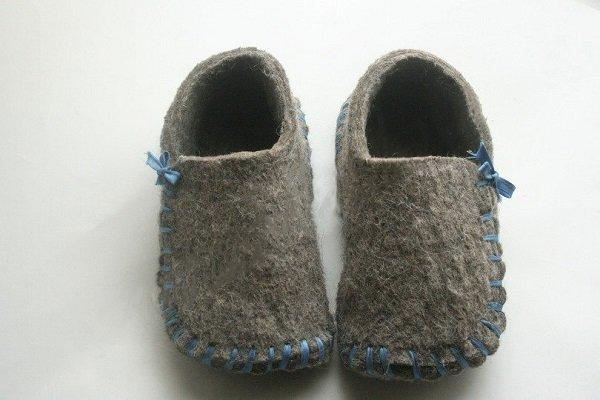
The advice of the editorial board A also suggest you familiarize yourself with a simple master class, how to sew a set of slippers for guests in just 1 evening. It will be useful for hospitable hostess!
These warm comfortable and stylish slippers turned out. I hope you liked this idea and would love to make such a thing with your own hands. Such slippers They can be a great gift to a loved one, they will feel warmth and care. Good luck to you and all the best!
Don’t forget to share this amazing idea with your friends, let them also be inspired by a great master class!
Here’s what love adventures and fateful changes 2018 has prepared for you! The most accurate horoscope.
How to Deal With Decline


