167
How to replace cracked tiles on the wall
Ceramic tiles are considered one of the most reliable and practical coatings for walls and floors. With high-quality laying, it can serve for decades without any problems.

But sometimes chips appear on it from the impact or fall of metal objects. It happens that the tile moves away from the base. Often we are faced with the need to temporarily remove several tiles to access the pipes and wires hidden in the wall.

How do you do that without causing catastrophic destruction and reworking the entire wall? Make a point. tile repair It will help with advice from experienced masters.
Tile replacement
As you can see, when one tile is damaged, it is not necessary to change the entire coating. With a certain skill, the defective tile can be quickly and accurately removed without damaging the neighbors, and install a new one in its place.

But sometimes chips appear on it from the impact or fall of metal objects. It happens that the tile moves away from the base. Often we are faced with the need to temporarily remove several tiles to access the pipes and wires hidden in the wall.

How do you do that without causing catastrophic destruction and reworking the entire wall? Make a point. tile repair It will help with advice from experienced masters.
Tile replacement
- Preparation of the workplace
Before the start of work, it will not be superfluous to protect the surface of plumbing devices and neighboring tile from damage. For example, using the cardboard stand depicted in the photo.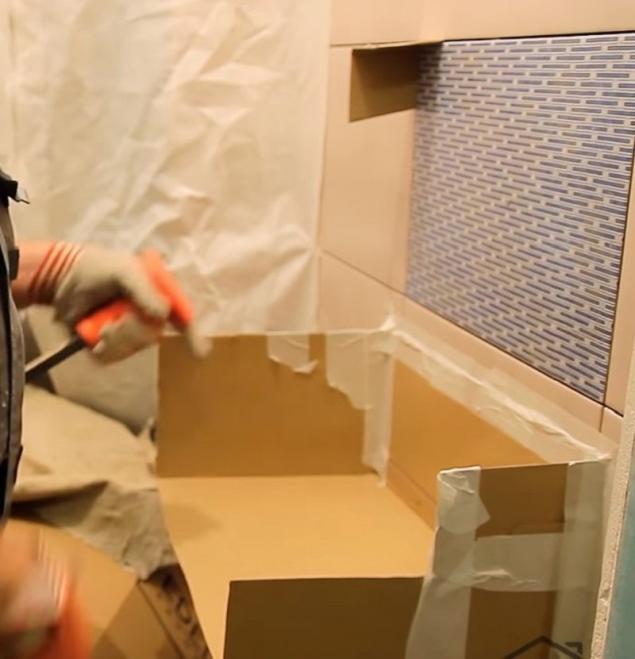
- Cutting stitches
Dismantling the tiles begins with cutting the seams. How to remove the grout depends on the grout mixture. Cement-based grouts are relatively easy to remove with various hand tools. A good option is a construction knife with interchangeable blades.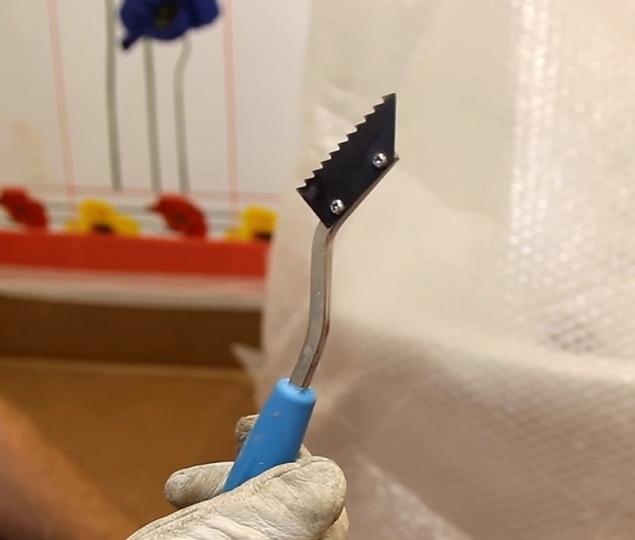
In addition to the knife, there are many options. From a hacksaw on metal to a screwdriver and a spatula. There are even specially designed products for this operation.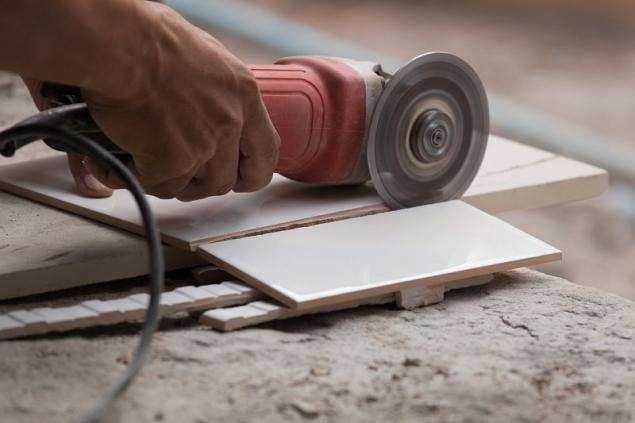
Epoxy grout none of the above devices can be removed. You will need an electric tool like a nap with a thin cutting circle. If the seams are wide, then you can do with an ordinary Bulgarian, but there is a high probability of damaging neighboring tiles. - Dismantling damaged tiles
After the grout from the seams is removed, we proceed to dismantle the damaged tiles. This is easiest to do with a chisel and hammer. But knocking the chisel on the seam, as you already know, will not work. This will damage the enamel on neighboring tiles.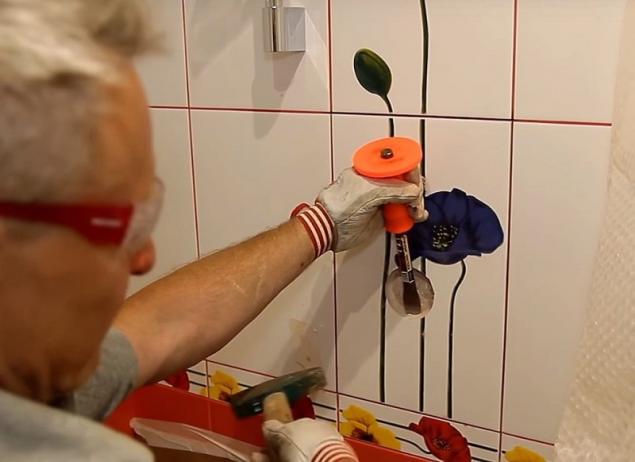
There are several options to get out of the situation. One of them is to drill a hole in the center of the tile with a drill and a diamond crown. Now, starting from the center, you can beat the tiles in small pieces with the help of a chisel.
In the case when the seams are wide enough, and the glue is not too strong, you can isolate neighboring tiles with cardboard inserts and try to pick up the problem tiles with a strong wide spatula or something similar. - Clearing the base
Before substituteIt is necessary to remove not only damaged tiles, but also the remains of glue used for its installation earlier. This is one of the most time-consuming stages of all work, which is usually performed using a punch or chisel.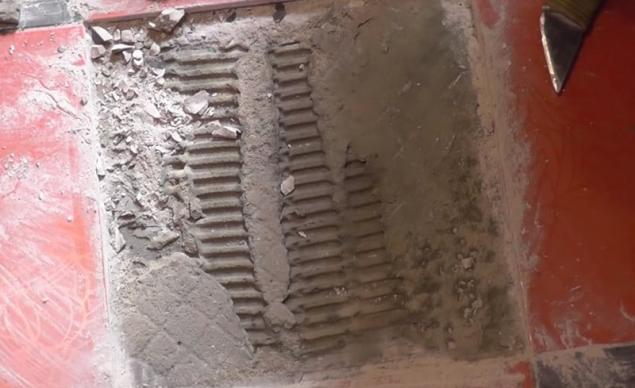
- Installation of new tiles
We apply glue on the prepared base and on the new tile, pass through the glue with a toothed spatula. Carefully mount the tiles on the former place and align it in the same plane with adjacent tiles. It remains to wait for the glue to dry and fill the seams with grout.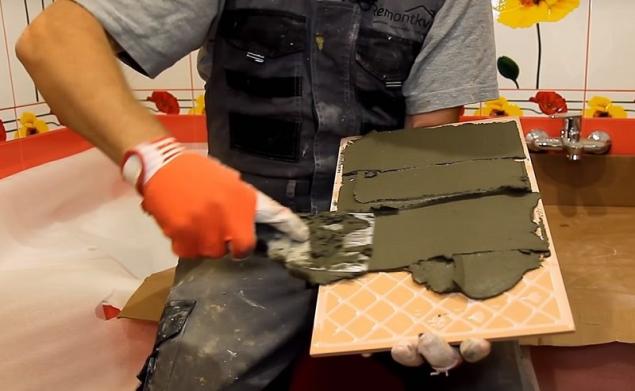


As you can see, when one tile is damaged, it is not necessary to change the entire coating. With a certain skill, the defective tile can be quickly and accurately removed without damaging the neighbors, and install a new one in its place.