459
She needed to make just 5 cuts to create incredibly beautiful snowflake!
The fact that the month of gleaming white snow, doesn't mean that later to cut out snowflakes. On the contrary, it's time to do the holiday decorations! Homemade snowflakes to create a unique fairy-tale atmosphere.
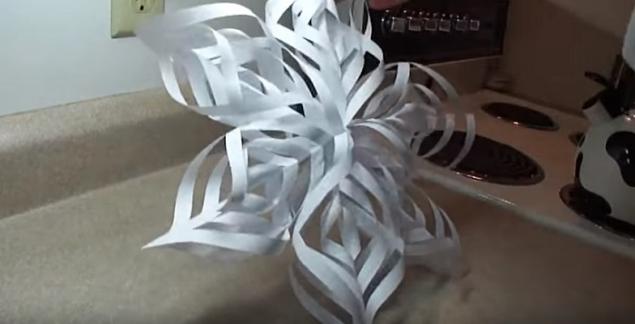
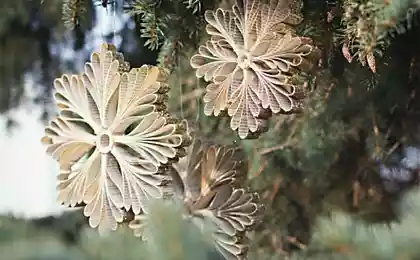
Beautiful three-dimensional spincycle our master class we took white paper and a certain number of leaves, but creativity is an individual matter, and anyone can pick up your Christmas decorating color.
You need
The snowflake with your hands
Test yourself and look at the production of snowflakes from beginning to end in one video.
Although this ornament looks complicated, the process is quite simple. You can add glitter, paint and make some hook to hang a beautiful paper in a prominent place.
This snowflake is a lovely Christmas decoration of the hall! And who says a snowflake has to be one? Use other ideas to decorate the house with paper snowflakes! And don't forget to share with your friends the festive mood and this article.
The author
The editors of "Site" Is a real creative laboratory! The true team of associates, each a specialist in their field, United by a common purpose: to help people. We create content that's really worth sharing, and a source of inexhaustible inspiration are our favorite readers!

Beautiful three-dimensional spincycle our master class we took white paper and a certain number of leaves, but creativity is an individual matter, and anyone can pick up your Christmas decorating color.
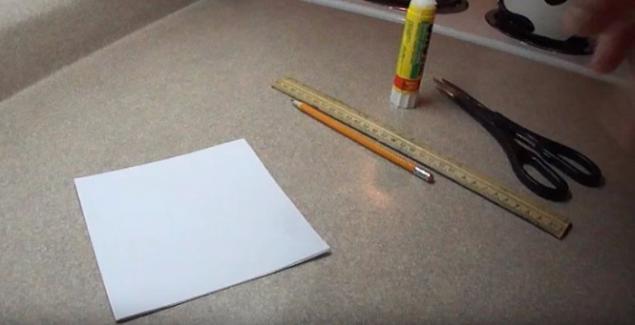
You need
- 6 square sheets of paper
- scissors
- pencil
- line
- glue

The snowflake with your hands
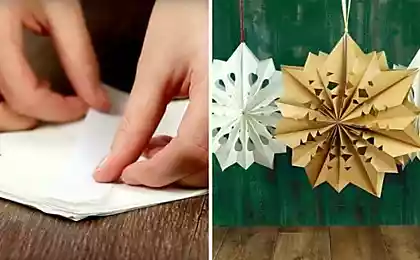
- Proceed to creativity! Take first sheet and fold diagonally.
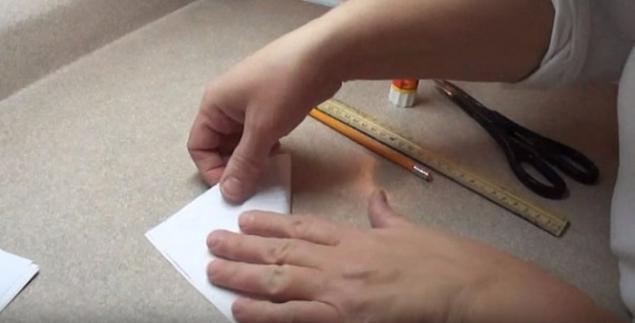
Now fold diagonally again. This step is very important! Make sure all bends is smooth, because it affects the shape of your snowflakes!
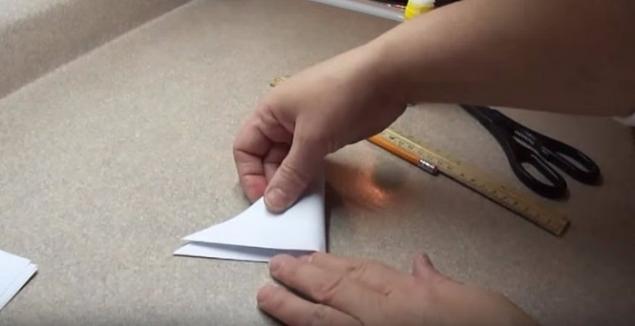
- You need a ruler and a pencil to outline the new triangle in the strip. Definitely back off 1 cm from the fold! The number of lanes depends on their thickness and size of the triangle. We made 6 strips of 1 cm, Use large pages, if you want to get a snowflake more.
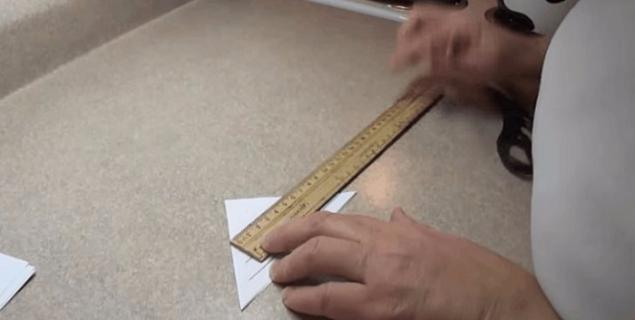
- Use scissors and cut a triangle. Chik-Chik-Chik!
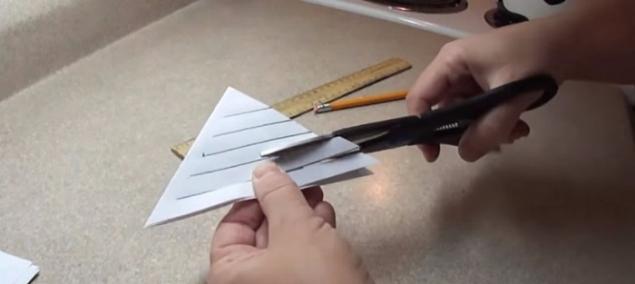
- Erase the contours of the lines from the pencil and unfold the triangle. See? Already starting to work! Do the same with the other sheets of paper. Br-R-R, getting cold, or is it just us?
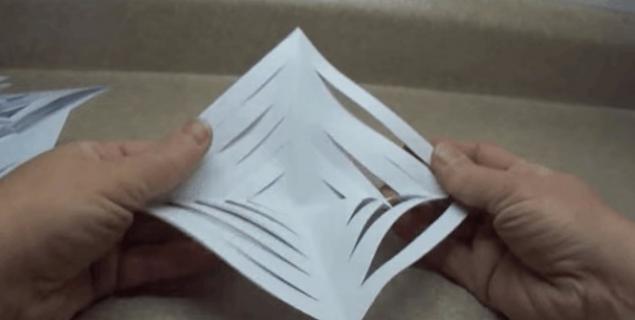
- Gluing and re-gluing! Start with the inner strips and glue two opposite corners as shown in the pictures.
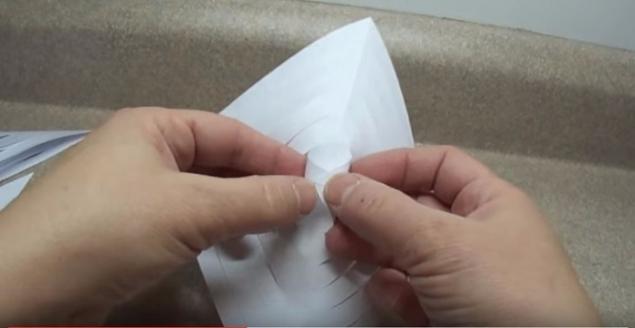
Carefully hold the paper and let the glue dry. For convenience, you can use a pencil, so as not to crush the strips with your fingers.
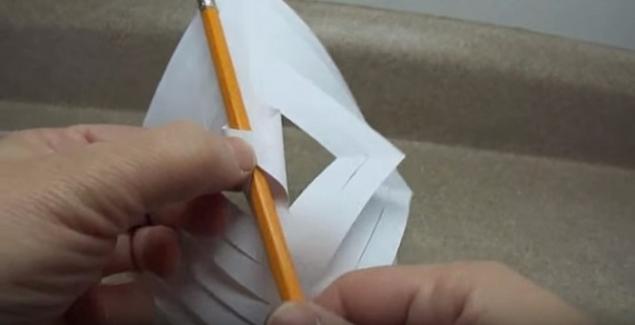
- Now turn the snowflake and do the same with the next strip.
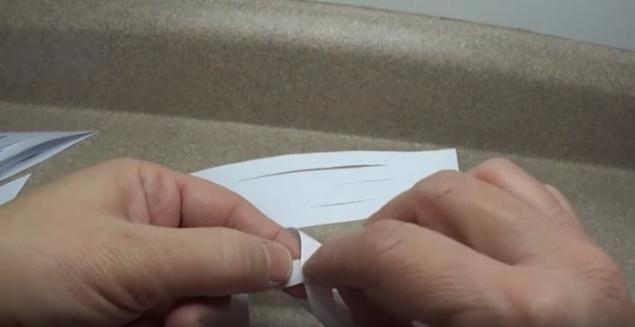
Then turn again and try for a third. Continue to flip and glue while the strips are not over. In the end you have to be such a beautiful winter figure.
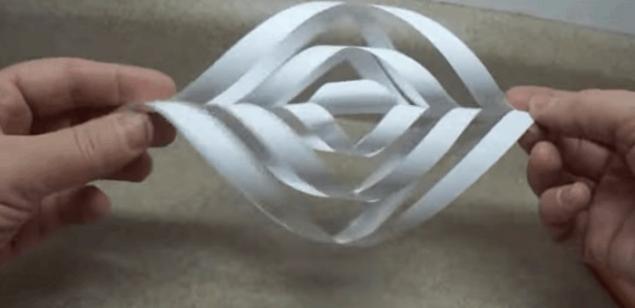
- Do those graceful figures of the rest of the paper.
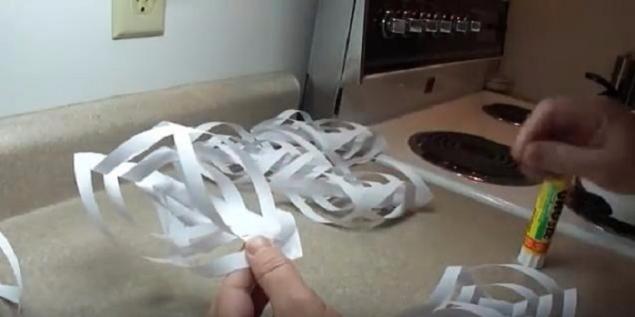
- It's time to put them together! Arrange shapes in a circle, sticking to the same axis, and pridavili until then, until the glue dries.
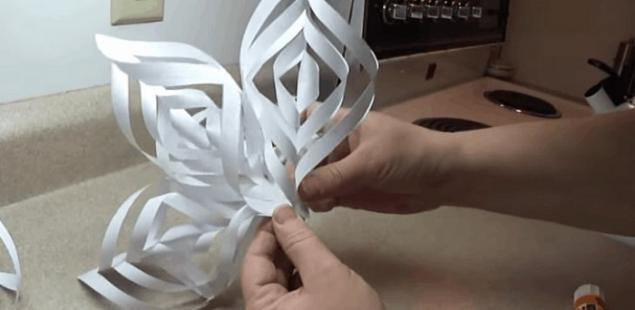
So the figures one after another will close in a circle and get interesting snowflake. Unlike those that fall outside the window, it will give you warmth and comfort.
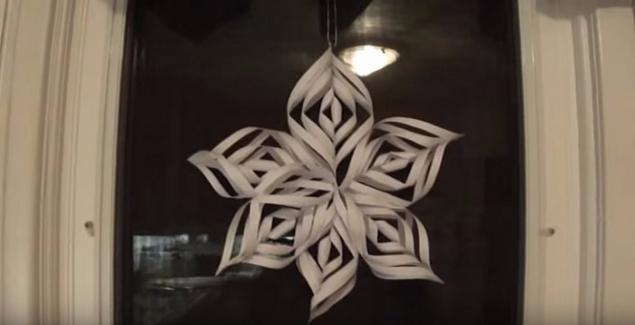
Test yourself and look at the production of snowflakes from beginning to end in one video.
Although this ornament looks complicated, the process is quite simple. You can add glitter, paint and make some hook to hang a beautiful paper in a prominent place.
This snowflake is a lovely Christmas decoration of the hall! And who says a snowflake has to be one? Use other ideas to decorate the house with paper snowflakes! And don't forget to share with your friends the festive mood and this article.
The author

The editors of "Site" Is a real creative laboratory! The true team of associates, each a specialist in their field, United by a common purpose: to help people. We create content that's really worth sharing, and a source of inexhaustible inspiration are our favorite readers!
You have no idea what this master does with old furniture! Golden hands!
Thorough cleansing of the internal organs from toxins! From younger to 5 years...


