194
How to make a vintage snowflake
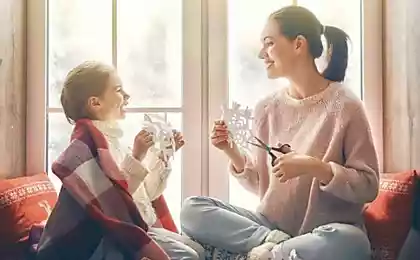
When the New Year is no more than two weeks away, my family begins to actively prepare for the most long-awaited winter holiday.
We are thinking about a list of dishes that we will cook for the New Year’s table, so that before that all together go for food. We think about what to put under the Christmas tree, and we also have a family tradition. snowflake.
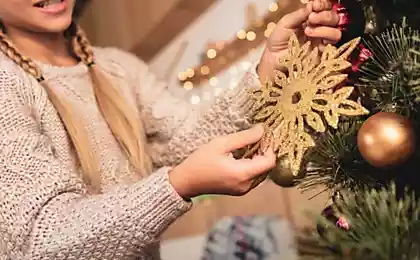
Thanks to these paper crafts, the whole apartment is soaked in coziness, love and warms us with long winter evenings. And my sister and I found just a delightful way not only to create beautiful jewelry, but also to get rid of excess junk in the house. That is why we decided to make snowflake, magazines and other waste paper, which, perhaps, will be found in everyone.
In addition, to make such a vintage snowflake is not more difficult than usual, and looks much more spectacular!
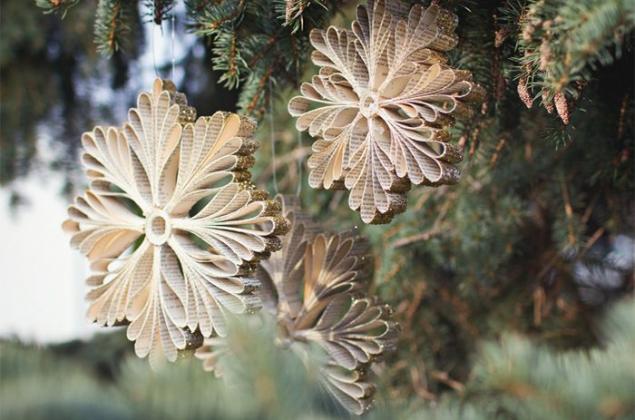
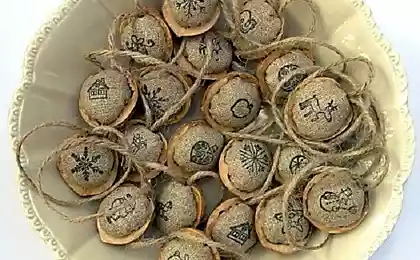
Editorial "Site" I have prepared for you an interesting step-by-step master class, how to do it. snowflakes from old booksNewspapers and magazines. A simple and beautiful decoration to celebrate the New Year for pennies.
You'll need it.
Manufacture
I also suggest you familiarize yourself with 11 ideas for creating paper garlands from paper snowflakes for New Year’s decoration of the interior. Be sure to take time, use one of these ideas and you will see how the atmosphere in the house and the mood of your family will change.
As you can see, you just need a little imagination - and your house will acquire a unique style and fill with the atmosphere of winter holidays! Now you can safely conduct a master class on creating snowflakes.
Share this unusual snowflake with your friends!
We are thinking about a list of dishes that we will cook for the New Year’s table, so that before that all together go for food. We think about what to put under the Christmas tree, and we also have a family tradition. snowflake.
Thanks to these paper crafts, the whole apartment is soaked in coziness, love and warms us with long winter evenings. And my sister and I found just a delightful way not only to create beautiful jewelry, but also to get rid of excess junk in the house. That is why we decided to make snowflake, magazines and other waste paper, which, perhaps, will be found in everyone.
In addition, to make such a vintage snowflake is not more difficult than usual, and looks much more spectacular!

Editorial "Site" I have prepared for you an interesting step-by-step master class, how to do it. snowflakes from old booksNewspapers and magazines. A simple and beautiful decoration to celebrate the New Year for pennies.
You'll need it.
- old books, notes, newspapers, magazines
- hot-glue
- sparkle
- thread
- ribbon
- pencil
- scissors and stationery
Manufacture
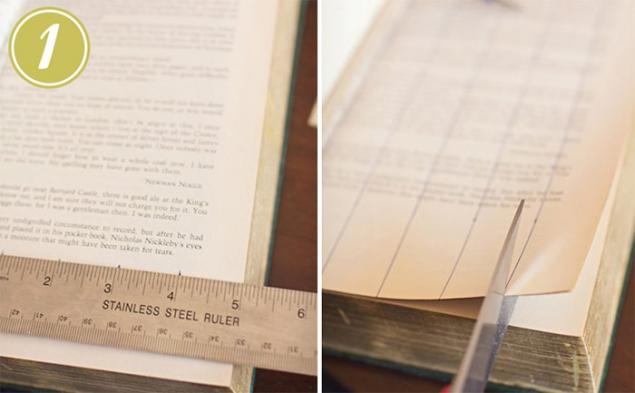
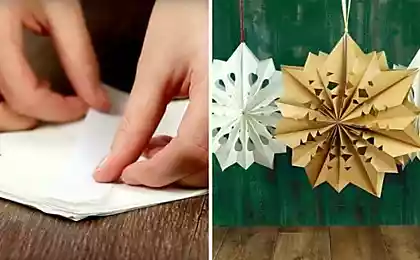
- First, you need to delineate the book sheets into strips of 2 centimeters wide, and then cut them out. You will need at least 10 pages for each snowflake.
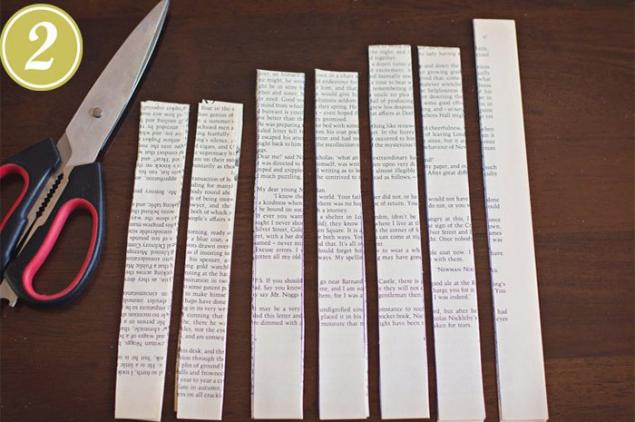
- Make strips of different sizes: 10 strips along the length of the page, the next 20 strips are 1 cm shorter and so 3 more times 20 strips, each batch is 1 cm shorter than the previous one.
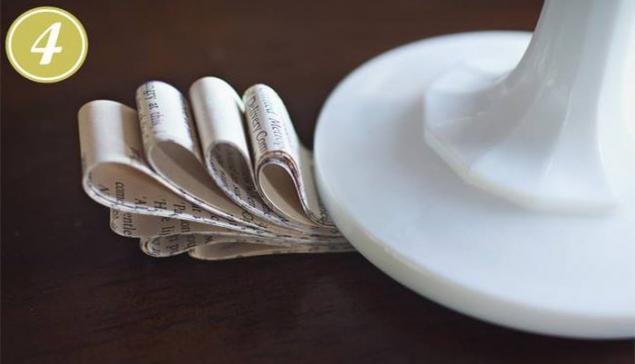
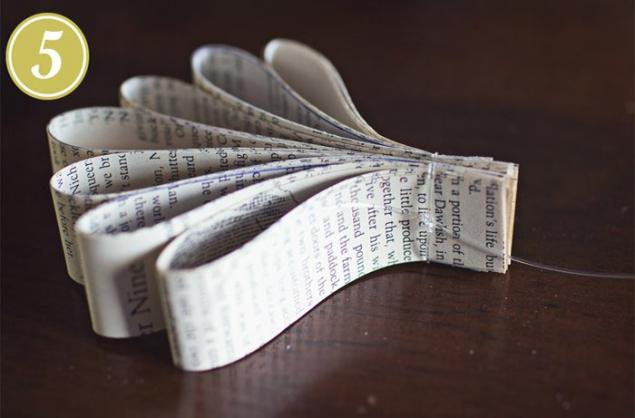
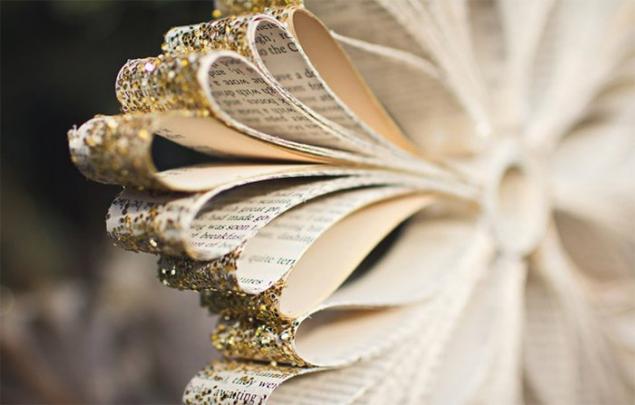
- The stripes bend in half and then connect the tips to create a snowflake ray.

- Repeat such manipulations with all stripes, and then fix them under heavy press. I use a desk lamp for that.
- When the workpiece dries, additionally fix its edges with a thin line. In general, you will need 6-8 such blanks for one snowflake.
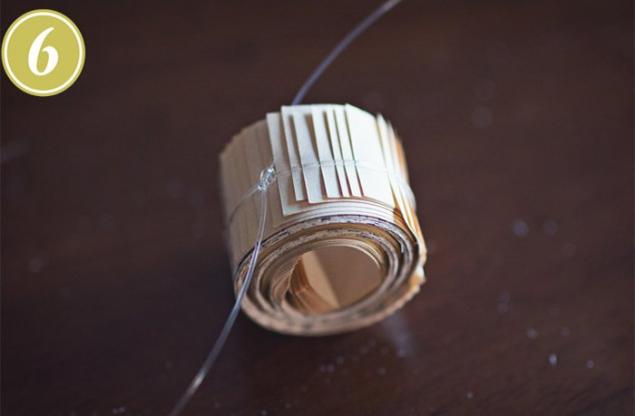
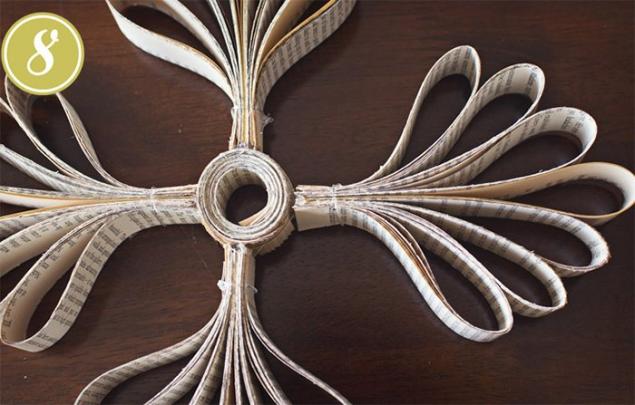
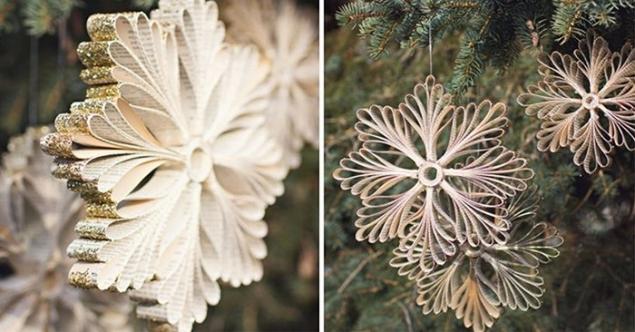
- Make the central part of the snowflake by twisting a stripe into a ring. The resulting ring fix first with a thread or line, then glue.
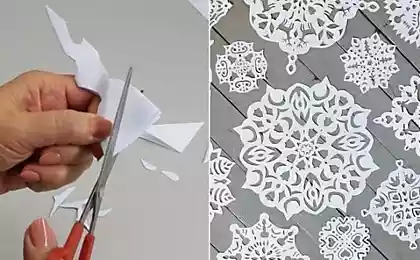
- And now you can combine all the details of the snowflake.
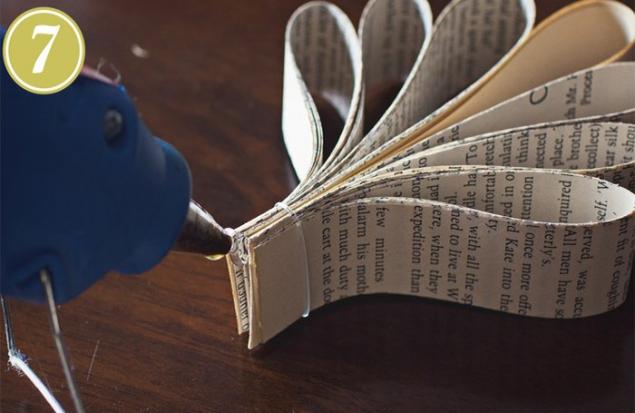
- Continue to fasten all the details with hot glue, as shown in the photo.
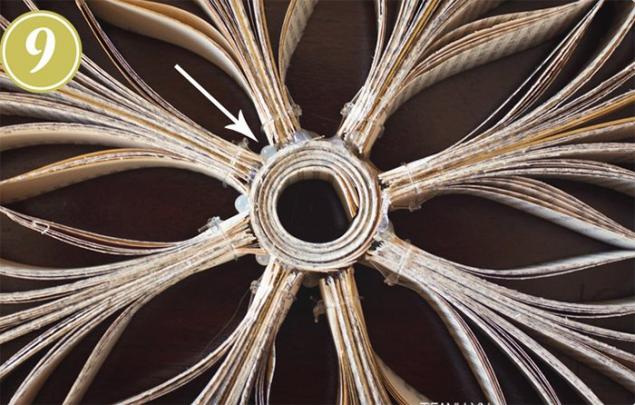
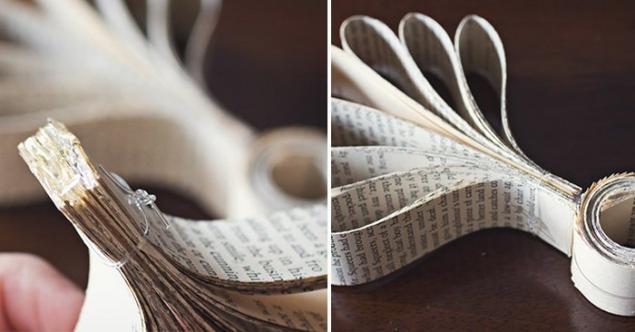
- To better fasten the snowflake, miss the extreme loops of the neighboring snowflake rays with glue.
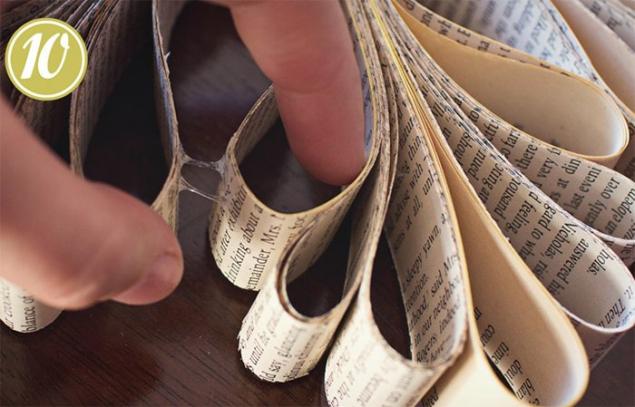
- As a decor, small sequins are suitable, which should be applied to the side ribs of a snowflake. You can also use pieces of garland, sequins and small beads.
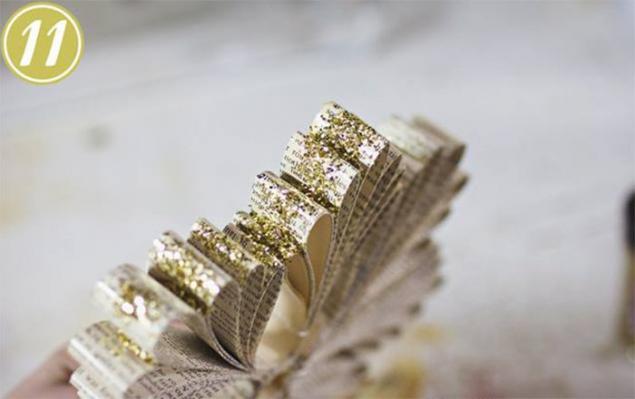
- Well, now make a loop out of a fishing line so that you can attach a snowflake, for example, to a tree. Jewelry ready!


I also suggest you familiarize yourself with 11 ideas for creating paper garlands from paper snowflakes for New Year’s decoration of the interior. Be sure to take time, use one of these ideas and you will see how the atmosphere in the house and the mood of your family will change.
As you can see, you just need a little imagination - and your house will acquire a unique style and fill with the atmosphere of winter holidays! Now you can safely conduct a master class on creating snowflakes.
Share this unusual snowflake with your friends!


10 Men's Weaknesses and Strangenesses That Women Are Crazy About So don't be shy about it!
"Well, she's a girl..." is not an argument! This is the age at which you can pierce your child’s ears, not before.