999
Hi table!
I must say, I'm not a doer of sion of the action! All honest steal otsedova! Painfully table like! Price of all material 35000r.
28 ph
Let's start:
Hello everyone! Some time ago I wrote about the idea of a computer table that would suit me at all. Finally, the day came when my computer has begun to shine reflected in its polished surface. To learn how to do it and what came of it and I want to tell you, dear habrazhiteli. Inside a lot of pictures.
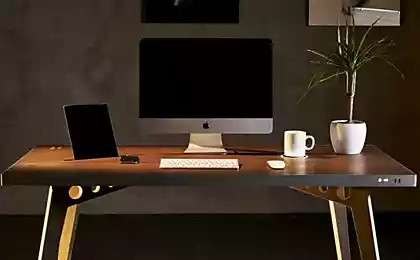
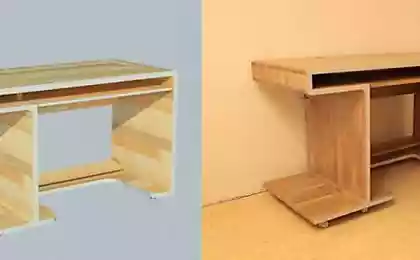
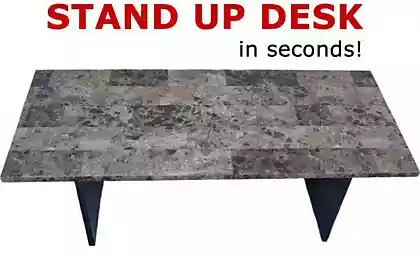
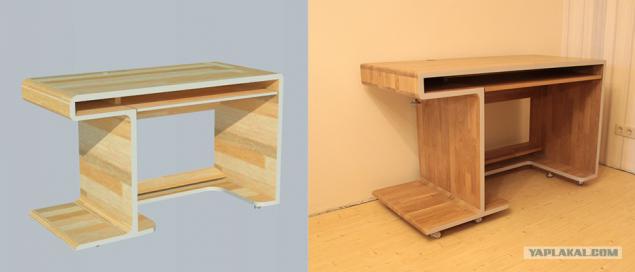
I will not repeat a lot, so if you generalize, I would like a nice comfortable quality durable and relatively compact with the mobile computer desk. Thus was born the idea that you can see in the first picture in the header.
As I wrote before, I originally was going to do the table itself, as I like to work with your hands and have some experience creating your own furniture, but on balance the forces decided that it would be too hard for me - a lot of the exact size and many places where little can screw up nakosyachil whole idea. Therefore, the implementation involved a familiar wizard with my direct participation. At the first stage, I realized that it was a very reasonable solution because the sequence of actions and professional approach proved to be quite different than I imagined it. Especially with an inner radius ... but about everything in order.
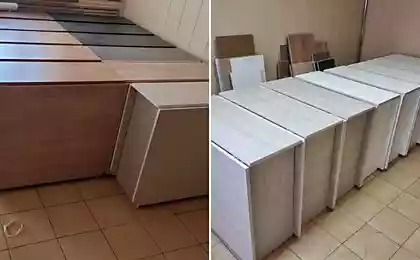
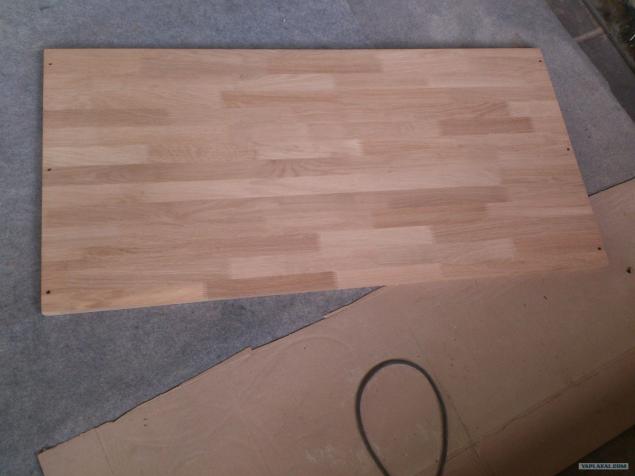
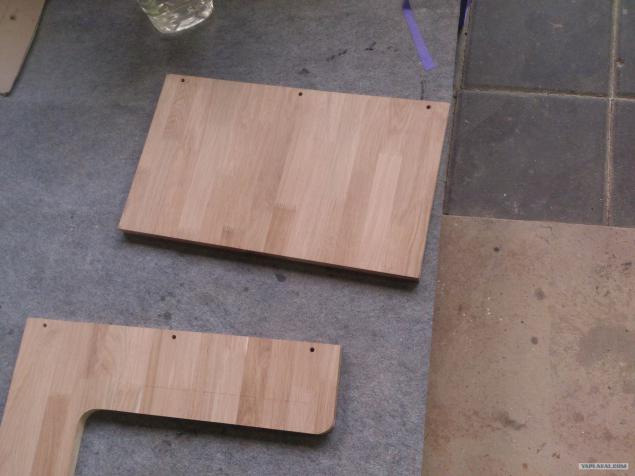
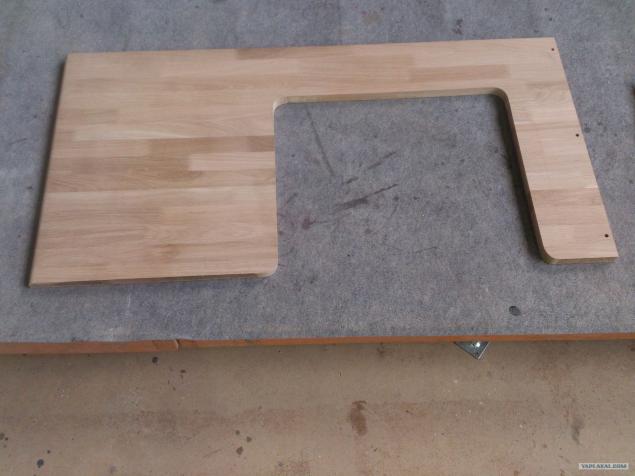
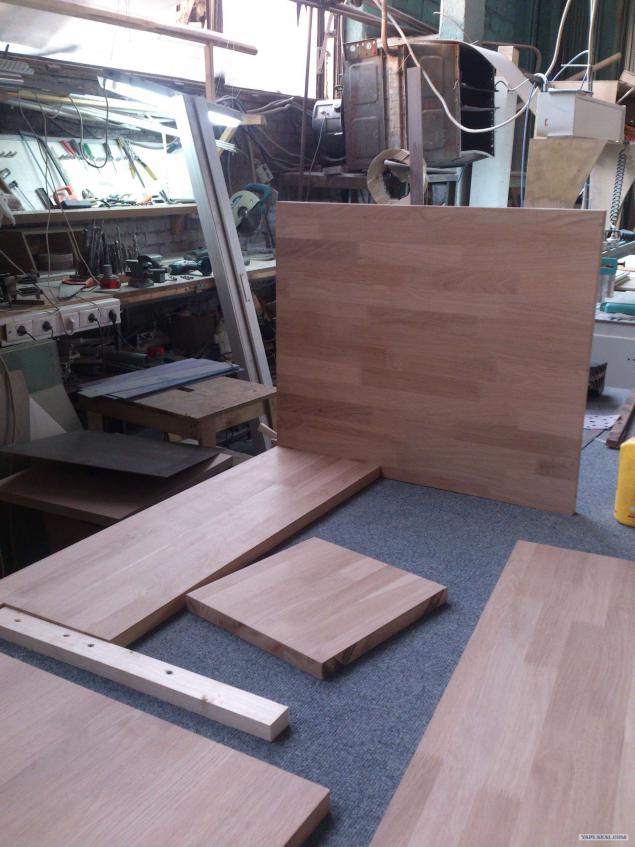
As the basis of the table has been selected laminated oak 25 mm thick. Of wood panels were prepared form the upper worktop main bottom and sidewalls.
2.
3.
4.
5.Samoe fun began with inner diameters. Here are these:
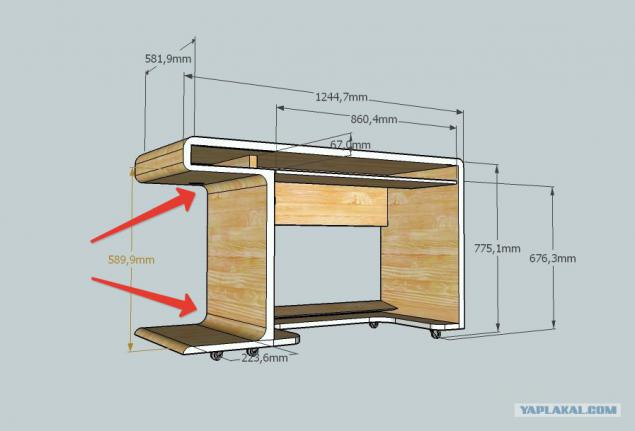
6. As I see it: we take, roughly speaking, plinth, grind it right radius and paste it in its corners. All. But here lies a few nuances. Firstly it is very difficult vytachit desired radius on a thin wooden block. Secondly it is very difficult to adjust the desired range to the entire length of it stood in the ideal angle. And third: if you managed to cope with the first two paragraphs, the edges at the bar are very thin and brittle that is likely to result in "bitten" and "torn" edge on the outside of this radius.
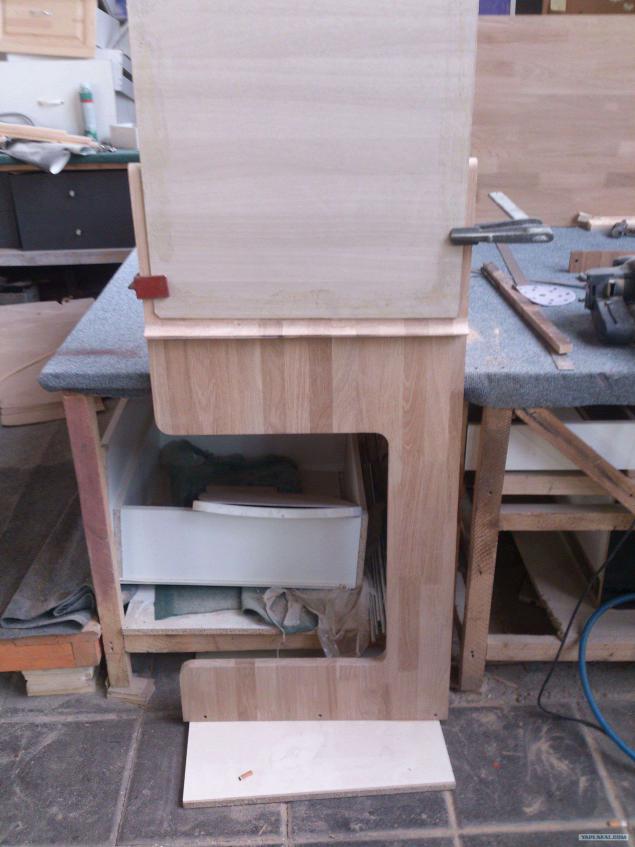
7.Analogichnym way we proceed with the upper radius. Sticking, customize.
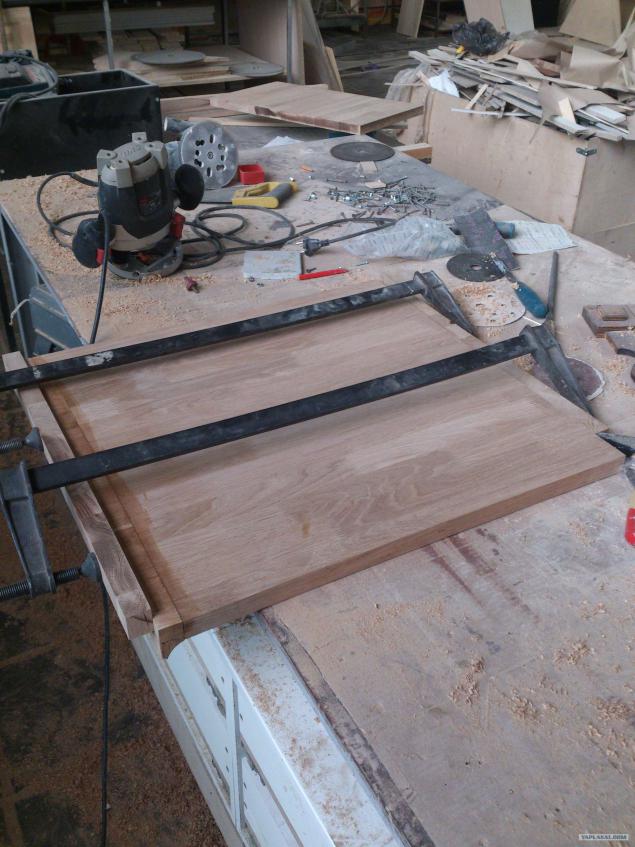
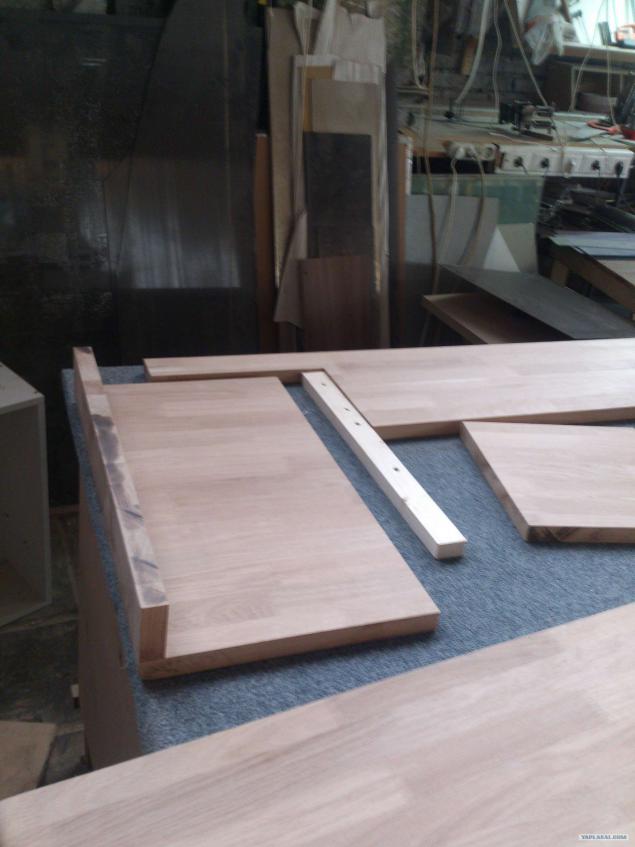
8.Parallelno prepare the rest of the table.
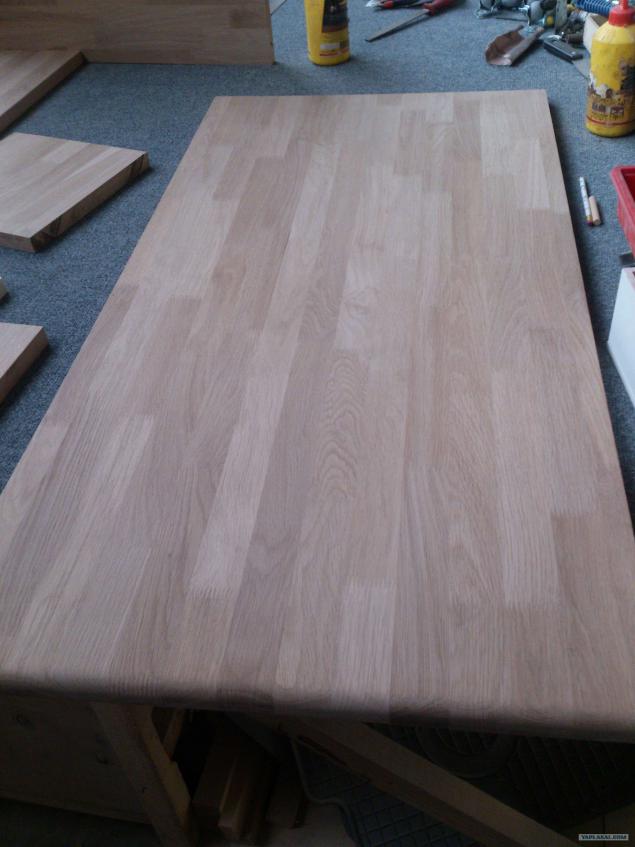
9.
10.
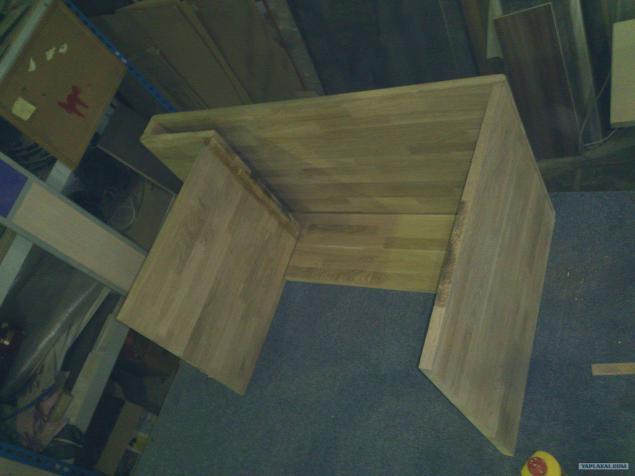
11.Skleivaem it all together:
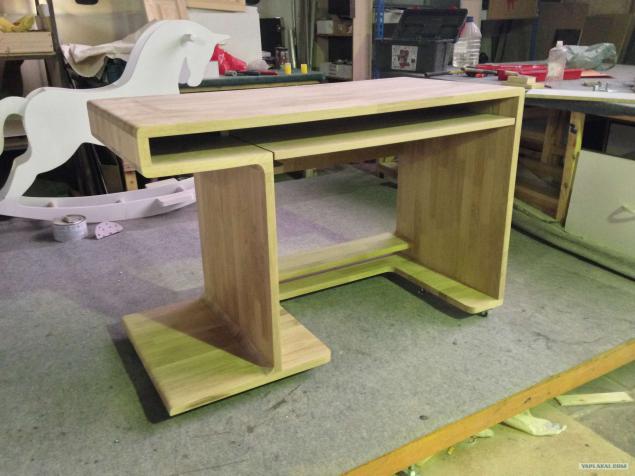
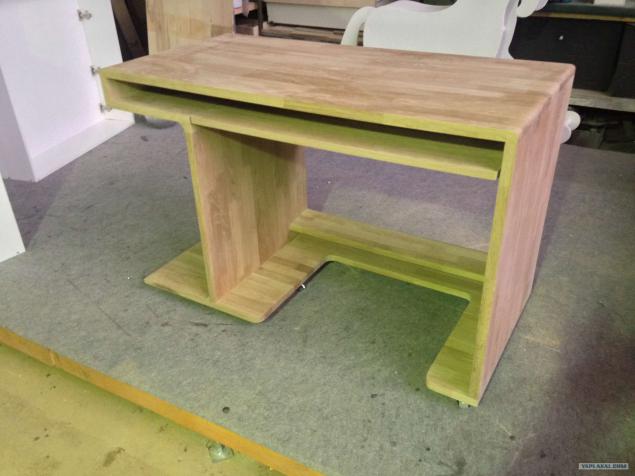
12.Zdes almost completed table. Upstairs is the future retractable worktop under the keyboard and mouse. Also, of course, wood.
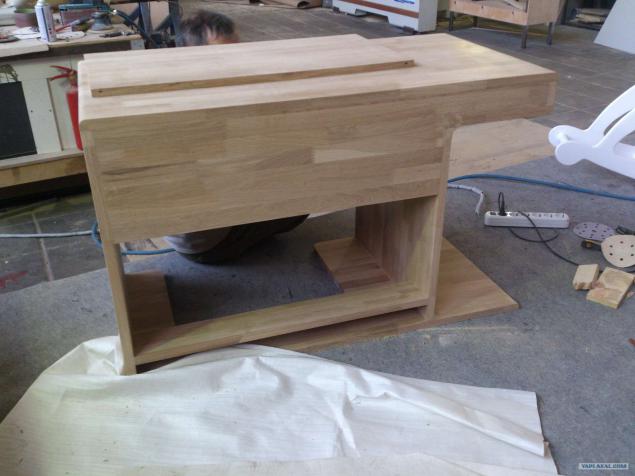
13.Na finish line before painting:
14.
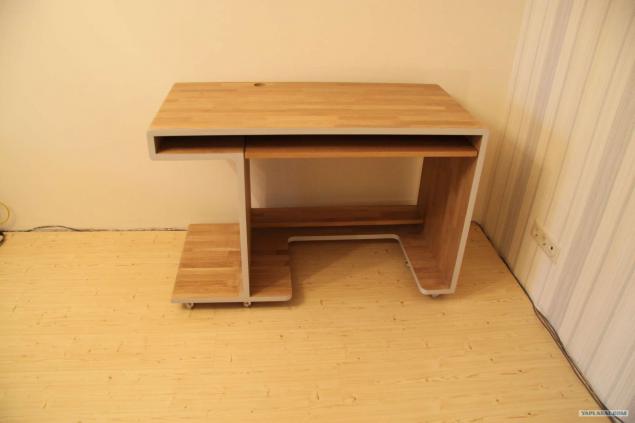
15. What is the result? Move on without unnecessary pauses.
16.
17.
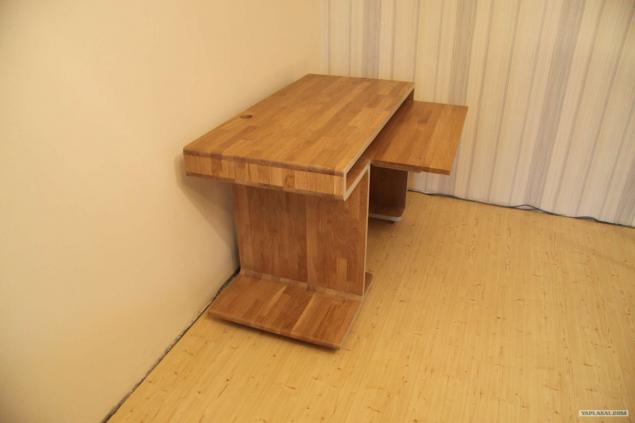
18.A this he labored.
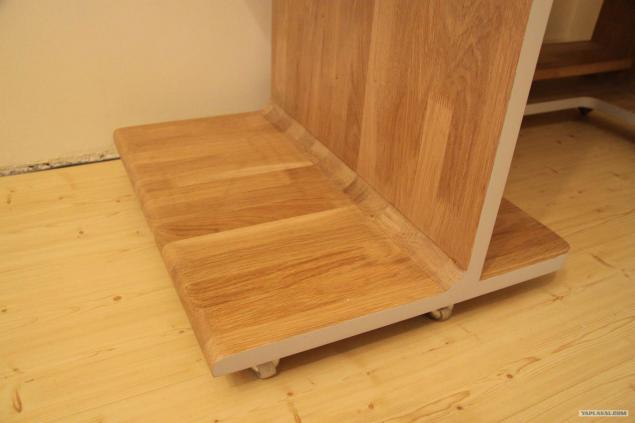
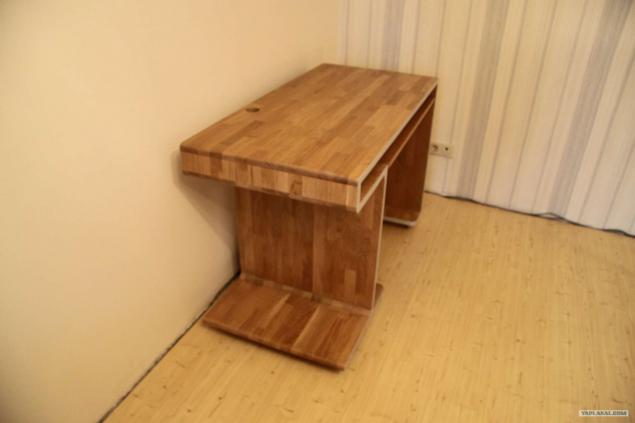
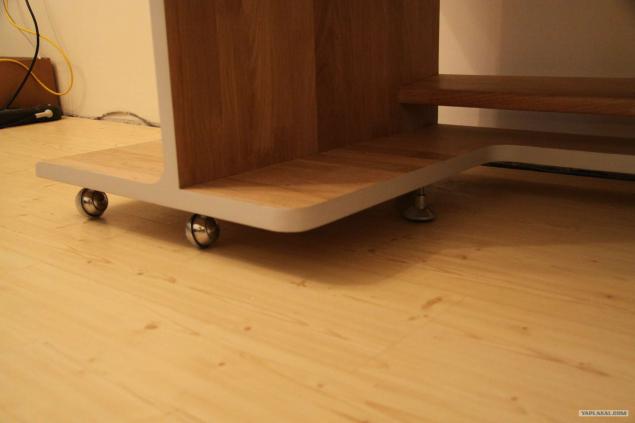
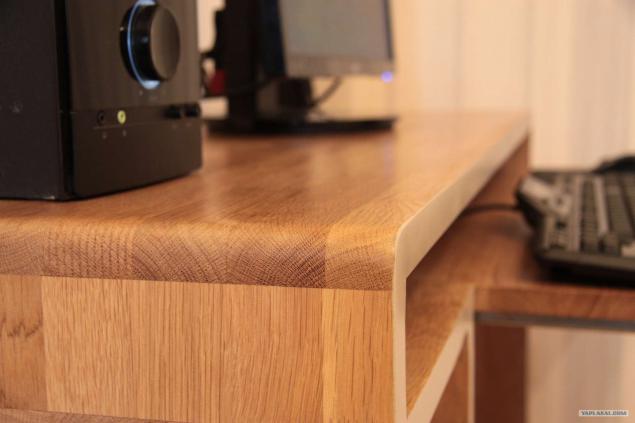
19.S this moment to tell a little more. In the previous post is very much debated how best to implement the locking mechanism. The solution, as always, was very simple: by analogy with the construction equipment on the floor gets out two legs with elastic bands at the bottom of the table and firmly fixed in place. On these photos clearly seen painted gray outline. I conceived it not only as a decorative element, but also to hide the seams and joints. The paint is applied with an atomizer, so circuit was very tight and smooth to the touch like a plastic. I do not want to heap praise on himself, but I note only that live is a combination of wood and painted circuit was even more interesting than in the project. The table looks very modern, especially relevant in the concept of computer desks.
20.
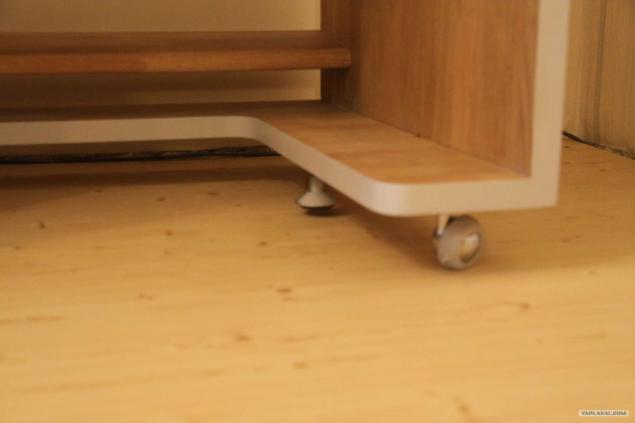
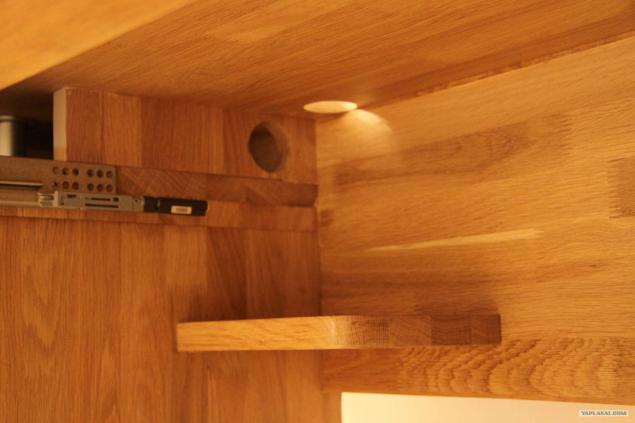
21.Zdes: shelf-ups, and holes for wiring.
22.Vid rear:
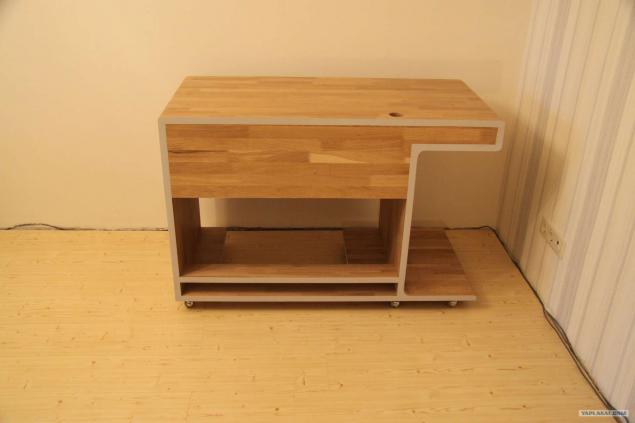
23.Oni met!
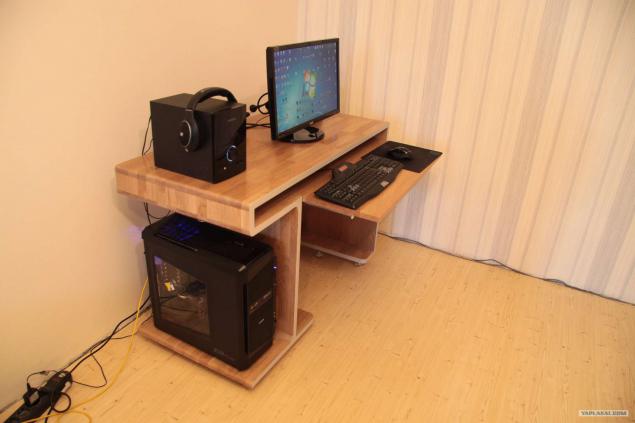
24.Dlya system unit has decided to provide additional bracing. Still table on wheels, you never know what ... Unfortunately little miscalculated the length of the bolt, but I think the idea is clear.
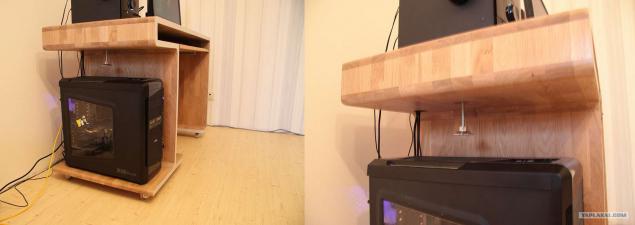
25.A mounting base for the system unit is very useful for shortening wires. So do not interfere too much or under your feet, or get run over.
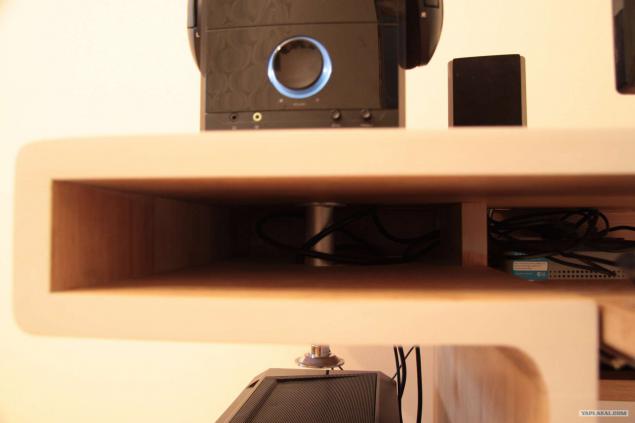
26.UPS. On this photo you can see a pull-out table top stoppers. By the way, it turned out very comfortable and wide. Managed to win a bit of extra space thanks to the rails located not on either side of it, as do most of the manufacturers of computer desks, and under the sink. Pushed too far and does not flex.
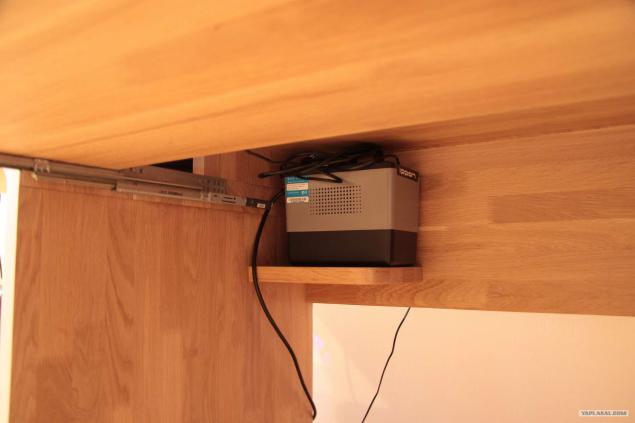
27.
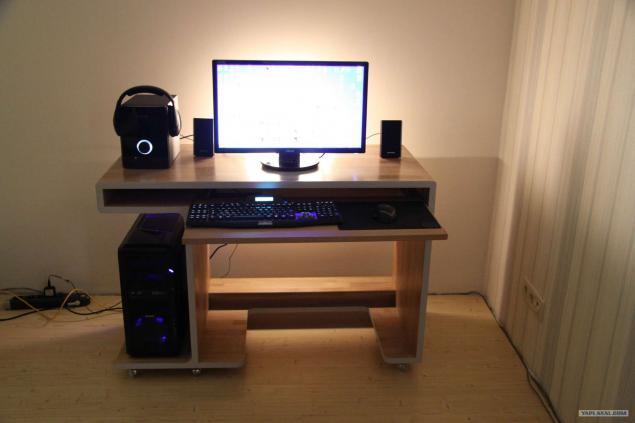
28.Nu and the last picture - in the moonlight.
28 ph
Let's start:
Hello everyone! Some time ago I wrote about the idea of a computer table that would suit me at all. Finally, the day came when my computer has begun to shine reflected in its polished surface. To learn how to do it and what came of it and I want to tell you, dear habrazhiteli. Inside a lot of pictures.
I will not repeat a lot, so if you generalize, I would like a nice comfortable quality durable and relatively compact with the mobile computer desk. Thus was born the idea that you can see in the first picture in the header.
As I wrote before, I originally was going to do the table itself, as I like to work with your hands and have some experience creating your own furniture, but on balance the forces decided that it would be too hard for me - a lot of the exact size and many places where little can screw up nakosyachil whole idea. Therefore, the implementation involved a familiar wizard with my direct participation. At the first stage, I realized that it was a very reasonable solution because the sequence of actions and professional approach proved to be quite different than I imagined it. Especially with an inner radius ... but about everything in order.
As the basis of the table has been selected laminated oak 25 mm thick. Of wood panels were prepared form the upper worktop main bottom and sidewalls.

2.

3.

4.

5.Samoe fun began with inner diameters. Here are these:

6. As I see it: we take, roughly speaking, plinth, grind it right radius and paste it in its corners. All. But here lies a few nuances. Firstly it is very difficult vytachit desired radius on a thin wooden block. Secondly it is very difficult to adjust the desired range to the entire length of it stood in the ideal angle. And third: if you managed to cope with the first two paragraphs, the edges at the bar are very thin and brittle that is likely to result in "bitten" and "torn" edge on the outside of this radius.

7.Analogichnym way we proceed with the upper radius. Sticking, customize.

8.Parallelno prepare the rest of the table.

9.

10.

11.Skleivaem it all together:

12.Zdes almost completed table. Upstairs is the future retractable worktop under the keyboard and mouse. Also, of course, wood.

13.Na finish line before painting:

14.

15. What is the result? Move on without unnecessary pauses.

16.

17.

18.A this he labored.

19.S this moment to tell a little more. In the previous post is very much debated how best to implement the locking mechanism. The solution, as always, was very simple: by analogy with the construction equipment on the floor gets out two legs with elastic bands at the bottom of the table and firmly fixed in place. On these photos clearly seen painted gray outline. I conceived it not only as a decorative element, but also to hide the seams and joints. The paint is applied with an atomizer, so circuit was very tight and smooth to the touch like a plastic. I do not want to heap praise on himself, but I note only that live is a combination of wood and painted circuit was even more interesting than in the project. The table looks very modern, especially relevant in the concept of computer desks.

20.

21.Zdes: shelf-ups, and holes for wiring.

22.Vid rear:

23.Oni met!

24.Dlya system unit has decided to provide additional bracing. Still table on wheels, you never know what ... Unfortunately little miscalculated the length of the bolt, but I think the idea is clear.

25.A mounting base for the system unit is very useful for shortening wires. So do not interfere too much or under your feet, or get run over.

26.UPS. On this photo you can see a pull-out table top stoppers. By the way, it turned out very comfortable and wide. Managed to win a bit of extra space thanks to the rails located not on either side of it, as do most of the manufacturers of computer desks, and under the sink. Pushed too far and does not flex.

27.

28.Nu and the last picture - in the moonlight.

