677
Building a "Spitfire"
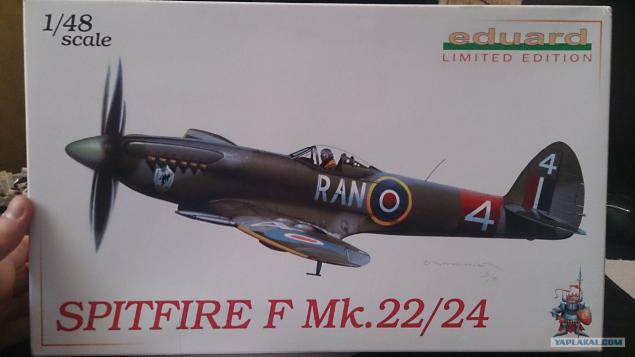
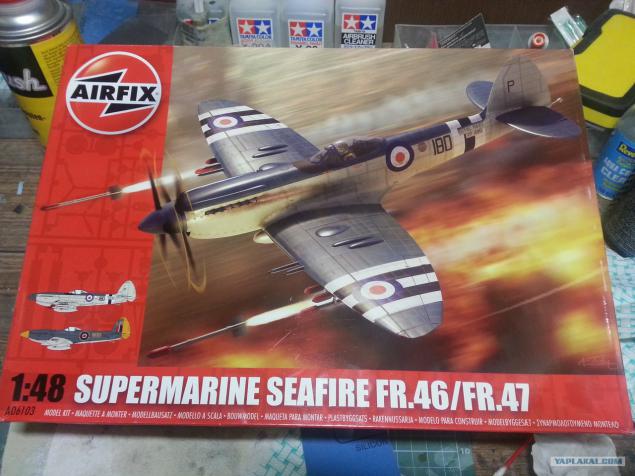
Are you Markovkin, and today I'll post a photo stepwise assembly Spitfire mk 24 on the scale of 1/48.
It may be in places like the "drawing of an owl."
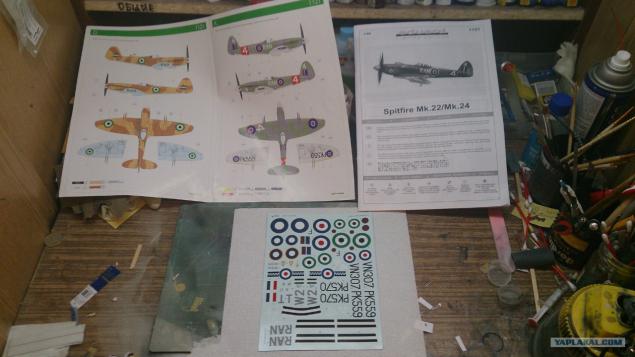
Operating instructions and deck, sweet podrachivat))
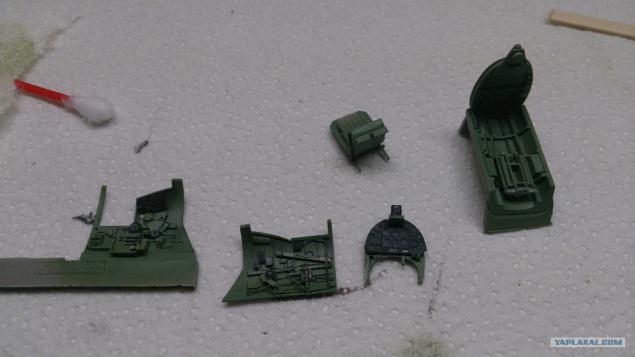
Stained parts of the cockpit. Airbrush, brush and washes (about it will be later)
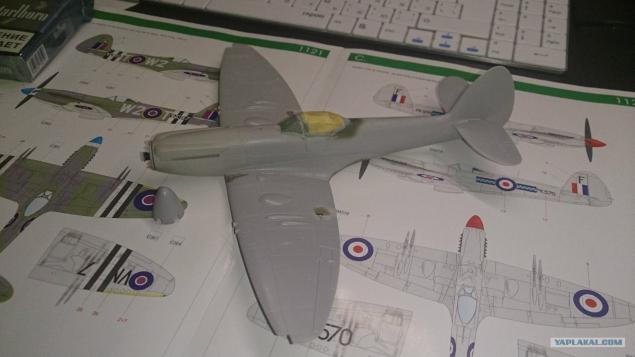
Putting together the fuselage and wings, close and seal the cockpit (for more information on truck did not survive, but there is nothing interesting)
podshkurivaem, tinker. in general, ready to paint))
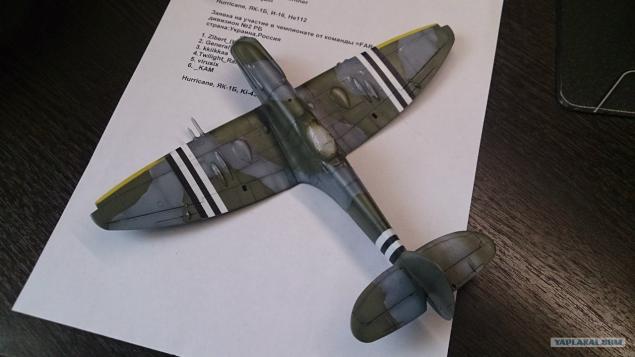
In this photo the model is filled with soil Tamiya through airbrush vyshkuren the ground, and then filled with metallic aluminum, and use masking tape and airbrush applied markers and "invasion stripes" on top of it all drenched glossy varnish (then tell why).
This is where the hidden "owl" - too carried away and missed the build process photography)
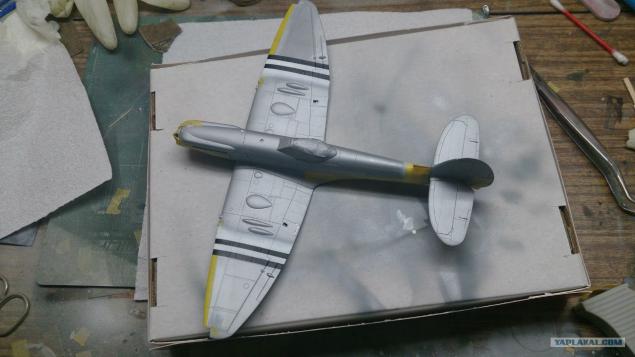
Here I am stuck with tape all unnecessary, it caused the dark gray of the Kamo and podtoniroval his "base + black" (this is Presheyding). Then it will help us create a cool effect irregularities sheathing panels
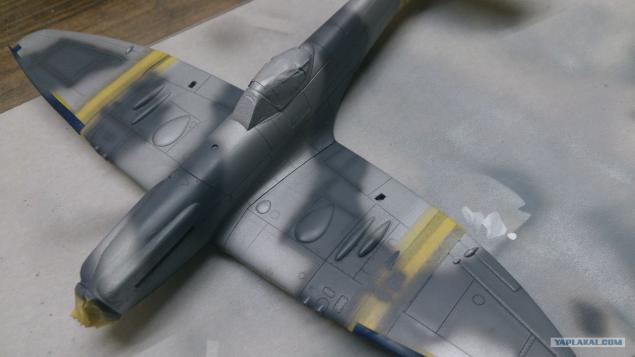
There masked dark gray thing called "color-stop" (something like liquid rubber) and inflicted deep green. I sent him presheyding
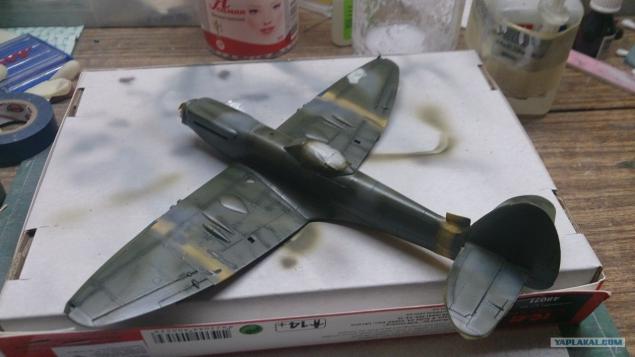
A little tinker contours gray spots)))
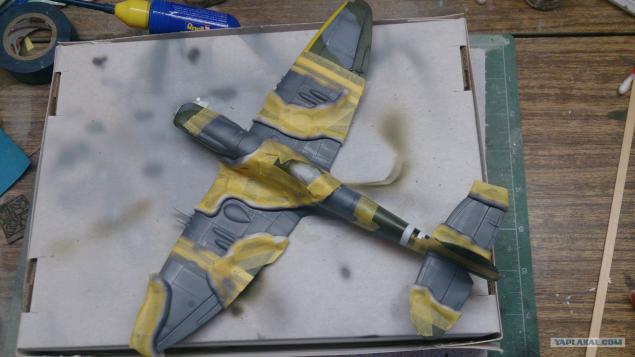
Output to remove the mask ... and the list of teams in the «GLADIATORS.WT»
Apply the mask with thick brine and wait until it dries
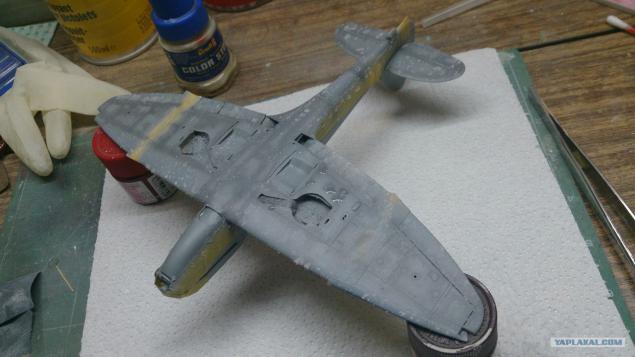
On the whole surface of the salt Blows "gray + white" waiting drying and remove salt. We get a very elegant surface (presheyding over) ... and now we take a toothpick and sometimes rip off the paint to metallic ... plane turned to ragged duralumin)))))))
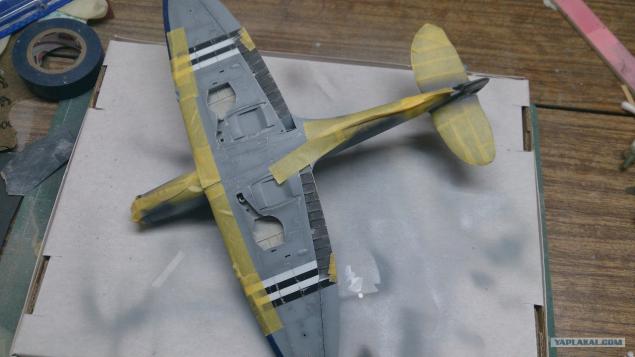
Stained landing gear and flaps
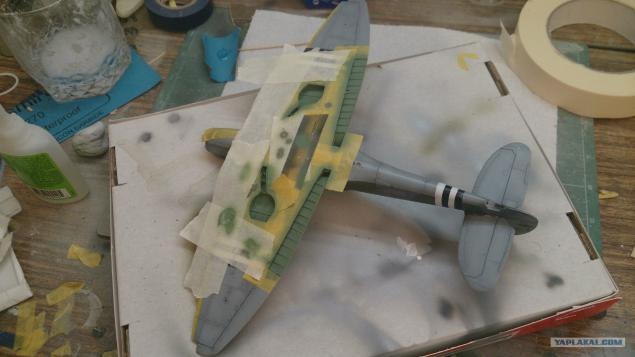
Here you can see the results presheydinga and "obdiringa»))
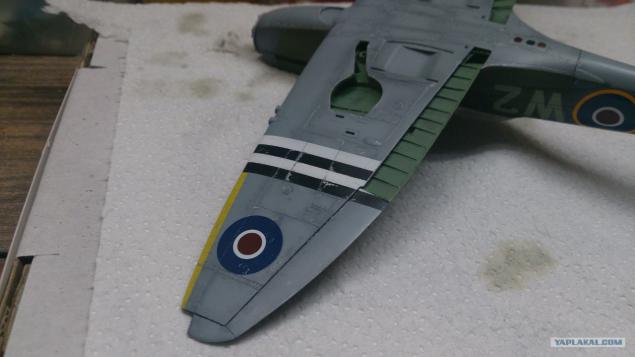
on decals I did not like the color of letter markers, so ... kserachim them stuck on the masking tape and cut stencils))
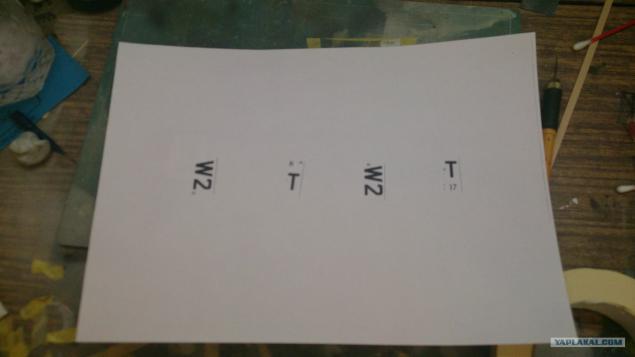
pasted on kraft
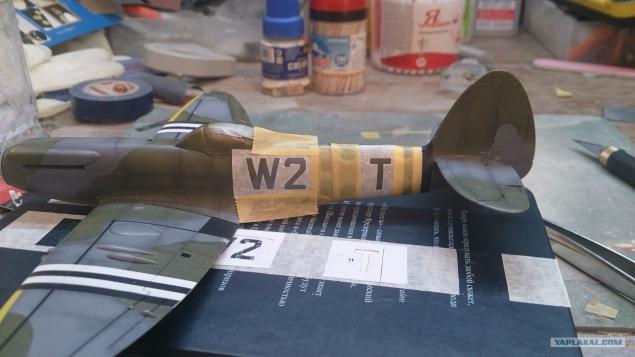
... And blows out the "kosher» Sky type «S»
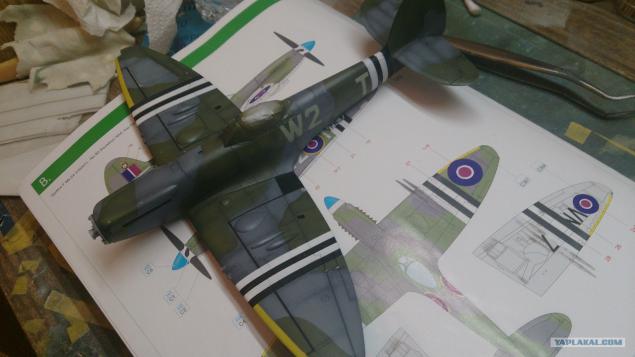
Engaged obdiringom and applying decals. when all this is done, the model is filled semi-gloss varnish and polished in the right places
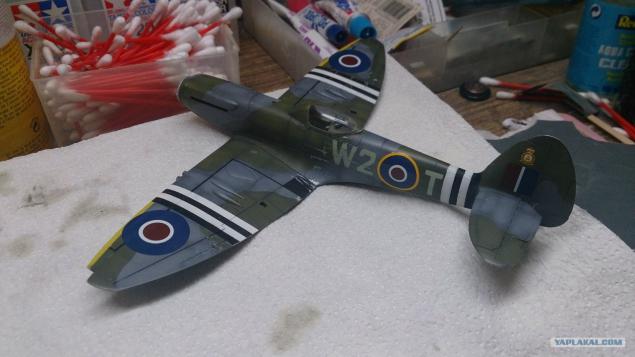
decal softens this muck. (Until dry appearance will be terrible, but then very gently decal will round all the irregularities)))
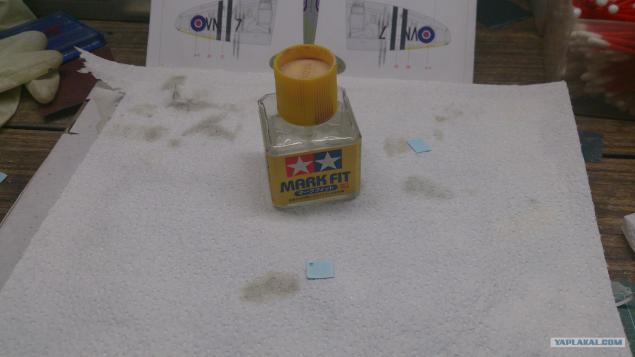
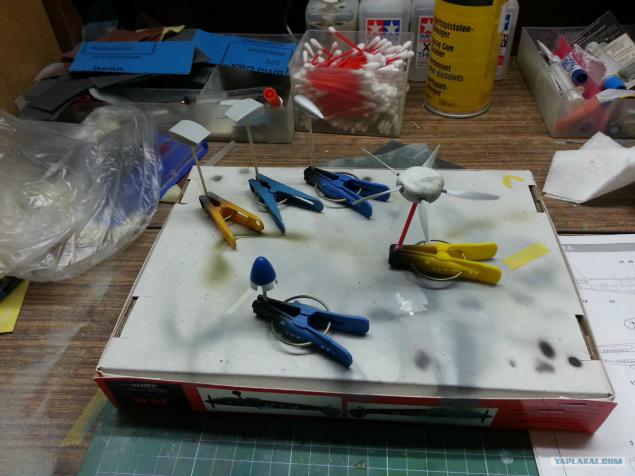
Paint small things
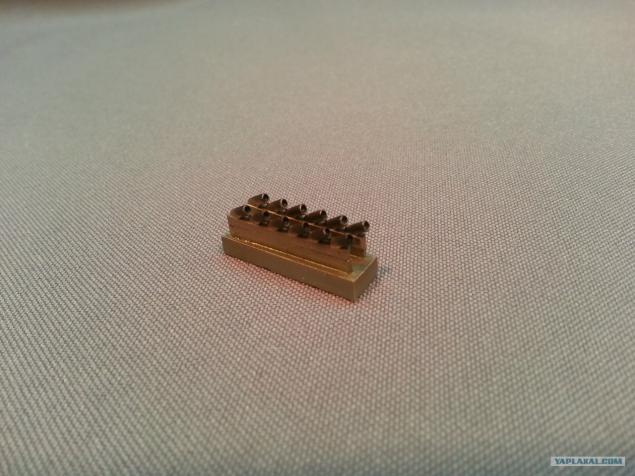
exhaust pipes
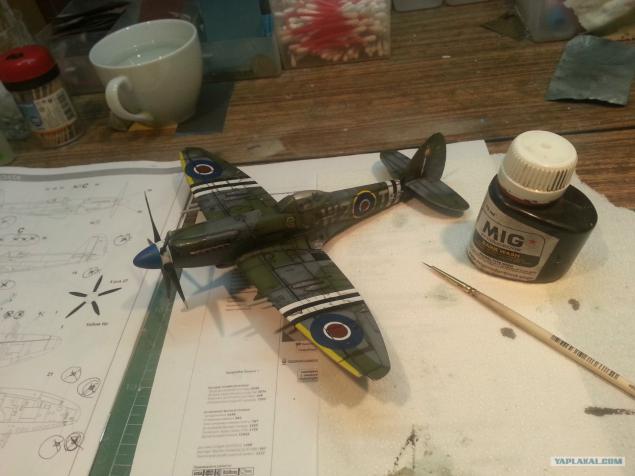
Apply the liquid-washes (with a fine brush to fill rasshivku) when vysohnet- wipe the excess tissue. This thing is beautiful highlights joints of panels, hatches, etc. ... Achtung !!! This slurry is applied only on the acrylic paint. Nitra dissolve it!
and he shone ....)))
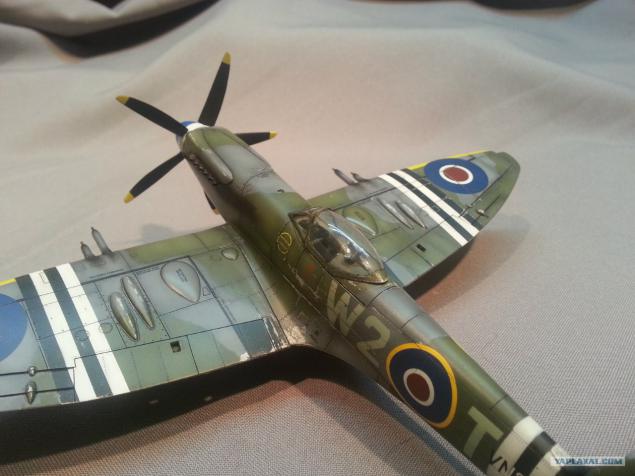
...
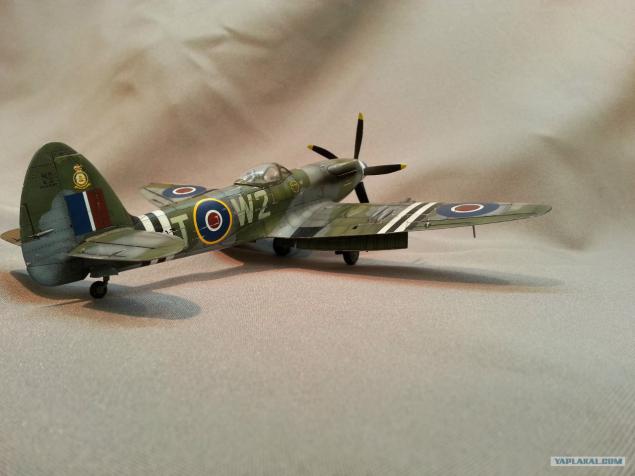
...
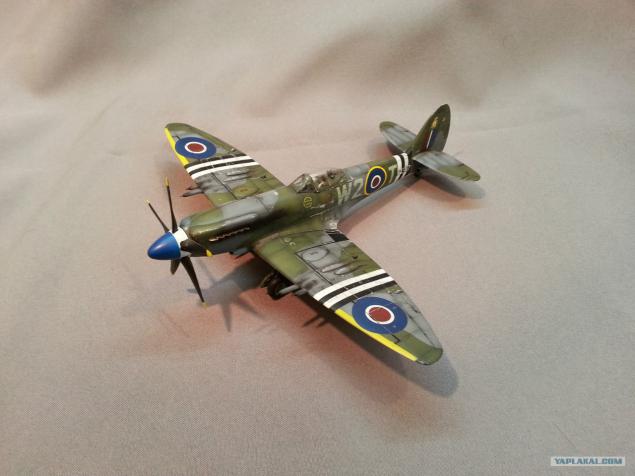
...
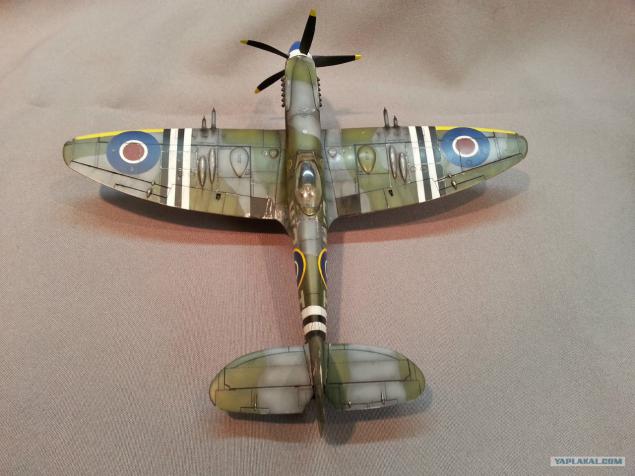
It is applied by airbrush guns fumes and exhaust
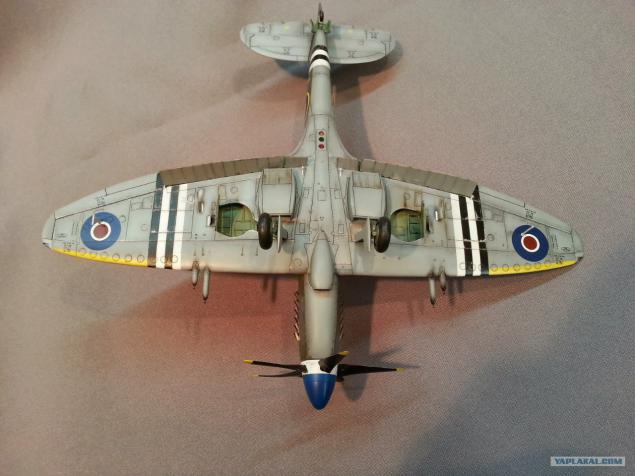
view of the flaps
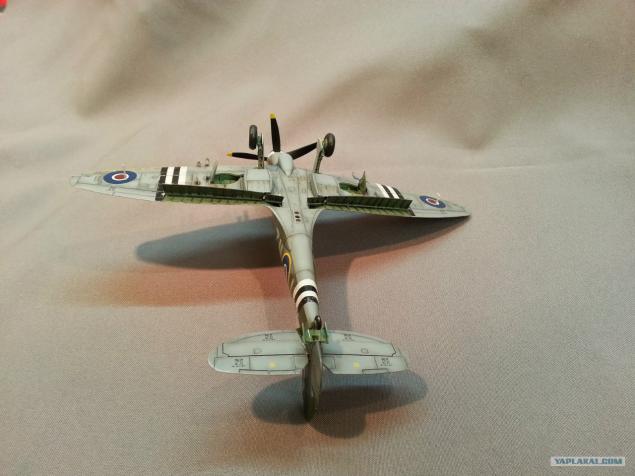
All right ... kick, ask., Break.
I forgot: in the final stage to apply the technology of oil weathering points, but it is not for beginners and voobshche a topic for another post
This device came to us from the Korean War, of 51 years, from the British Royal Air Force airbase in Hong Kong
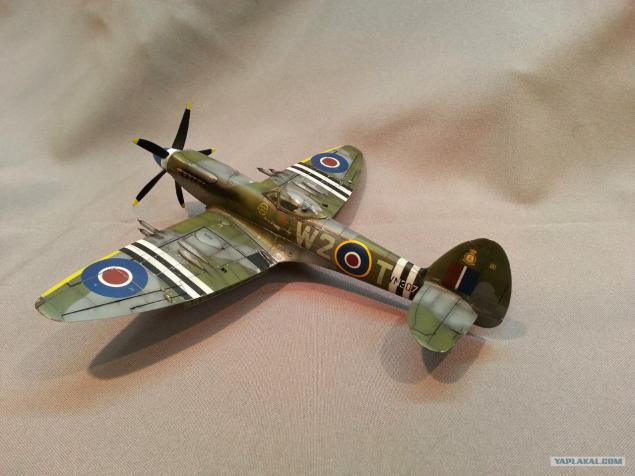
Now "on the stocks" that's the monster
It may be in places like the "drawing of an owl."

Operating instructions and deck, sweet podrachivat))

Stained parts of the cockpit. Airbrush, brush and washes (about it will be later)

Putting together the fuselage and wings, close and seal the cockpit (for more information on truck did not survive, but there is nothing interesting)
podshkurivaem, tinker. in general, ready to paint))

In this photo the model is filled with soil Tamiya through airbrush vyshkuren the ground, and then filled with metallic aluminum, and use masking tape and airbrush applied markers and "invasion stripes" on top of it all drenched glossy varnish (then tell why).
This is where the hidden "owl" - too carried away and missed the build process photography)

Here I am stuck with tape all unnecessary, it caused the dark gray of the Kamo and podtoniroval his "base + black" (this is Presheyding). Then it will help us create a cool effect irregularities sheathing panels

There masked dark gray thing called "color-stop" (something like liquid rubber) and inflicted deep green. I sent him presheyding

A little tinker contours gray spots)))

Output to remove the mask ... and the list of teams in the «GLADIATORS.WT»

Apply the mask with thick brine and wait until it dries

On the whole surface of the salt Blows "gray + white" waiting drying and remove salt. We get a very elegant surface (presheyding over) ... and now we take a toothpick and sometimes rip off the paint to metallic ... plane turned to ragged duralumin)))))))

Stained landing gear and flaps

Here you can see the results presheydinga and "obdiringa»))

on decals I did not like the color of letter markers, so ... kserachim them stuck on the masking tape and cut stencils))

pasted on kraft

... And blows out the "kosher» Sky type «S»

Engaged obdiringom and applying decals. when all this is done, the model is filled semi-gloss varnish and polished in the right places

decal softens this muck. (Until dry appearance will be terrible, but then very gently decal will round all the irregularities)))

Paint small things

exhaust pipes

Apply the liquid-washes (with a fine brush to fill rasshivku) when vysohnet- wipe the excess tissue. This thing is beautiful highlights joints of panels, hatches, etc. ... Achtung !!! This slurry is applied only on the acrylic paint. Nitra dissolve it!

and he shone ....)))

...

...

...

It is applied by airbrush guns fumes and exhaust

view of the flaps

All right ... kick, ask., Break.
I forgot: in the final stage to apply the technology of oil weathering points, but it is not for beginners and voobshche a topic for another post
This device came to us from the Korean War, of 51 years, from the British Royal Air Force airbase in Hong Kong

Now "on the stocks" that's the monster


