698
Kiberbotanika or how to dispose of old iron usefully
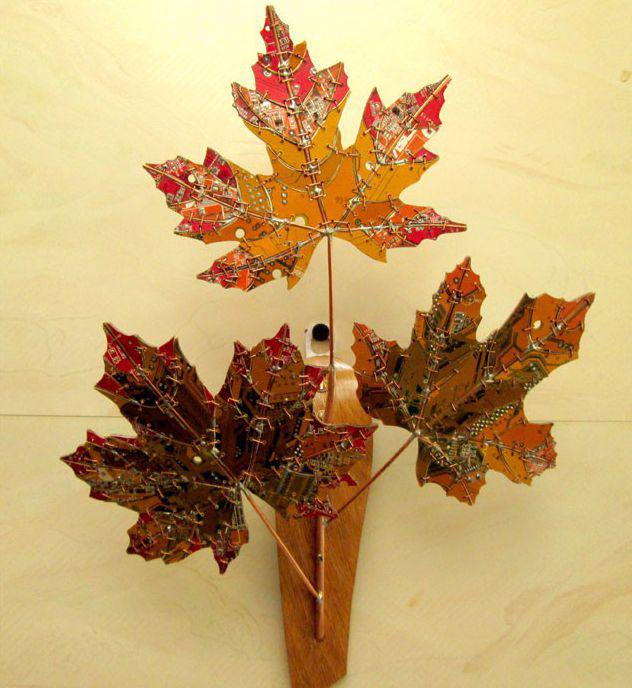
What to do with old iron? Each of us at least once, but given the matter. Many people think it's just the right throw, while others are dumped him on the balconies, and in garages, and some old stuff make this a work of art. Under the cut you will see the process of making the wedge plate of the old boards, and as a bonus to see the author's collection kibertsvetov. Leaves size commensurate with the real, and the overall dimensions of the miracle of about 30x20 cm.
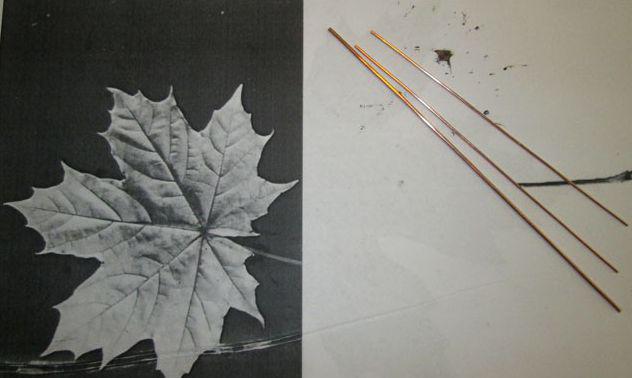
The first thing we draw maple leaves. But as an artist out of me no, I found pictures of leaves tyrnete and print. Prepare the wire for the frame sheet. Central vein I made of copper wire thickness of 1, 5 mm, two additional strands of a millimeter.
In additional veins in the middle of the groove and is forced to give the necessary geometry
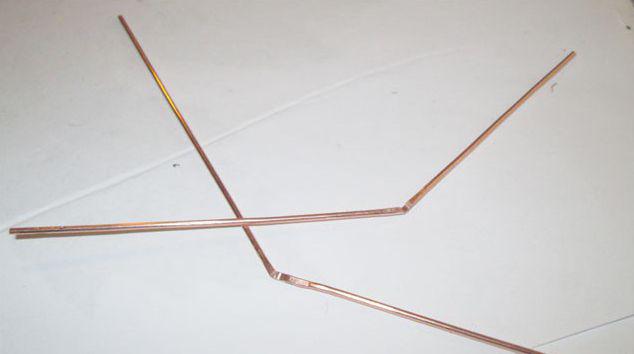
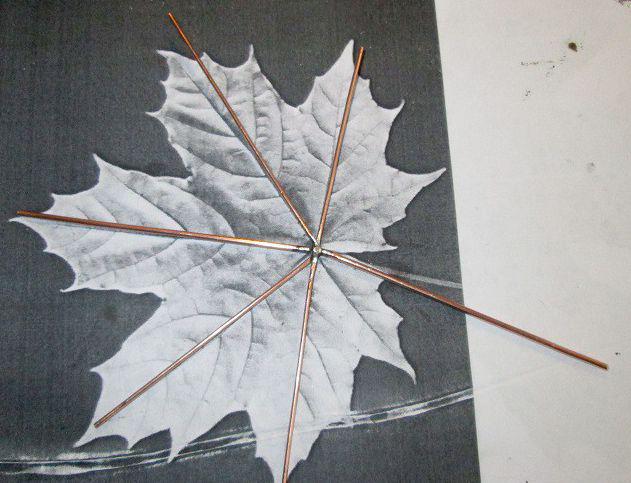
Payaem frame.
Now make blanks for small veins. I had a brass pin board from the burned pilot, and it involved. The strips should be cut width of not more than 1, 5 mm gemorno but feasible. Cut to the desired length, the middle of the drill holes are drilled 1 mm 2.
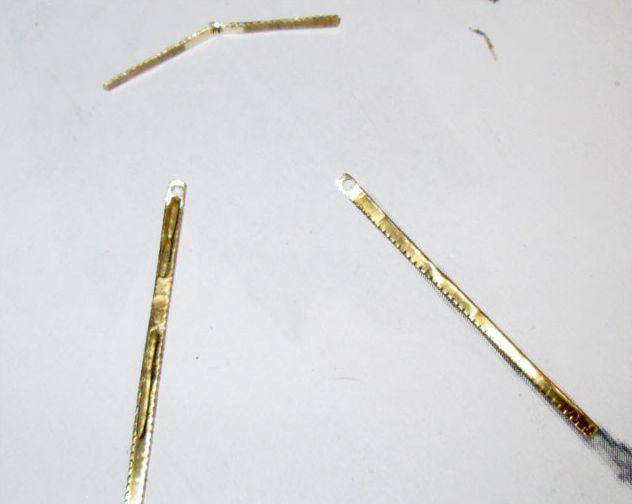
Again payaem.

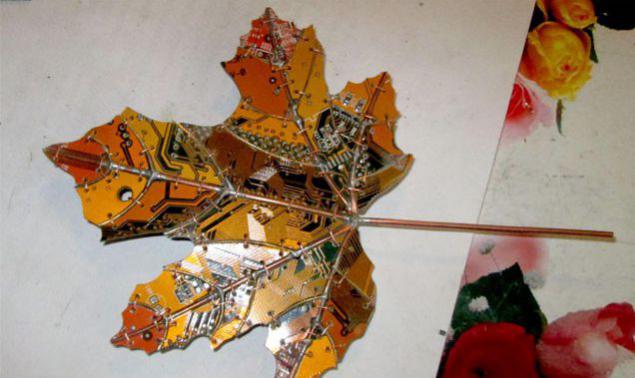
When finished with the frame, proceed to the assembly of "mosaic." This is interesting. Here I used mostly by older graphics card, they have the appropriate colors - yellow, orange, red. But it is not only in color, I tried to create some puzzles total pattern. The case is time-consuming, but entertaining. We select the desired area on the board, Scrollsaw it is processed at the wine press (+ sandpaper, needle files), drill holes on the perimeter for mounting a drill 0, 8 mm, inserted into the frame and twisting between a thin copper provlokoy.

While not collect sheet completely.
It may seem that such fasteners are not very reliable, but it is not. Ready leaf flip, twisting tightens and sealed them, and then remove the excess winepress.
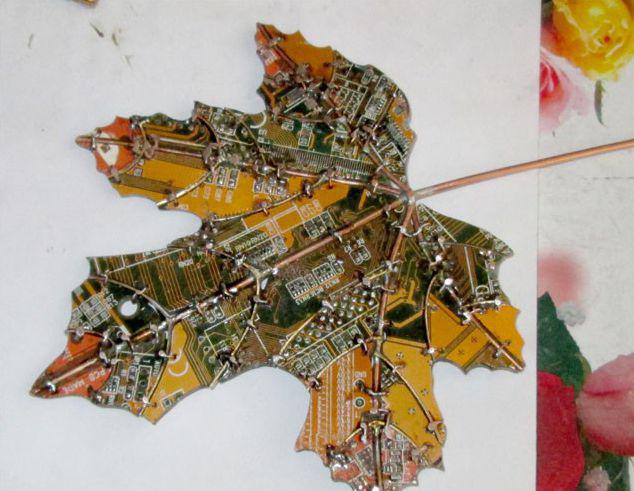
Otshkryabyvaem rosin, then thoroughly clean sheet on both sides of a toothbrush and alcohol. The procedure with the alcohol will have to repeat 2-3 times, depending on how the product zasrat when soldering rosin.
The same method of giving a second sheet, but I took a different shape and color replaced.
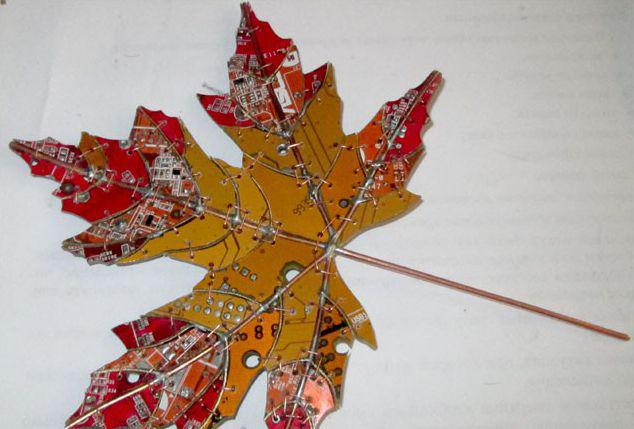
And last.
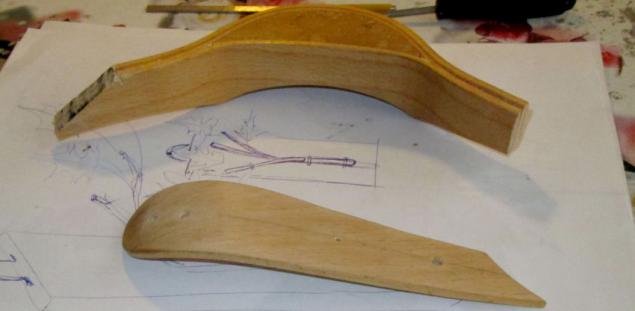
It remains to make a base. From the old wooden coat hanger cut the workpiece, we clean, drill the necessary holes. At the shoulders are not symmetrical shape, so I do not cut evenly and diagonally and in an arc - like the super design solution
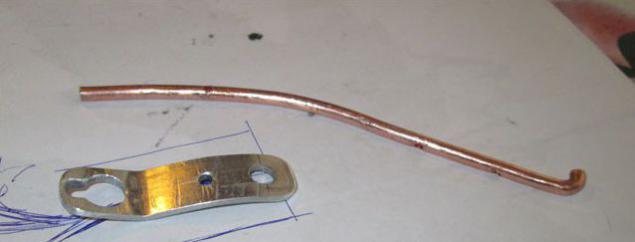
Aluminium 1, 5 mm makes a loop for mounting on the wall of a piece of copper wire 4 mm - the main "stem". Leaves will be connected to it by soldering, so it is necessary to make holes for tails leaves. One in the upper end of the drilled vertically (6 mm deep), the other two sides, with the drill angle.
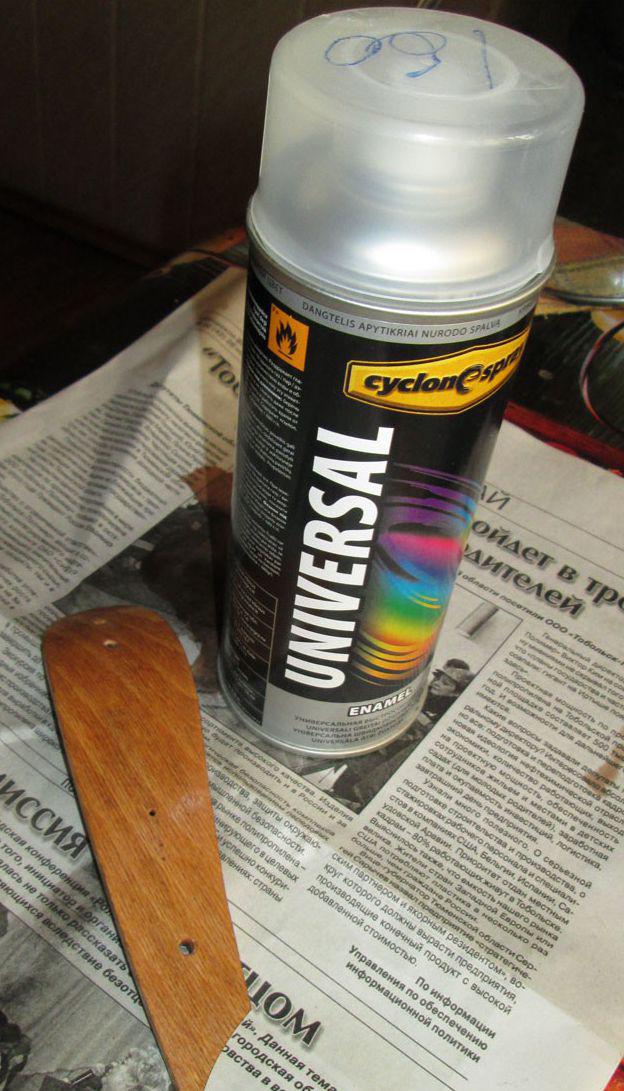
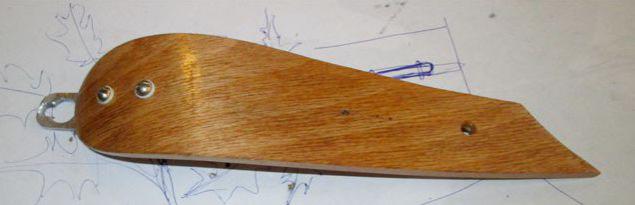
To our foundation more like maple, I walked on it and stains caused 3 layers of varnish. No more, I did not want it strongly shone. Luck I use this here:
This varnish - spray, it is very fluid, it spreads easily. Here's the finished ground.
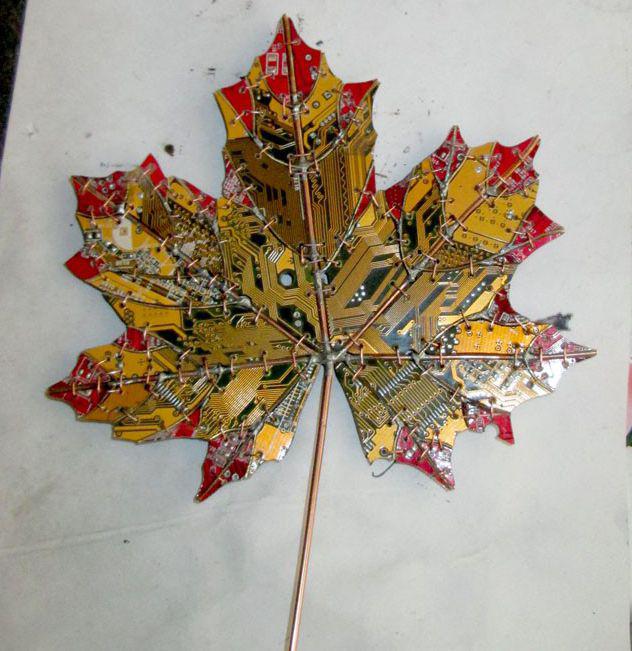
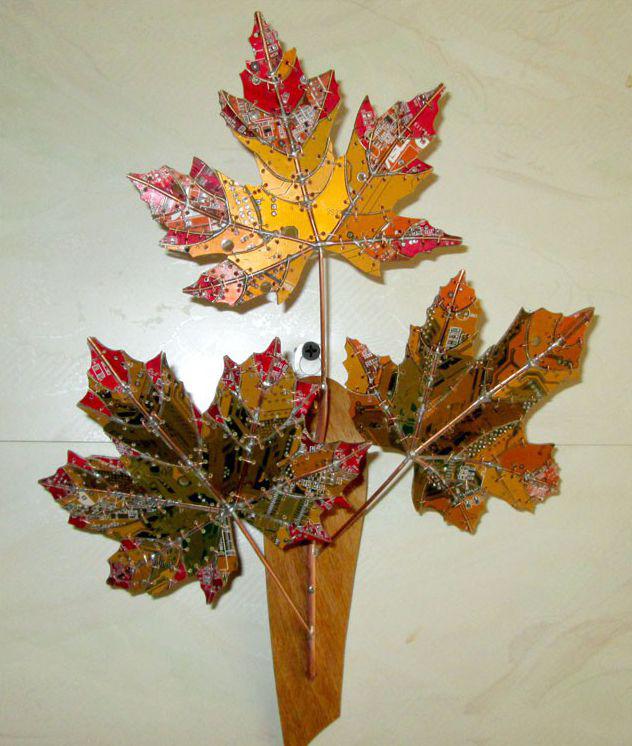
Well, the last chord - payaem leaves from the stalk. All.
And here is the promised collection kibertsvetov. Impressive, is not it?
those who judged the HDD, probably learned wheels at the bottom. Rays - contact strips expansion cards brought whetstone, leaves cut from motherboards, controller cards HDD, etc. In the center of a sunflower concentric coil from floppy.

On the basis of the color wheel from very old HDD, they are thicker and are markedly different in color. Such a pleasure to hold in their hands.
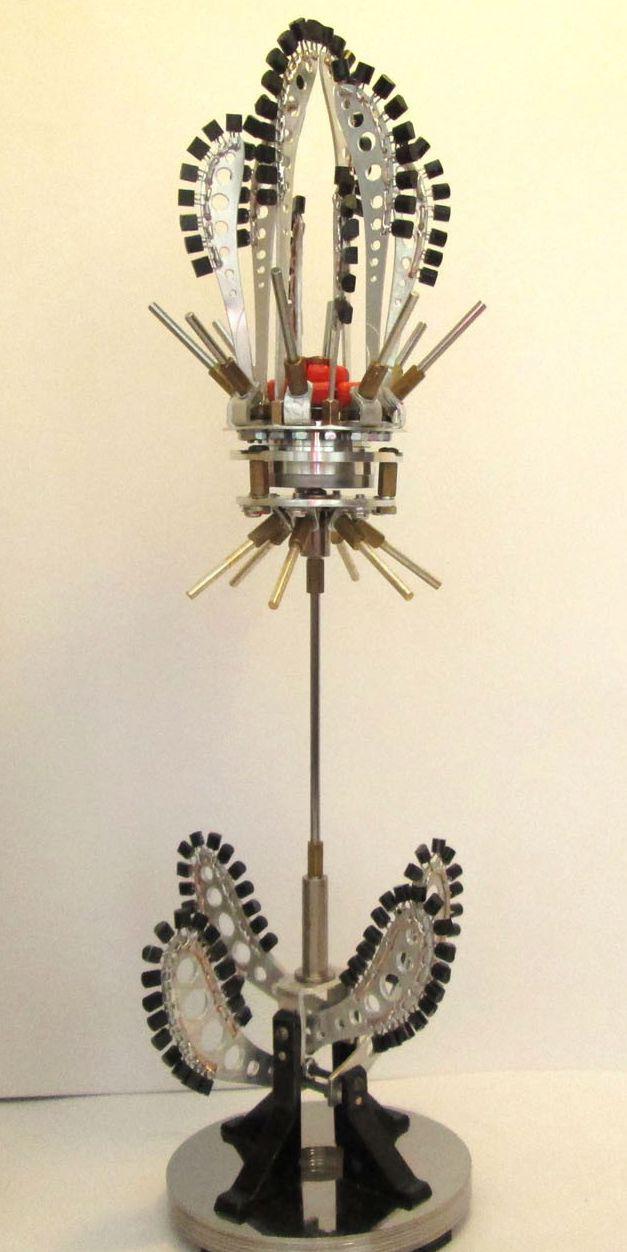
Well, from all coil actuators, transistors and capacitors to all boards.
A variation on what to do with a bunch of blue and yellow capacitors.
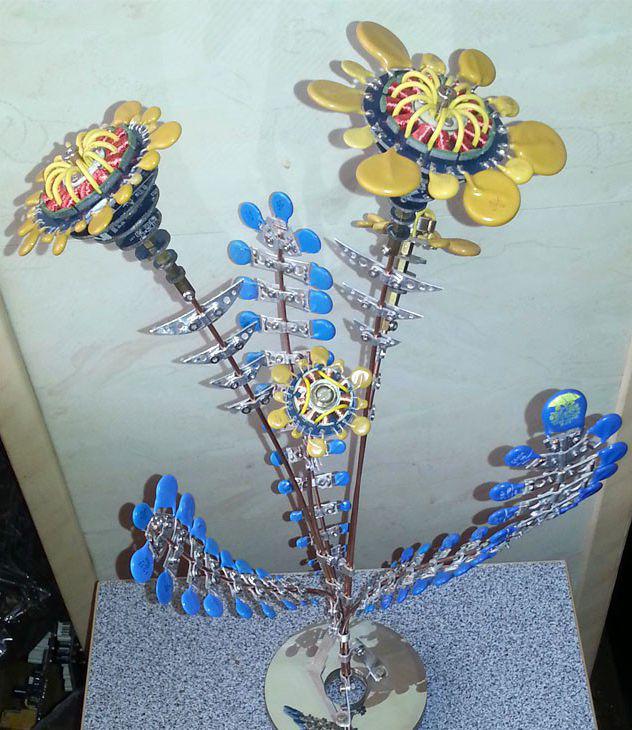
slightly different angle.
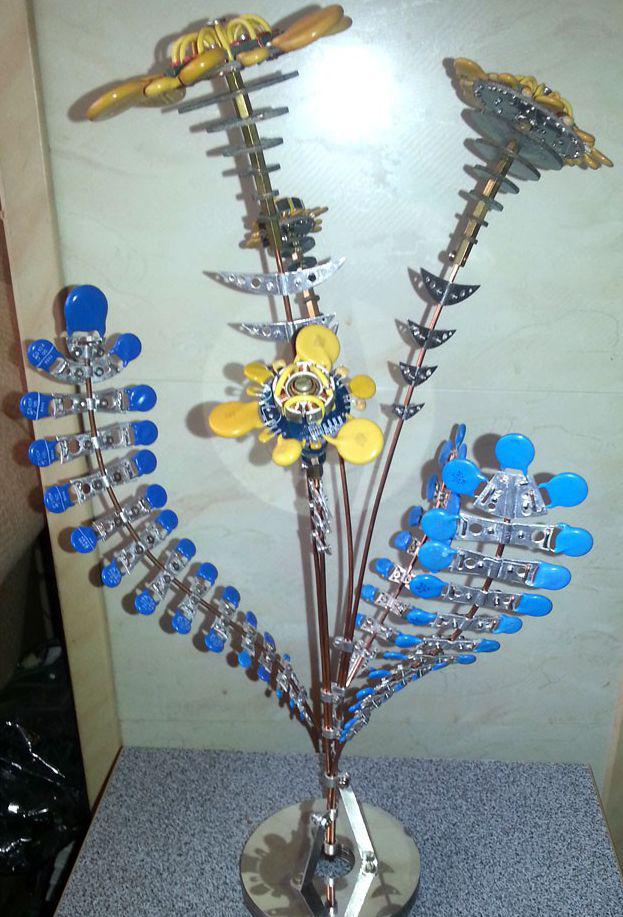
Here is the finished yesterday, though the photo is not very good, but oh no photographer from me, Sirri.
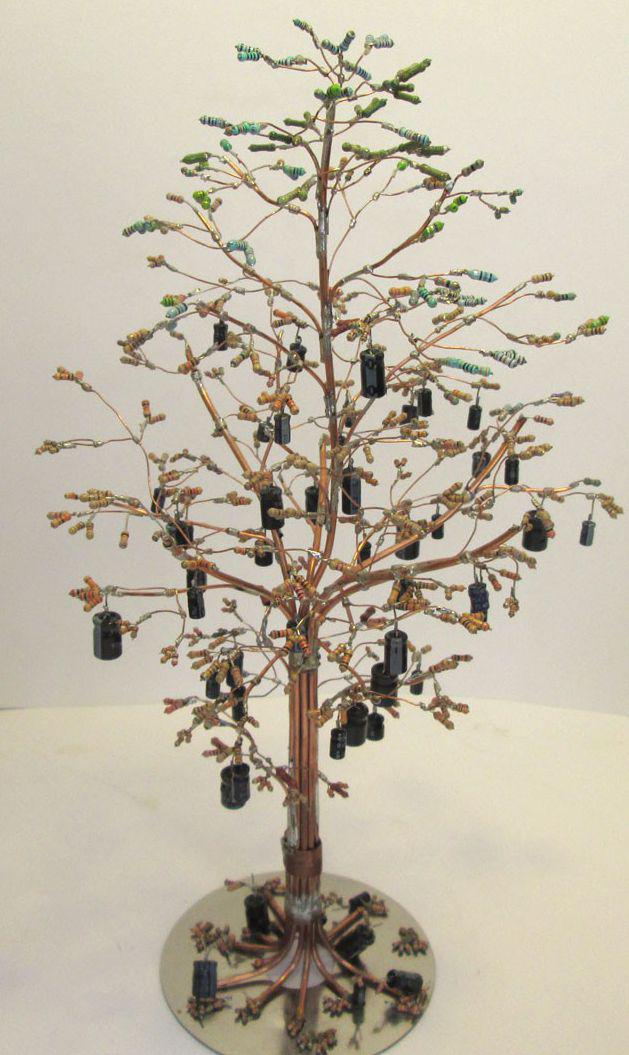
And the last. From this humble my flowers and trees began.
Source: nemetss
--img25--
Source:

The first thing we draw maple leaves. But as an artist out of me no, I found pictures of leaves tyrnete and print. Prepare the wire for the frame sheet. Central vein I made of copper wire thickness of 1, 5 mm, two additional strands of a millimeter.

In additional veins in the middle of the groove and is forced to give the necessary geometry

Payaem frame.

Now make blanks for small veins. I had a brass pin board from the burned pilot, and it involved. The strips should be cut width of not more than 1, 5 mm gemorno but feasible. Cut to the desired length, the middle of the drill holes are drilled 1 mm 2.

Again payaem.

When finished with the frame, proceed to the assembly of "mosaic." This is interesting. Here I used mostly by older graphics card, they have the appropriate colors - yellow, orange, red. But it is not only in color, I tried to create some puzzles total pattern. The case is time-consuming, but entertaining. We select the desired area on the board, Scrollsaw it is processed at the wine press (+ sandpaper, needle files), drill holes on the perimeter for mounting a drill 0, 8 mm, inserted into the frame and twisting between a thin copper provlokoy.

While not collect sheet completely.

It may seem that such fasteners are not very reliable, but it is not. Ready leaf flip, twisting tightens and sealed them, and then remove the excess winepress.

Otshkryabyvaem rosin, then thoroughly clean sheet on both sides of a toothbrush and alcohol. The procedure with the alcohol will have to repeat 2-3 times, depending on how the product zasrat when soldering rosin.
The same method of giving a second sheet, but I took a different shape and color replaced.

And last.

It remains to make a base. From the old wooden coat hanger cut the workpiece, we clean, drill the necessary holes. At the shoulders are not symmetrical shape, so I do not cut evenly and diagonally and in an arc - like the super design solution

Aluminium 1, 5 mm makes a loop for mounting on the wall of a piece of copper wire 4 mm - the main "stem". Leaves will be connected to it by soldering, so it is necessary to make holes for tails leaves. One in the upper end of the drilled vertically (6 mm deep), the other two sides, with the drill angle.

To our foundation more like maple, I walked on it and stains caused 3 layers of varnish. No more, I did not want it strongly shone. Luck I use this here:

This varnish - spray, it is very fluid, it spreads easily. Here's the finished ground.

Well, the last chord - payaem leaves from the stalk. All.

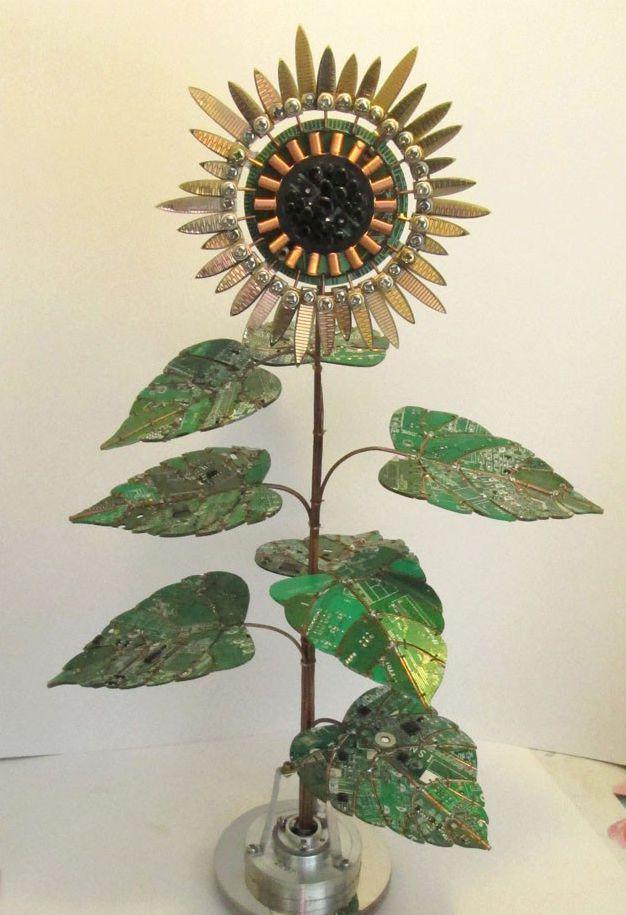
And here is the promised collection kibertsvetov. Impressive, is not it?

those who judged the HDD, probably learned wheels at the bottom. Rays - contact strips expansion cards brought whetstone, leaves cut from motherboards, controller cards HDD, etc. In the center of a sunflower concentric coil from floppy.

On the basis of the color wheel from very old HDD, they are thicker and are markedly different in color. Such a pleasure to hold in their hands.

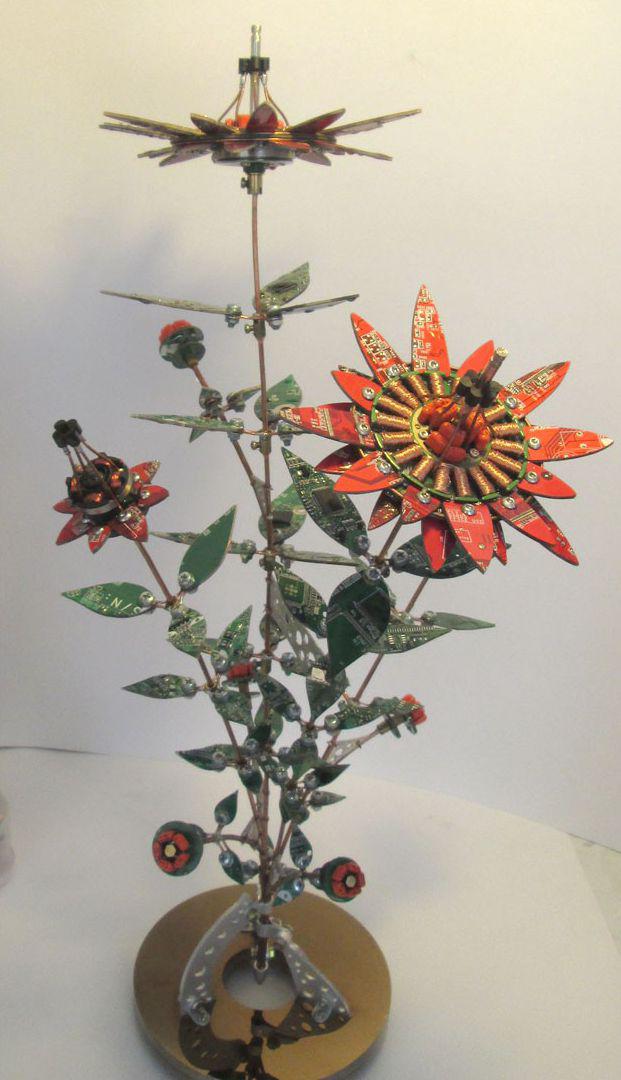
Well, from all coil actuators, transistors and capacitors to all boards.

A variation on what to do with a bunch of blue and yellow capacitors.

slightly different angle.

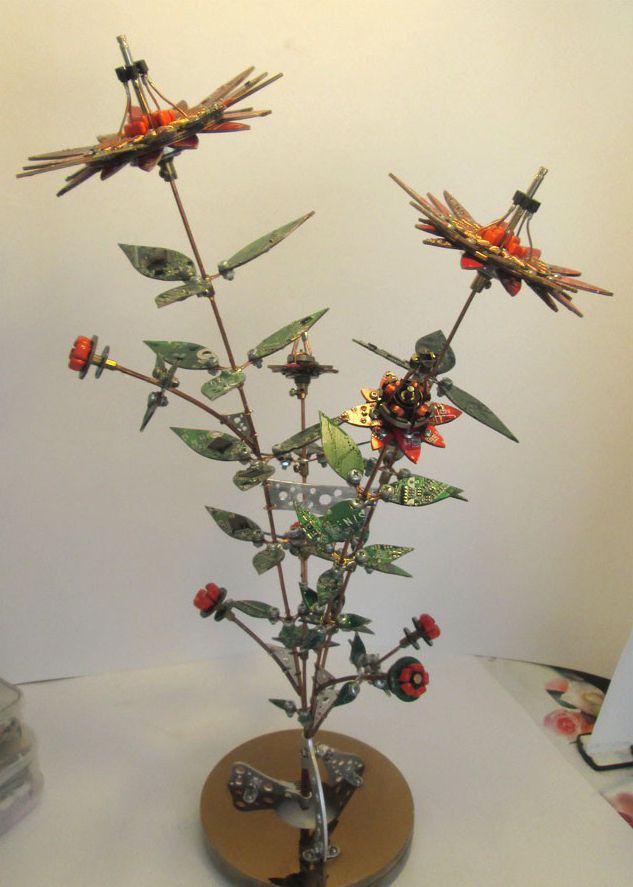
Here is the finished yesterday, though the photo is not very good, but oh no photographer from me, Sirri.

And the last. From this humble my flowers and trees began.

Source: nemetss
--img25--
Source: