1386
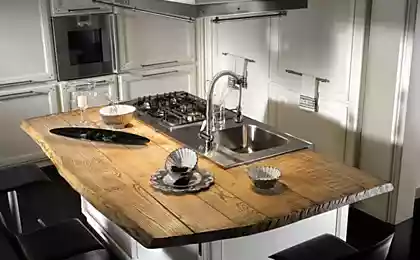
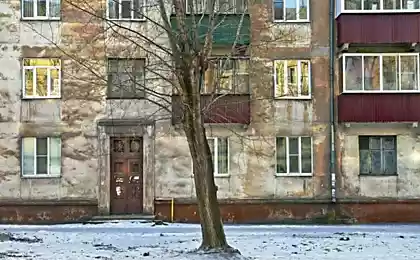
Kitchen and bathroom on the second floor with their hands
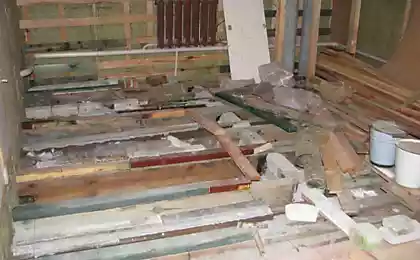
Says the author: So, it was necessary to make the kitchen on the second floor. Rooms there have been made long ago. Made together with his father, for hiring someone to a particular work is more expensive. Fotkat decided later, so this kind of original. The bare beams of the first floor. Between the beams were put metal channel bars for reinforcement. Brought level with tie bars for laying bathrooms. All bars obrabotalis antiseptic from insects and rot. Wall pictures in the middle - the carrier, it will then lockers and a gas cooker. The walls are insulated with mineral wool.
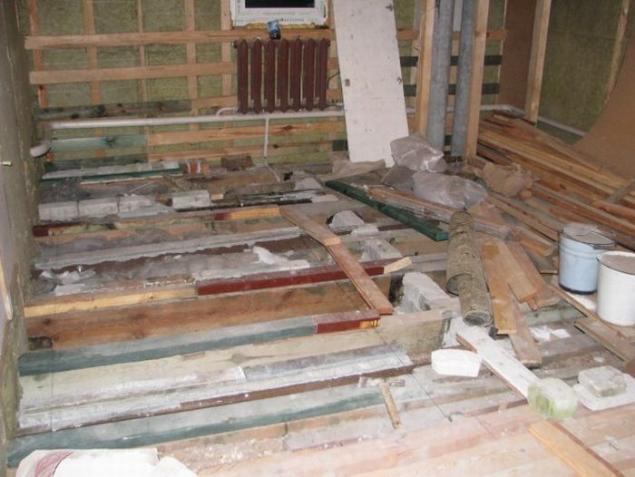
On beams put a sheet of steel with a thickness of 2, 5 mm to tie did not play then.
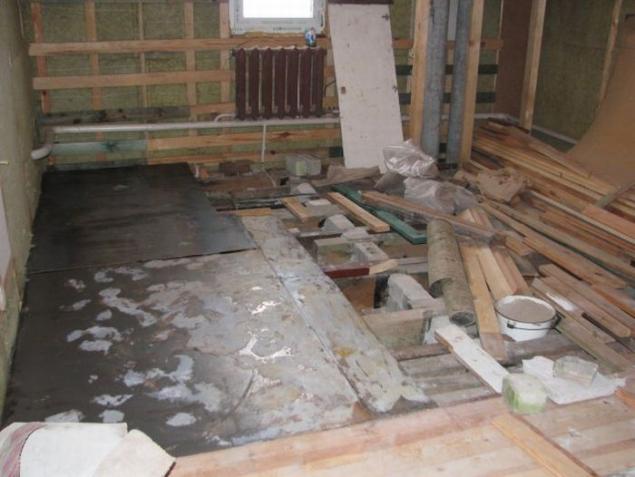
This is a view of the entrance to the future kitchen with a bathroom. Every right stuff
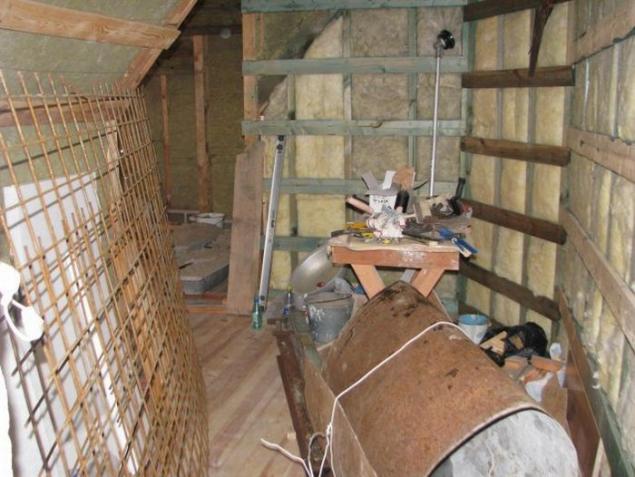
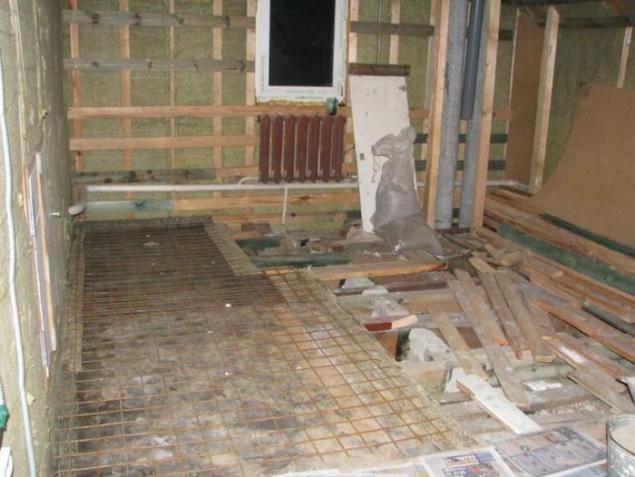
Put a metal grid.
Fill screed, cement M500 1 3
Visible water drain hole
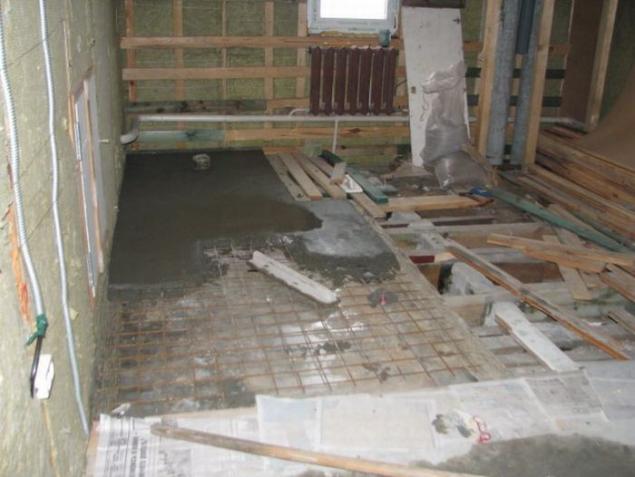
Screed grab a little drag floorboards, planed pine.
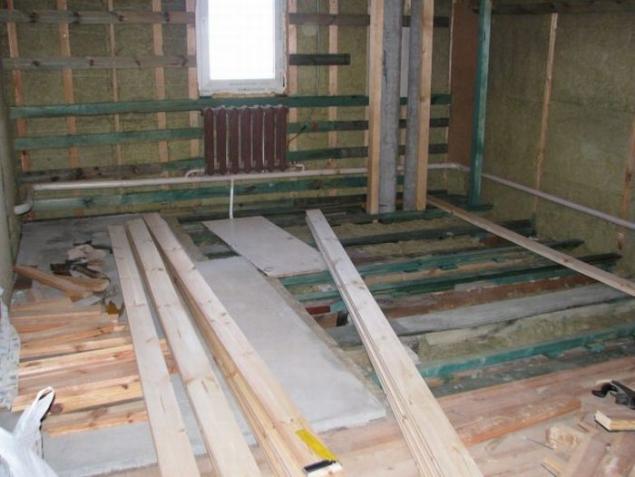
Contractible floor, the first stage. A month later he would chip again to remove the gap.
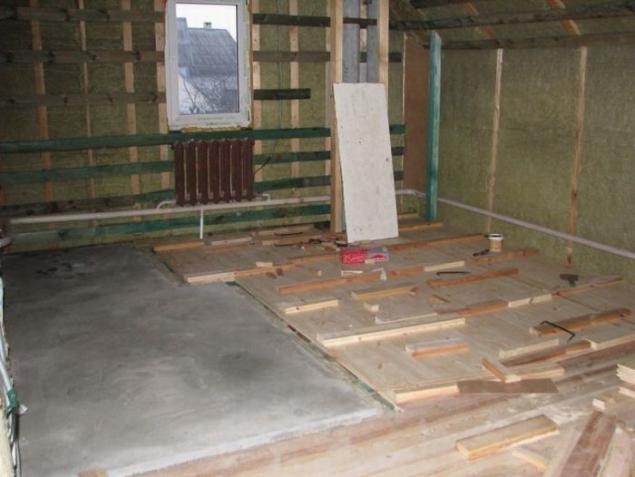
Screed grabbed, pulled floor. Put the rack wall between bathroom and kitchen.
And we are not fixed to the ceiling, as it is unreliable and the findings in the attic, there is contractible two long bars, nailing racks and bars to the joists. All racks smooth dry, exposed on the level.
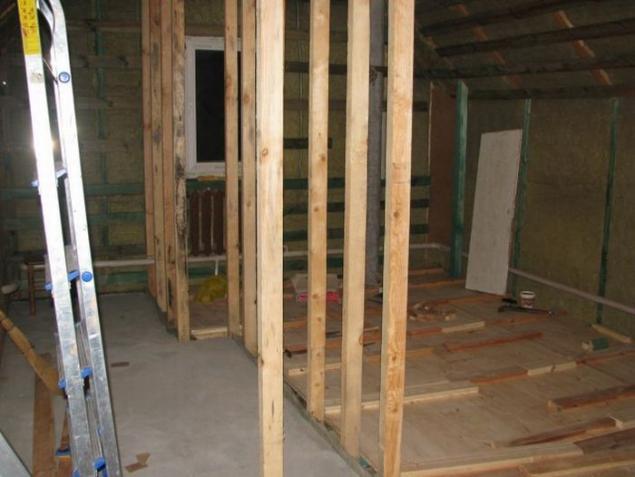
While the essence of the matter, I pull electrician. Only two input for this room, one power 25A - water heater, kettles, stiralki. 16A second - rest. Total - seven double sockets with earthing.
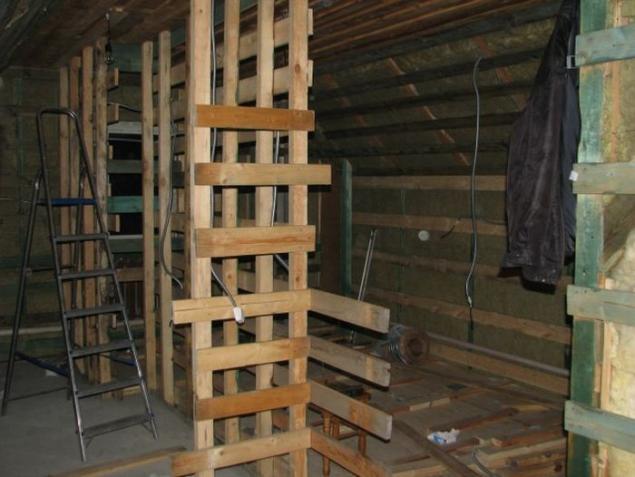
Insulated barrier foam and mineral wool, more than likely for sound insulation. And fed piecemeal drywall. Green in the bathroom, the kitchen white.
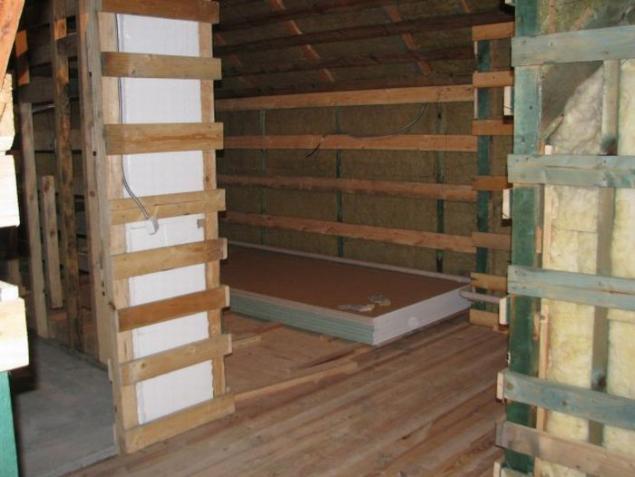
Getting cardboard screw screws. For this was bought screwdriver.
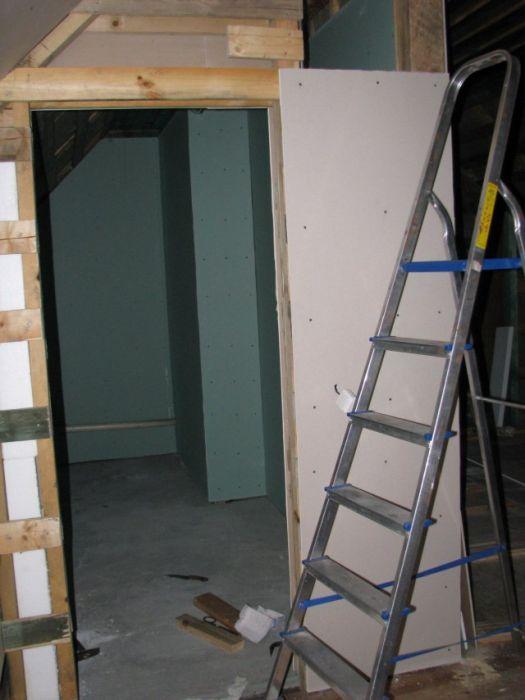
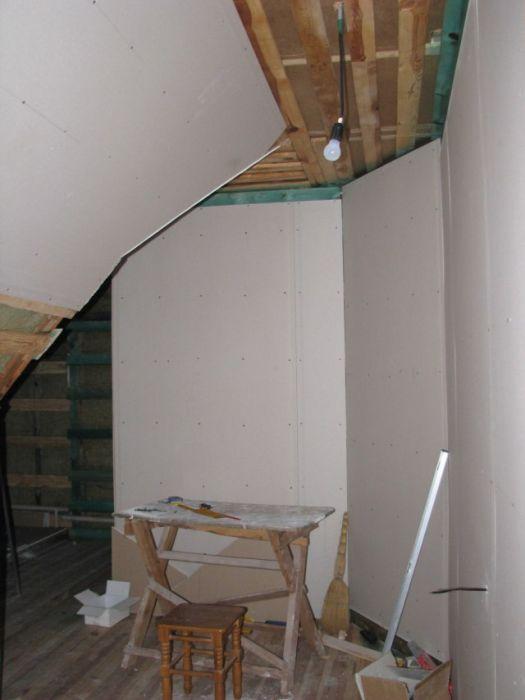
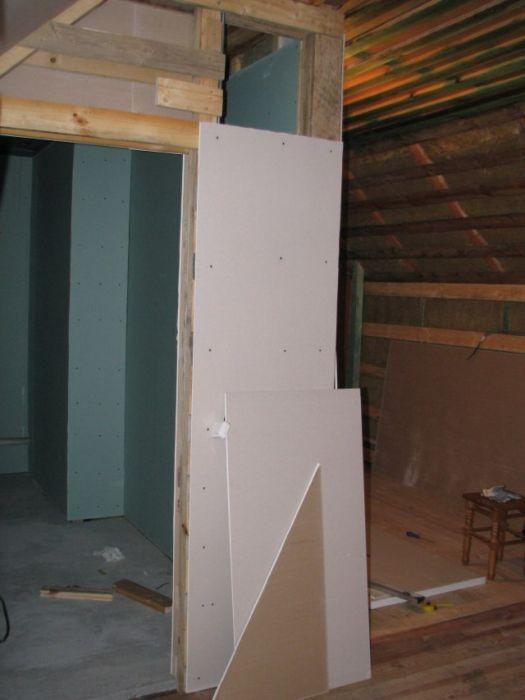
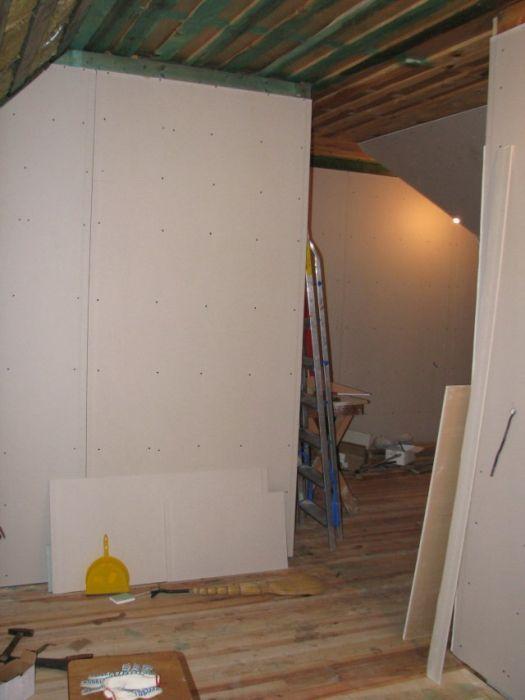
Pipes ventilation stitched, turned nook. There to do the type of locker and shelves.
Well ventilation hole nofsyakey done. For slabs will still separate ventilation.
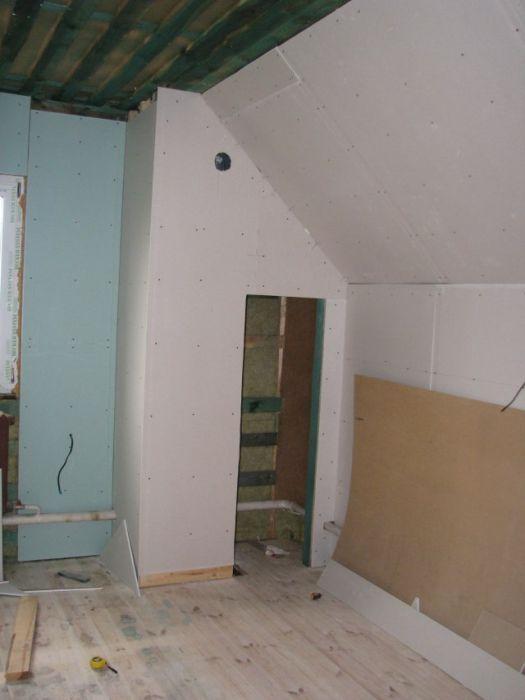
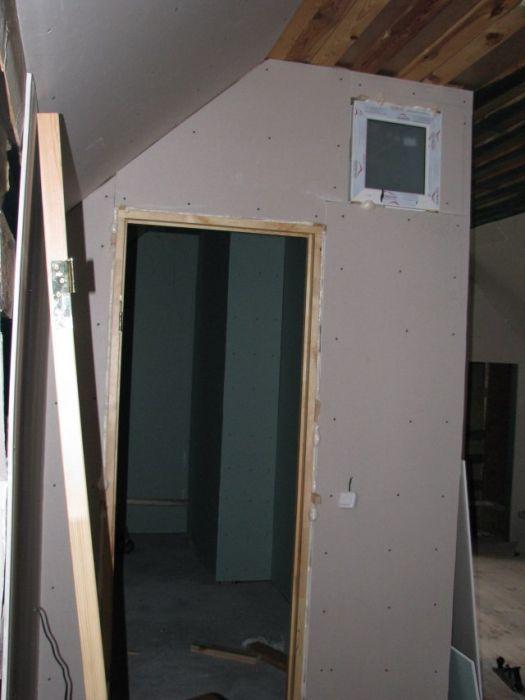
Insert the window and the door to the bathroom. Window to see if the light is turned off white friend. Incidentally checked light provides enough
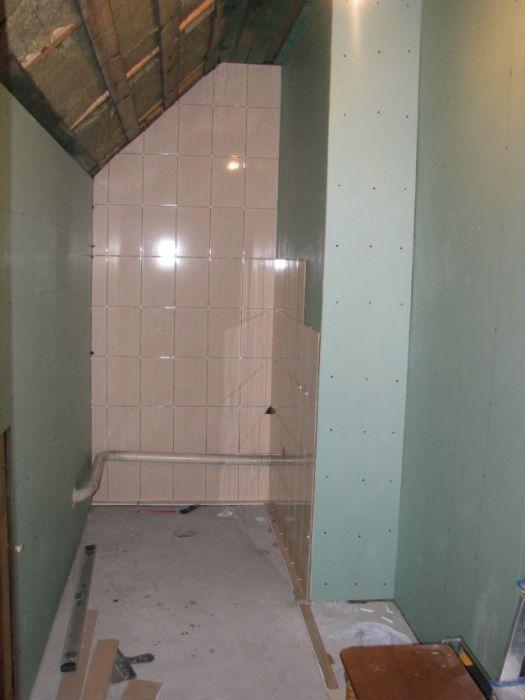
we put the tiles starting with bathrooms. Domestic paving - Berezovsky Tile Plant. Clay Lux Plus for exterior - something !!!
Paul will draw a second time. And it starts gypsum plaster, plain white Acryl Putz.
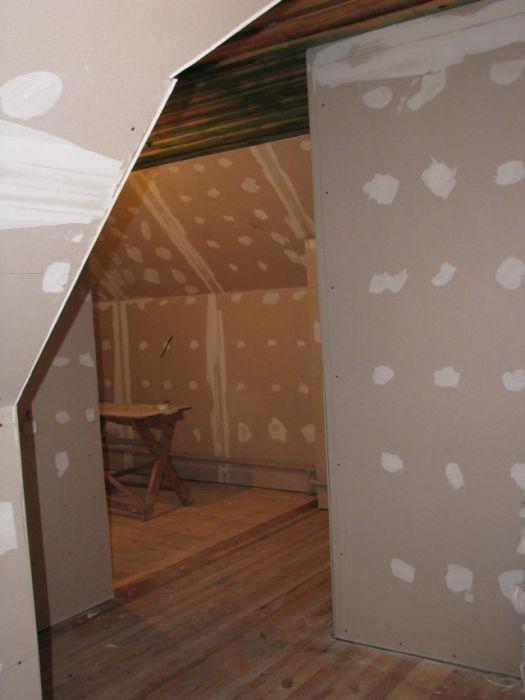
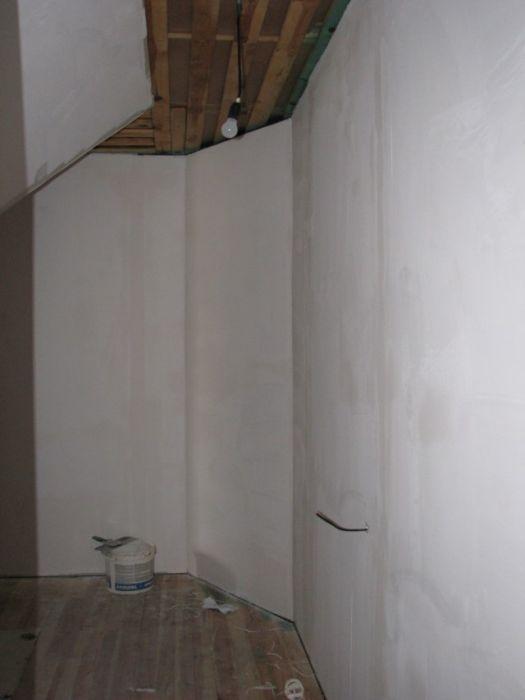
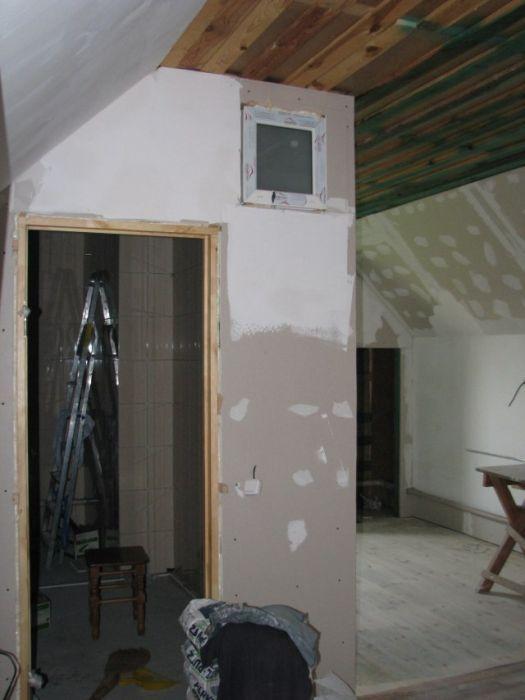
Bought MDF plastic ceiling, the wife approved.
He began to beat his stapler, sparing no staples.
In the case set to 30mA RCD 25A input.
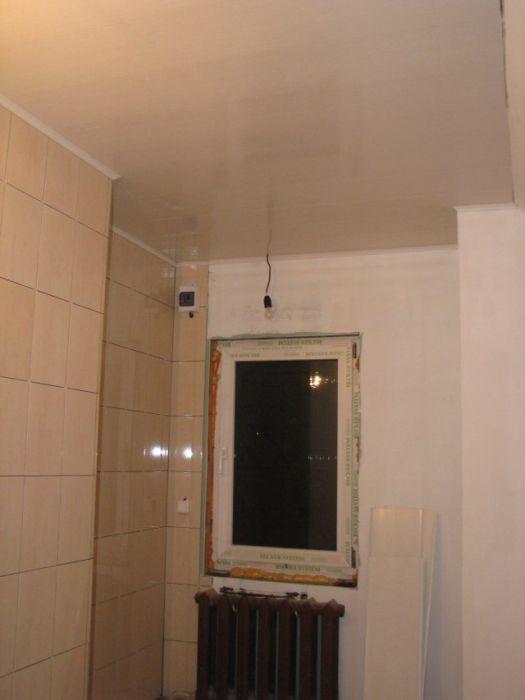
Ceiling, well, screwed sockets. And all powered 7 now, before working 2 wires sticking out of the wall.
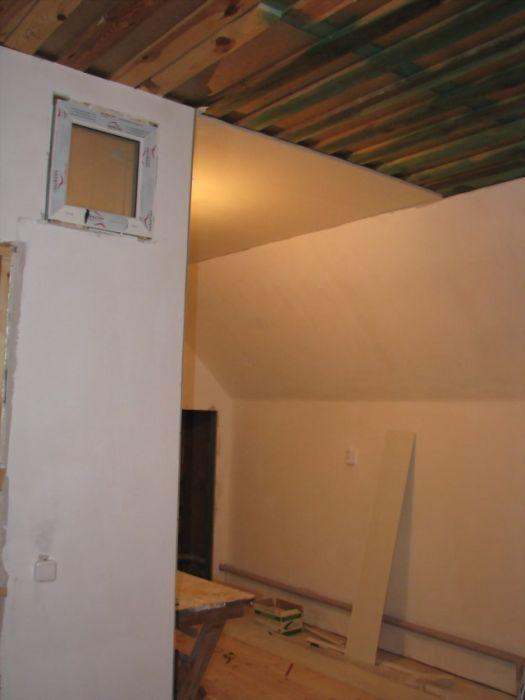
Paul poshlifovan and covered with gloss varnish
We are not sanded.
He began to lead water pipe metal-base.
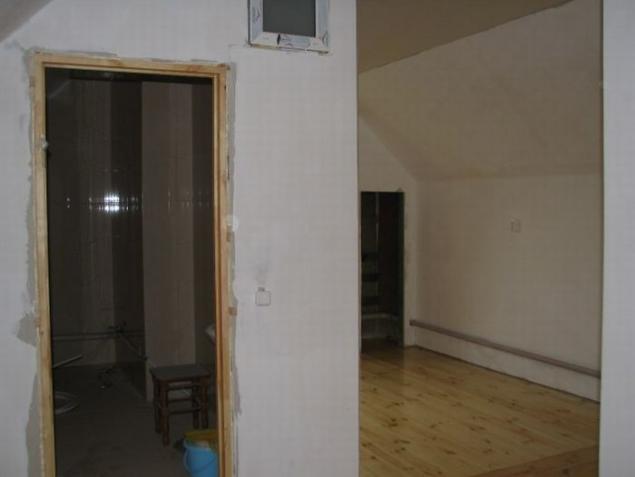
Here it is metal-base and put cold water.
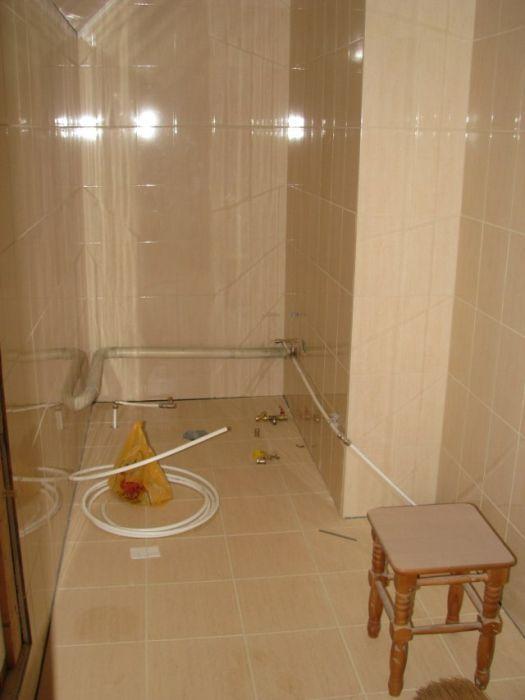
I put the sink by screwing it to the pre-scheduled bars in the partition
The sink linen for sealing threaded pipe joints.
And the drawing, by the way, made in the form of pictures, the dimensions printed on the printer. very comfortably!
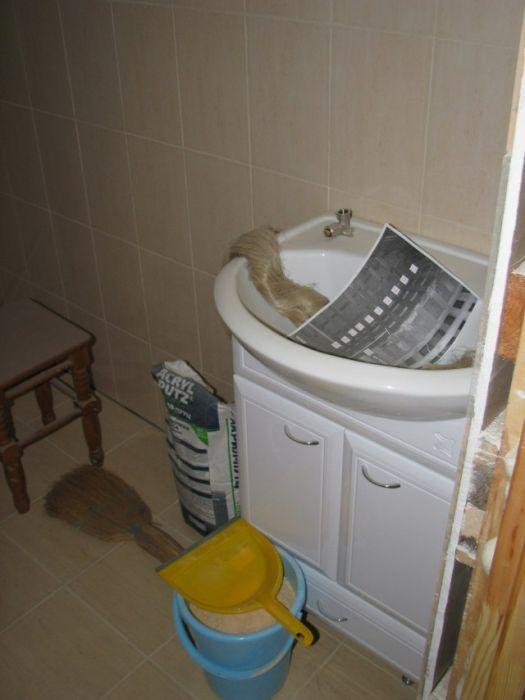
Pipe mounted water heater hanging, but still not warm
In the corner of 2 meters 50 mm sewer pipe
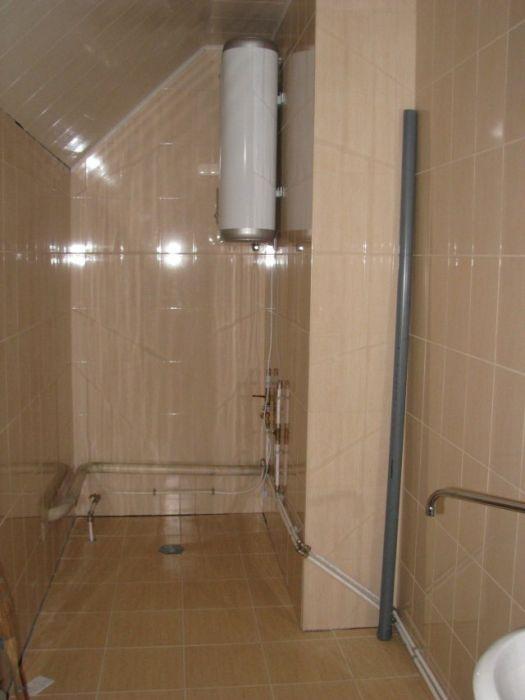
Test run the water in the bucket and check leakage. Drip only dirt filter, which was not holding pressure, but the Doge and everything is OK.
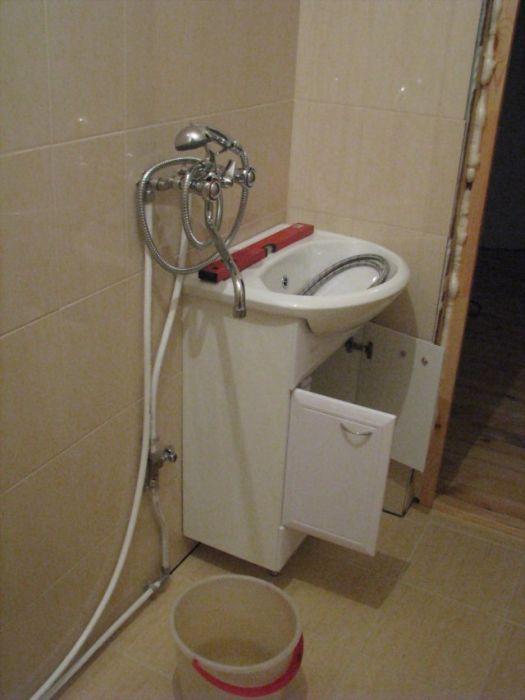
Mounted toilet, bathtub, conducted sewage. And the heater warms.
Sometimes stiralku bought and decided to just drag on the second floor. Erases
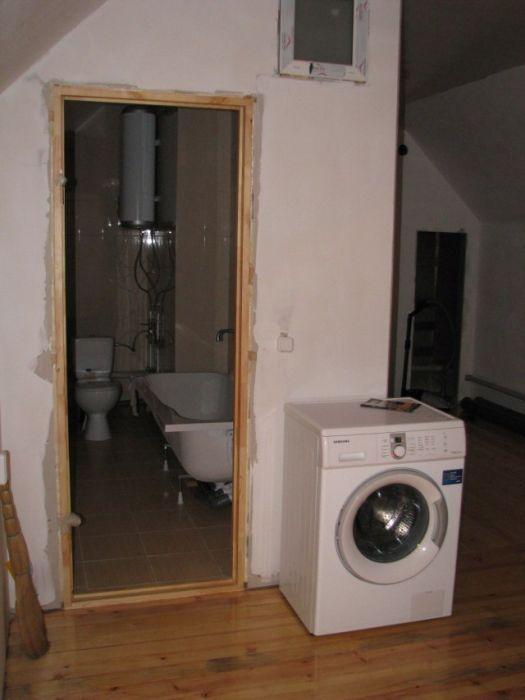
WC
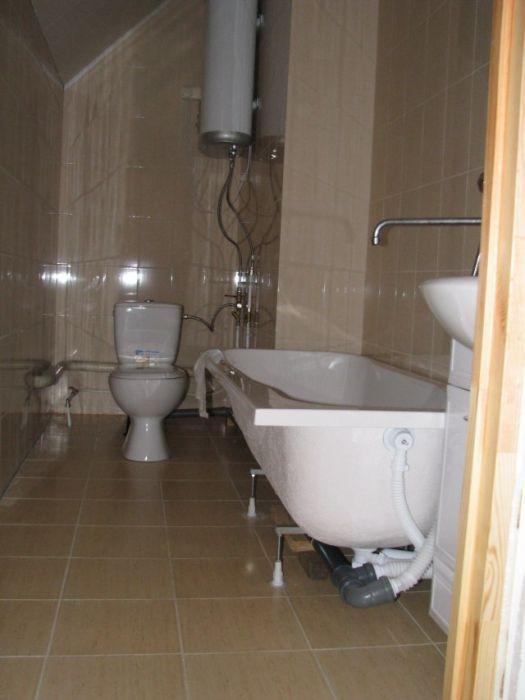
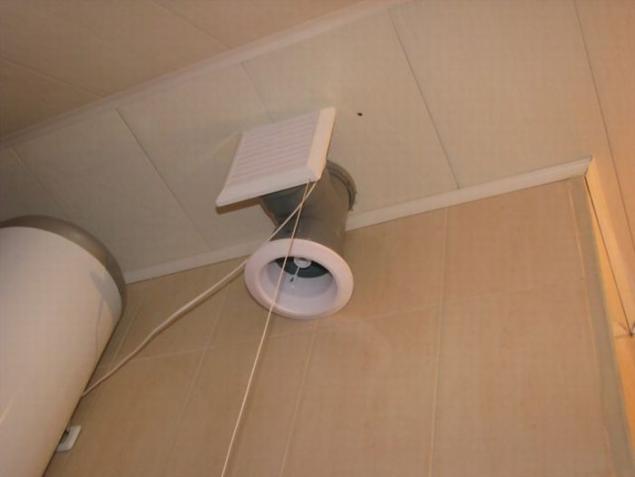
Ventilation bathrooms. It was decided to make the knee in one - a fan with shutters, turned on - opened.
Second - diffuser cover with wrap. In summer it is unscrewed and the air is extracted naturally. In winter it is screwed, and a fan is used as needed, so that the heat did not go away for nothing.
Cooking apparatus. Too right. But the gas in the kitchen only a month, all-you know, the season.
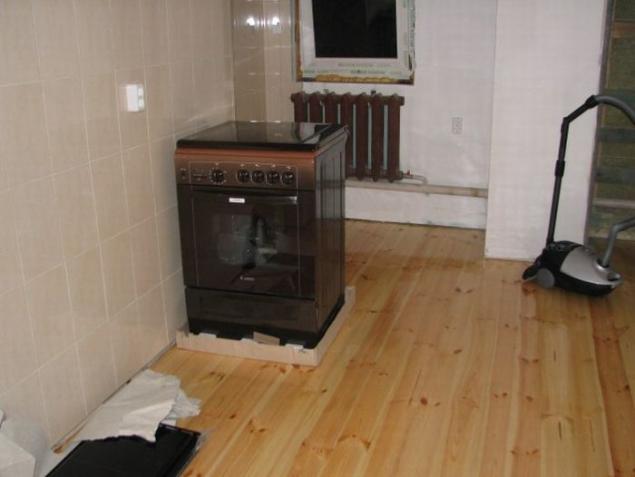
While waiting for gas, I decided to settle down a little.
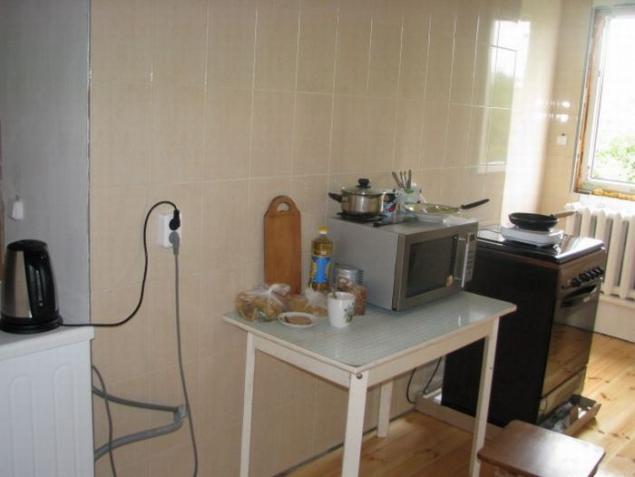
Electricity and normally there.
There are only Wallpapering, baseboards, furniture general trivia.
On the sim everything!
via source

On beams put a sheet of steel with a thickness of 2, 5 mm to tie did not play then.

This is a view of the entrance to the future kitchen with a bathroom. Every right stuff

Put a metal grid.

Fill screed, cement M500 1 3
Visible water drain hole

Screed grab a little drag floorboards, planed pine.

Contractible floor, the first stage. A month later he would chip again to remove the gap.

Screed grabbed, pulled floor. Put the rack wall between bathroom and kitchen.
And we are not fixed to the ceiling, as it is unreliable and the findings in the attic, there is contractible two long bars, nailing racks and bars to the joists. All racks smooth dry, exposed on the level.

While the essence of the matter, I pull electrician. Only two input for this room, one power 25A - water heater, kettles, stiralki. 16A second - rest. Total - seven double sockets with earthing.

Insulated barrier foam and mineral wool, more than likely for sound insulation. And fed piecemeal drywall. Green in the bathroom, the kitchen white.

Getting cardboard screw screws. For this was bought screwdriver.


Pipes ventilation stitched, turned nook. There to do the type of locker and shelves.
Well ventilation hole nofsyakey done. For slabs will still separate ventilation.

Insert the window and the door to the bathroom. Window to see if the light is turned off white friend. Incidentally checked light provides enough

we put the tiles starting with bathrooms. Domestic paving - Berezovsky Tile Plant. Clay Lux Plus for exterior - something !!!

Paul will draw a second time. And it starts gypsum plaster, plain white Acryl Putz.


Bought MDF plastic ceiling, the wife approved.
He began to beat his stapler, sparing no staples.
In the case set to 30mA RCD 25A input.

Ceiling, well, screwed sockets. And all powered 7 now, before working 2 wires sticking out of the wall.

Paul poshlifovan and covered with gloss varnish
We are not sanded.
He began to lead water pipe metal-base.

Here it is metal-base and put cold water.

I put the sink by screwing it to the pre-scheduled bars in the partition
The sink linen for sealing threaded pipe joints.
And the drawing, by the way, made in the form of pictures, the dimensions printed on the printer. very comfortably!

Pipe mounted water heater hanging, but still not warm
In the corner of 2 meters 50 mm sewer pipe

Test run the water in the bucket and check leakage. Drip only dirt filter, which was not holding pressure, but the Doge and everything is OK.

Mounted toilet, bathtub, conducted sewage. And the heater warms.
Sometimes stiralku bought and decided to just drag on the second floor. Erases

WC

Ventilation bathrooms. It was decided to make the knee in one - a fan with shutters, turned on - opened.
Second - diffuser cover with wrap. In summer it is unscrewed and the air is extracted naturally. In winter it is screwed, and a fan is used as needed, so that the heat did not go away for nothing.

Cooking apparatus. Too right. But the gas in the kitchen only a month, all-you know, the season.

While waiting for gas, I decided to settle down a little.
Electricity and normally there.
There are only Wallpapering, baseboards, furniture general trivia.
On the sim everything!

via source
