723
As I built myself BBQ
Do you want to kick it - no, but I think many will be interested. There will be many bukaf and ph 30-35.
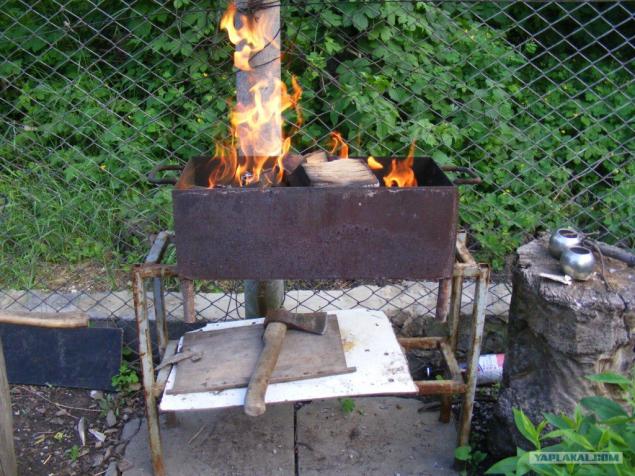
I live in a house with a plot 4 weave. And of course we are going away - myaska fry yes vodovki drink). The good location allows mangalchik and a no there. Actually that's a - a conventional welded metal.
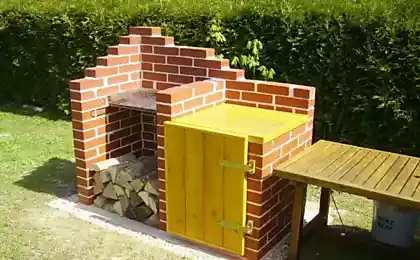
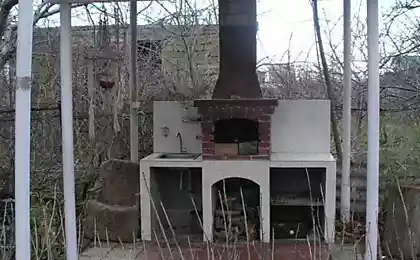
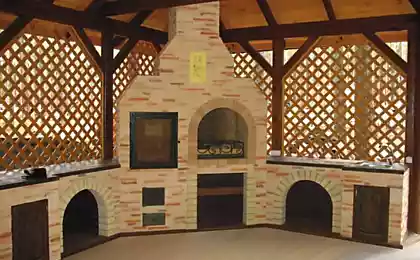
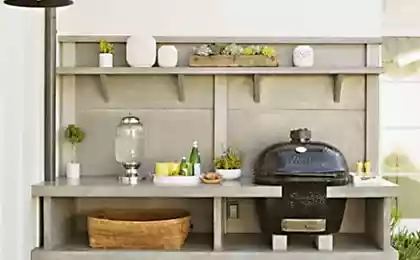
And this spring, we decided to finally equip our yard. Femke bought, screenings, curbs and 2 weeks paved paths in the garden, under the gazebo made pad. This process has not been captured in the photo, well, God bless him. Then came the turn of the gazebo - to the purchase did not bother, and with the help of the fathers (father and father in law) welded steel structure, covered by polycarbonate. And now came the turn of the barbecue. It was decided to make a BBQ, table for cutting and sink. something like
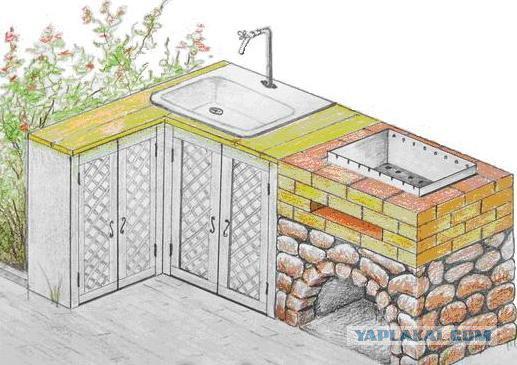
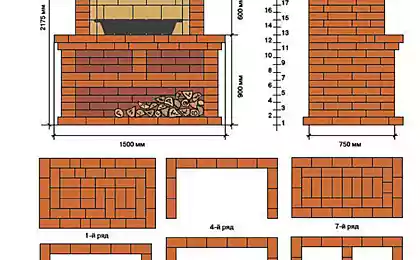
As you can see from the barbecue stone base, and inside - an ordinary metal grill. This solution is selected from 2 reasons - I'm not a pro-setter and barbecues are not the normal lay, and the second - this decision, I got rid of further problems with cracking furnaces, the selection of special bricks and clay mortar.
So, what I needed - 150 kg -For dumping gravel and foundation
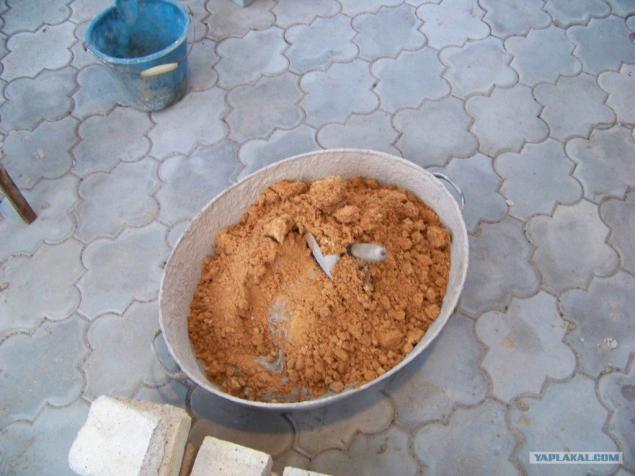
3 bags of cement M400, for the solution of about 300 kg of sand (red), silicate and refractory bricks, curb mine. Sink metalicheskaya.Kirpich and sand from the curb were available - the remains of buildings from the past.
Time of construction - a week. (after work)
So first determine the size of the base under the grill and a table with a sink. Then we have the foundation - a hole dug in the ground, asleep rubble rastvorchik are mixed 1: 2: 3 (cement, sand, gravel) and with any zhelezyachek, broken bricks, and so poured foundation. By the time - it took 2 days for all. Dahl settle pru weeks.
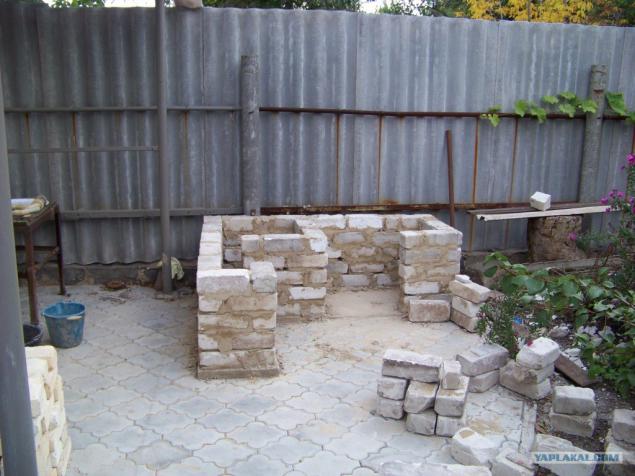
KFotki this process are lost. The foundation is ready - now it is the very foundation. I laid out on the sand-lime brick cement -pesochnom solution of 1: 2. Did not high volumes - because working alone
Since being kicked out of the ordinary brick to the foundation slab to make a niche for storage of firewood and other utensils.
Then, from the mine curbs (in my case) can take and old window sills or RC met.ugolki and bricks at them - one that is - do overlap.
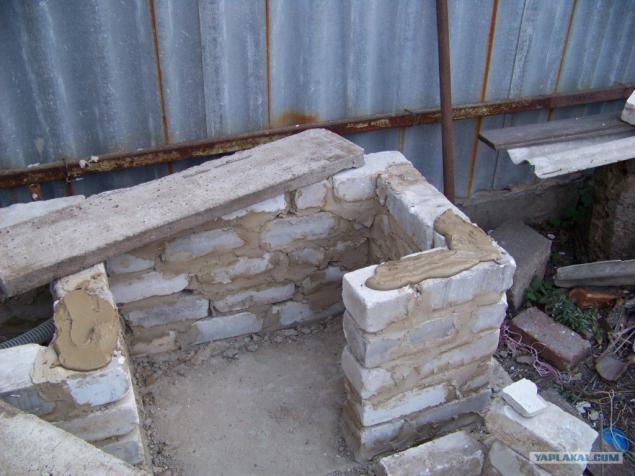
Curbs put on a cement vymeryat level

Now so.
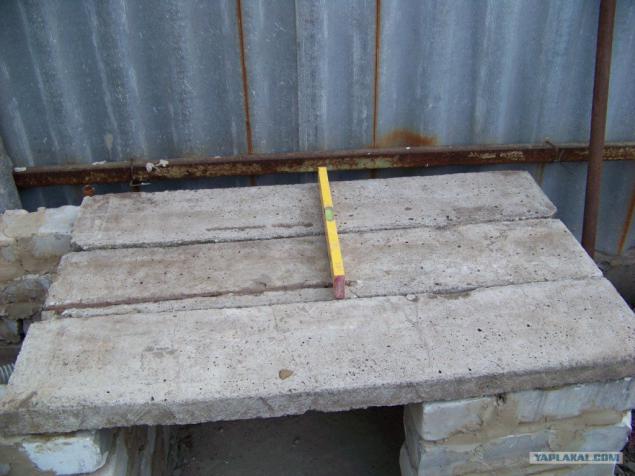
That we've got the place for barbecue and firewood - now go to the cutting table

And now laid slabs
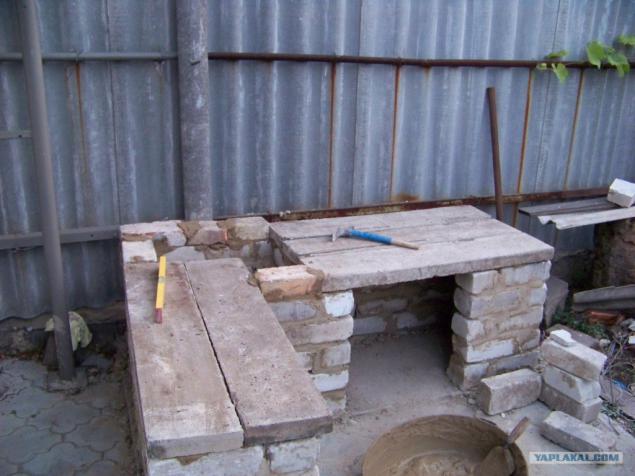
In the corner of my sink I was planned, so there is not laying the plate and do tap water
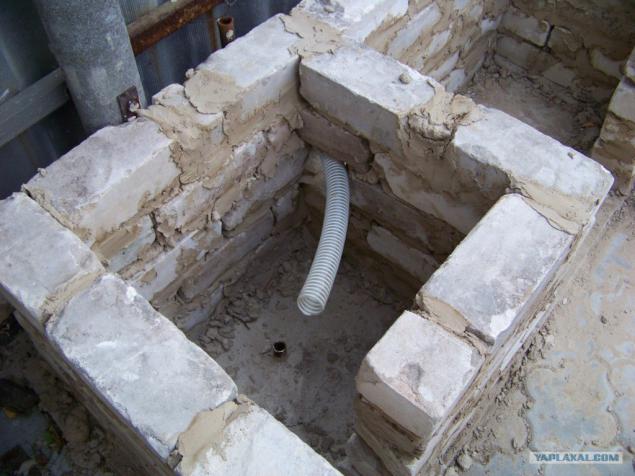
50% of the work done. Give the day to stand and do a little rest:
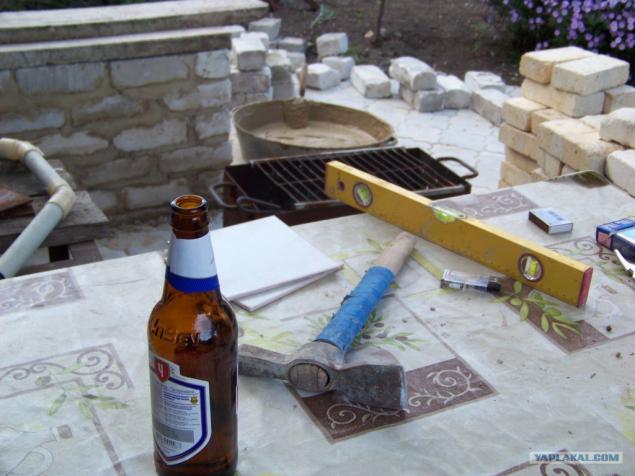
Now begins directly masonry barbecue. Put the grill on the base and vymeryat as will go to a brick.
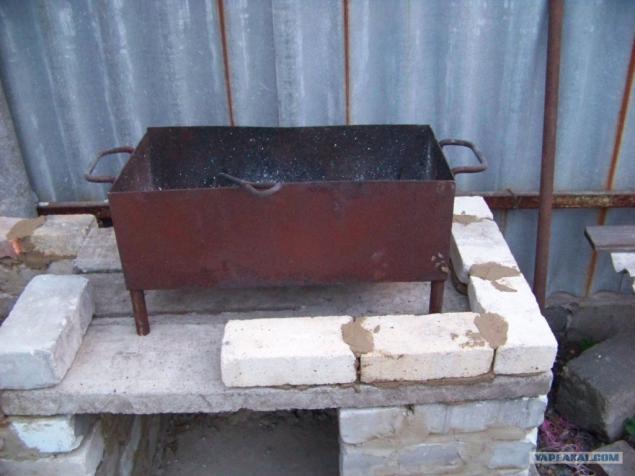
Between the bricks and barbecue sure there is a gap of 2-4 cm! So you can easily get it from there - was clean and less thermal load on the solution and bricks
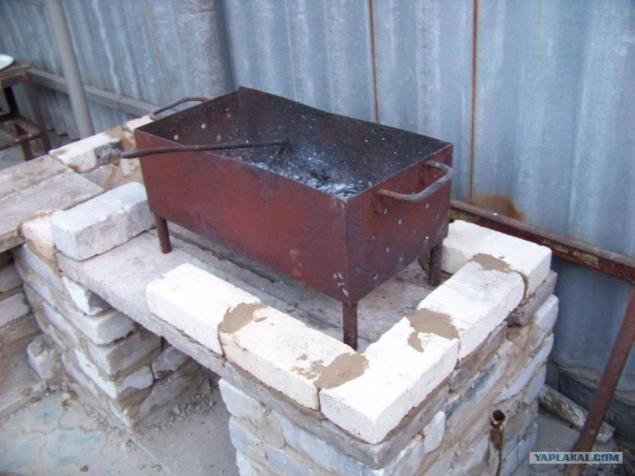
Then you can put the firebrick and without barbecue.
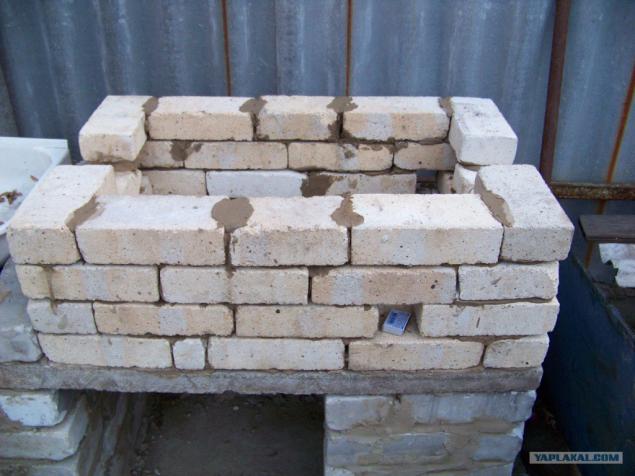
But we need to do in the masonry ash pit - ie in the places where the grill drilled holes to make them in the grill
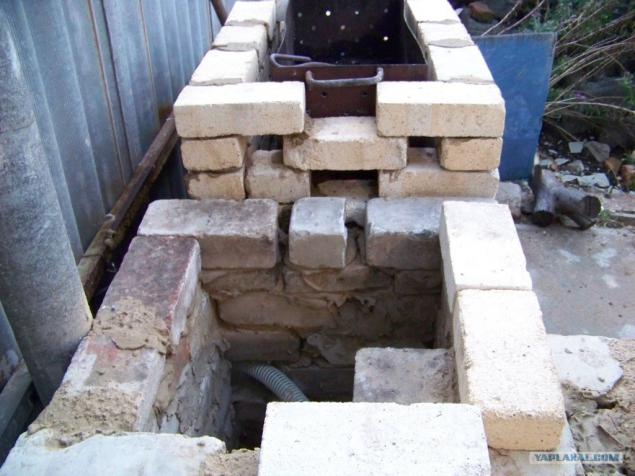
Barbecue is ready - let dry, and now lay the foundation under the sink and table
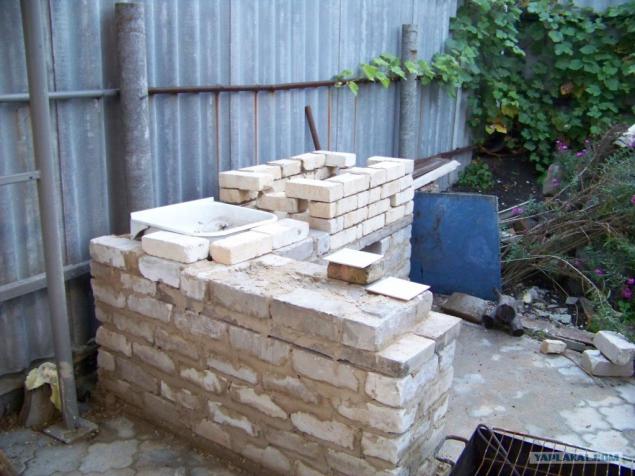
get another row of bricks
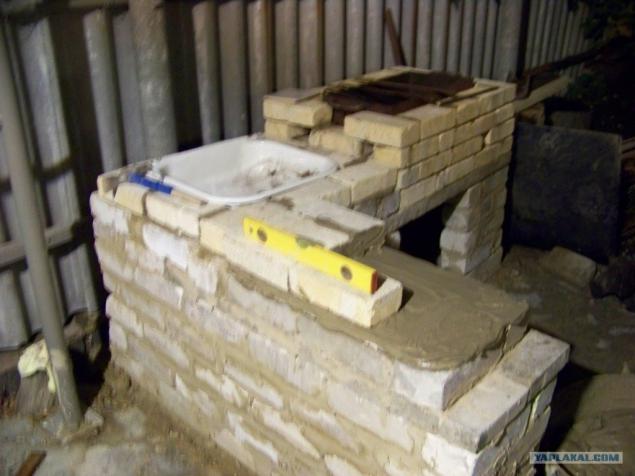
And so

Working surface and around the sink, I overlaid with ceramic tiles.
As a result, now it looks like.
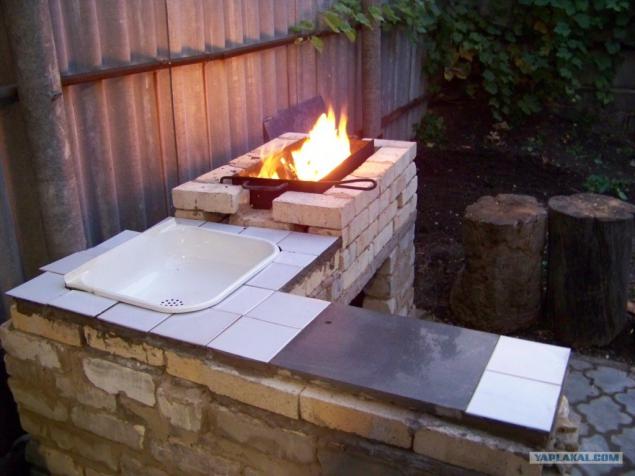
Source:
I live in a house with a plot 4 weave. And of course we are going away - myaska fry yes vodovki drink). The good location allows mangalchik and a no there. Actually that's a - a conventional welded metal.

And this spring, we decided to finally equip our yard. Femke bought, screenings, curbs and 2 weeks paved paths in the garden, under the gazebo made pad. This process has not been captured in the photo, well, God bless him. Then came the turn of the gazebo - to the purchase did not bother, and with the help of the fathers (father and father in law) welded steel structure, covered by polycarbonate. And now came the turn of the barbecue. It was decided to make a BBQ, table for cutting and sink. something like

As you can see from the barbecue stone base, and inside - an ordinary metal grill. This solution is selected from 2 reasons - I'm not a pro-setter and barbecues are not the normal lay, and the second - this decision, I got rid of further problems with cracking furnaces, the selection of special bricks and clay mortar.
So, what I needed - 150 kg -For dumping gravel and foundation
3 bags of cement M400, for the solution of about 300 kg of sand (red), silicate and refractory bricks, curb mine. Sink metalicheskaya.Kirpich and sand from the curb were available - the remains of buildings from the past.
Time of construction - a week. (after work)
So first determine the size of the base under the grill and a table with a sink. Then we have the foundation - a hole dug in the ground, asleep rubble rastvorchik are mixed 1: 2: 3 (cement, sand, gravel) and with any zhelezyachek, broken bricks, and so poured foundation. By the time - it took 2 days for all. Dahl settle pru weeks.
KFotki this process are lost. The foundation is ready - now it is the very foundation. I laid out on the sand-lime brick cement -pesochnom solution of 1: 2. Did not high volumes - because working alone

Since being kicked out of the ordinary brick to the foundation slab to make a niche for storage of firewood and other utensils.

Then, from the mine curbs (in my case) can take and old window sills or RC met.ugolki and bricks at them - one that is - do overlap.

Curbs put on a cement vymeryat level

Now so.

That we've got the place for barbecue and firewood - now go to the cutting table

And now laid slabs

In the corner of my sink I was planned, so there is not laying the plate and do tap water

50% of the work done. Give the day to stand and do a little rest:

Now begins directly masonry barbecue. Put the grill on the base and vymeryat as will go to a brick.

Between the bricks and barbecue sure there is a gap of 2-4 cm! So you can easily get it from there - was clean and less thermal load on the solution and bricks

Then you can put the firebrick and without barbecue.

But we need to do in the masonry ash pit - ie in the places where the grill drilled holes to make them in the grill

Barbecue is ready - let dry, and now lay the foundation under the sink and table

get another row of bricks

And so

Working surface and around the sink, I overlaid with ceramic tiles.
As a result, now it looks like.

Source:
