540
Computer case "Glory to Labor"
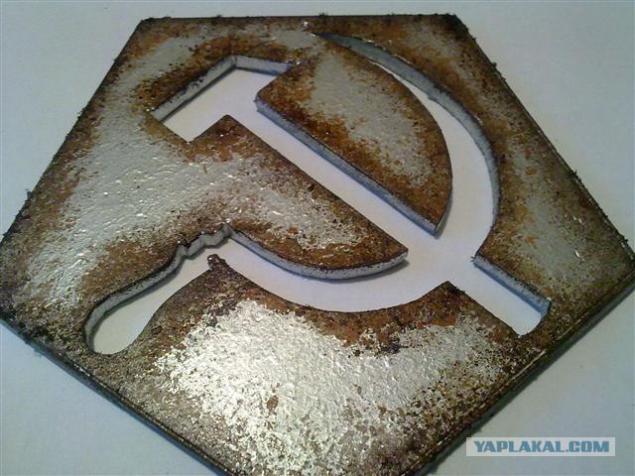
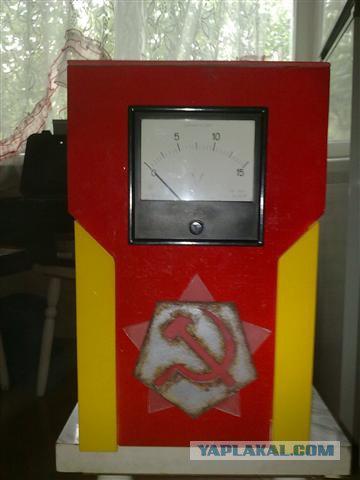
The idea originated itself, as it is often the case. It all started with the fact that I got a small piece of a sheet of polyvinyl chloride (PVC). Jigsaws and set natfiley I cut in it that's a "hammer and sickle»
It will be a little bit of text + photo gallery. The end marked.
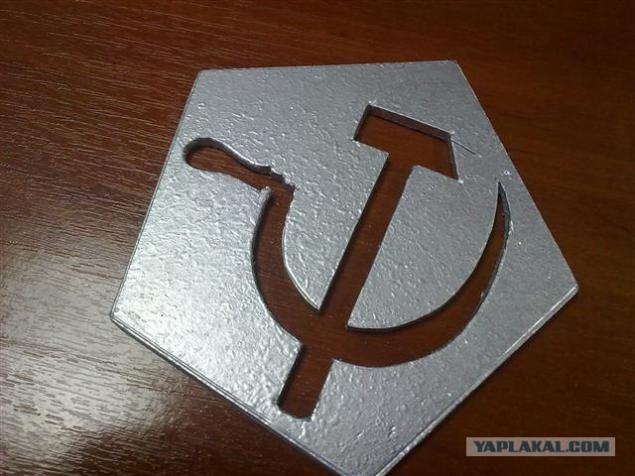
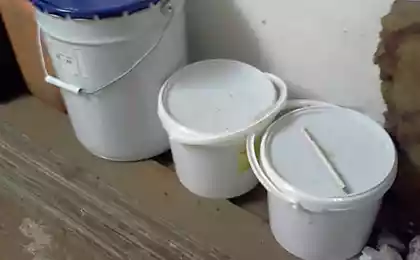
When I decided to give this piece a little "old" with the aid of brown paint and porolonchik.
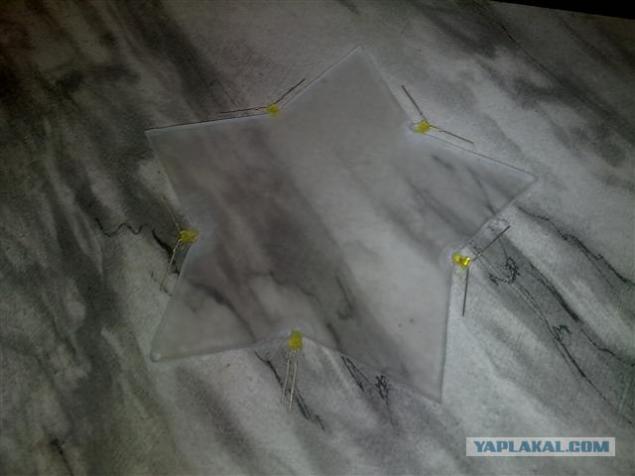
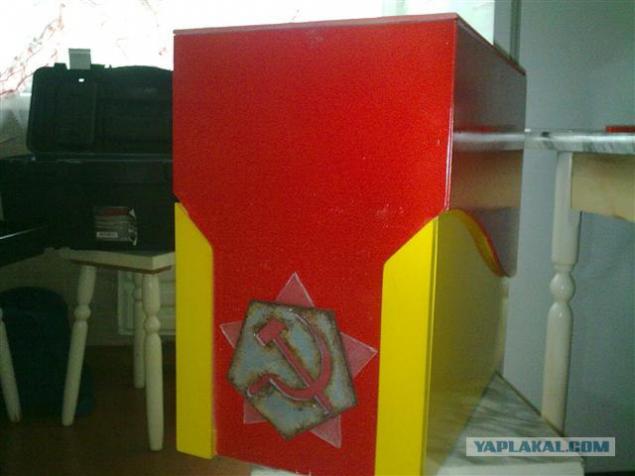
In the background I took 5mm acrylic, cut it in the form of stars zamatiroval fine sandpaper and soldered some yellow LEDs for illumination.
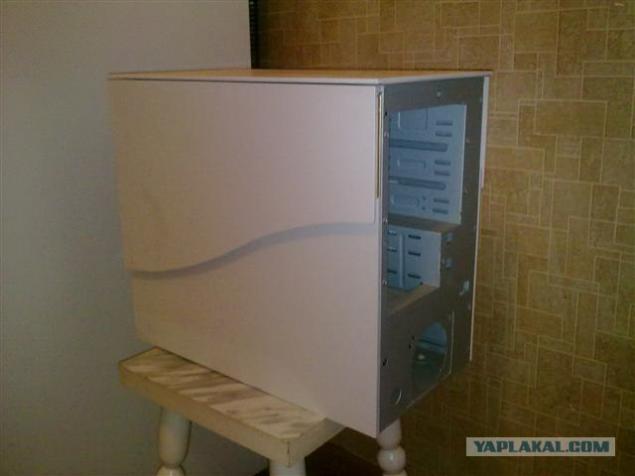
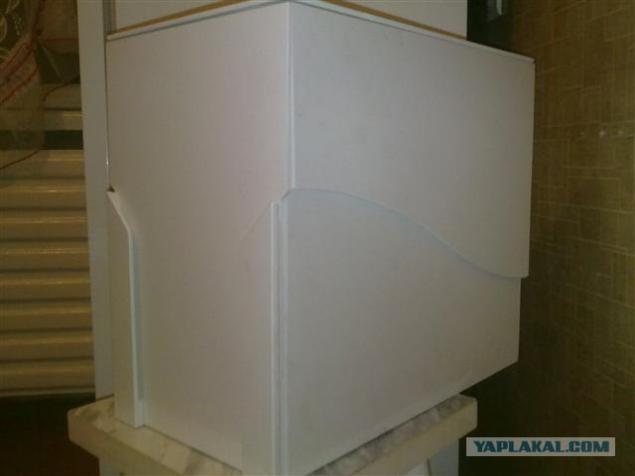
Then - the case. I got an old body from which I left only a skeleton.
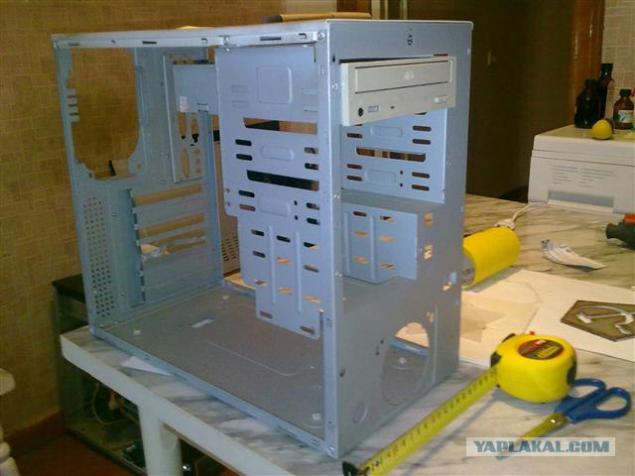
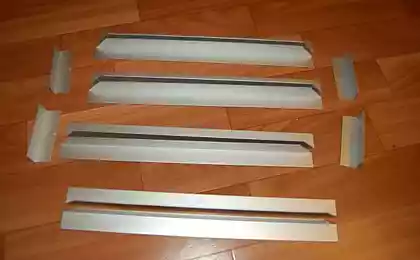
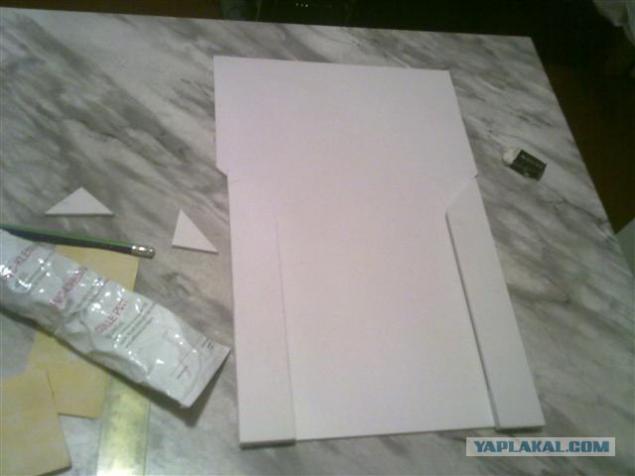
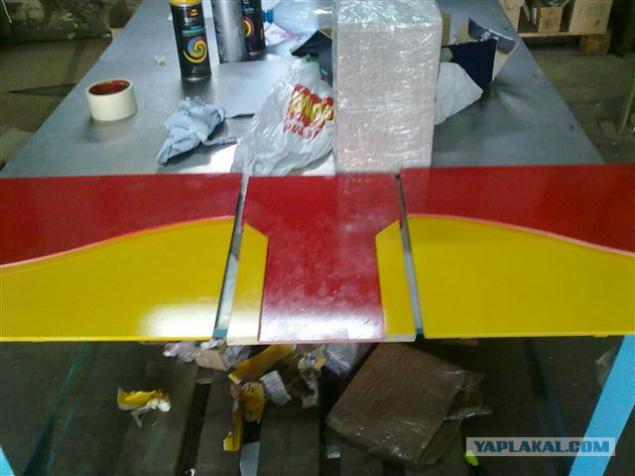
All items are made from PVC sheet. It is light in the treatment and painting. I bought from advertisers.
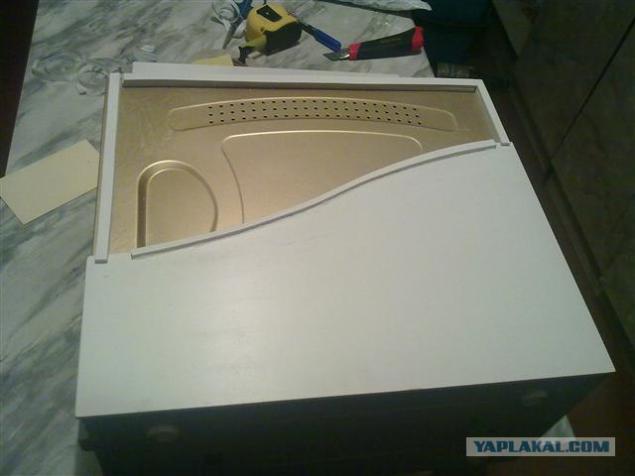
Front panel.
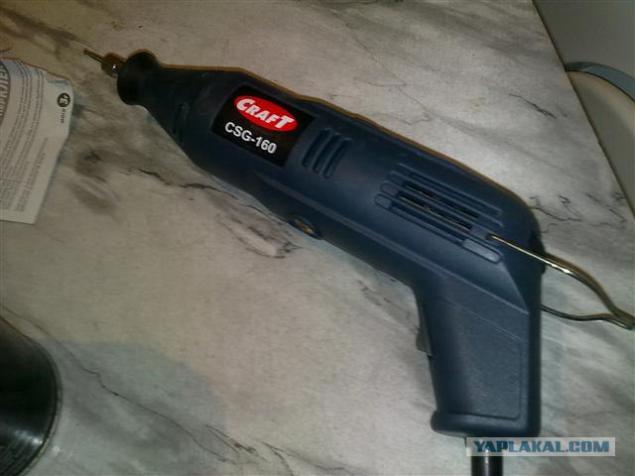
Tool, which conducted most of the work. Dremel. I bought once for $ 250 USD.
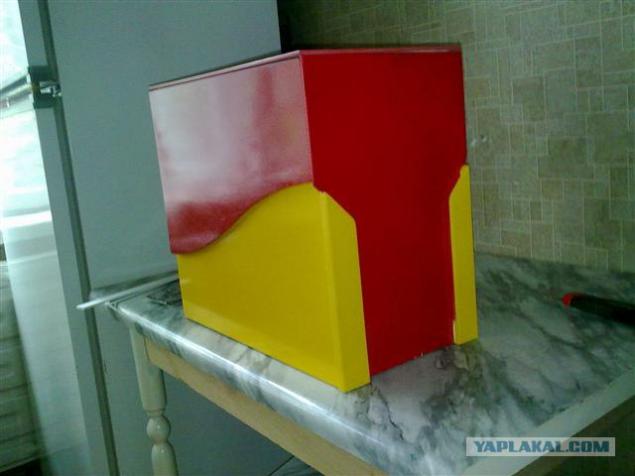
After cutting out all the details held fit. Many nazhdachki and patience)))
All parts are fastened to the body of the two-way vspeninoy tape.
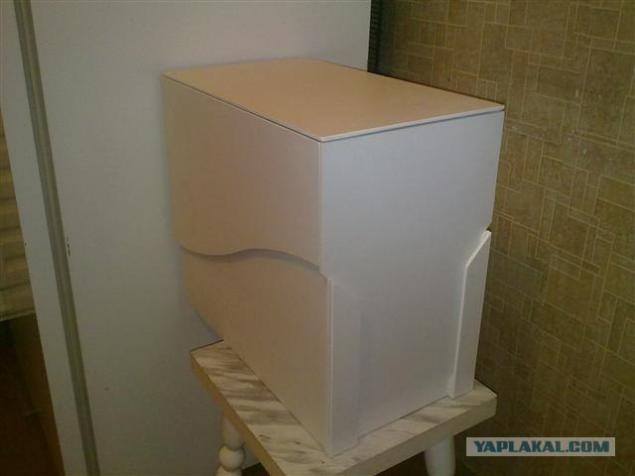
You can bring up to infinity. I lead up until I finally had enough.
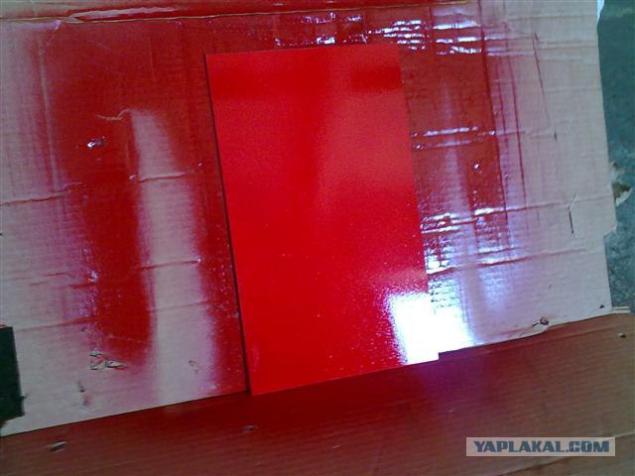
After that, the body was again dismantled and ottransportirovan to work painting. Dye decided in two colors.
yet.
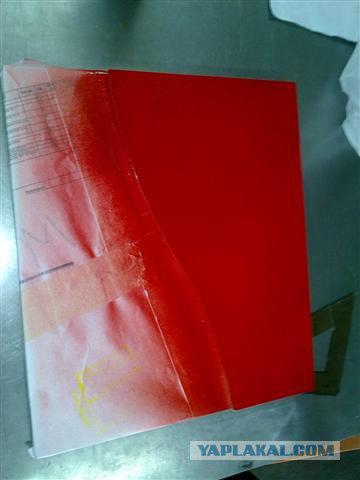
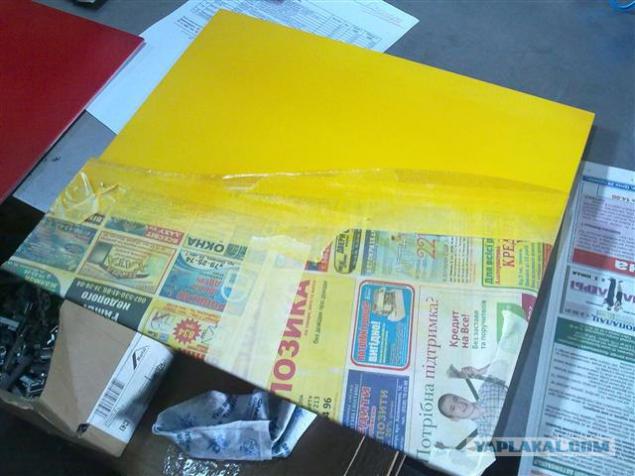
Then I made a terrible mistake. After painting a part, I stuck to it, newspapers and masking tape to prevent paint to dry thoroughly. Some newspapers reprinted on the painted surface.
Here is disassembled.
I come together.
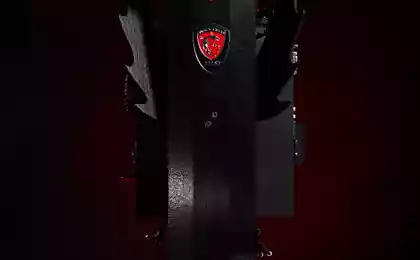
I install the star.
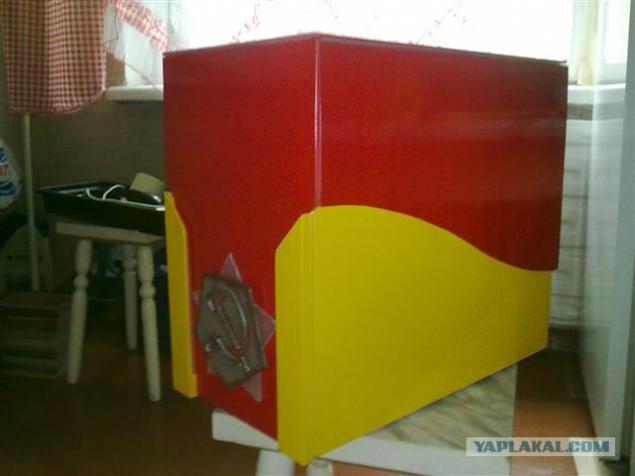
More to the star.
Always fond of analog instruments. Therefore purchased at Radio Shack voltmeter 15V which will show the system voltage.

I apologize for the quality of the photos. Everything was done in a few days with a relatively low cost.
That's all, thank you for your patience!
Source:
It will be a little bit of text + photo gallery. The end marked.

When I decided to give this piece a little "old" with the aid of brown paint and porolonchik.

In the background I took 5mm acrylic, cut it in the form of stars zamatiroval fine sandpaper and soldered some yellow LEDs for illumination.

Then - the case. I got an old body from which I left only a skeleton.

All items are made from PVC sheet. It is light in the treatment and painting. I bought from advertisers.

Front panel.

Tool, which conducted most of the work. Dremel. I bought once for $ 250 USD.

After cutting out all the details held fit. Many nazhdachki and patience)))

All parts are fastened to the body of the two-way vspeninoy tape.

You can bring up to infinity. I lead up until I finally had enough.

After that, the body was again dismantled and ottransportirovan to work painting. Dye decided in two colors.

yet.

Then I made a terrible mistake. After painting a part, I stuck to it, newspapers and masking tape to prevent paint to dry thoroughly. Some newspapers reprinted on the painted surface.

Here is disassembled.

I come together.

I install the star.

More to the star.

Always fond of analog instruments. Therefore purchased at Radio Shack voltmeter 15V which will show the system voltage.

I apologize for the quality of the photos. Everything was done in a few days with a relatively low cost.
That's all, thank you for your patience!

Source: