561
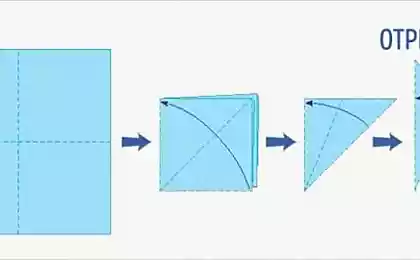
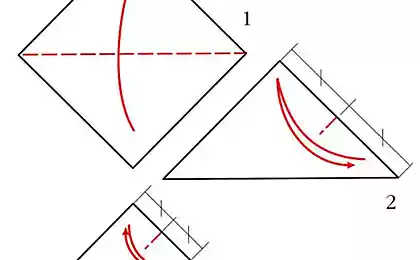
How to remove the Snowflake
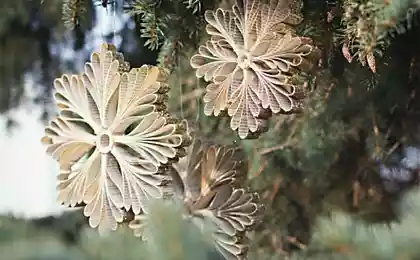
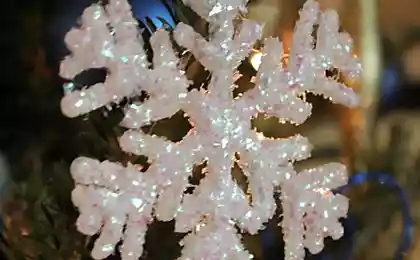
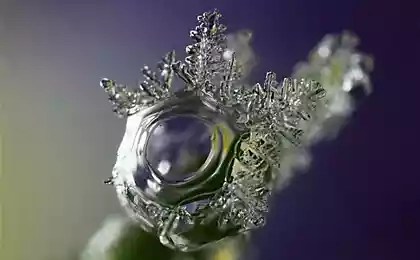
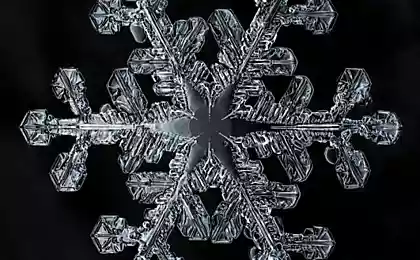
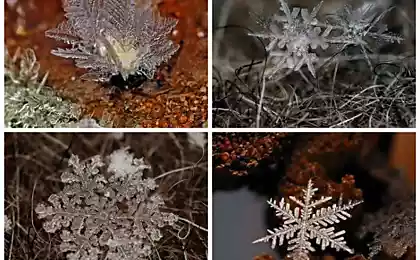
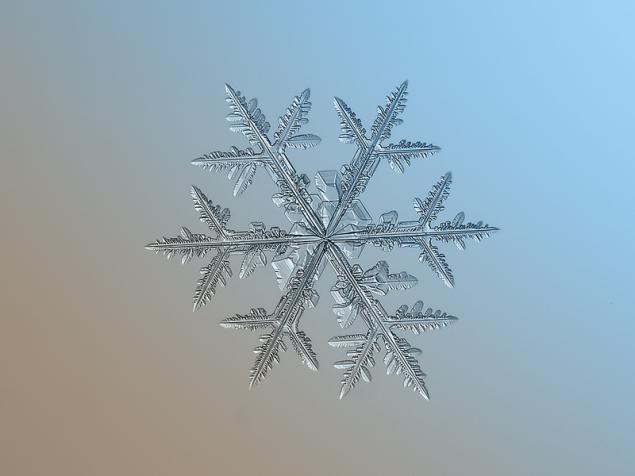
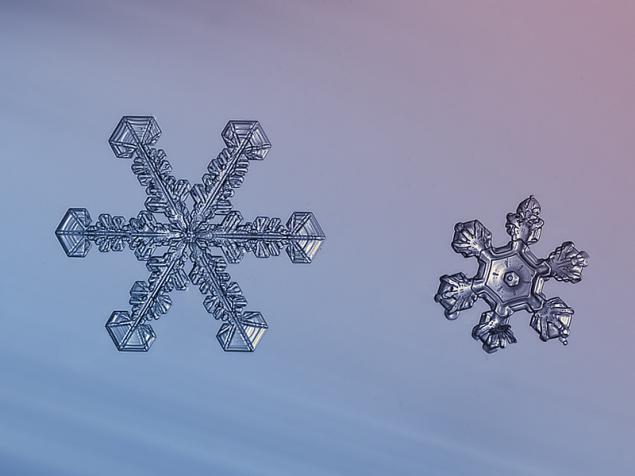
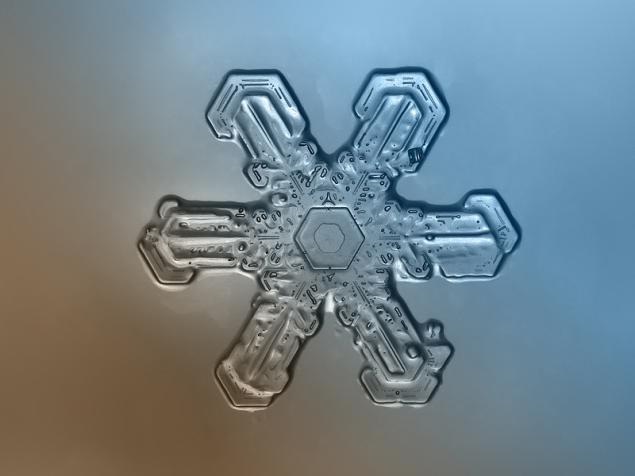
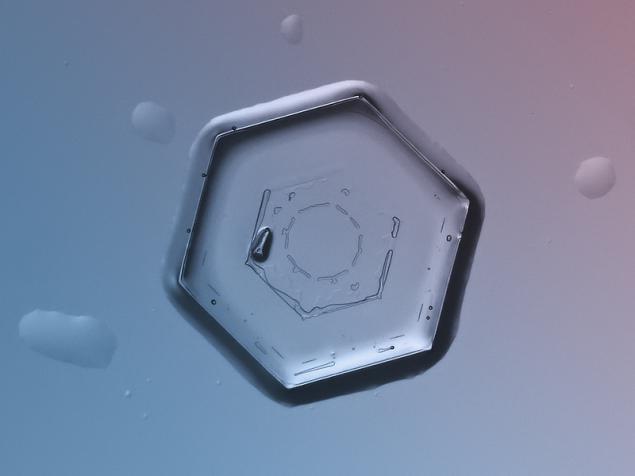
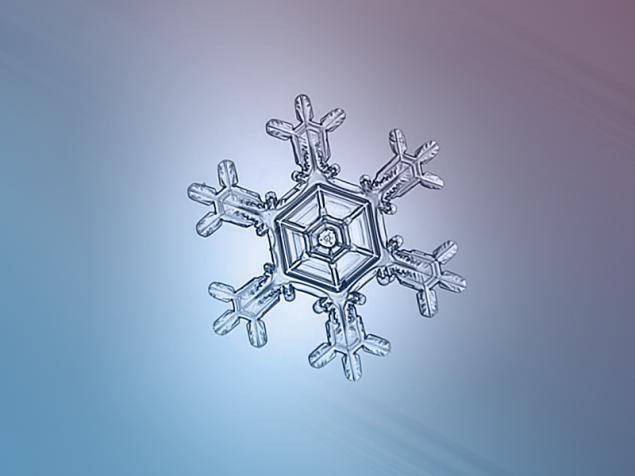
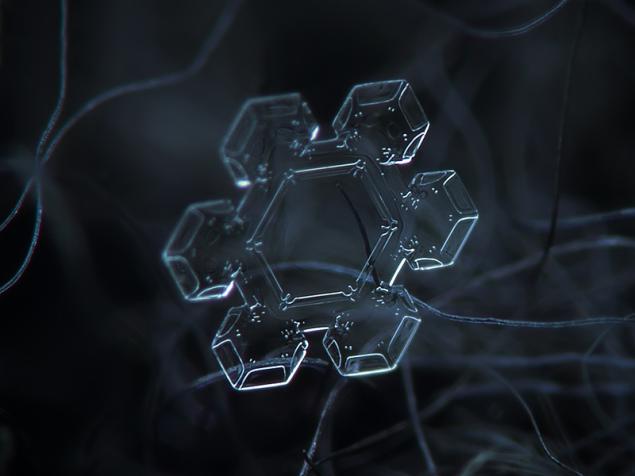
Photographer Alex klyatyh makes stunning images of snowflakes. Thanks to him, we can consider in detail what they are really beautiful. And all different.
Under the cut snowflakes and a selection of the author's description of how it is removed.
2.
3.
4.
5.
6.
7.
8.
9.

10.
11.
12.
Shooting snowflakes
With room to shoot I was lucky - a home Non-Glazed balcony on the top floor, more than half - in the open air. Hats sometimes at an angle on the woolen cloth in natural light, but more often - on the glass, prosvechivaya LED flashlight on the back side.
On the floor of the balcony put upturned stool legs up on foot put a piece of foam rubber (anti-slip), on them - a sheet of glass from the bookshelf. Last year Powershot'om filmed in standard macro mode. To do this, from a small bottle of soda cut out the middle part of the tube height 5.5sm. Height picked up so that the camera lens, push the tube, did not get to the bottom 1 cm (the minimum focusing distance in macro mode A650). Over selected snowflake I put this cylinder with a camera looking straight down the lens. You can shoot with a delay of 1-2 seconds after a series of focus and to remove his hand and there was no camera shake and shifts. Flashlight shines snowflake from below, from the glass. Lantern shines through two layers of white polyethylene package to align the light and avoid sudden glare. Light enough to shoot in complete darkness at a minimum, and iso-speed.
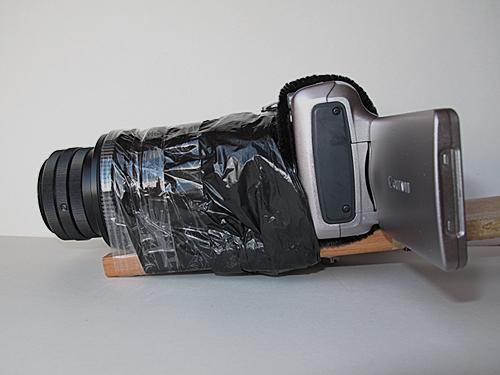
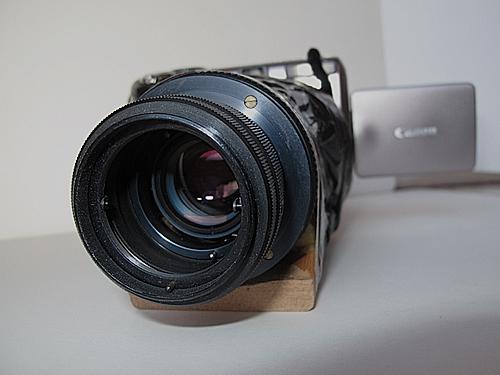
This year has made macro-top box to the external optics - Helios 44M-5 from the zenith. To do this, take a plate length of about 30cm, fixed on her upturned Helios (rear lens to snowflakes, to the front of the camera), outlined in the board and drill a hole for the bolt that fits onto the camera tripod socket. The camera is placed on the board so that extended the maximum zoom lens rests on the Helios and looked in front of his lens. Then fasten the screws through the board and additionally glued to the board and a piece of metal wire area that will not shifted. On the reverse side of Helios Screw three zenitovskih narrow extension of the ring, turned out just the right focal length (2, 5-3 cm from the lens). Place lenses abutting each other closed clutch of black polyethylene from light and falling snow and drops. The whole structure is already too strong and stable standing vertically upside down. She just put the glass on the selected snowflake, shoot at the maximum optical zoom (6x) instead of the macro, autofocus camera works well.
13.
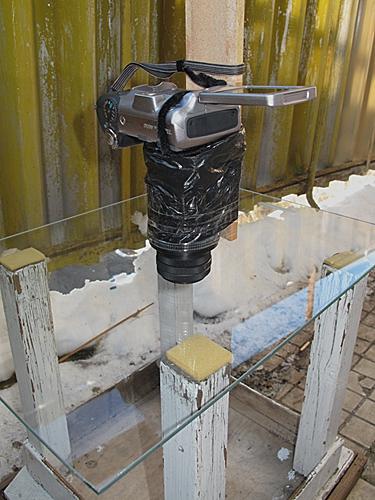
Try this design and for shooting at an angle on the fabric by placing at the far end of the board something hard to shoot at the right angle, removing his hand. Increased detail and obtained much better standard macro, but the depth of field is too small even for a very narrow aperture. So we'll have to do a minimum of 3 frames at a snowflake, focus on the center, near and far edge and do focus stack.
14.
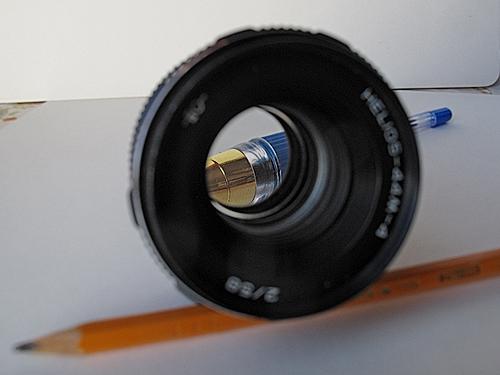
15. The increase of Helios:
16. Camera platform:
Source: prophotos-ru.livejournal.com/1555966.html#cutid1
Source:
Under the cut snowflakes and a selection of the author's description of how it is removed.

2.

3.

4.

5.

6.

7.

8.

9.

10.

11.

12.

Shooting snowflakes
With room to shoot I was lucky - a home Non-Glazed balcony on the top floor, more than half - in the open air. Hats sometimes at an angle on the woolen cloth in natural light, but more often - on the glass, prosvechivaya LED flashlight on the back side.
On the floor of the balcony put upturned stool legs up on foot put a piece of foam rubber (anti-slip), on them - a sheet of glass from the bookshelf. Last year Powershot'om filmed in standard macro mode. To do this, from a small bottle of soda cut out the middle part of the tube height 5.5sm. Height picked up so that the camera lens, push the tube, did not get to the bottom 1 cm (the minimum focusing distance in macro mode A650). Over selected snowflake I put this cylinder with a camera looking straight down the lens. You can shoot with a delay of 1-2 seconds after a series of focus and to remove his hand and there was no camera shake and shifts. Flashlight shines snowflake from below, from the glass. Lantern shines through two layers of white polyethylene package to align the light and avoid sudden glare. Light enough to shoot in complete darkness at a minimum, and iso-speed.
This year has made macro-top box to the external optics - Helios 44M-5 from the zenith. To do this, take a plate length of about 30cm, fixed on her upturned Helios (rear lens to snowflakes, to the front of the camera), outlined in the board and drill a hole for the bolt that fits onto the camera tripod socket. The camera is placed on the board so that extended the maximum zoom lens rests on the Helios and looked in front of his lens. Then fasten the screws through the board and additionally glued to the board and a piece of metal wire area that will not shifted. On the reverse side of Helios Screw three zenitovskih narrow extension of the ring, turned out just the right focal length (2, 5-3 cm from the lens). Place lenses abutting each other closed clutch of black polyethylene from light and falling snow and drops. The whole structure is already too strong and stable standing vertically upside down. She just put the glass on the selected snowflake, shoot at the maximum optical zoom (6x) instead of the macro, autofocus camera works well.
13.

Try this design and for shooting at an angle on the fabric by placing at the far end of the board something hard to shoot at the right angle, removing his hand. Increased detail and obtained much better standard macro, but the depth of field is too small even for a very narrow aperture. So we'll have to do a minimum of 3 frames at a snowflake, focus on the center, near and far edge and do focus stack.
14.

15. The increase of Helios:

16. Camera platform:
Source: prophotos-ru.livejournal.com/1555966.html#cutid1

Source: