736
Bar Budget
My first post, although some show their "crafts" like a long time.
32 photos, Made yablofonom, wait a little bit, then you can criticize, praise and throw whatever they want.
The idea came long ago, but still can not get around. The server stands alone, when to go for remote access is not possible, it is necessary to disconnect the monitor from the desktop computer, throw extension cord to disturb the age-old dust, then press three buttons, performed the procedure in reverse. And then I came across an old monitor that I did not give the teachers, in order to preserve their eyes, and that fully meets my idea. What else to do in Friday night? Naturally, the creation of imbalanced devaysa!
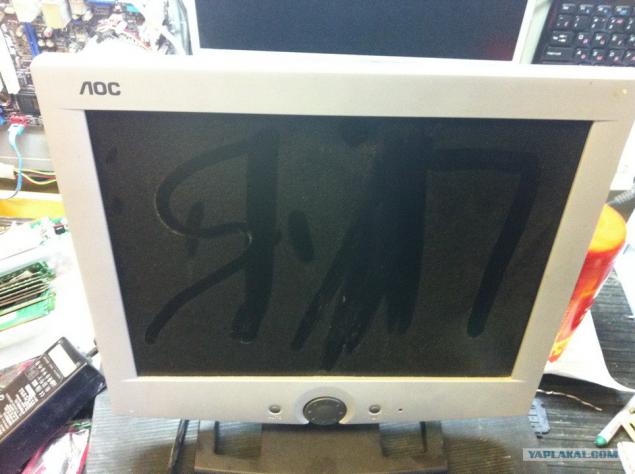
To begin with remove the leg. Bah! Yes, he is a sound!
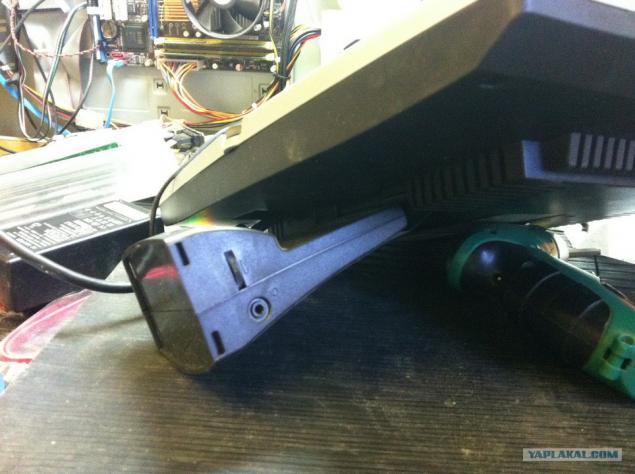
Using a screwdriver, begin to dismantle the entire system of attaching the stand.
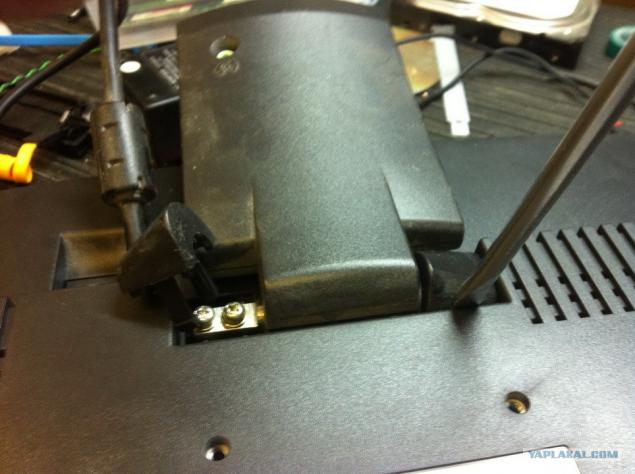
But the control board sound and two small speakers. Thinking decided to keep the dynamics in working condition - you never know what happens in life? And the sounds from the depths of the server is always a little to stimulate ...
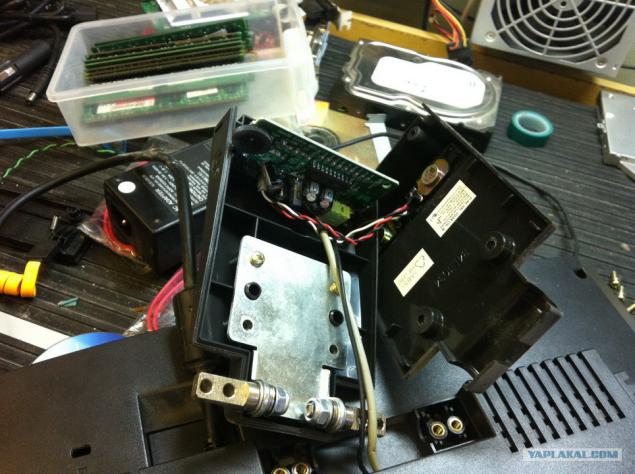
Carefully, so as not to damage the wiring, outlets all hi-fi, Dolby-suraund system towards
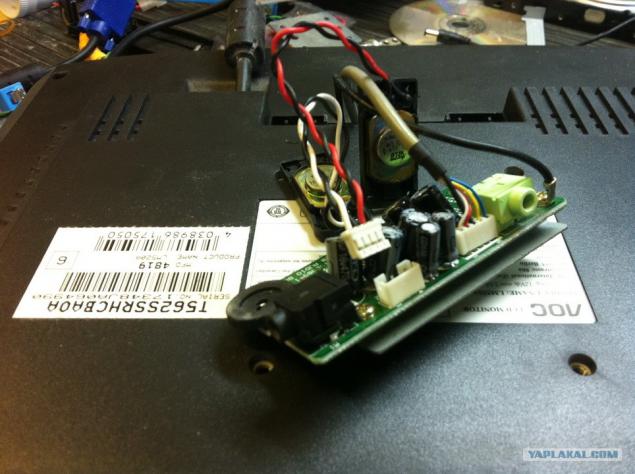
and begin to twist the bolts that attach the body.

Disconnect the rear cover of the monitor and lift it with a flat screwdriver.
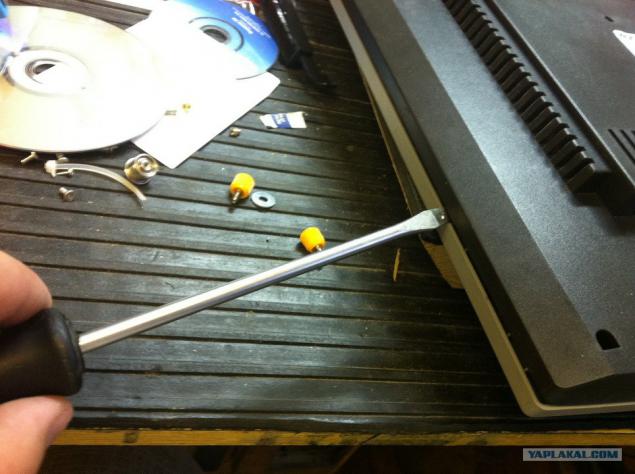
Gently missing wire in the opening of the lid, we raise it.
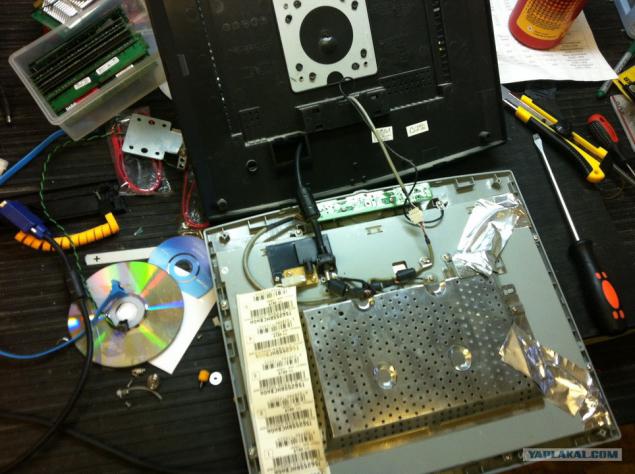
The first thing that catches your eye - a generous Chinese nezhmotilivy on barcodes. Or rather, they are too lazy to stick it on the key nodes. If we are able to get - he pasted
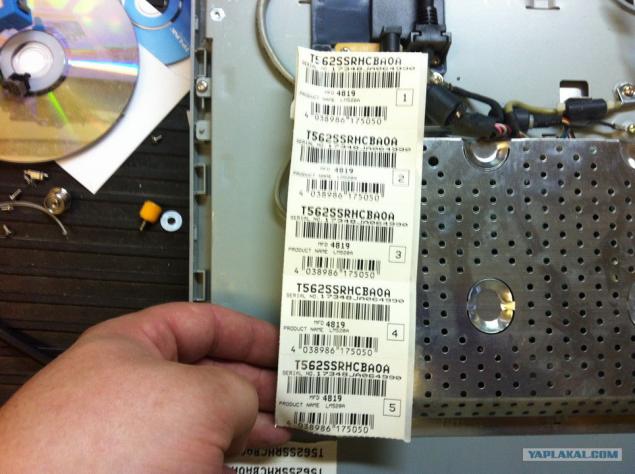
Remove the back cover and fully observe the techno-nude.
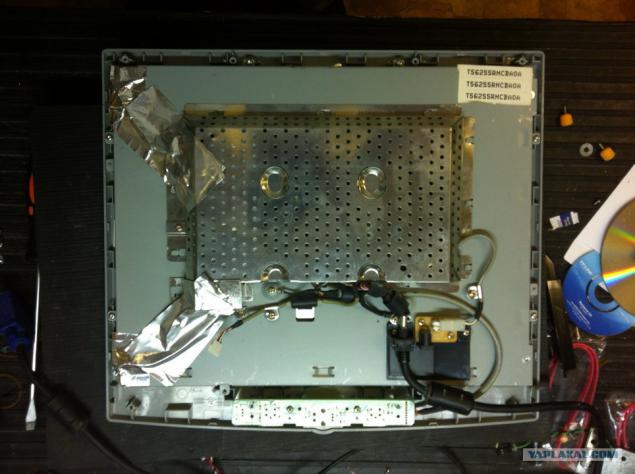
But, in fact, and patients who do transplants.
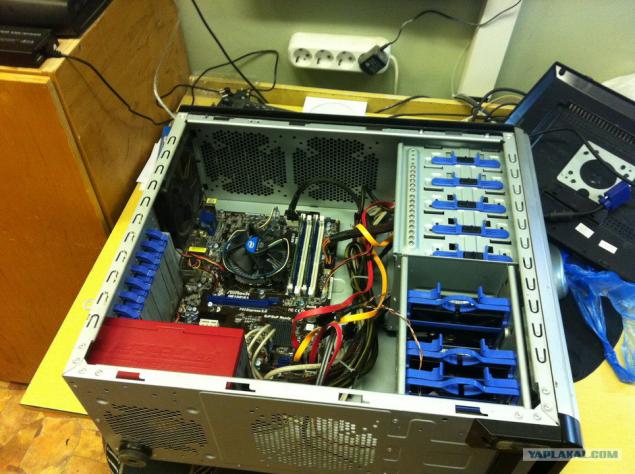
Despite more than a modest appearance, the server performs the function of the file server to hundreds of desktops. Assembled without any financial investments on the part of schools and plows for its benefit. Inside i7, 16gb operatives and two terabytes of pictures under the recent calls, documents and training materials pile.
Pretends to genitals protruding parts of the face.
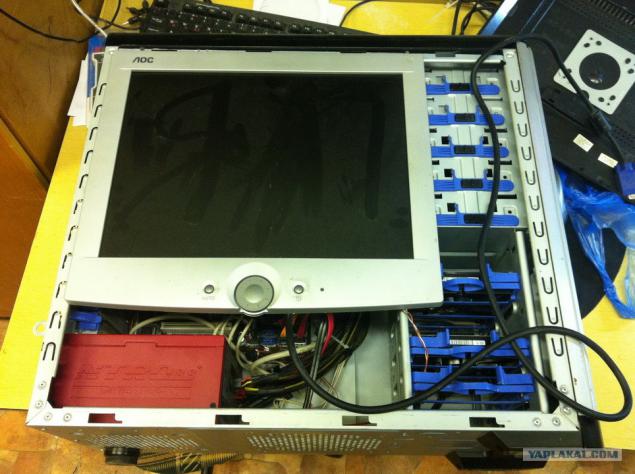
Take cover line drawing tool and high precision of the "nail 80". Very cool feature for dyeing gland.
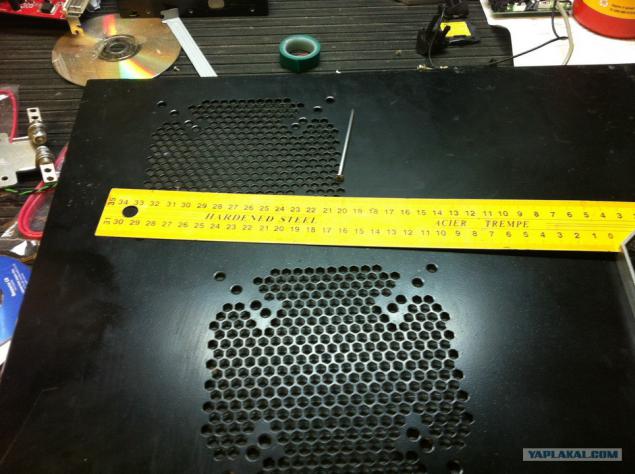
To measure the inner projecting part of the monitor, do not forget about securing the cover of the system unit (from the edges is better to retreat centimeter, because then the cover should be shifted and not cling let into the monitor).
Your output Casimir! Here it is, a black square!
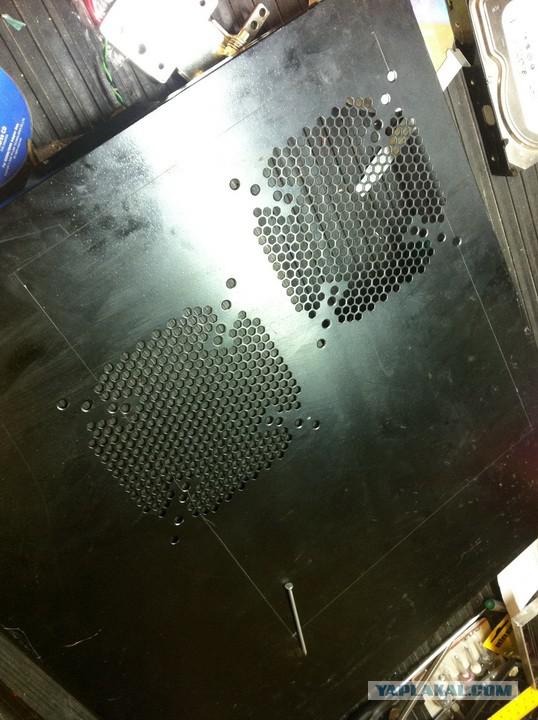
Okay, okay, let the rectangle.
Take the Dremel, with the aim to cut out the core. Of course, do not forget about TB! "To chip in the eye did not beat, hoping ..." Well, clearly, in general.
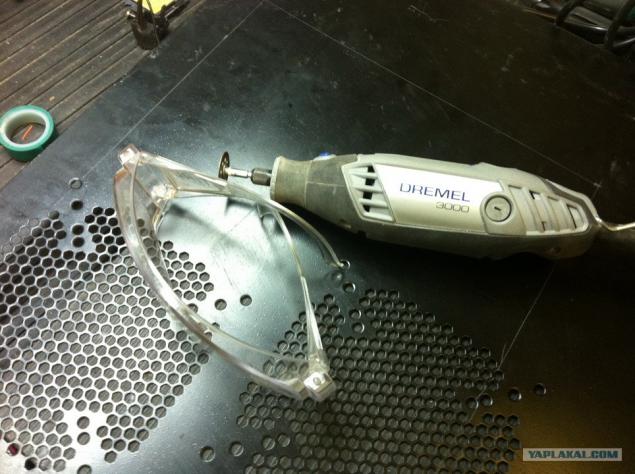
After the first cuts, aware that ADR is doing a very good housing, in terms of the thickness of the iron, and the fact that it is iron, not foil, like the cheap cases.
Little change the scale of the instrument.
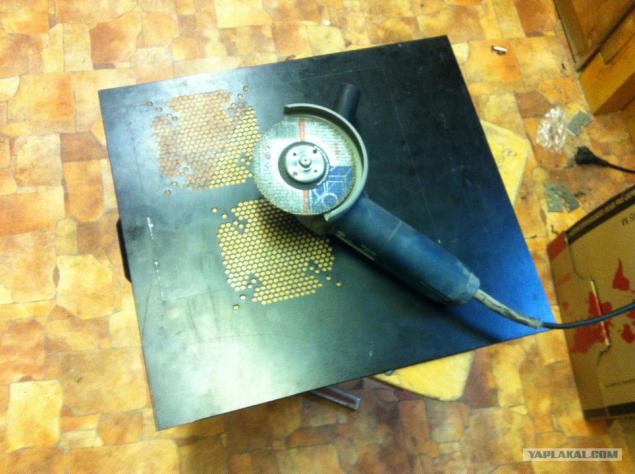
Small fireworks in honor of the "Last Call" and here
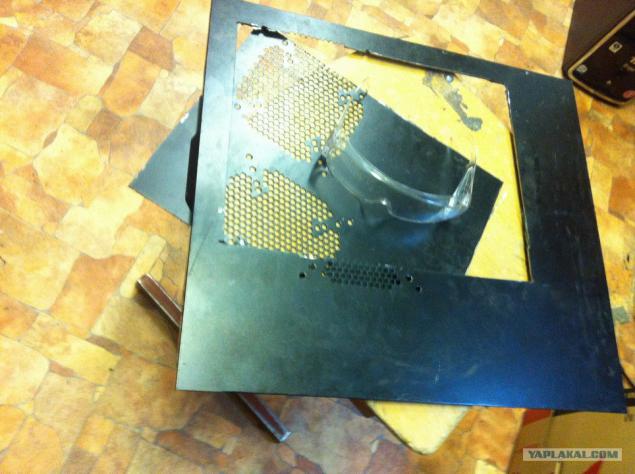
Be sure to remove sharp edges with a file - such wounds heal very poorly!
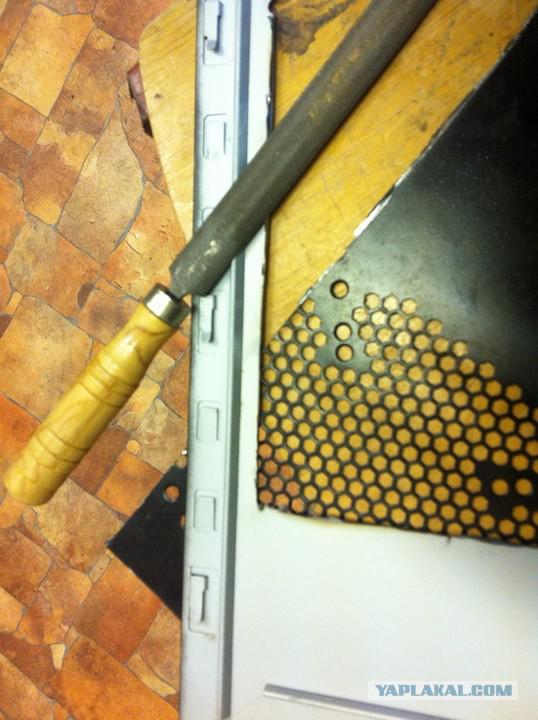
Rough fitting lid and monitor.
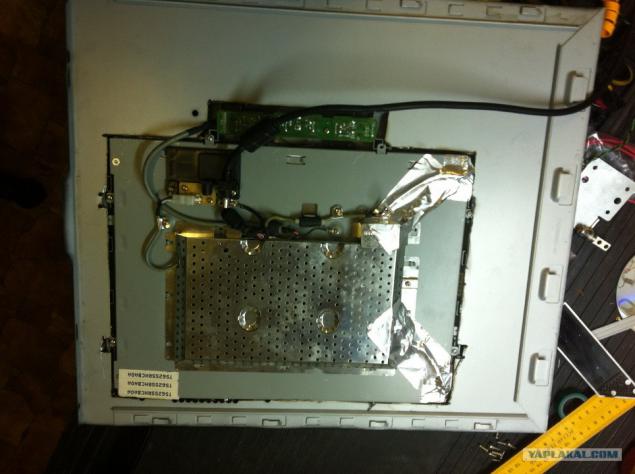
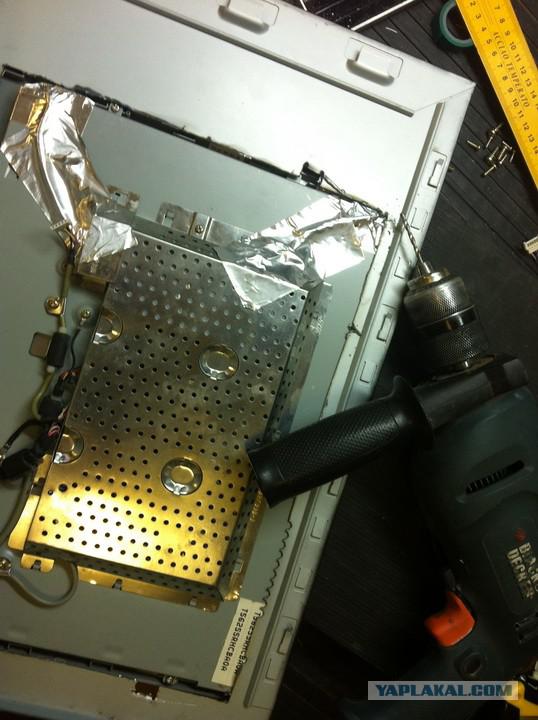
The planned holes in the lid to get into fixing that previously held the back of the monitor, and the drill bit holes in svezheraschlenennoy cover. Screwing the old bolts and lift the construct
We see the gaps, which are obtained between the cover and the monitor. Without them, nothing, otherwise we will have to invent a different kind of attachment.
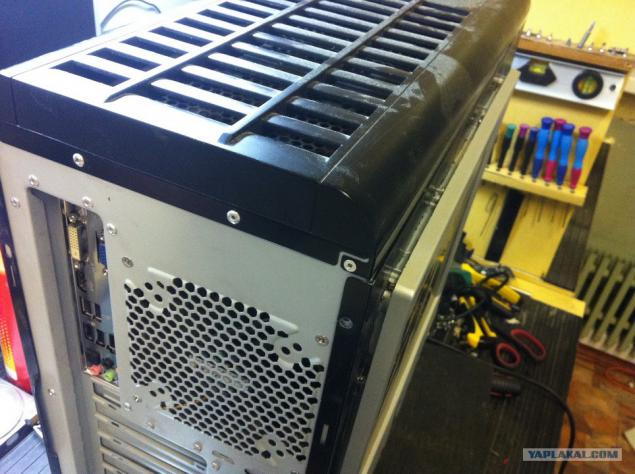
Since the last time a stray sealant - do not give it to dry!

Carefully fill the joints between the cap and the monitor. Then, after drying, it will be cleaned up and painted black to blend with the lid.
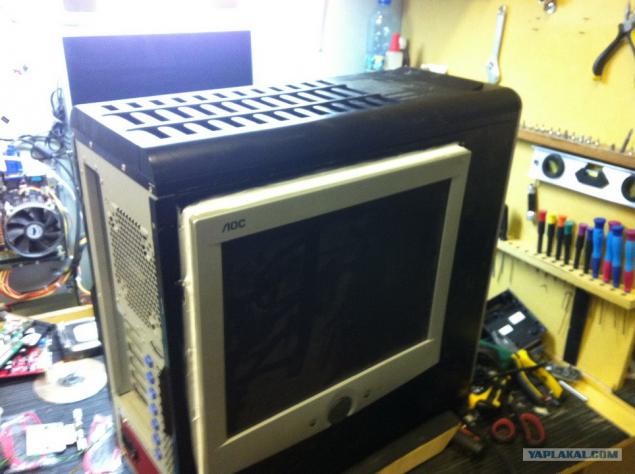
Glue the wires from the monitor in order not to fall into the cooler and did not cause the heat death of the entire system. I pasted on the tape, not because "where the scotch tape is not holding - welding Nehru to do", but simply on hand at ten in the evening was not anything else. Tomorrow buy adhesive plate and tighten the clamps.
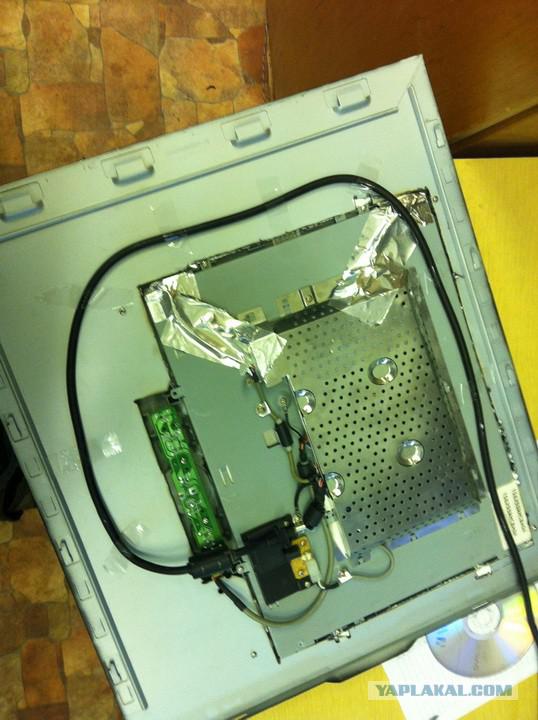
We get lazy "acoustics" and sticking it on a double sided tape on a soft base that does not touch the body.
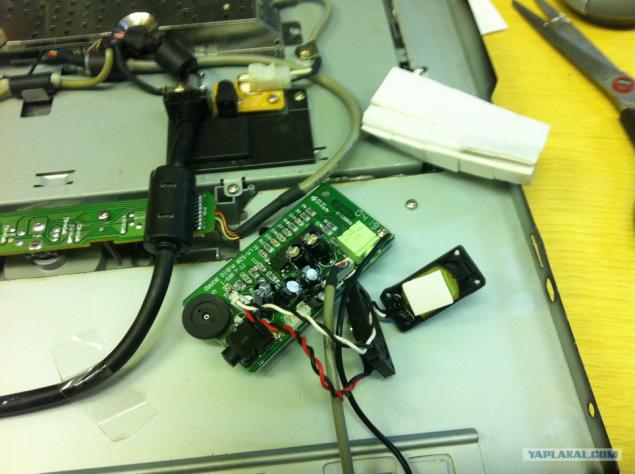
Connect all cables and fix them, too, to avoid dangling.
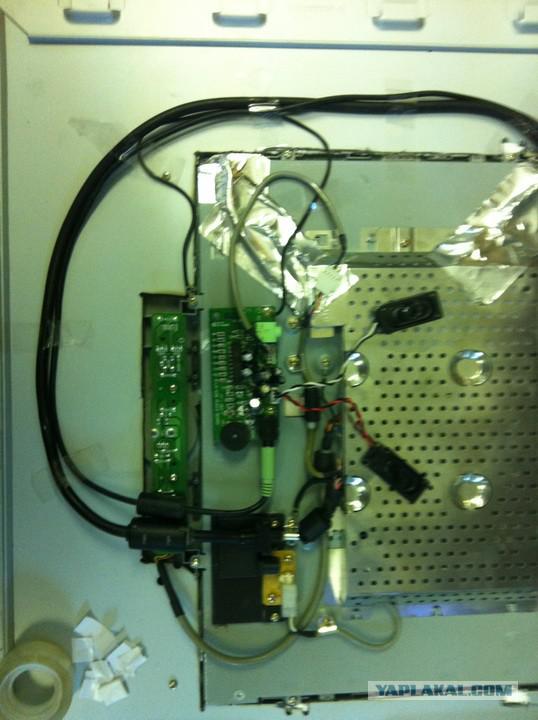
Here I have become unbearable to see how well it will work, and his wife became unbearable not to see me at home, as eloquently reported by phone.
Quickly collect missing wires from the monitor through the holes for the PCI-slots.
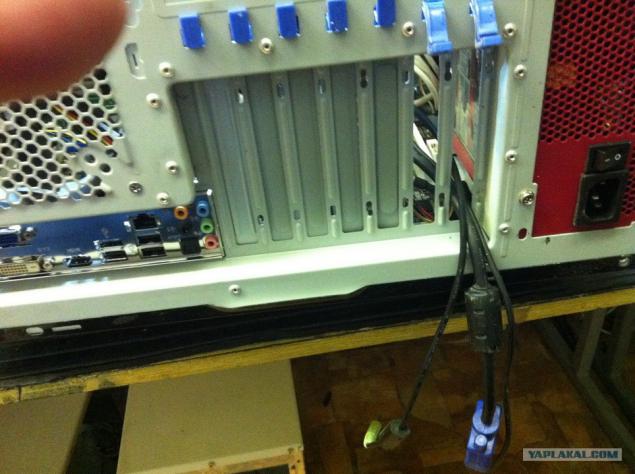
Breathless (suddenly korotnet are! Well, what if the insulation twice checked) is connected to the outlet. The monitor LED lights - half the work done.
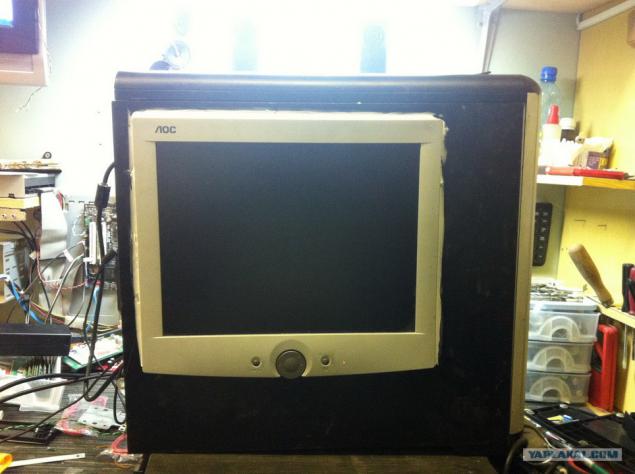
Run sistemnik - and! HERE IT IS! And it lit up and began to sing.
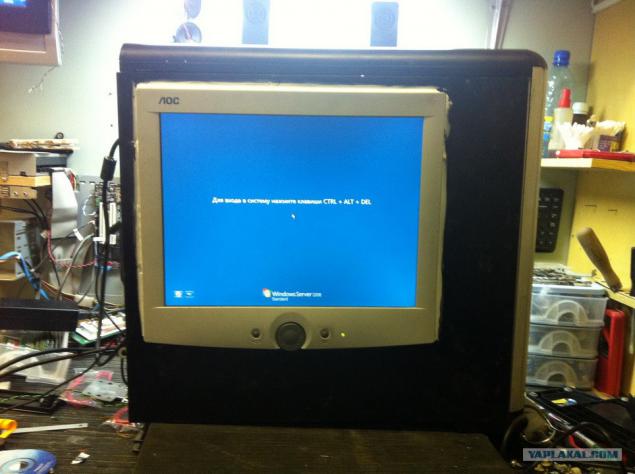
Well, as without a control test?
Posted in [mergetime] 1369434507 [/ mergetime]
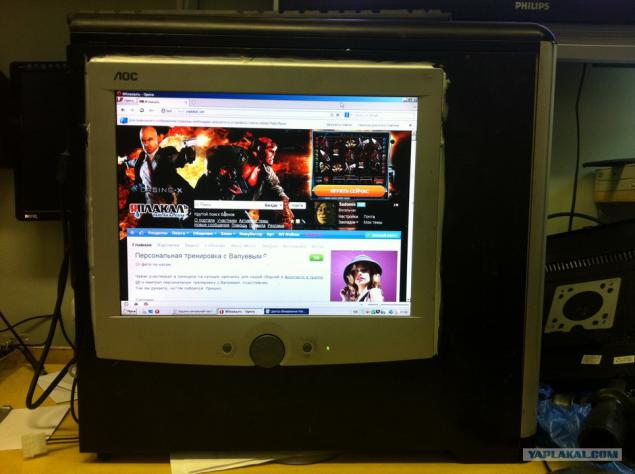
I finished. The budget of the entire working-zero-zero and horseradish along. This device is not suitable for hiking with him somewhere far away as will need the protection of the monitor, but in the office - a sweet deal, no one has an incentive to replace their burned-monitor server, "and then he just idle?" With the power supply is also wise not to become personal. But now fully justified the words "How not to come, it's all your processor looks»
Source:
32 photos, Made yablofonom, wait a little bit, then you can criticize, praise and throw whatever they want.
The idea came long ago, but still can not get around. The server stands alone, when to go for remote access is not possible, it is necessary to disconnect the monitor from the desktop computer, throw extension cord to disturb the age-old dust, then press three buttons, performed the procedure in reverse. And then I came across an old monitor that I did not give the teachers, in order to preserve their eyes, and that fully meets my idea. What else to do in Friday night? Naturally, the creation of imbalanced devaysa!

To begin with remove the leg. Bah! Yes, he is a sound!

Using a screwdriver, begin to dismantle the entire system of attaching the stand.

But the control board sound and two small speakers. Thinking decided to keep the dynamics in working condition - you never know what happens in life? And the sounds from the depths of the server is always a little to stimulate ...

Carefully, so as not to damage the wiring, outlets all hi-fi, Dolby-suraund system towards

and begin to twist the bolts that attach the body.

Disconnect the rear cover of the monitor and lift it with a flat screwdriver.

Gently missing wire in the opening of the lid, we raise it.

The first thing that catches your eye - a generous Chinese nezhmotilivy on barcodes. Or rather, they are too lazy to stick it on the key nodes. If we are able to get - he pasted

Remove the back cover and fully observe the techno-nude.

But, in fact, and patients who do transplants.

Despite more than a modest appearance, the server performs the function of the file server to hundreds of desktops. Assembled without any financial investments on the part of schools and plows for its benefit. Inside i7, 16gb operatives and two terabytes of pictures under the recent calls, documents and training materials pile.
Pretends to genitals protruding parts of the face.

Take cover line drawing tool and high precision of the "nail 80". Very cool feature for dyeing gland.

To measure the inner projecting part of the monitor, do not forget about securing the cover of the system unit (from the edges is better to retreat centimeter, because then the cover should be shifted and not cling let into the monitor).
Your output Casimir! Here it is, a black square!

Okay, okay, let the rectangle.
Take the Dremel, with the aim to cut out the core. Of course, do not forget about TB! "To chip in the eye did not beat, hoping ..." Well, clearly, in general.

After the first cuts, aware that ADR is doing a very good housing, in terms of the thickness of the iron, and the fact that it is iron, not foil, like the cheap cases.
Little change the scale of the instrument.

Small fireworks in honor of the "Last Call" and here

Be sure to remove sharp edges with a file - such wounds heal very poorly!

Rough fitting lid and monitor.

The planned holes in the lid to get into fixing that previously held the back of the monitor, and the drill bit holes in svezheraschlenennoy cover. Screwing the old bolts and lift the construct

We see the gaps, which are obtained between the cover and the monitor. Without them, nothing, otherwise we will have to invent a different kind of attachment.

Since the last time a stray sealant - do not give it to dry!

Carefully fill the joints between the cap and the monitor. Then, after drying, it will be cleaned up and painted black to blend with the lid.

Glue the wires from the monitor in order not to fall into the cooler and did not cause the heat death of the entire system. I pasted on the tape, not because "where the scotch tape is not holding - welding Nehru to do", but simply on hand at ten in the evening was not anything else. Tomorrow buy adhesive plate and tighten the clamps.

We get lazy "acoustics" and sticking it on a double sided tape on a soft base that does not touch the body.

Connect all cables and fix them, too, to avoid dangling.

Here I have become unbearable to see how well it will work, and his wife became unbearable not to see me at home, as eloquently reported by phone.
Quickly collect missing wires from the monitor through the holes for the PCI-slots.

Breathless (suddenly korotnet are! Well, what if the insulation twice checked) is connected to the outlet. The monitor LED lights - half the work done.

Run sistemnik - and! HERE IT IS! And it lit up and began to sing.

Well, as without a control test?
Posted in [mergetime] 1369434507 [/ mergetime]
I finished. The budget of the entire working-zero-zero and horseradish along. This device is not suitable for hiking with him somewhere far away as will need the protection of the monitor, but in the office - a sweet deal, no one has an incentive to replace their burned-monitor server, "and then he just idle?" With the power supply is also wise not to become personal. But now fully justified the words "How not to come, it's all your processor looks»

Source:


