941
How I built a kayak
It all started in 2010 when I read a lot of American sites have a desire to do something like that myself. They have a very common construction of plywood kayak. They can even send a turnkey assembly kit, but it was worth about 1000ue and drawings where the 100U. Such money was not and it was decided to do by eye, and what happened to you to judge.
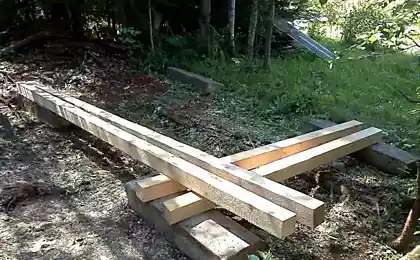
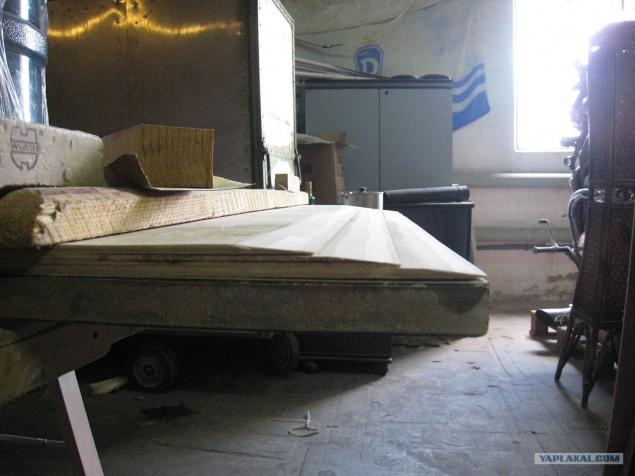
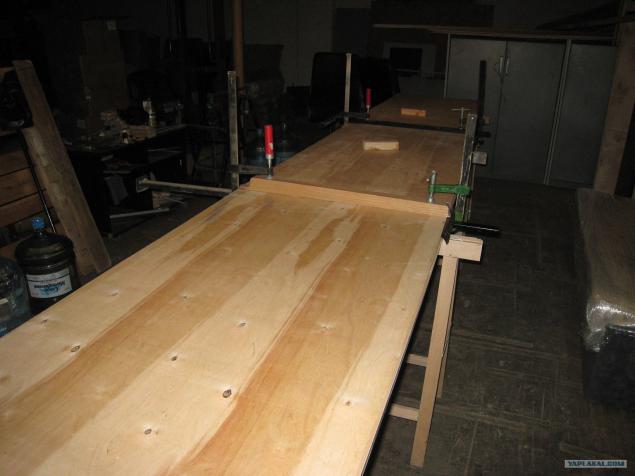
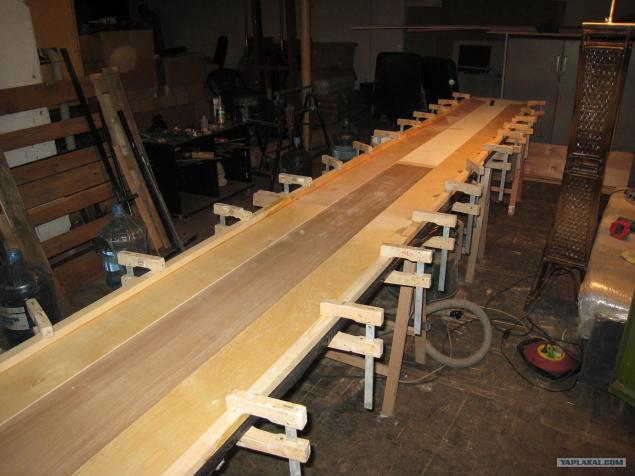
For a start it was necessary to glue the plywood to get a two-lane length and width 450sm 75 (half a standard sheet). For reliable interface recommended thickness multiplied by 8, it will be the width of the adhesive (as in the photo)
Will be 39 photos
I'm worn down from three. It turns out something like
Apply glue
Just a few
Hold
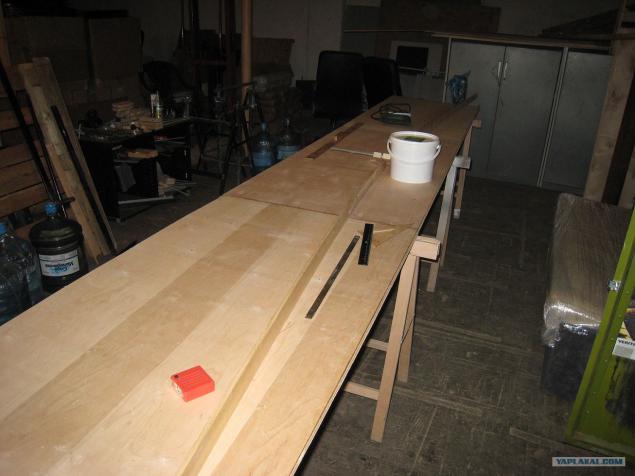
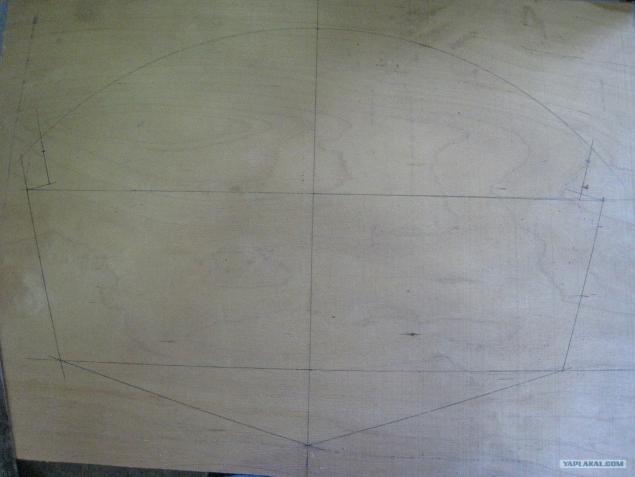
Once dried, mark
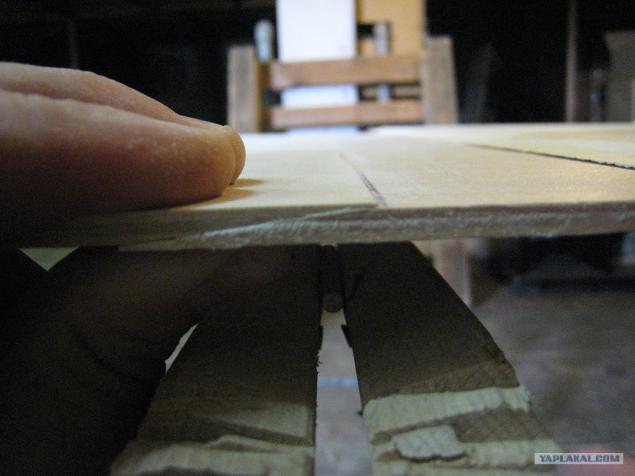
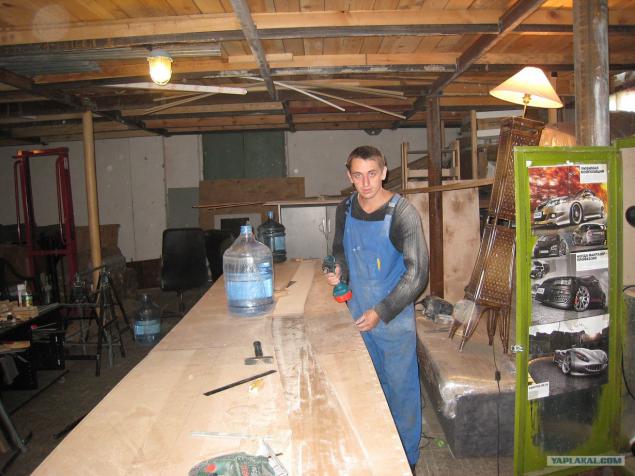
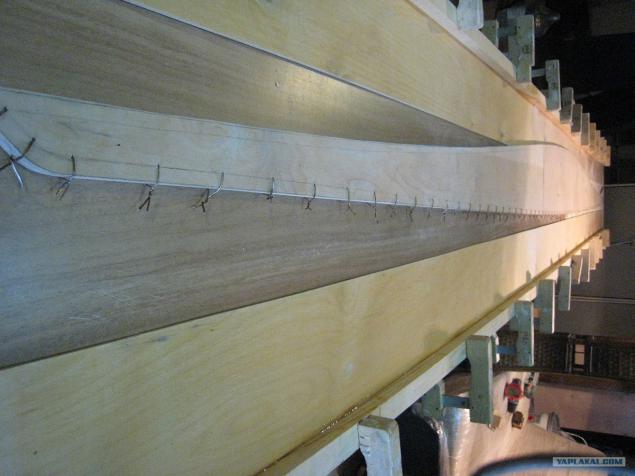
Fastening two lanes at once and cut two identical parts. This, I drilled holes at a distance of 8 cm from each other and from the edge of my 1.5 (already do not remember) for further cross-linking
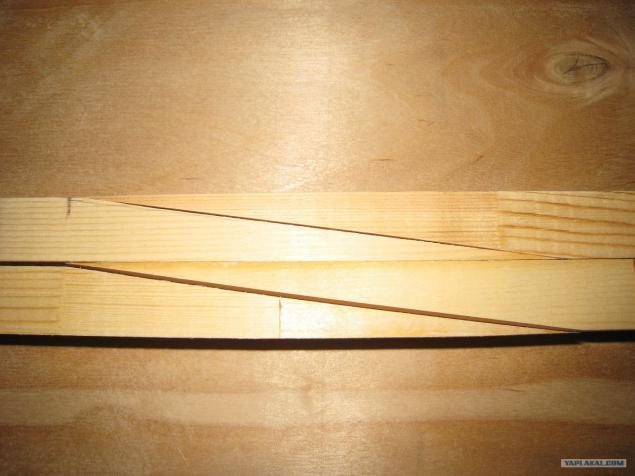
Rail stykuya as
Cut out the boards and glued on the edge of the rail
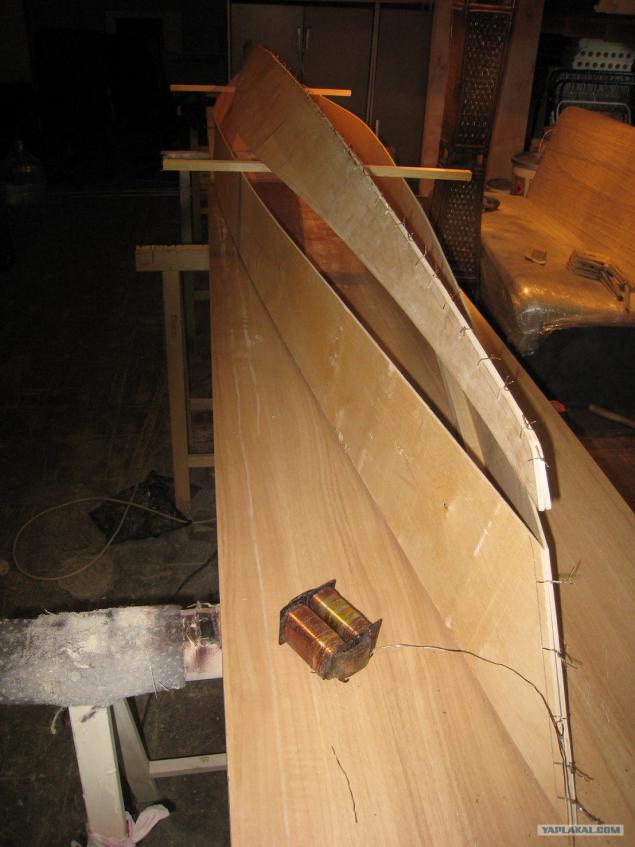
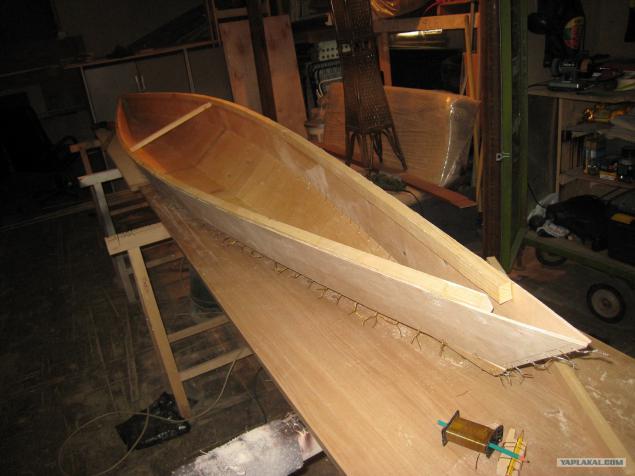
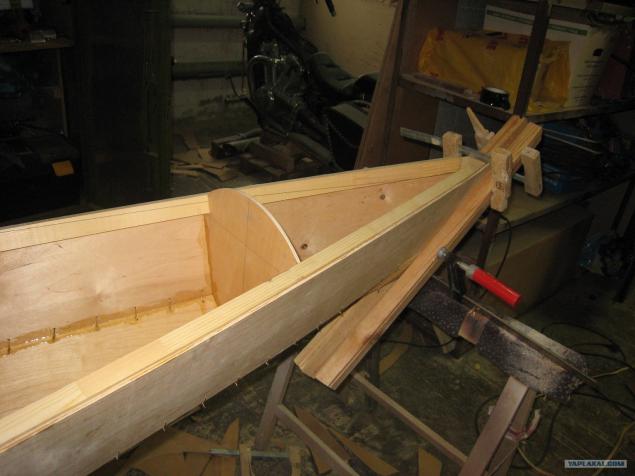
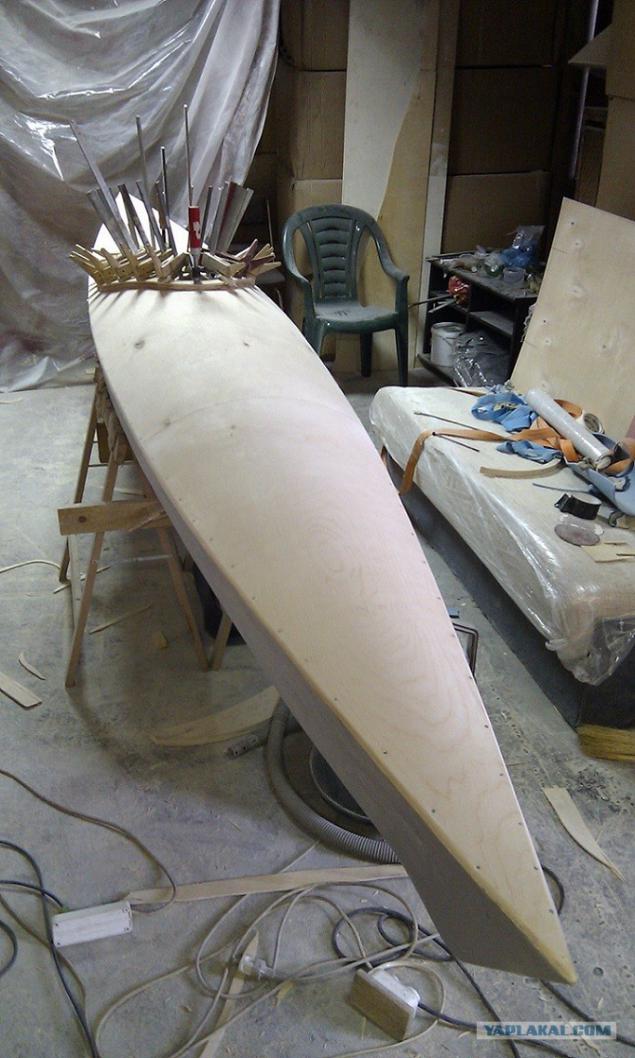
Stitched bottom
Chet liked the photo)))
Try on and drill a circular hole wire
Helpers
Already, even at that it seems
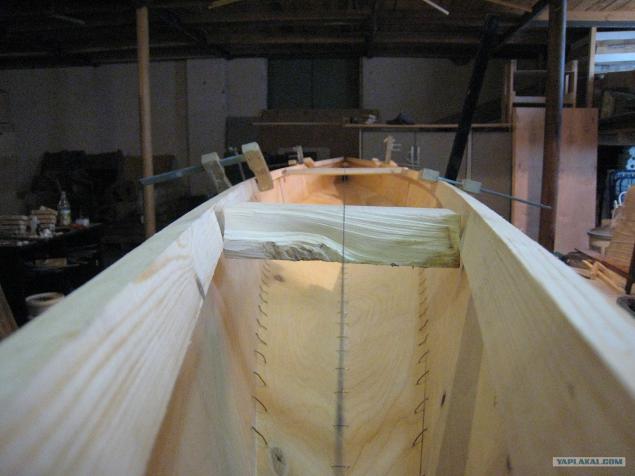
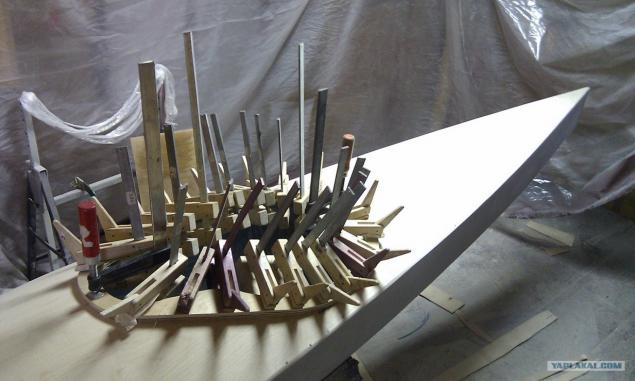
I expose all on a string as the smallest imbalance is unacceptable
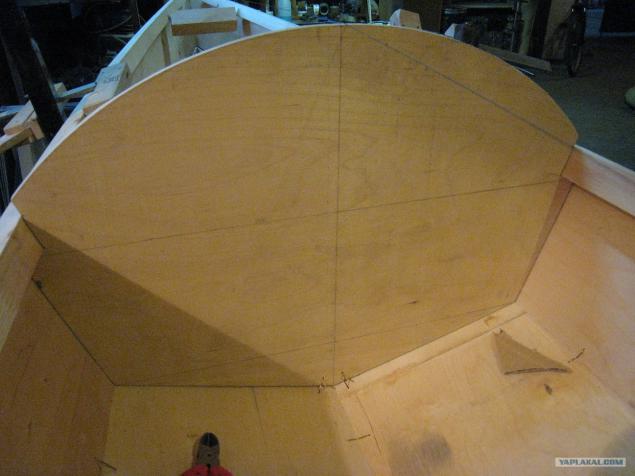
I simulate bulkhead

Mark up
She stood like a glove
All is well recorded and coat with epoxy joints
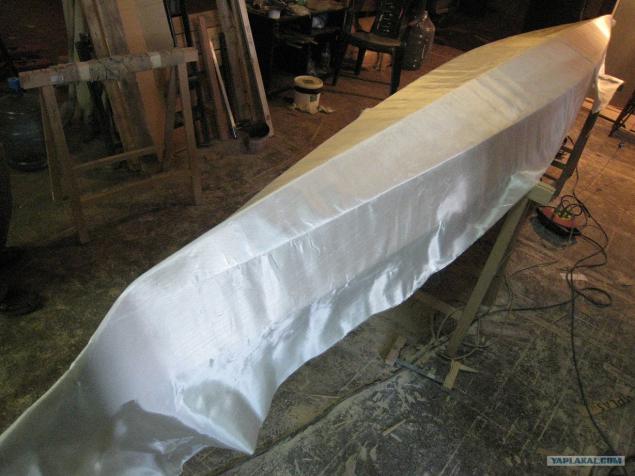
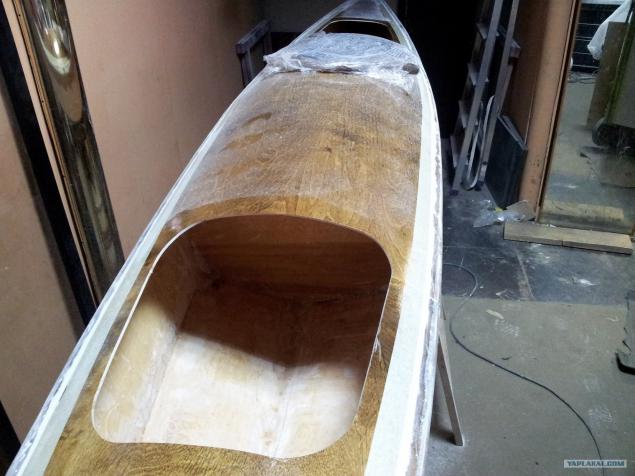
The cockpit must be covered in fiberglass
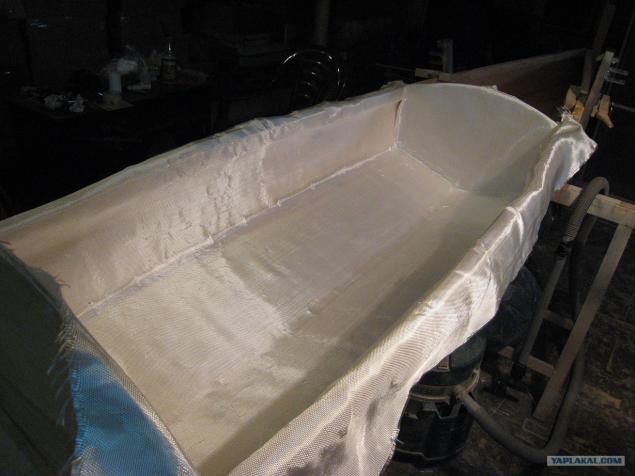
After impregnation, epoxy fiberglass becomes transparent. Straight magic)))
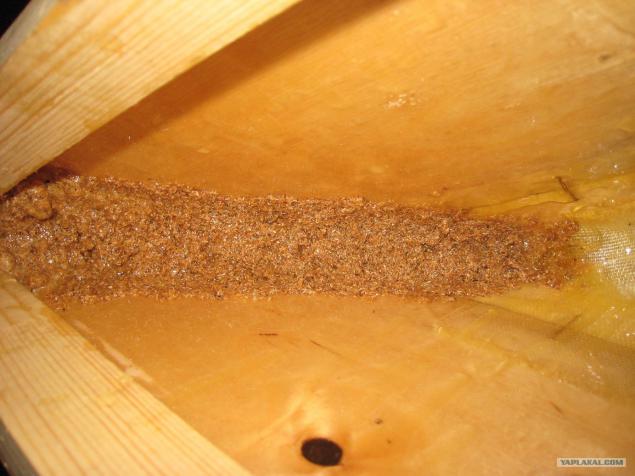
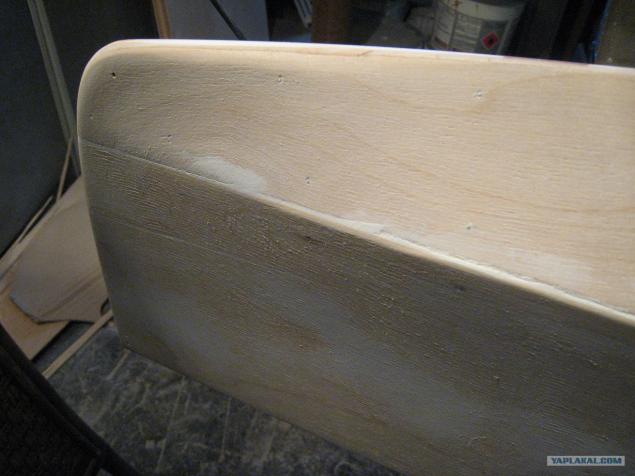
Nose fortify a mixture of sawdust and epoxy
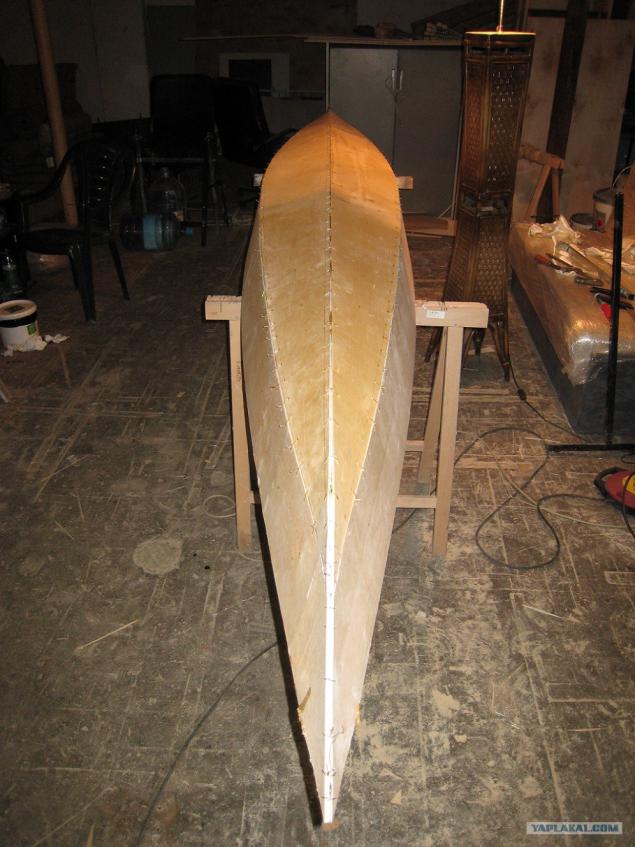
Once inside all missed, overturn
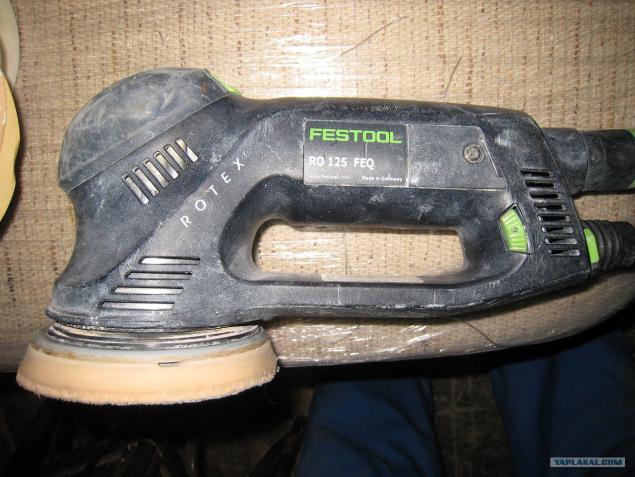
Another aide. Take it and a long and tedious grind
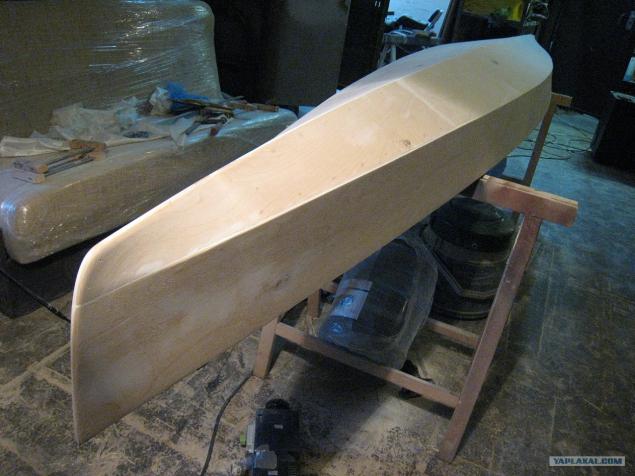
Until this state
Closer
Let us again magic
The application of an epoxy resin process is very time consuming and requires some skill so it's best to do it with someone
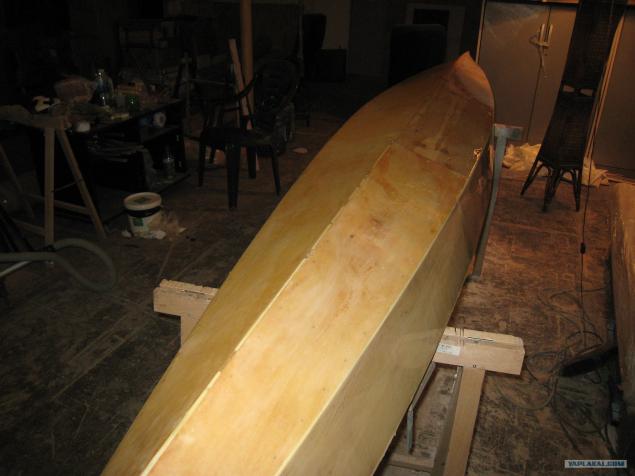
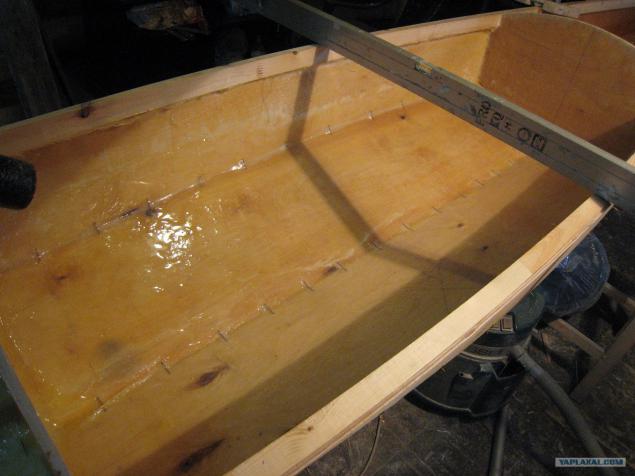
The first layer of epoxy and we clean that bear the following we clean too. Generally cleaning is the most difficult thing that was under construction, so I'm not much fotkal. This is after painting the bottom
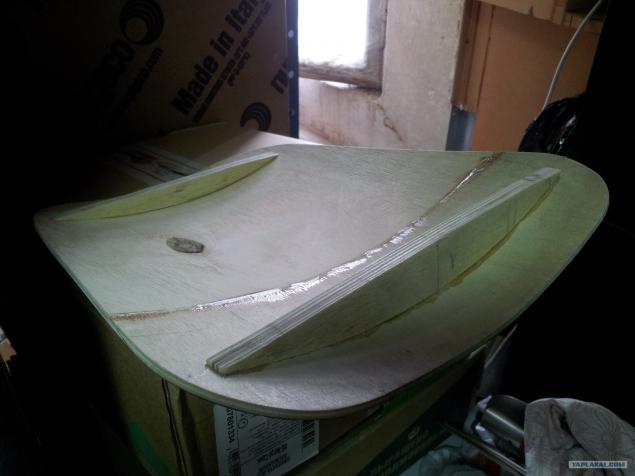
Then nailed nails and cut the deck "point»
Hedgehog from clamps. Makes capturing skirt
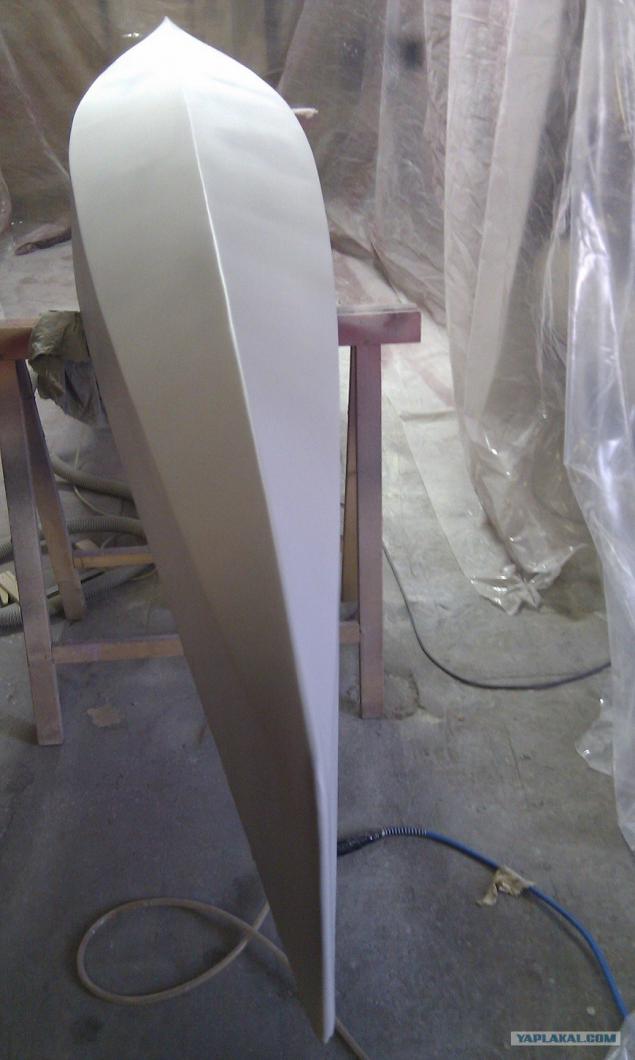
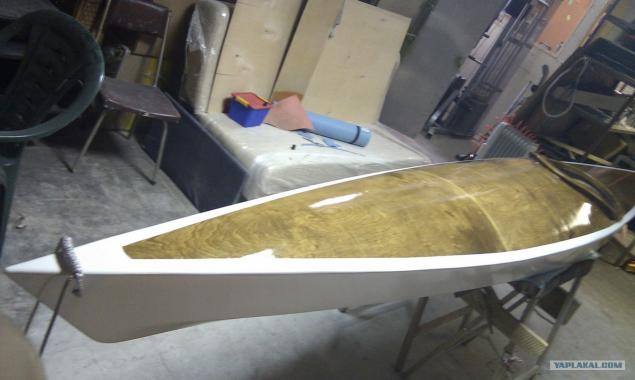
Covered deck impregnated and varnished
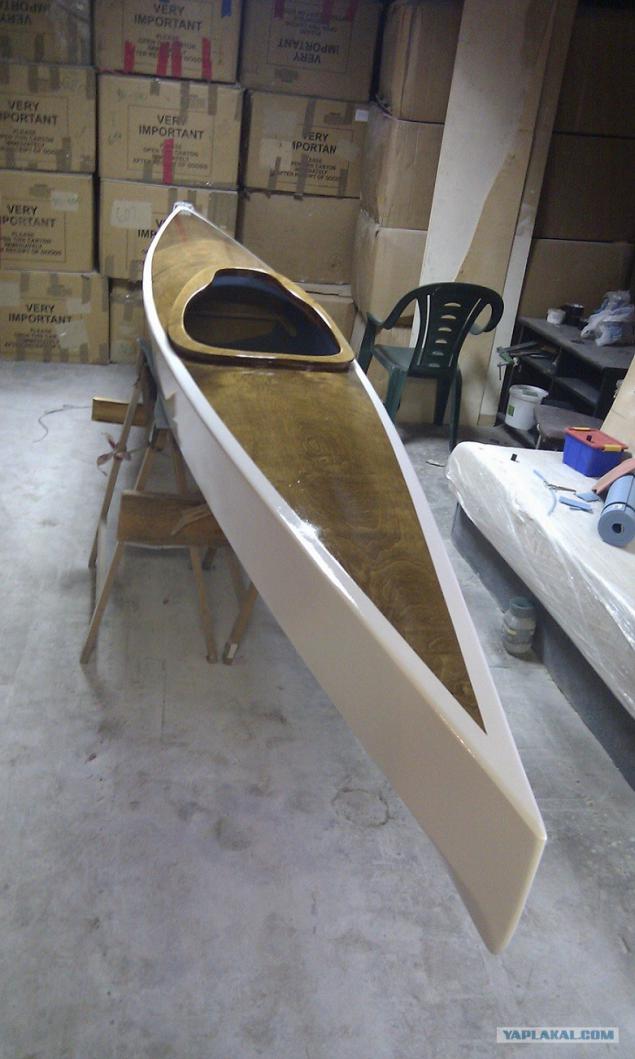
So he looked in 2011 and then the first time I walked on it. Hatches are not cut at all I doubt that he will stay on the water. Let me remind you done by eye, without drawings.
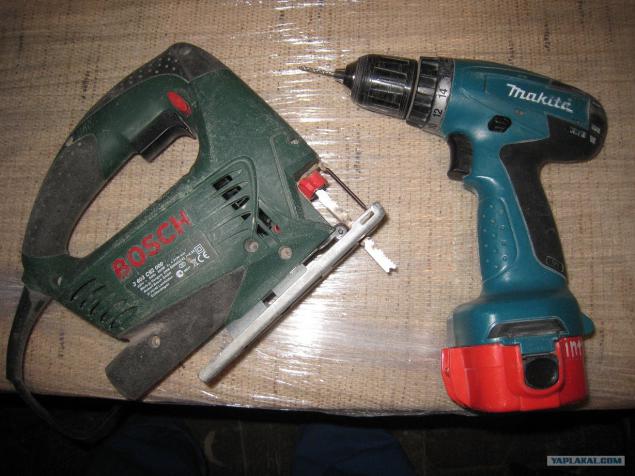
I'm going through in vain, he goes perfectly smoothly, quickly. But then suddenly I had to make repairs at home (he did) and had the time to throw it. And already this year reached the hands of hatches. Mark and confident movement jigsaw ...
Covers reinforced ribs and on the perimeter glued gum for sealing
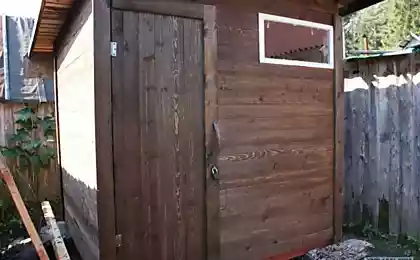
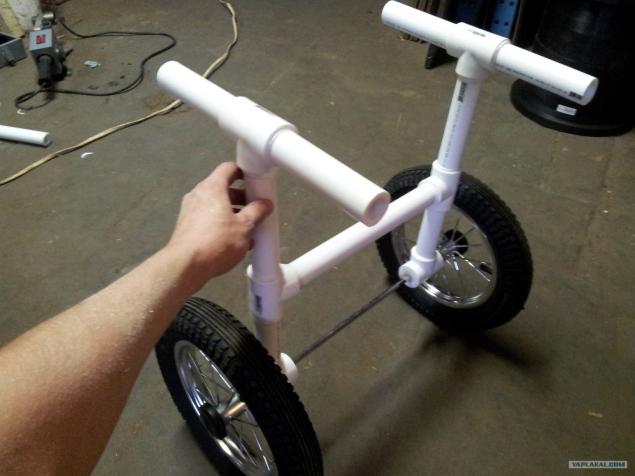
I did collapsible trolley for easy movement
Hung all rezinochek for fixing anything, and three for each tightening flap.

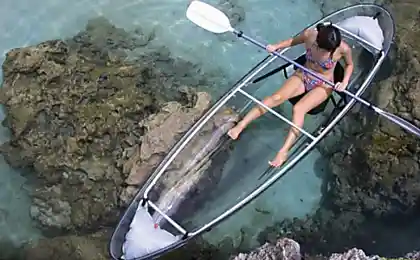
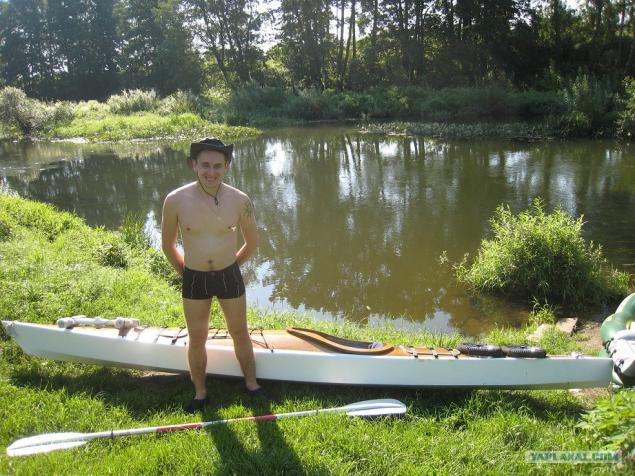
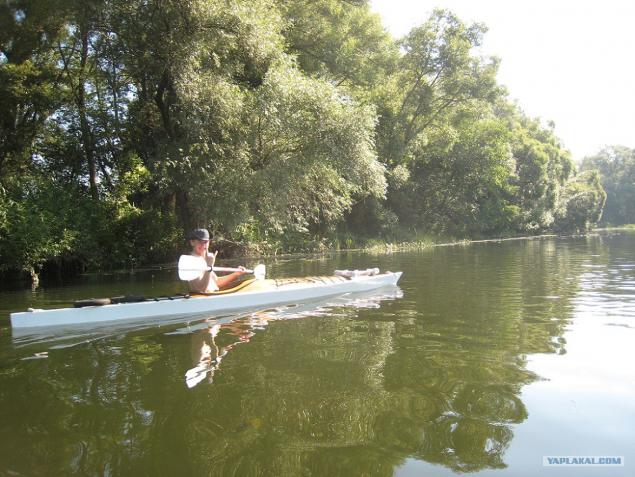
And I sent him to test in a small three-day rental.
If there is interest, I will create a report about the trip. I have all the kick
Source:
For a start it was necessary to glue the plywood to get a two-lane length and width 450sm 75 (half a standard sheet). For reliable interface recommended thickness multiplied by 8, it will be the width of the adhesive (as in the photo)
Will be 39 photos

I'm worn down from three. It turns out something like

Apply glue

Just a few

Hold

Once dried, mark

Fastening two lanes at once and cut two identical parts. This, I drilled holes at a distance of 8 cm from each other and from the edge of my 1.5 (already do not remember) for further cross-linking

Rail stykuya as

Cut out the boards and glued on the edge of the rail

Stitched bottom

Chet liked the photo)))

Try on and drill a circular hole wire

Helpers

Already, even at that it seems

I expose all on a string as the smallest imbalance is unacceptable

I simulate bulkhead

Mark up

She stood like a glove

All is well recorded and coat with epoxy joints

The cockpit must be covered in fiberglass

After impregnation, epoxy fiberglass becomes transparent. Straight magic)))

Nose fortify a mixture of sawdust and epoxy

Once inside all missed, overturn

Another aide. Take it and a long and tedious grind

Until this state

Closer

Let us again magic

The application of an epoxy resin process is very time consuming and requires some skill so it's best to do it with someone

The first layer of epoxy and we clean that bear the following we clean too. Generally cleaning is the most difficult thing that was under construction, so I'm not much fotkal. This is after painting the bottom

Then nailed nails and cut the deck "point»

Hedgehog from clamps. Makes capturing skirt

Covered deck impregnated and varnished

So he looked in 2011 and then the first time I walked on it. Hatches are not cut at all I doubt that he will stay on the water. Let me remind you done by eye, without drawings.

I'm going through in vain, he goes perfectly smoothly, quickly. But then suddenly I had to make repairs at home (he did) and had the time to throw it. And already this year reached the hands of hatches. Mark and confident movement jigsaw ...

Covers reinforced ribs and on the perimeter glued gum for sealing

I did collapsible trolley for easy movement

Hung all rezinochek for fixing anything, and three for each tightening flap.

And I sent him to test in a small three-day rental.

If there is interest, I will create a report about the trip. I have all the kick

Source: