900
As a sysadmin barn built
Hello.
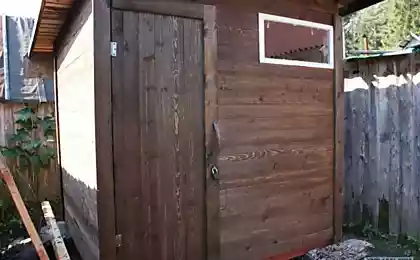
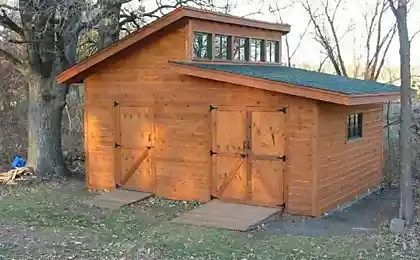
I decided now to tell you how I built a barn in the country.
It was built on the basis of maximum savings and maximum use of available materials. I buy only the big board on the rear wall trim and sides, and bars. Since I'm not a builder, a system administrator, it happened a bit wrong, as desired. But, like, it is still a good idea
I apologize for the quality of the images - all shot on a hammer and a pinch
Will be 20 photos, please do not break at the end of further say.
1. Bought bars 100x100
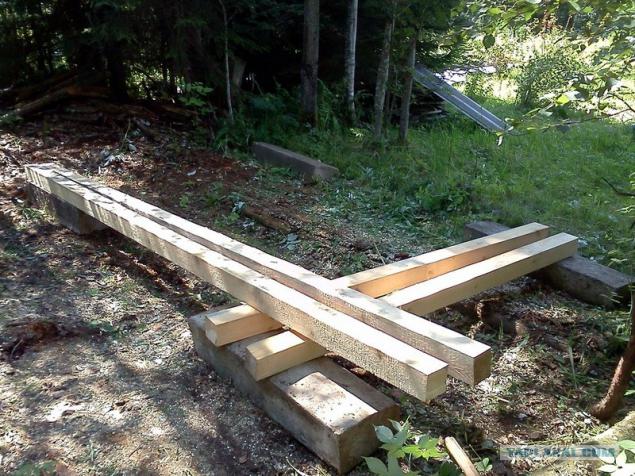
2. Did curves drank to connect in a half-tree
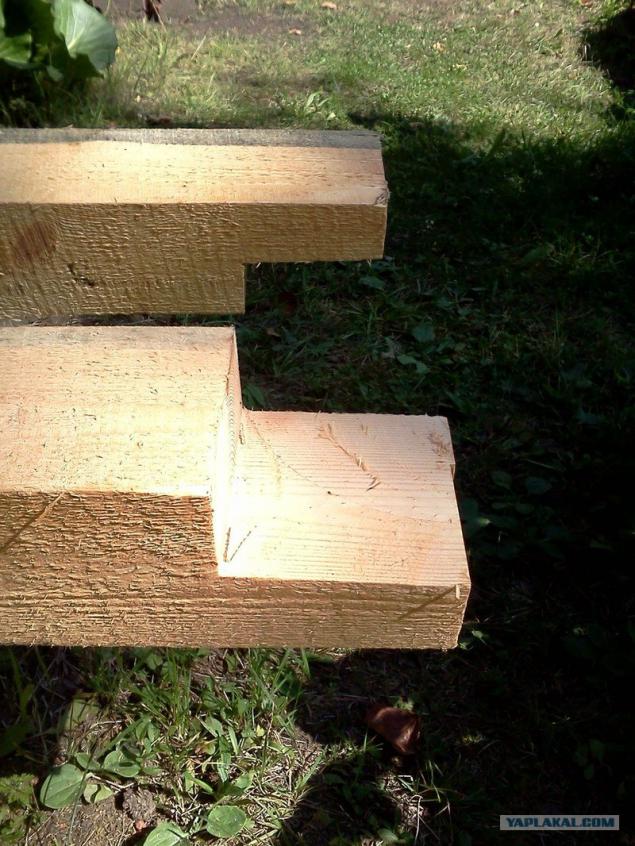
3. Bottom rail
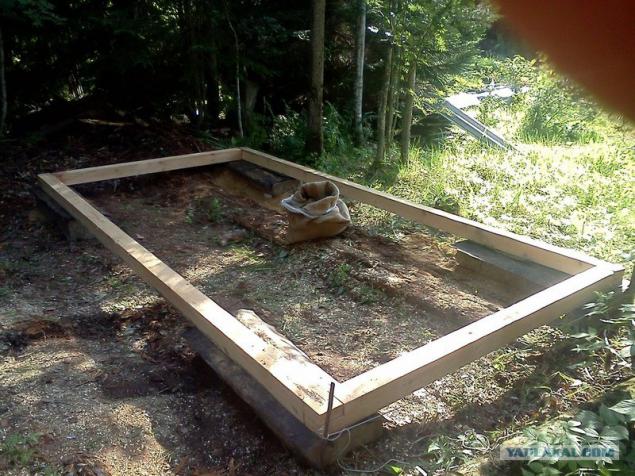
4. Put the rack of boards 50-50
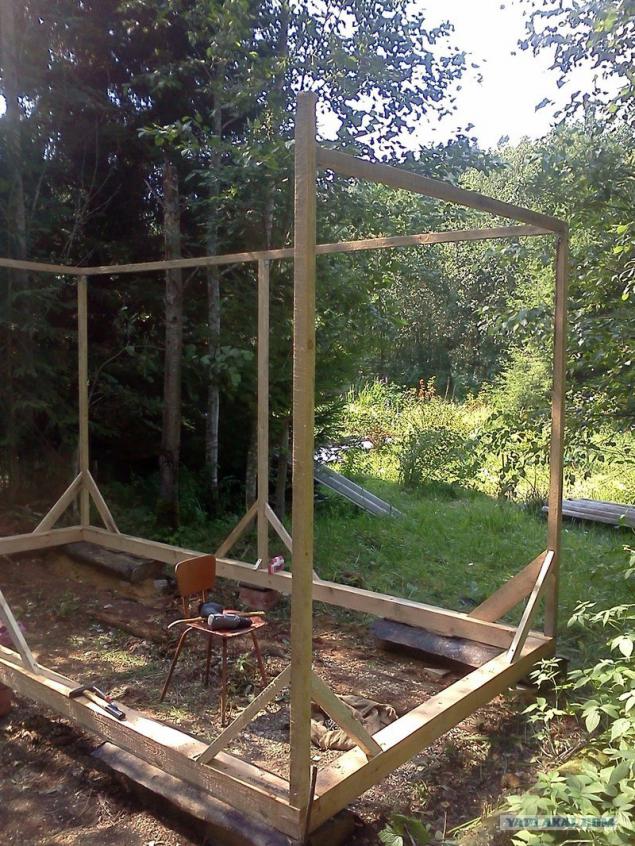
5. strut / jib
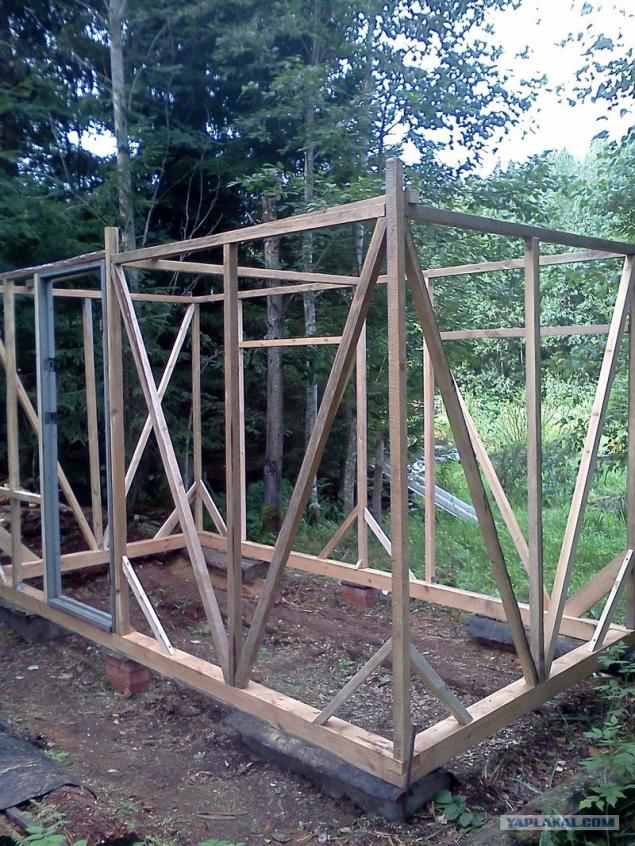
6. Roof
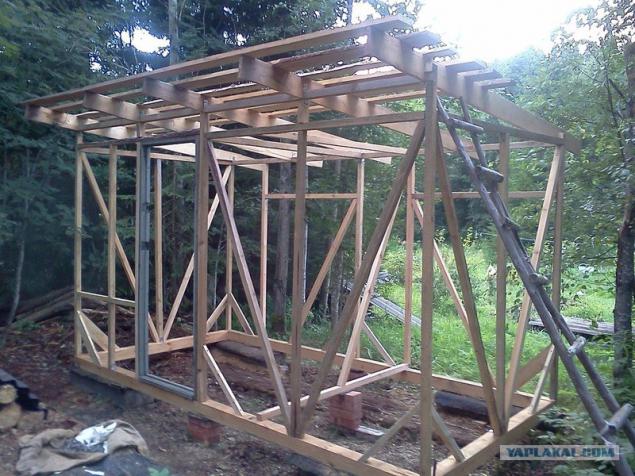
7. From the roofing material.
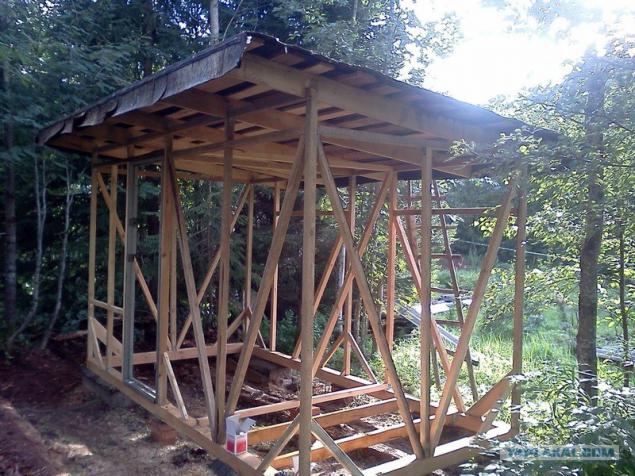
8. Floor joists
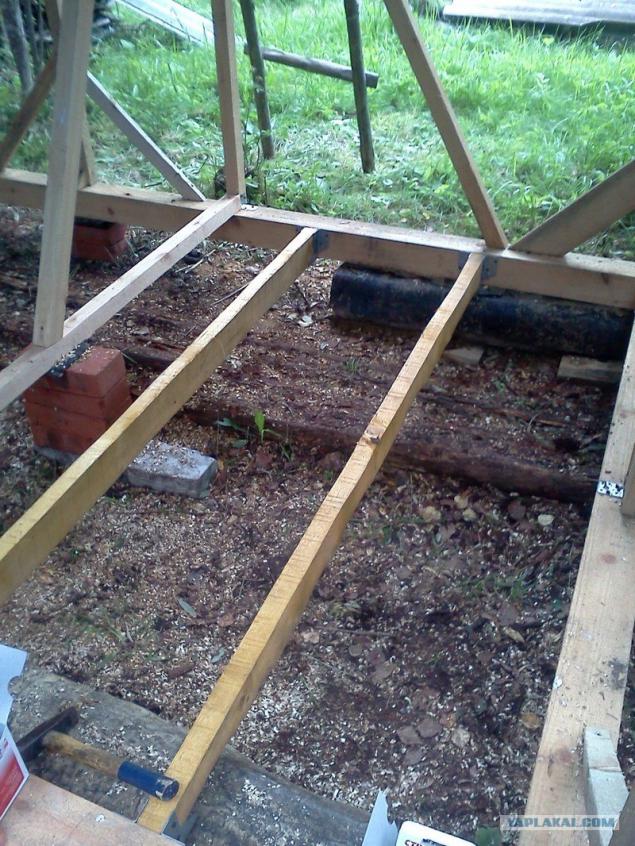
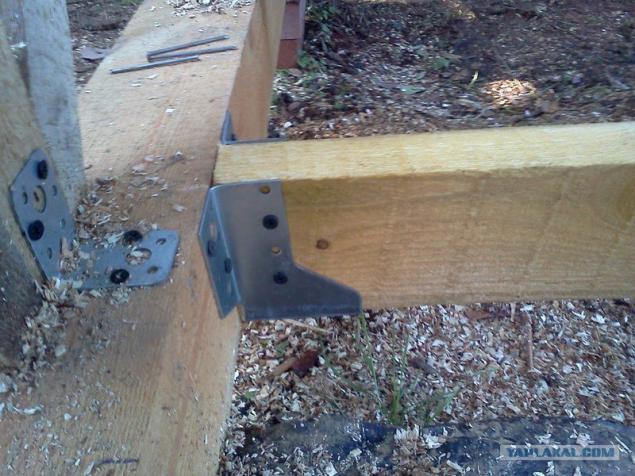
9. Here is attached to such areas.
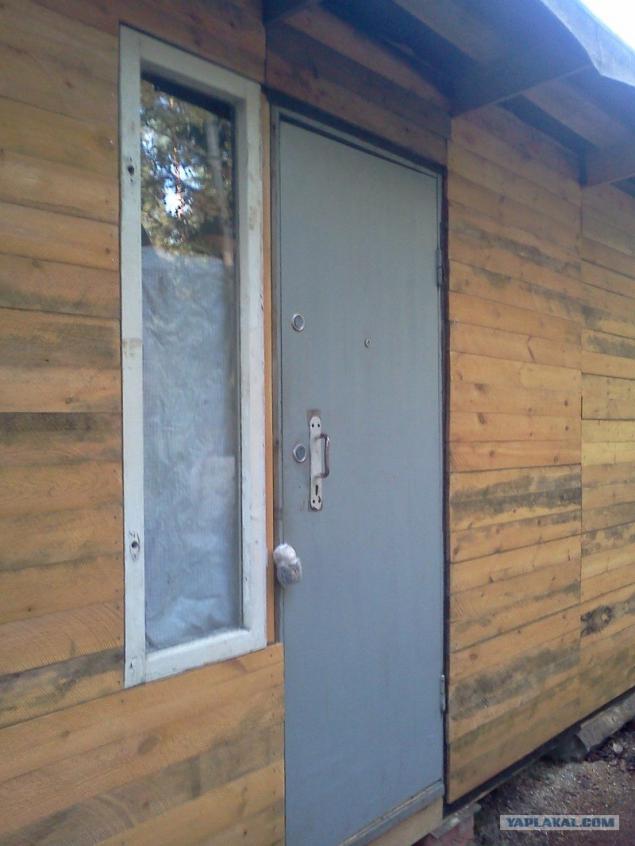
10. Now sheathe the front wall of the thin lining. It is and looks good
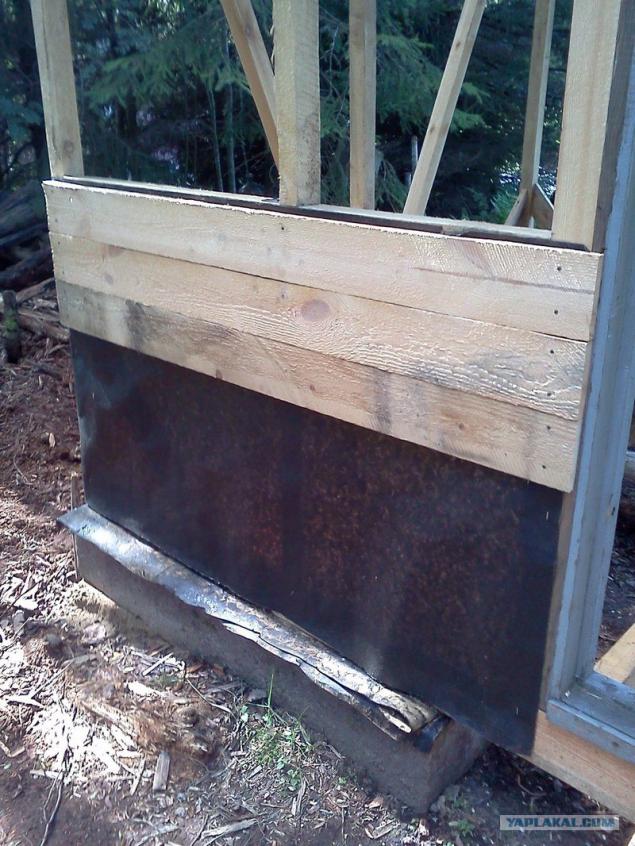
11. So
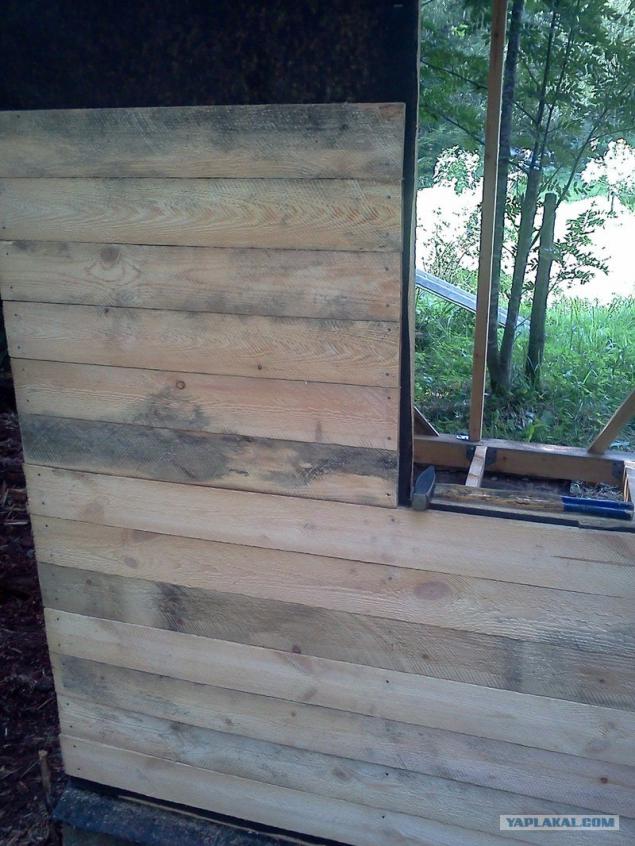
12. And
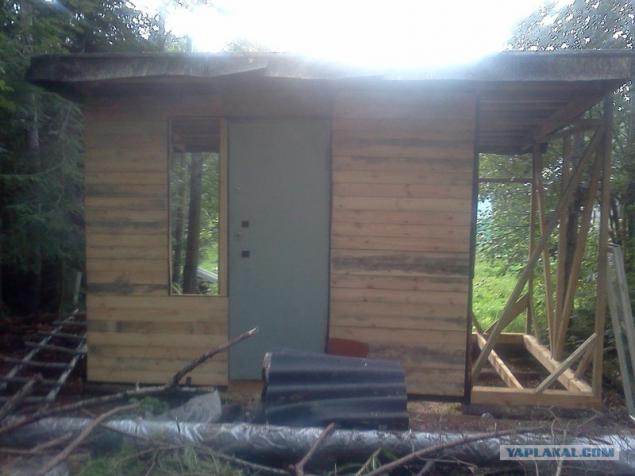
13. The front wall is ready
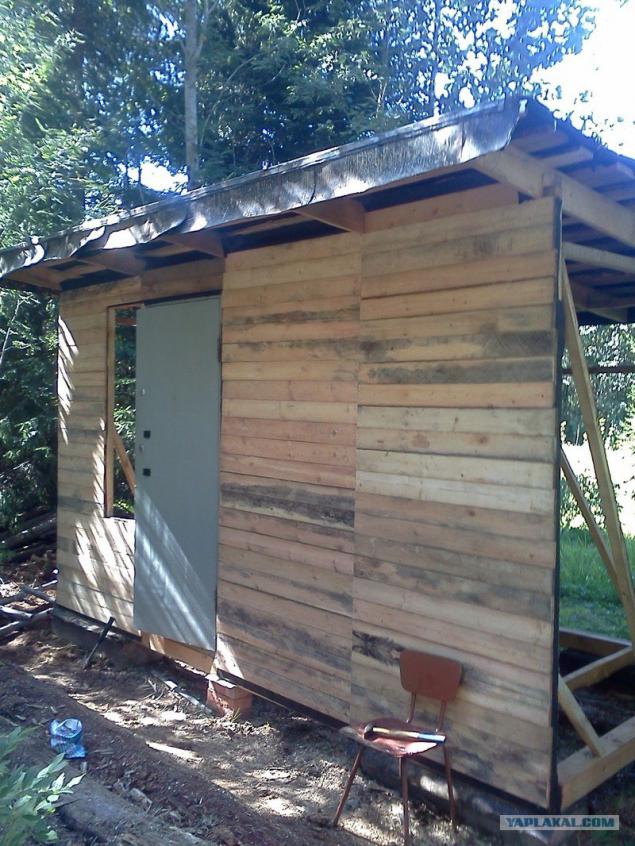
14. Almost ready side.
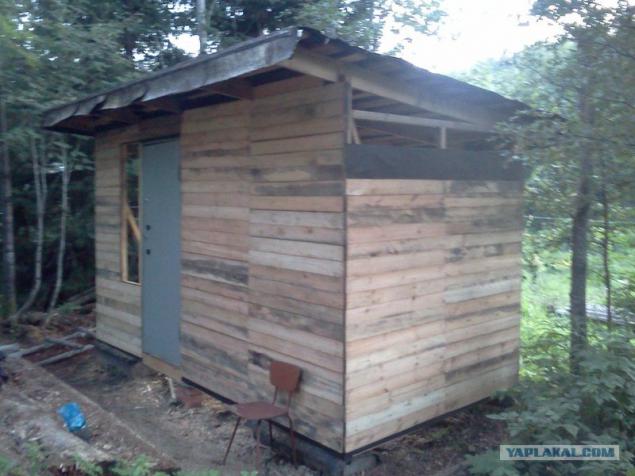
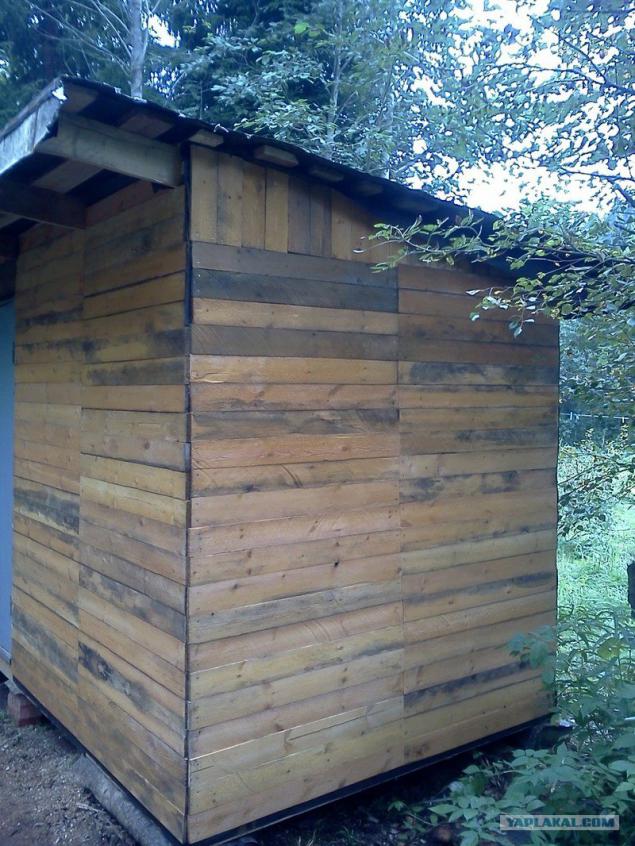
15. On the second sides of the board had been buying. They are thick and long. It went faster.
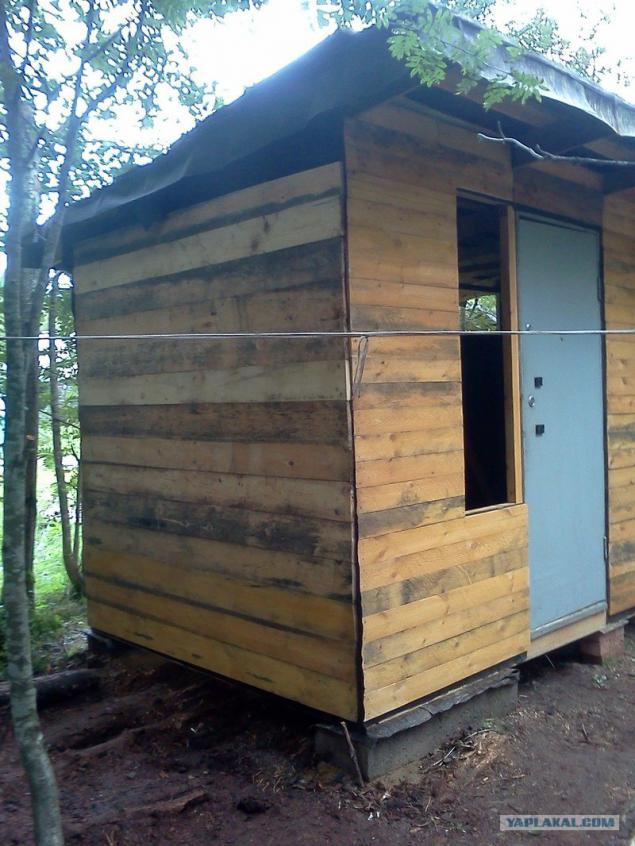
16. The rear wall with "windows»
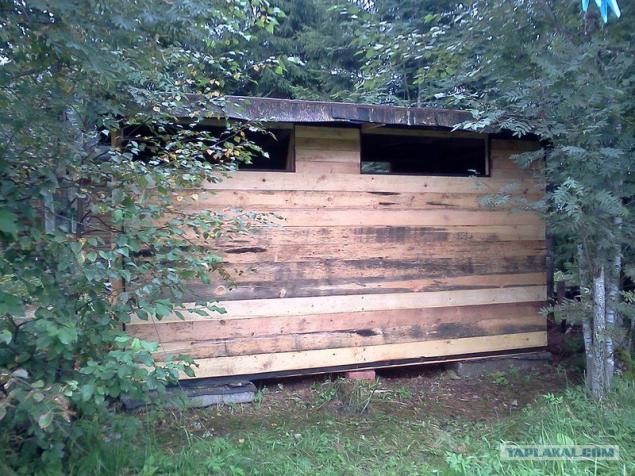
17. figure out how to close the top at the side walls.
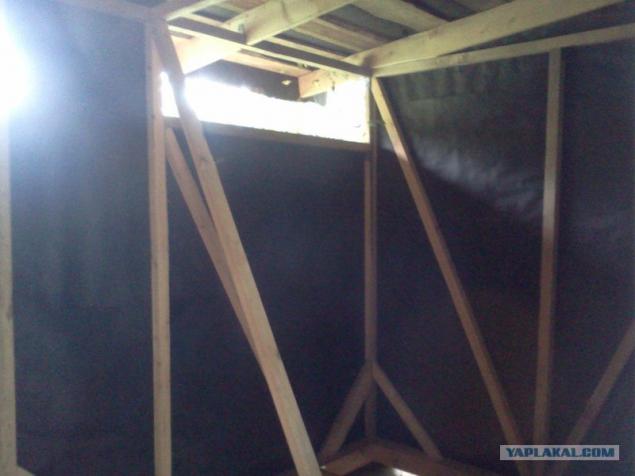
18. Here is the inside. It should be something to sew ...
19. In the last exit to the country this year, forget screwdriver and a screwdriver to fasten the window is unrealistic ... So I had to just tighten the film for the winter ...
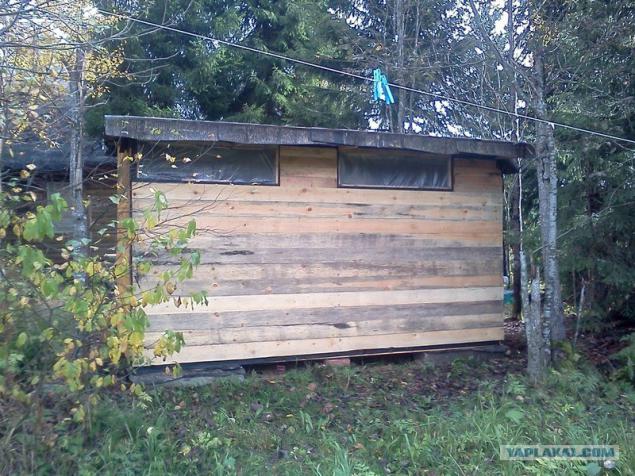
20. Last photo
PS: I Was mistaken with the number of originally ...
Source:
I decided now to tell you how I built a barn in the country.
It was built on the basis of maximum savings and maximum use of available materials. I buy only the big board on the rear wall trim and sides, and bars. Since I'm not a builder, a system administrator, it happened a bit wrong, as desired. But, like, it is still a good idea
I apologize for the quality of the images - all shot on a hammer and a pinch
Will be 20 photos, please do not break at the end of further say.
1. Bought bars 100x100

2. Did curves drank to connect in a half-tree

3. Bottom rail

4. Put the rack of boards 50-50

5. strut / jib

6. Roof

7. From the roofing material.

8. Floor joists

9. Here is attached to such areas.

10. Now sheathe the front wall of the thin lining. It is and looks good

11. So

12. And

13. The front wall is ready

14. Almost ready side.

15. On the second sides of the board had been buying. They are thick and long. It went faster.

16. The rear wall with "windows»

17. figure out how to close the top at the side walls.

18. Here is the inside. It should be something to sew ...

19. In the last exit to the country this year, forget screwdriver and a screwdriver to fasten the window is unrealistic ... So I had to just tighten the film for the winter ...

20. Last photo
PS: I Was mistaken with the number of originally ...

Source:

