608
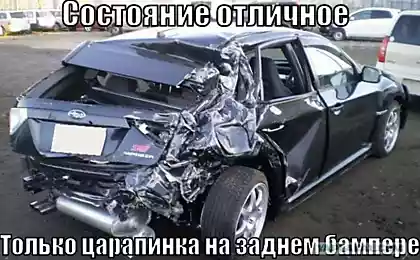
Small body repair.
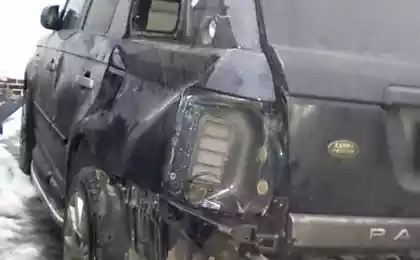
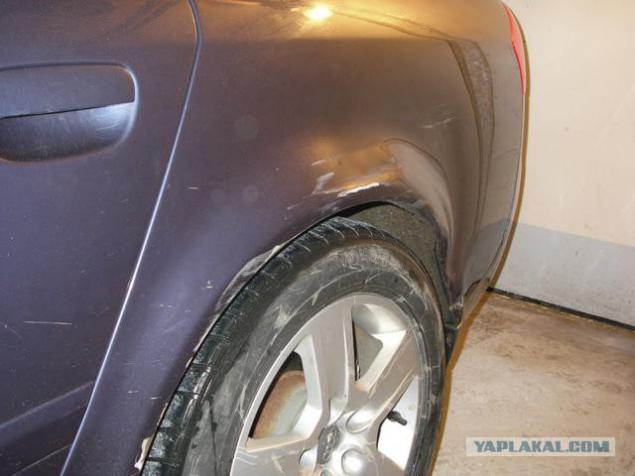
Audi. Jam rear wing with the inner arch.
Will be 70 photos.
2.
More Fota.
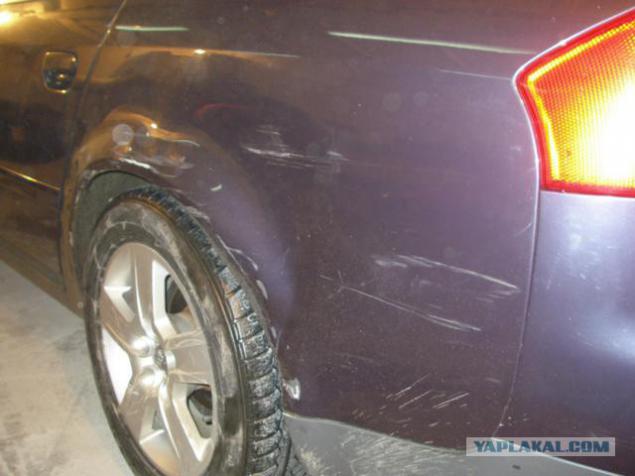
3. More. This is where a good view room.
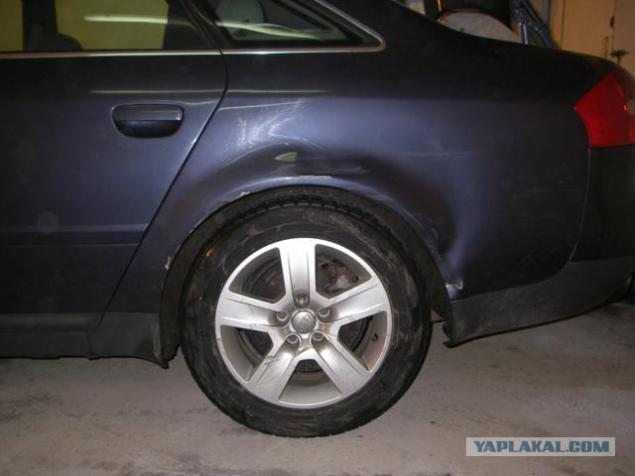
4.Vid side. We pull specials. Pribluda arch.
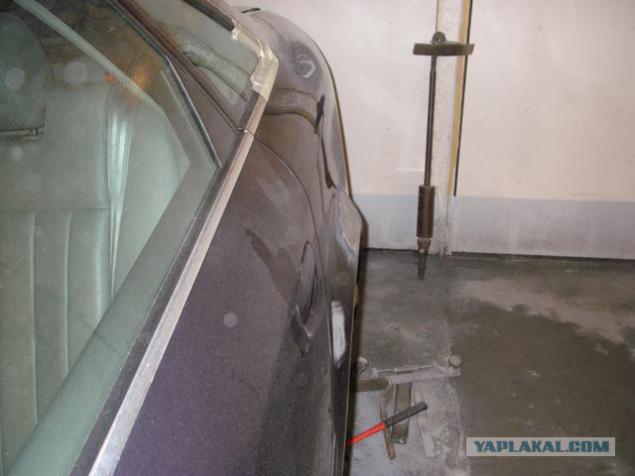
5. Rihtuem slowly.

6. Mazhem shpakley, skin (dry).

7. Ground.

8. Ground vyshkuren, under the wing ready to color.

9. The Painted.
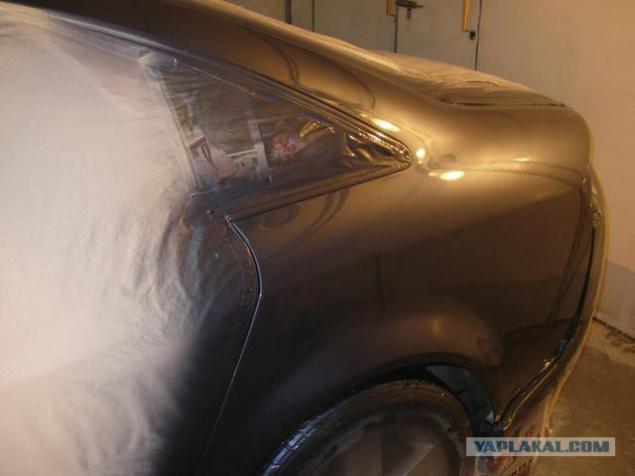
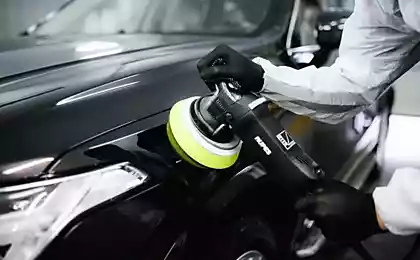
10. Collect and polished.
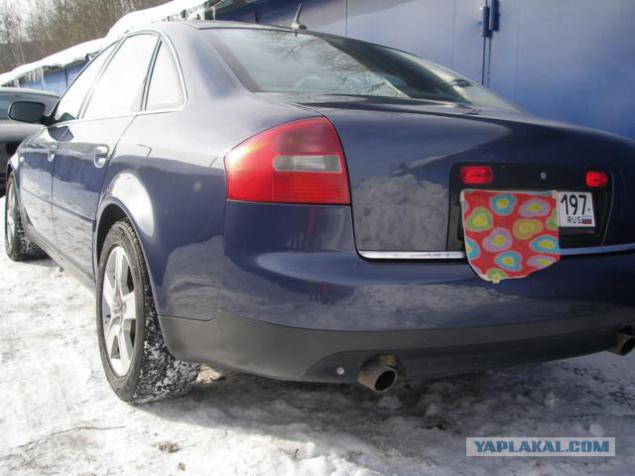
11. Polishing the whole body, so that the wing is not much "stuck."
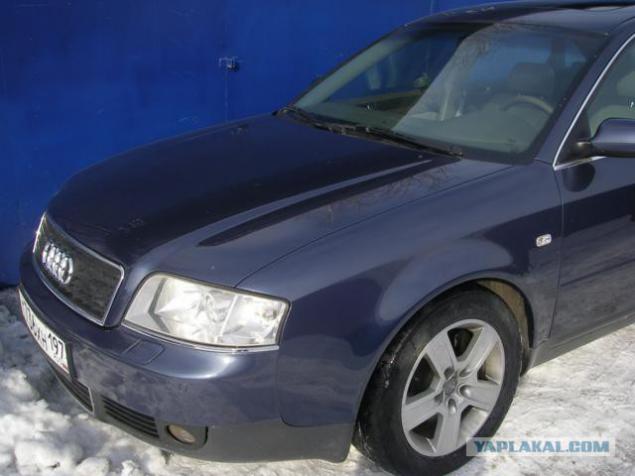
12. A little further.
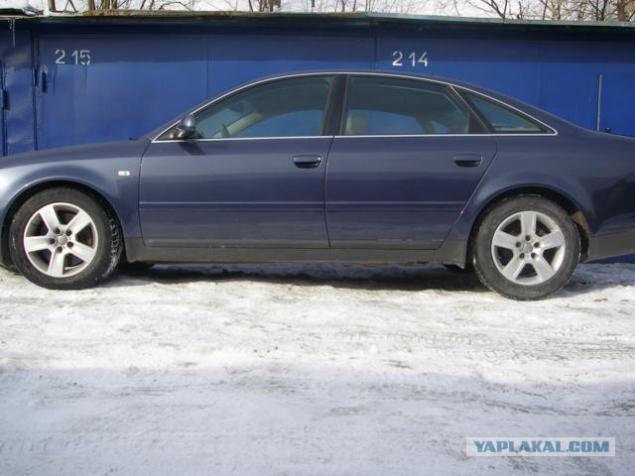
13. More photo.

14. Rear bumper (Almería). Slightly torn and jam.

15. Closer.
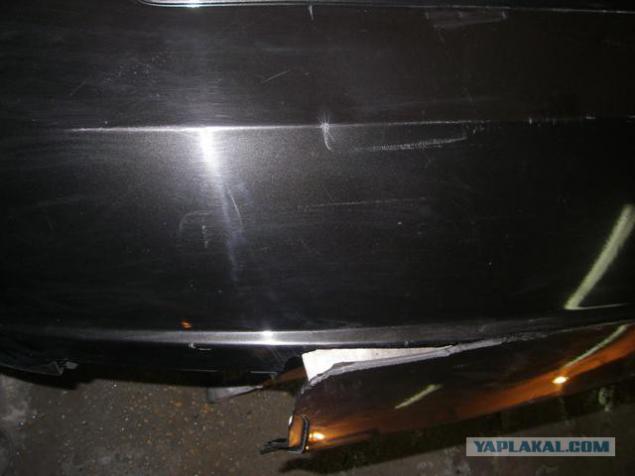
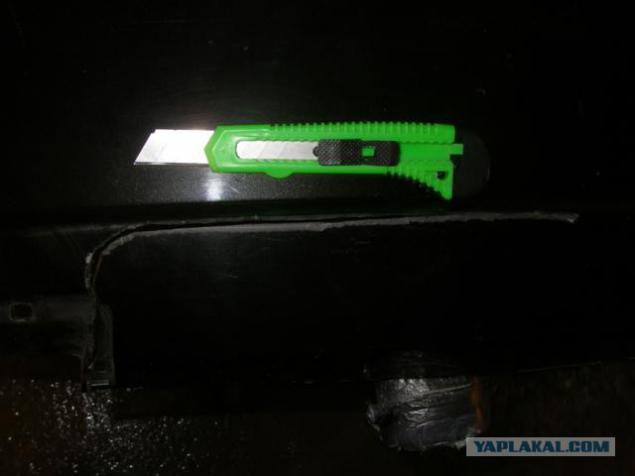
16. We prepare everything necessary for the repair.
Stationary cutter cuts through the edge of the adhesive to penetrate into all cracks as BE.
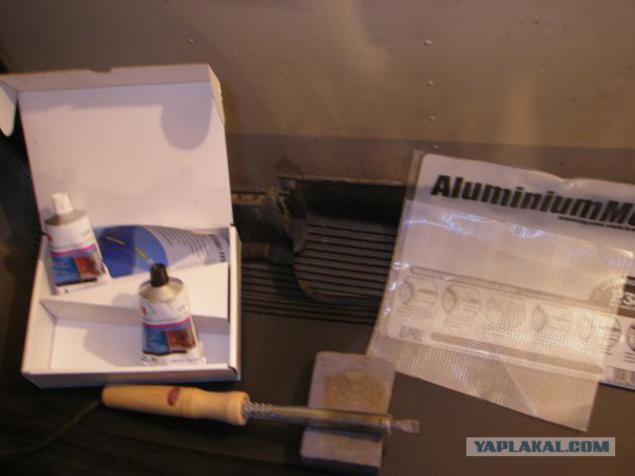
17. View from inside. Two-component adhesive, Alloy. mesh + poyalneg.
18. Poyalnegom implement grid.
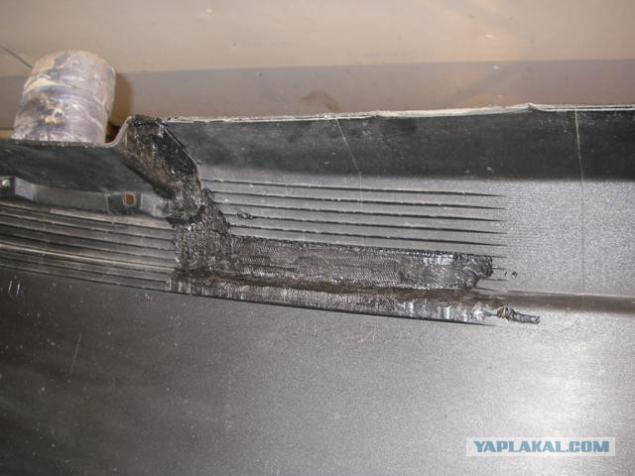
19. Overturn, pour glue cut by the cutter edge.

20. dries, and at the same time we straighten the top dent.
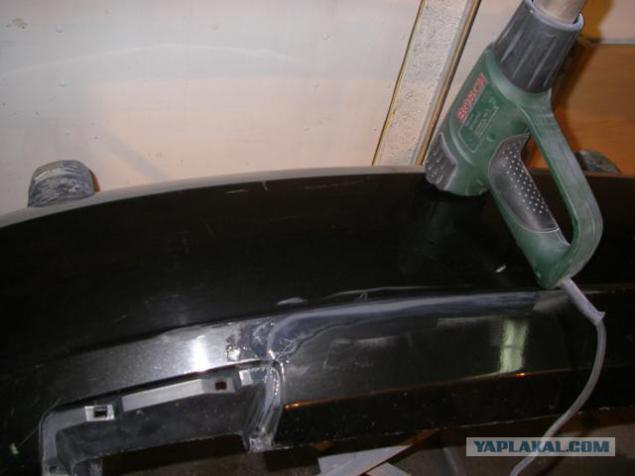
21. Vyshkurivaem excess glue, and bring down a gloss shpaklyu.
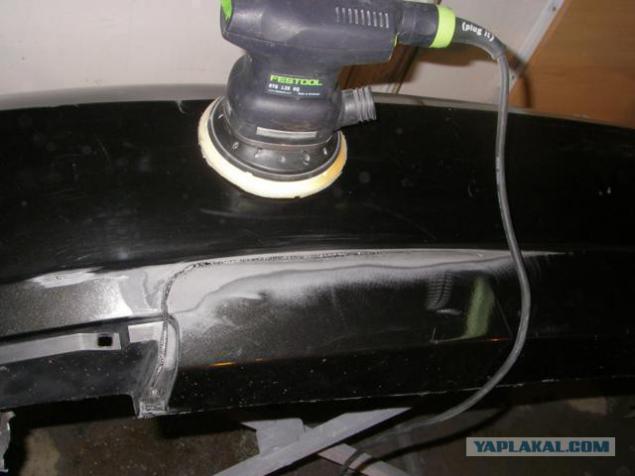
22. More.

23. The damaged area smeared.
After the soil is no photos. Somehow I proeblanil this point.
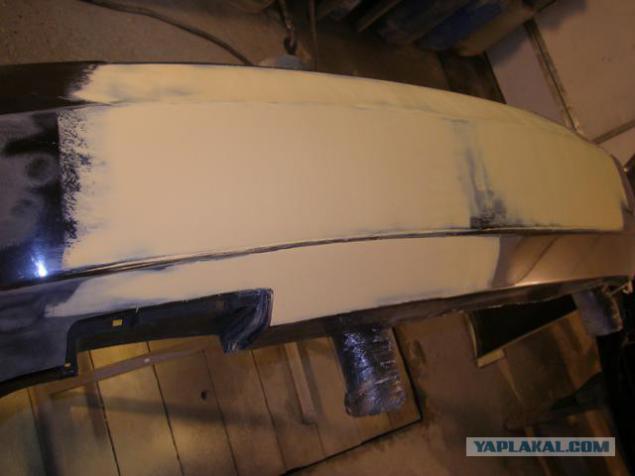
24. painted.
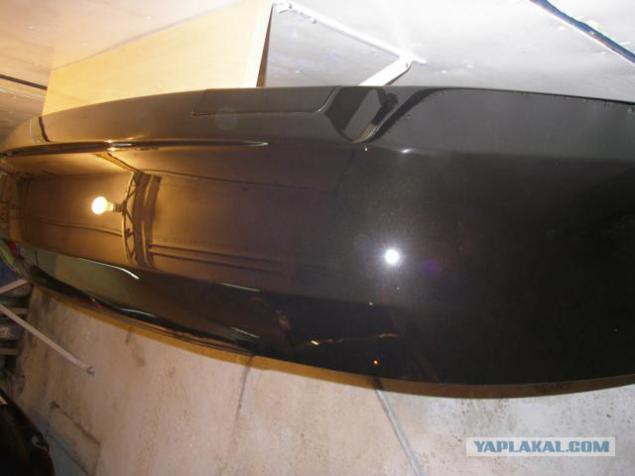
25. More.
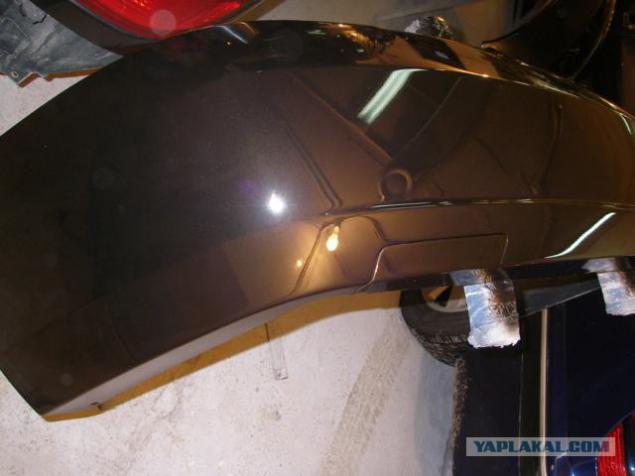
26. Bumper Nissan Note.
Even when someone does something. It is clearly seen as a peel lacquer. Campaign "base" dry up.
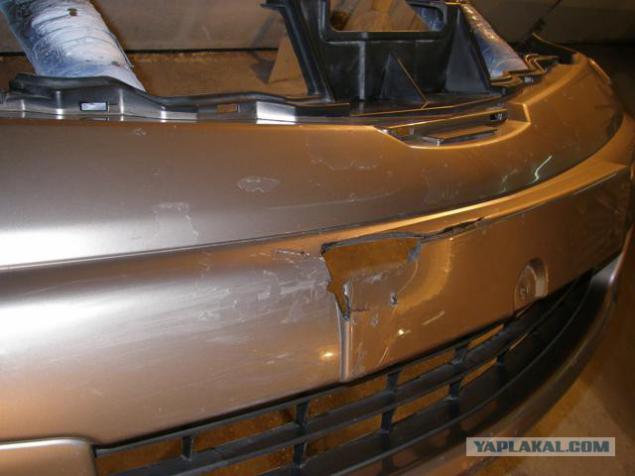
26. From another perspective.
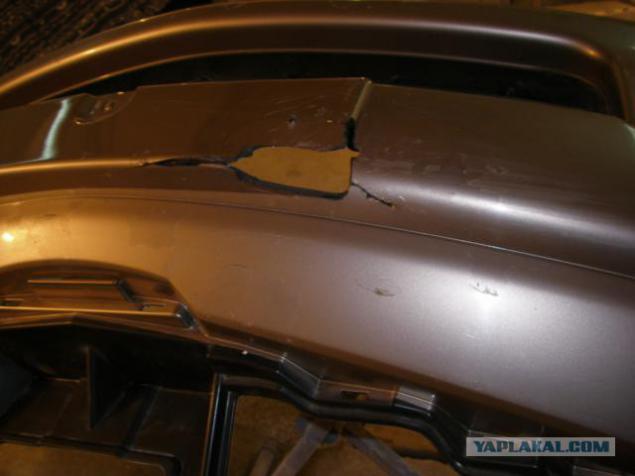
27.

28.
Vyderaem here these circles the top film of plastic, and doing rough notches for better tseplyaemosti glue.

29.
And degreased.
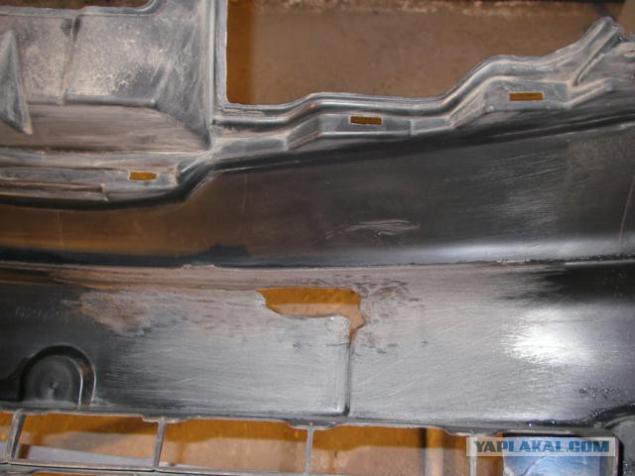
30.
Outside the same.
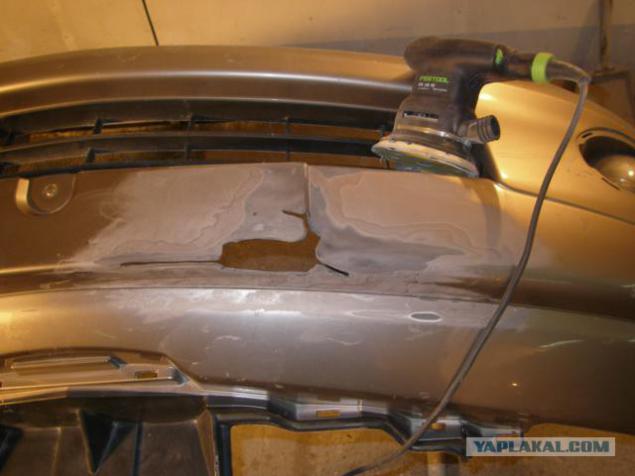
31.
Again, we turn over and cook everything for filling "holes-hole."
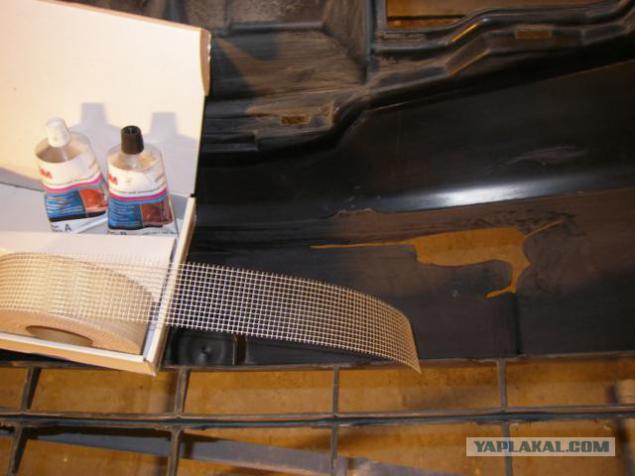
32.
In the role of "shuttering" normal serpyanka and stapler.
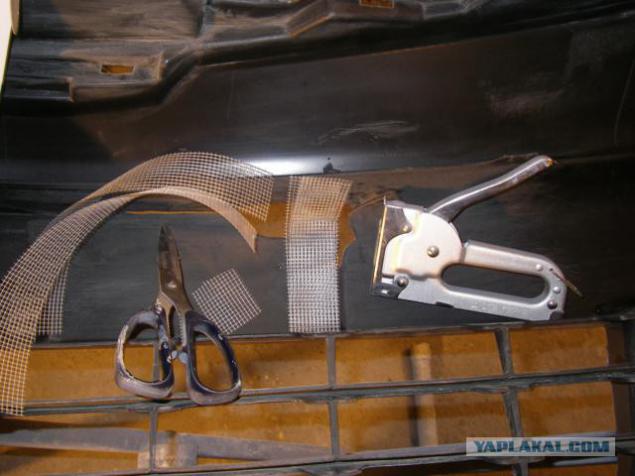
33.
That's about.

34.
Sheds glue the damaged spot, wait until dries.
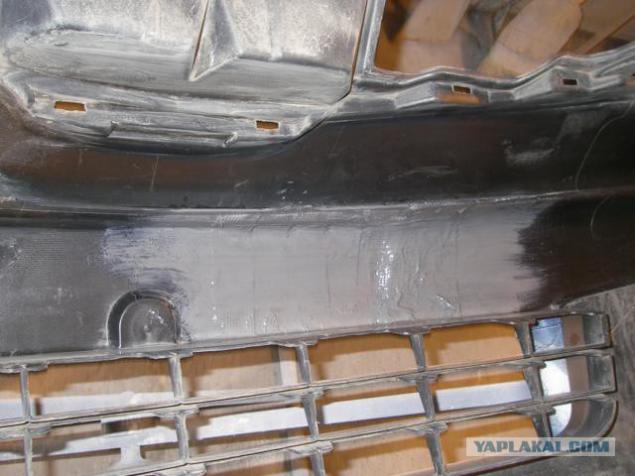
35.
Outside, as the same.
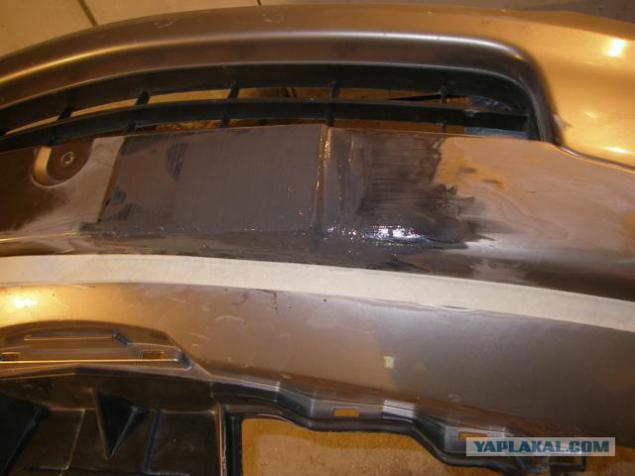
36.
Vyshkurivaem excess glue, and bring down a gloss shpaklyu.
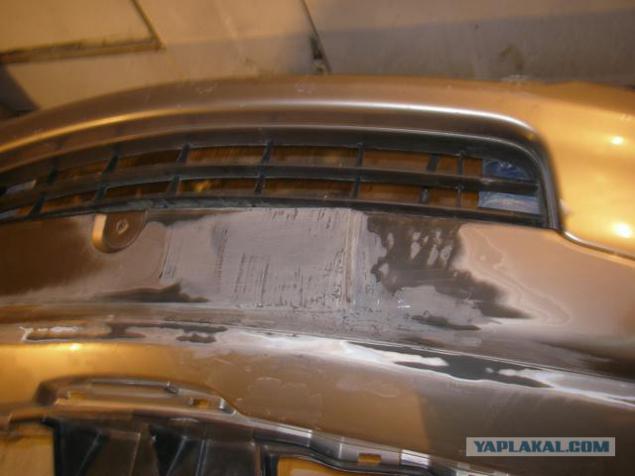
37.
A little further away.
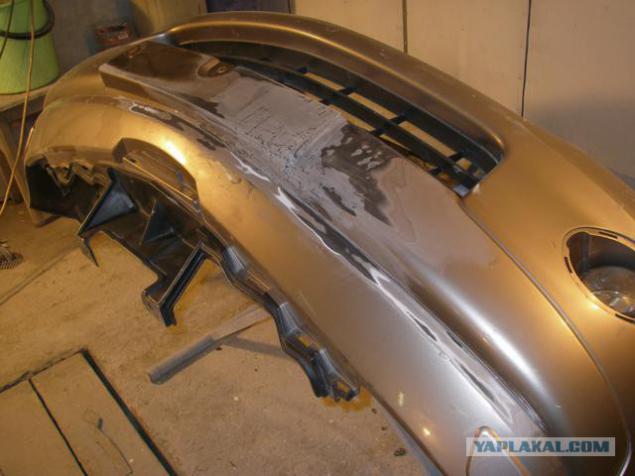
38.
Shpaklyuem.
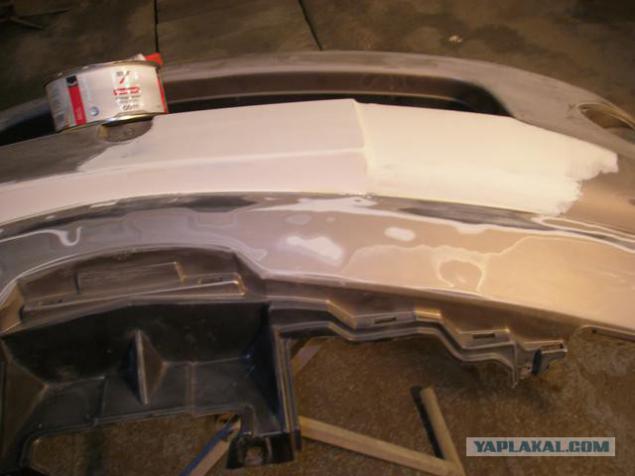
39.
Gruntuem - manifest.
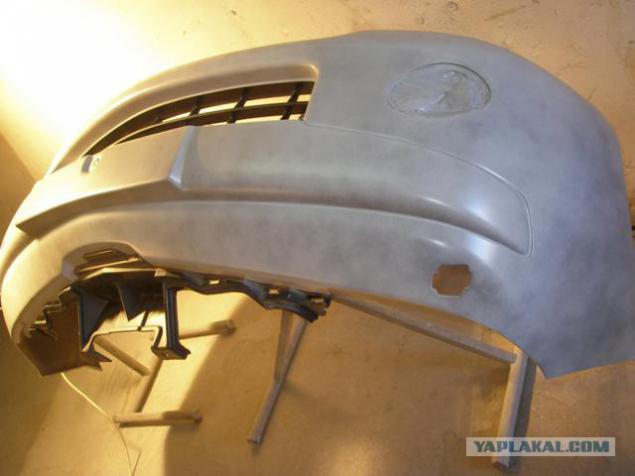
40.
Beautiful.

41.
And put.
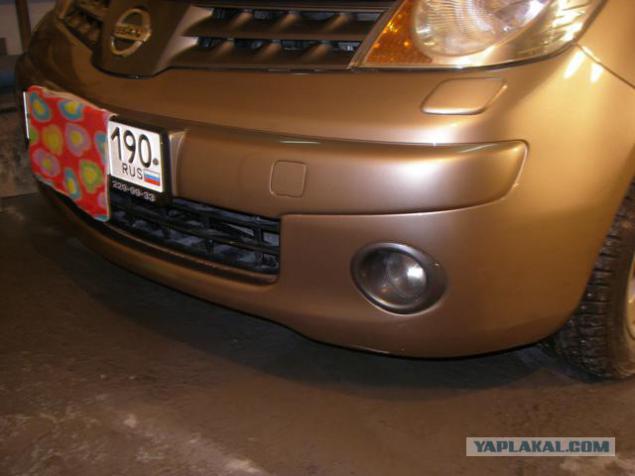
42. Mazda 6. It blooms ass.
Back dismantled, stripped.

43.
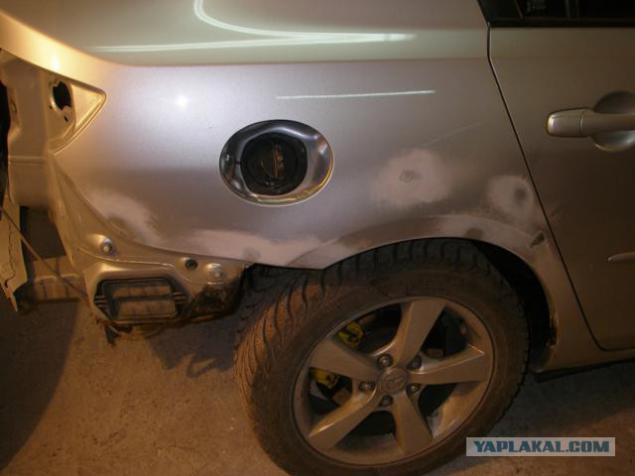
44. Where the bare metal, treat acidic soil.
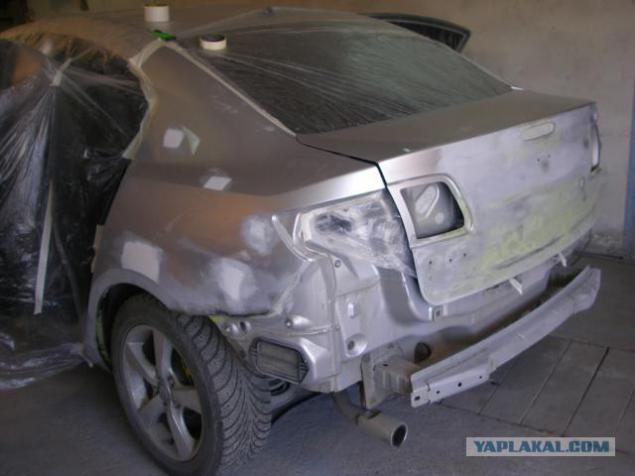
45.
Closer.
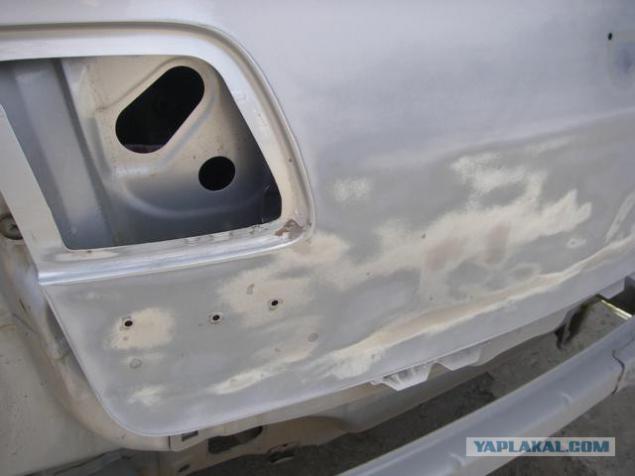
46. primed.
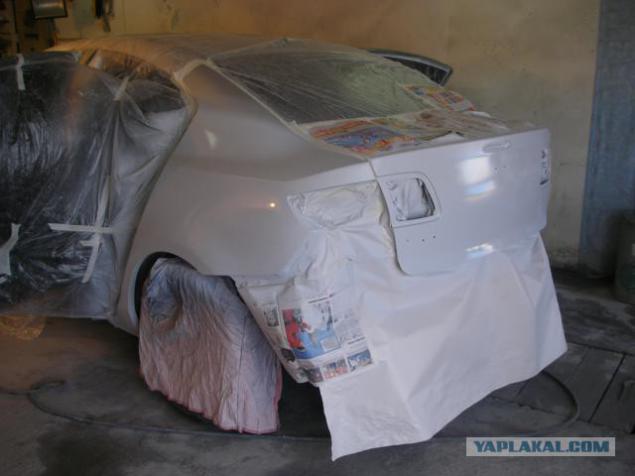
47. manifested.
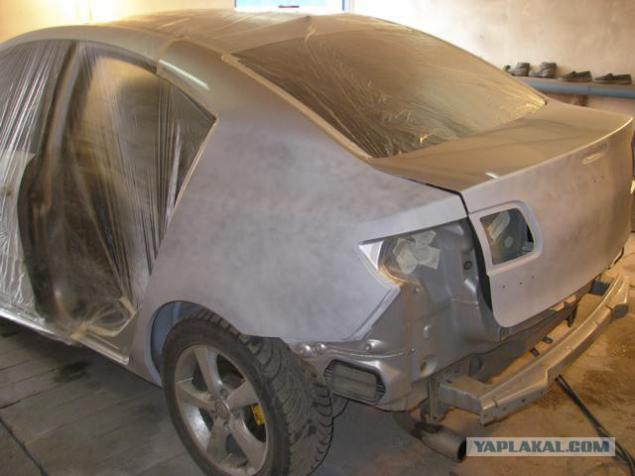
48. painted.
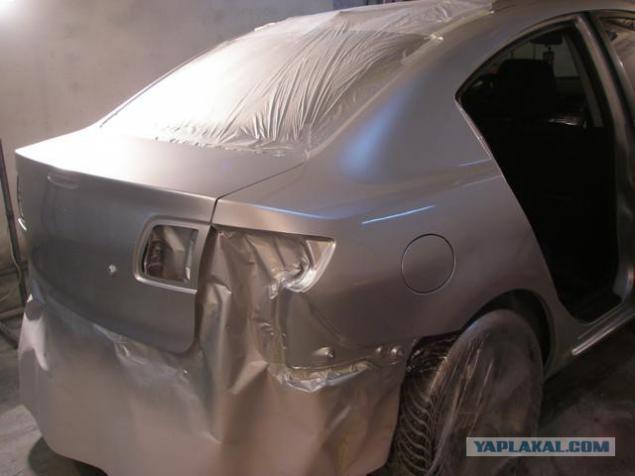
Source:
Will be 70 photos.

2.
More Fota.

3. More. This is where a good view room.

4.Vid side. We pull specials. Pribluda arch.

5. Rihtuem slowly.

6. Mazhem shpakley, skin (dry).

7. Ground.

8. Ground vyshkuren, under the wing ready to color.

9. The Painted.

10. Collect and polished.

11. Polishing the whole body, so that the wing is not much "stuck."

12. A little further.

13. More photo.

14. Rear bumper (Almería). Slightly torn and jam.

15. Closer.

16. We prepare everything necessary for the repair.
Stationary cutter cuts through the edge of the adhesive to penetrate into all cracks as BE.

17. View from inside. Two-component adhesive, Alloy. mesh + poyalneg.

18. Poyalnegom implement grid.

19. Overturn, pour glue cut by the cutter edge.

20. dries, and at the same time we straighten the top dent.

21. Vyshkurivaem excess glue, and bring down a gloss shpaklyu.

22. More.

23. The damaged area smeared.
After the soil is no photos. Somehow I proeblanil this point.

24. painted.

25. More.

26. Bumper Nissan Note.
Even when someone does something. It is clearly seen as a peel lacquer. Campaign "base" dry up.

26. From another perspective.

27.

28.
Vyderaem here these circles the top film of plastic, and doing rough notches for better tseplyaemosti glue.

29.
And degreased.

30.
Outside the same.

31.
Again, we turn over and cook everything for filling "holes-hole."

32.
In the role of "shuttering" normal serpyanka and stapler.

33.
That's about.

34.
Sheds glue the damaged spot, wait until dries.

35.
Outside, as the same.

36.
Vyshkurivaem excess glue, and bring down a gloss shpaklyu.

37.
A little further away.

38.
Shpaklyuem.

39.
Gruntuem - manifest.

40.
Beautiful.

41.
And put.

42. Mazda 6. It blooms ass.
Back dismantled, stripped.

43.

44. Where the bare metal, treat acidic soil.

45.
Closer.

46. primed.

47. manifested.

48. painted.

Source:
